Advance Urethane vs Waterborne Laquer

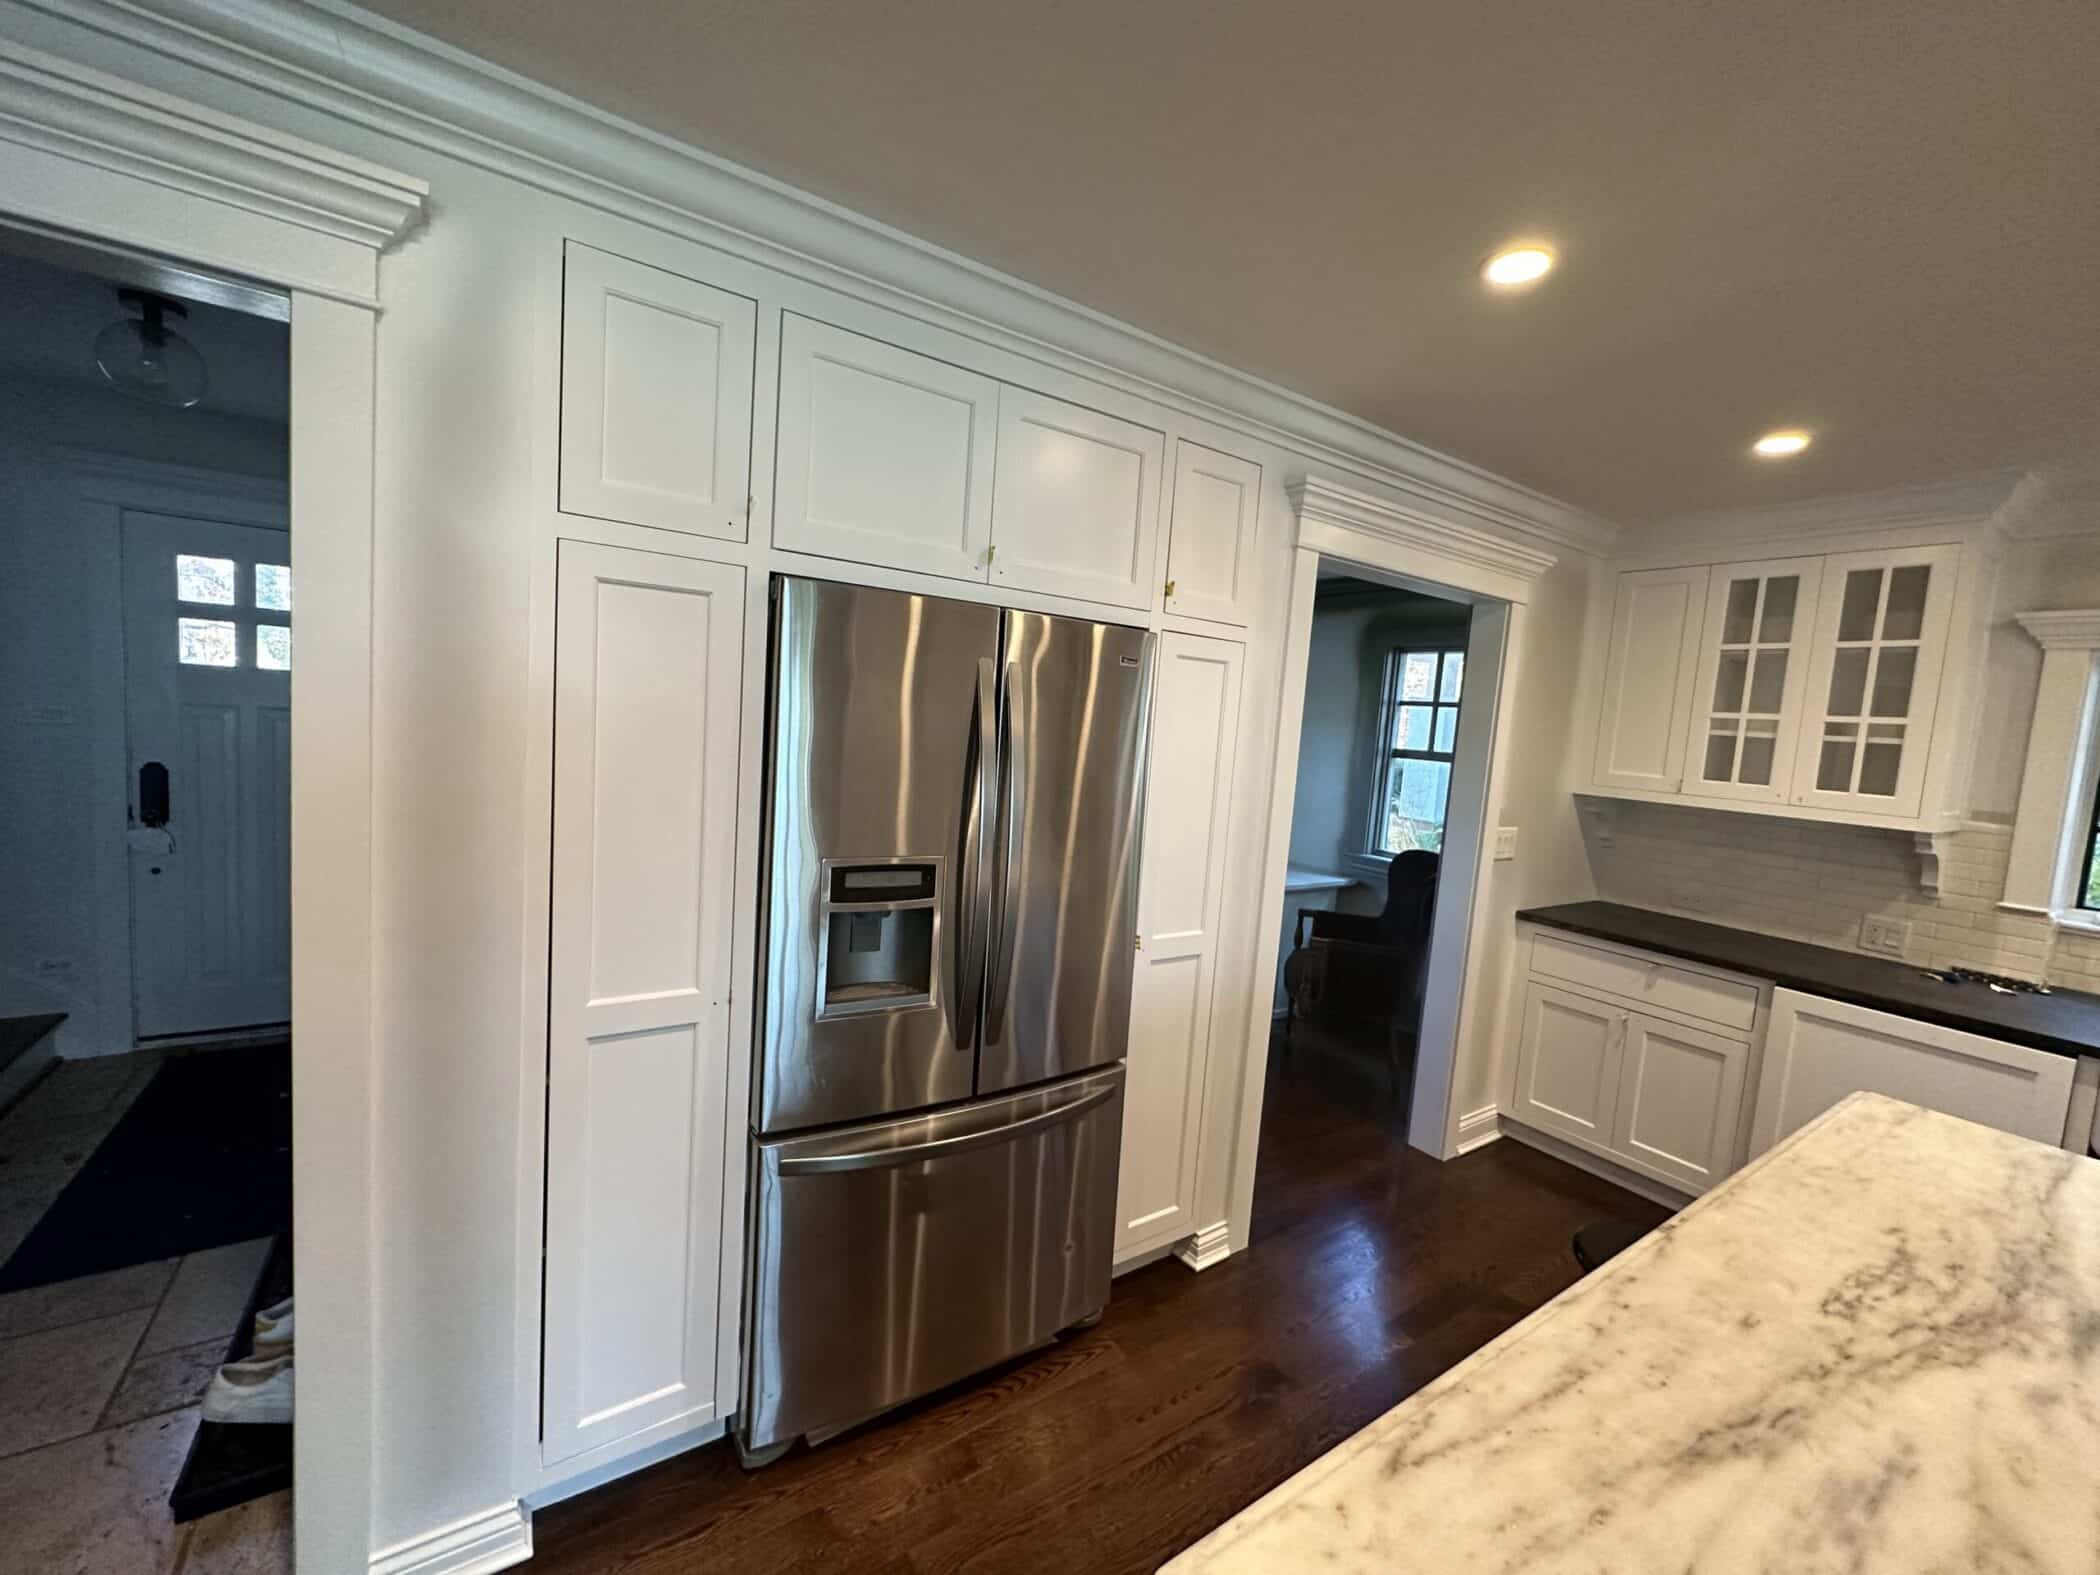
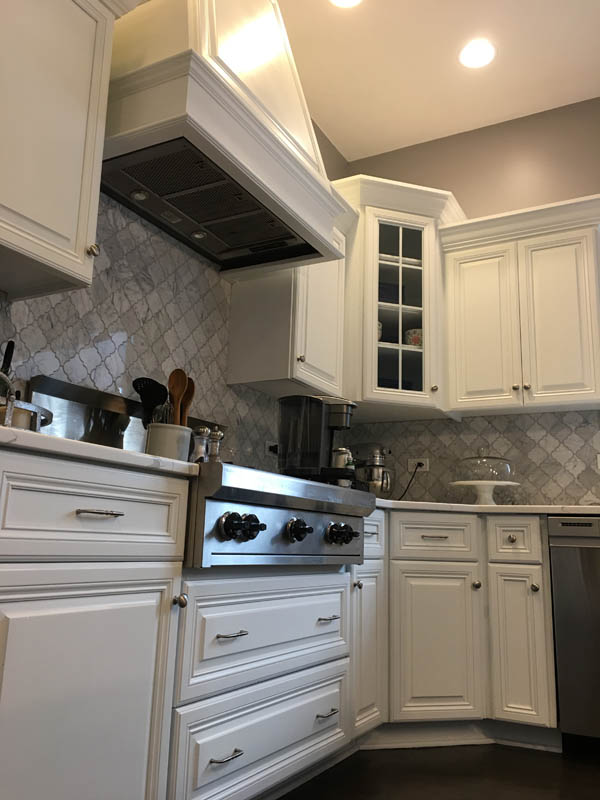
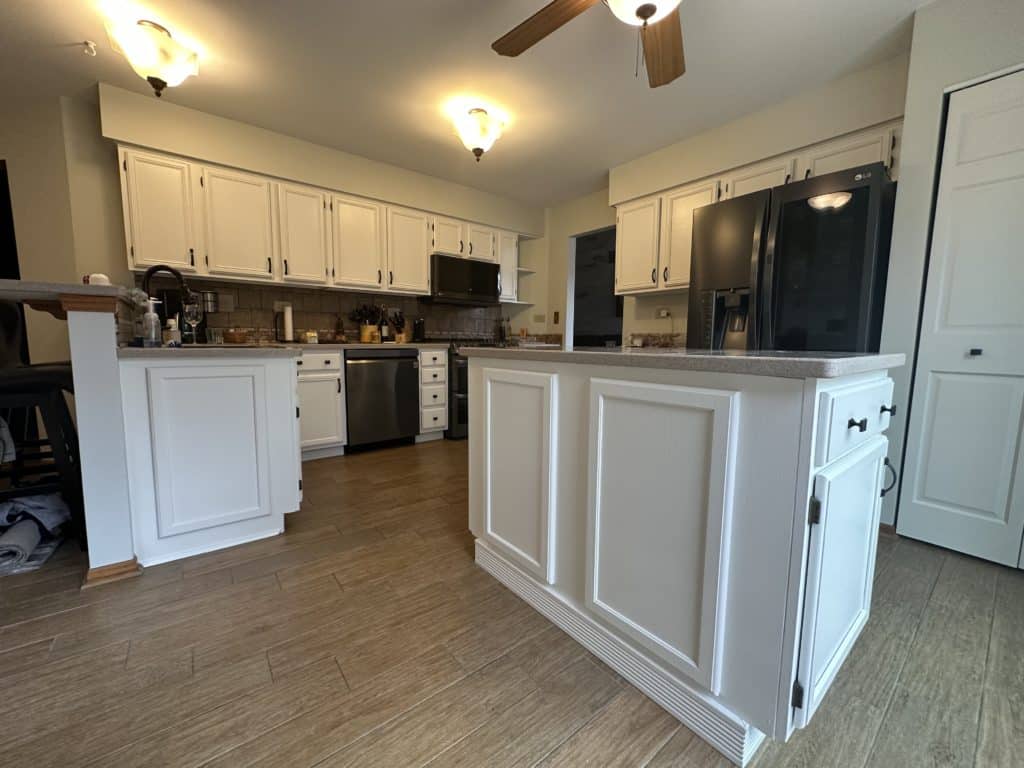
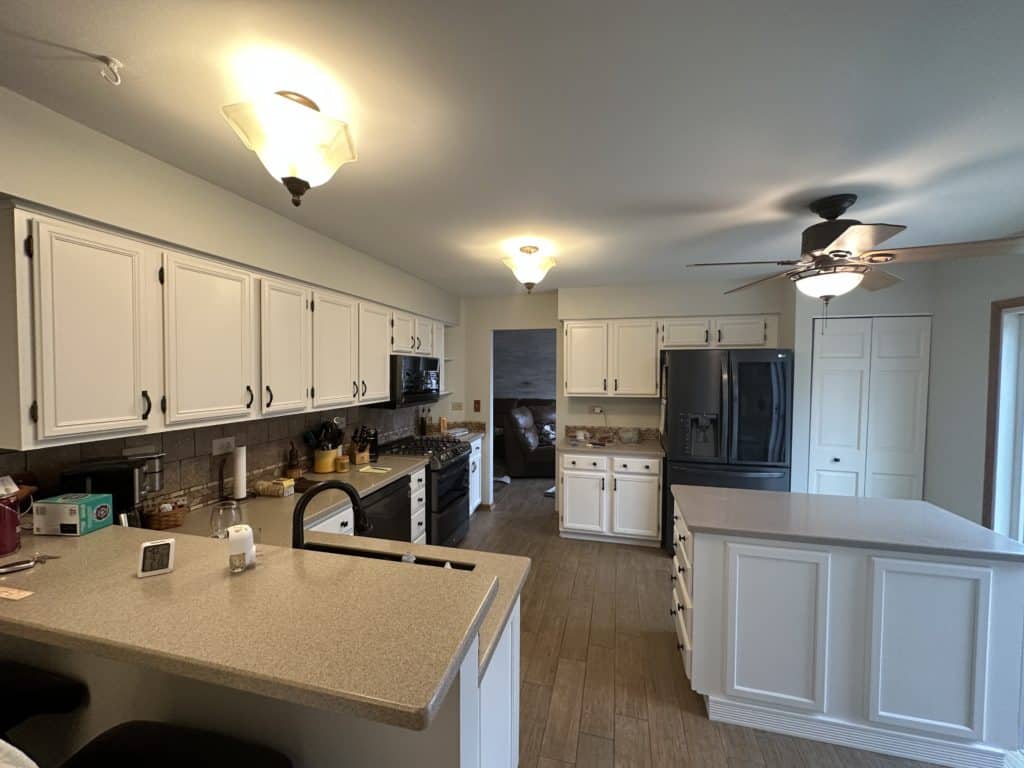
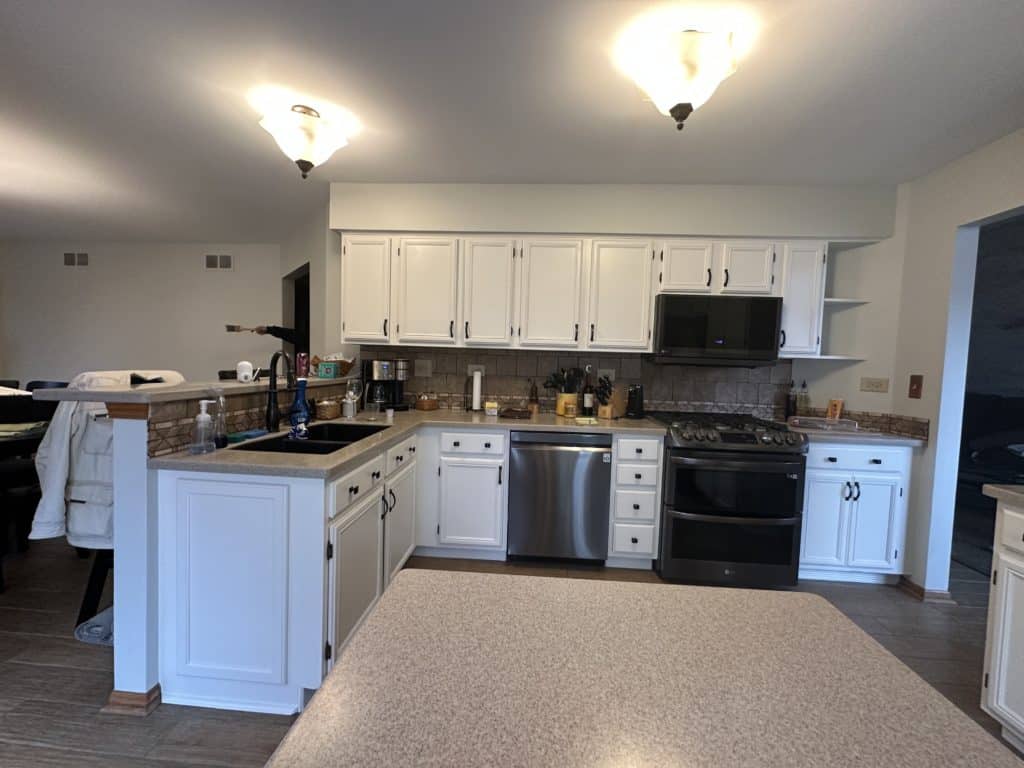
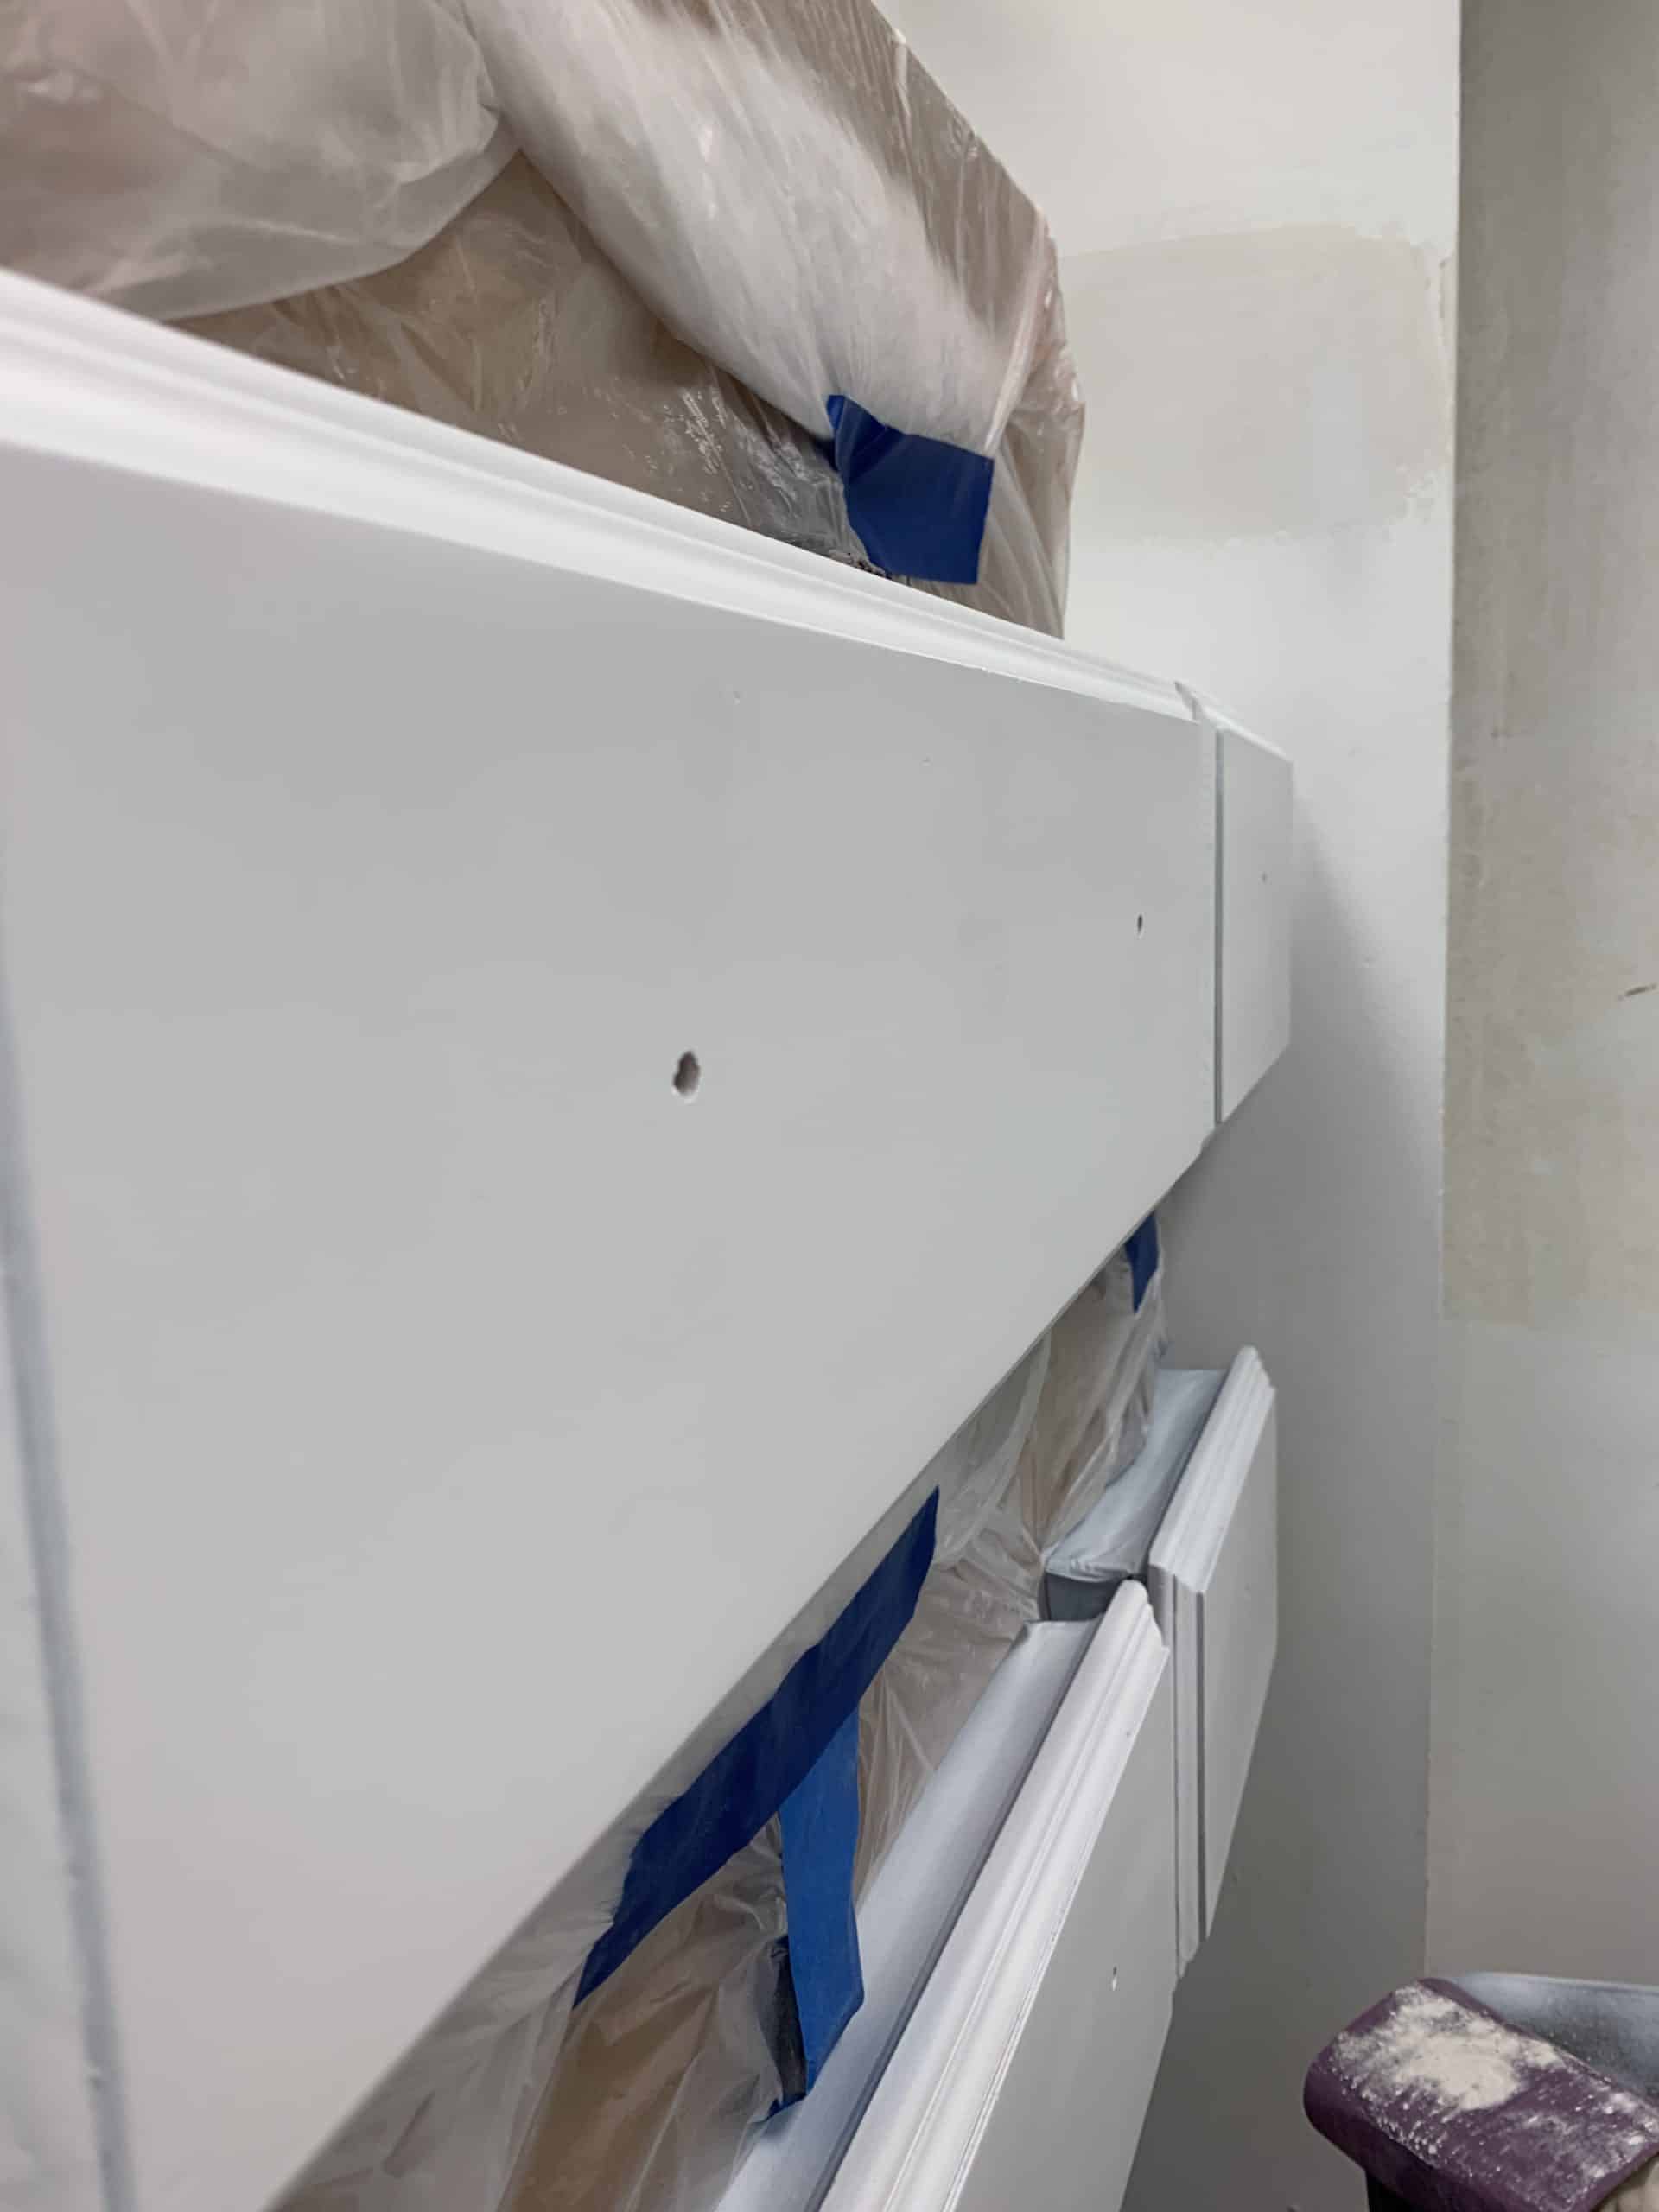
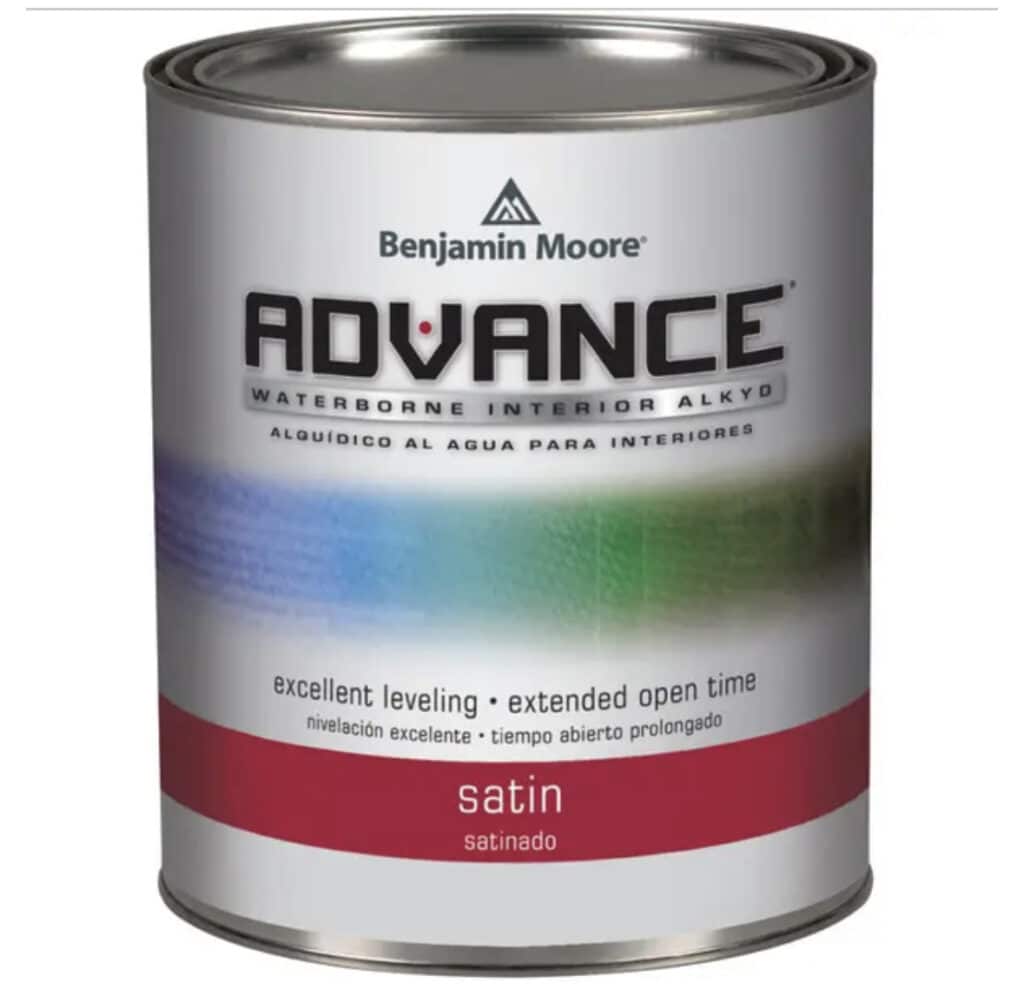
If you are thinking of painting your cabiets- then one of the buzz words is Advance Urathane paint. Advance is a Urethane based product that is a great product. The other cabient paint- not often seen or heard but used for cabients is called waterborne lacquer. These two paints are two different types of paint with distinct characteristics and applications.

Hi, I’m David Cook, owner of Dfranco Painitng and Wallpaper in Huntley, IL. We are asked about trim paint, So lets dive into Advance urethane VS Waterborne Laquer.

A quick difference Advance Urethane VS Waterborne Laquer

Here’s a breakdown of each:

  1. Advance Urethane Trim Paint:
    • Urethane trim paint is a type of paint that is known for its durability, chemical resistance, and overall toughness. It is commonly used for painting surfaces that require a high level of protection, such as automotive parts, industrial equipment, and outdoor furniture.
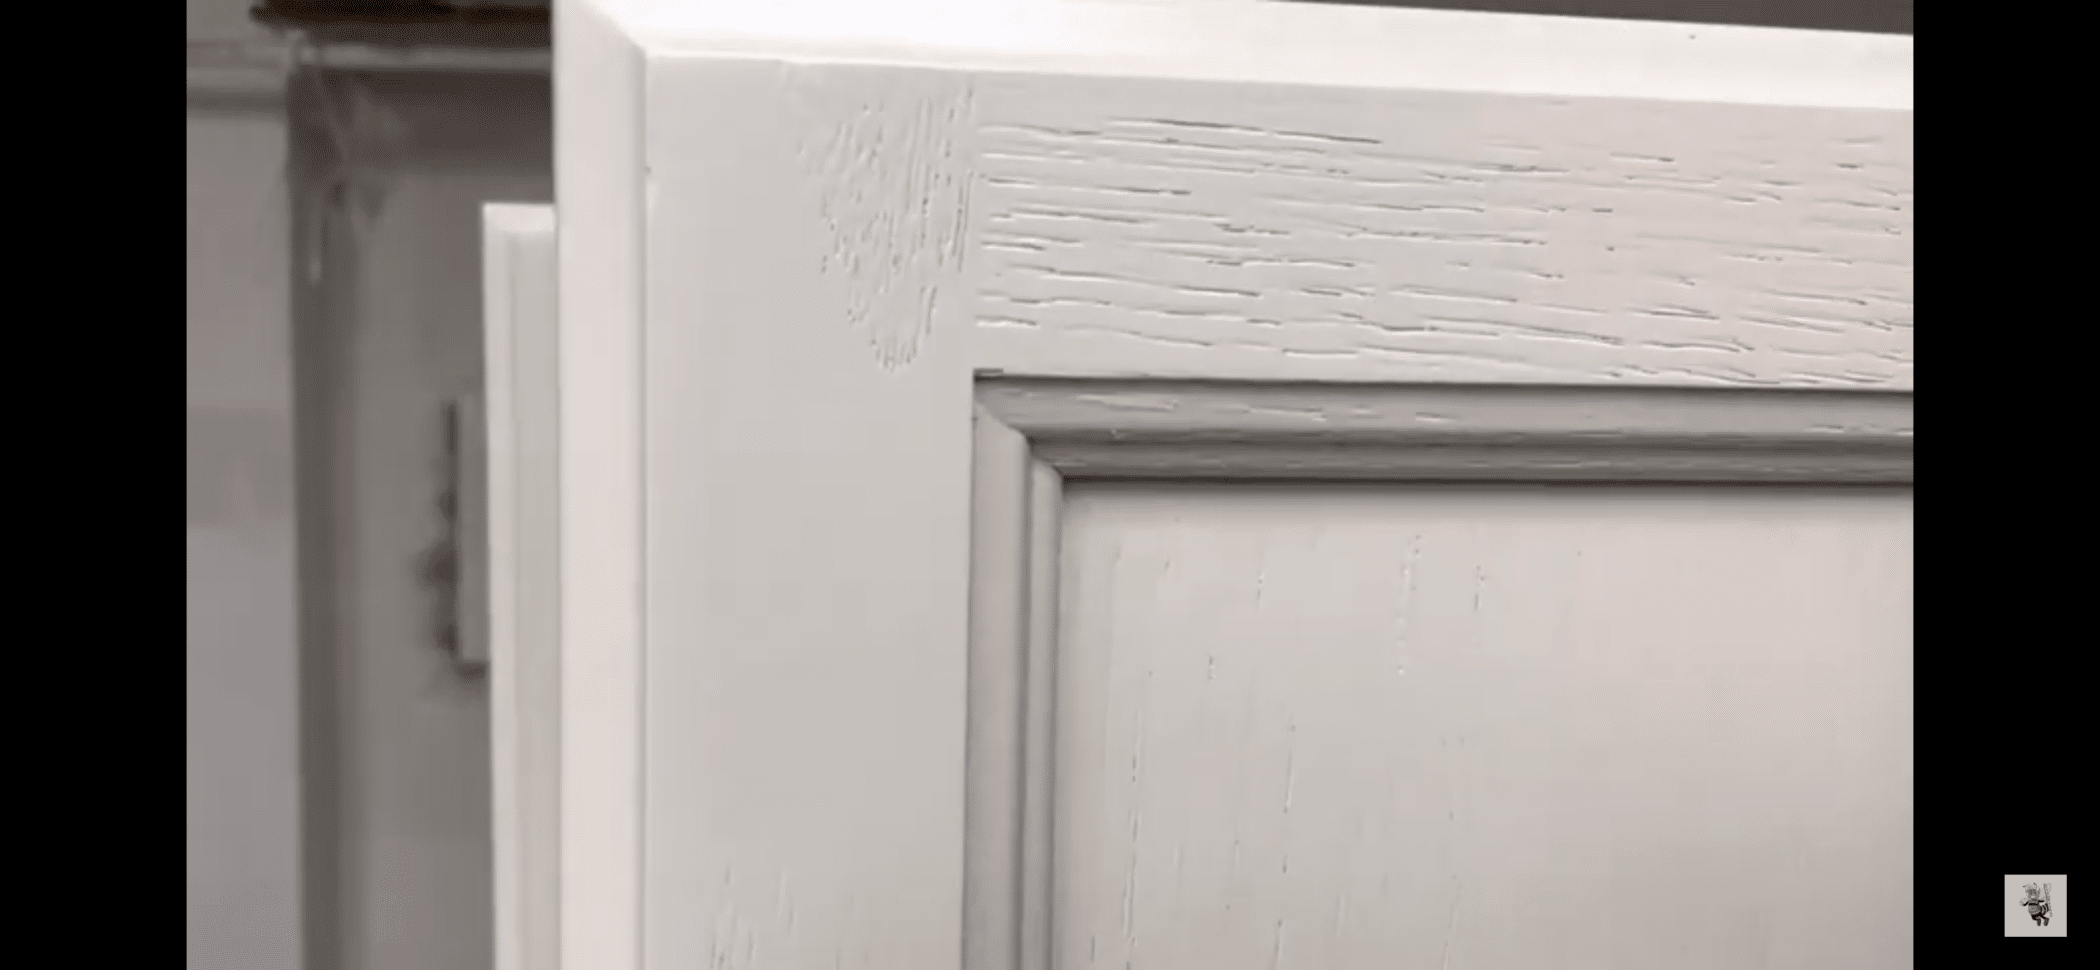
    • This type of paint provides a glossy finish and is often used for surfaces that need to withstand harsh weather conditions and frequent use. It typically provides excellent adhesion and is resistant to chipping, fading, and abrasions.
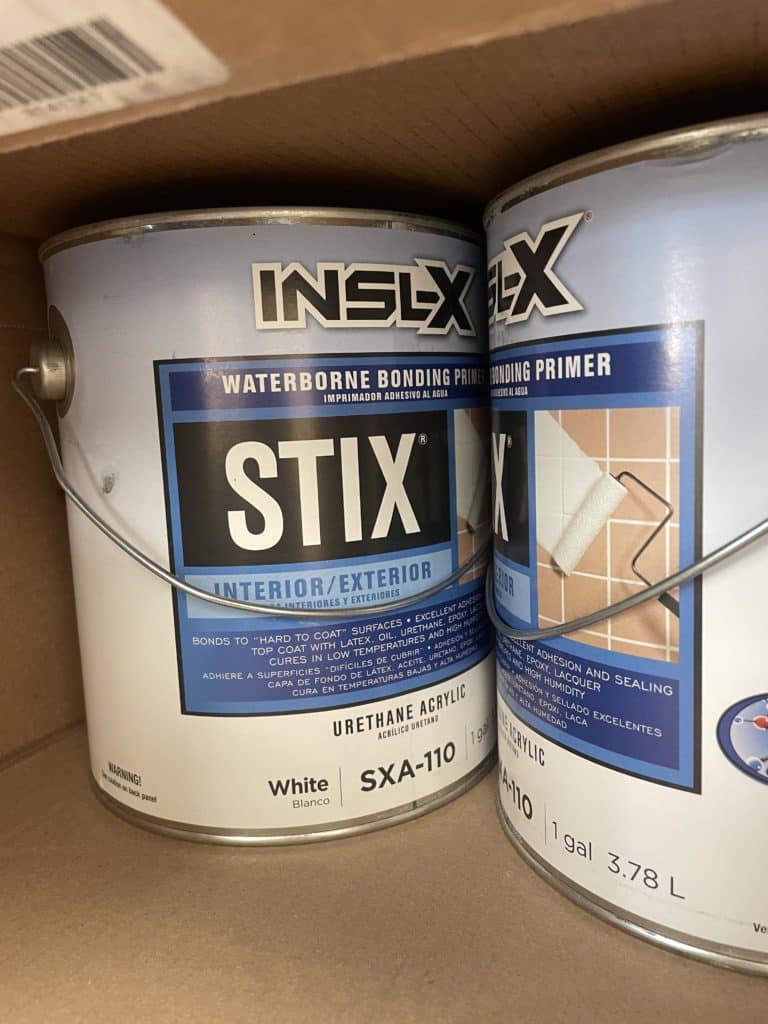
    • Urethane trim paint usually requires a longer drying time compared to other types of paint, and it often requires the use of a primer to ensure proper adhesion to the surface.
    • in the case of Advance products- 16 hours in order to recoat- Emerald is about 3-4. That in iteslf makes huge differene in how you price, and stage a project using these materials.

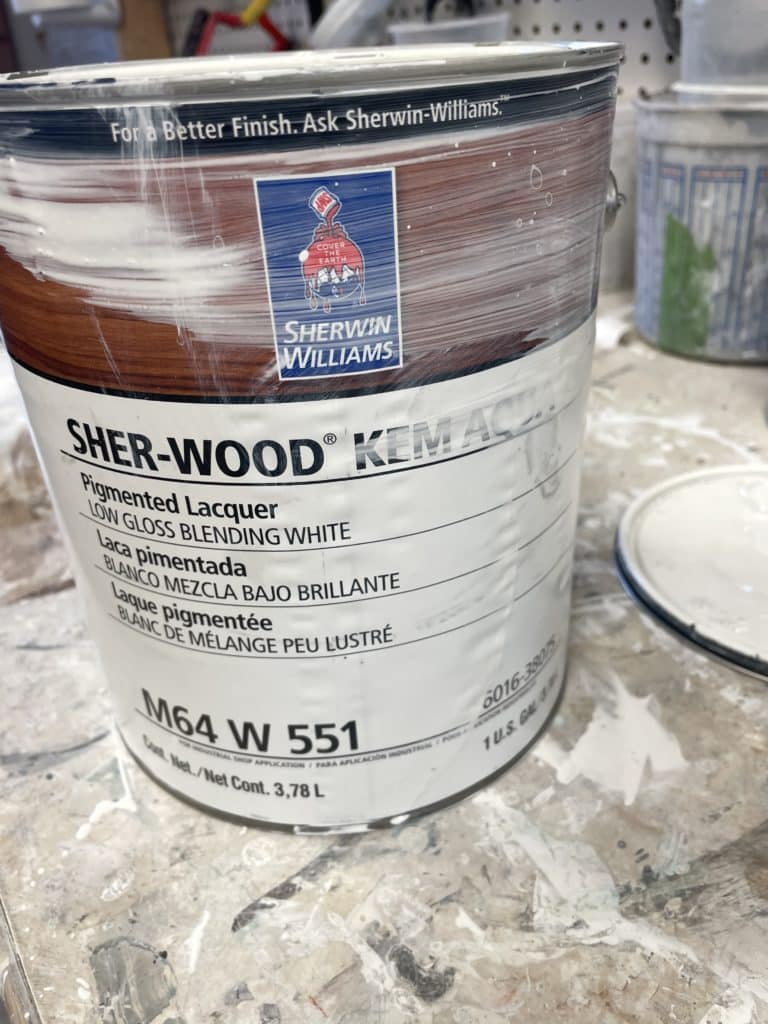
  1. Waterborne Lacquer Paint:
    • Waterborne lacquer paint is a type of paint that uses water as a carrier instead of traditional solvents. It is known for its quick drying time and low levels of volatile organic compounds (VOCs), making it a more environmentally friendly option compared to traditional lacquer paints.
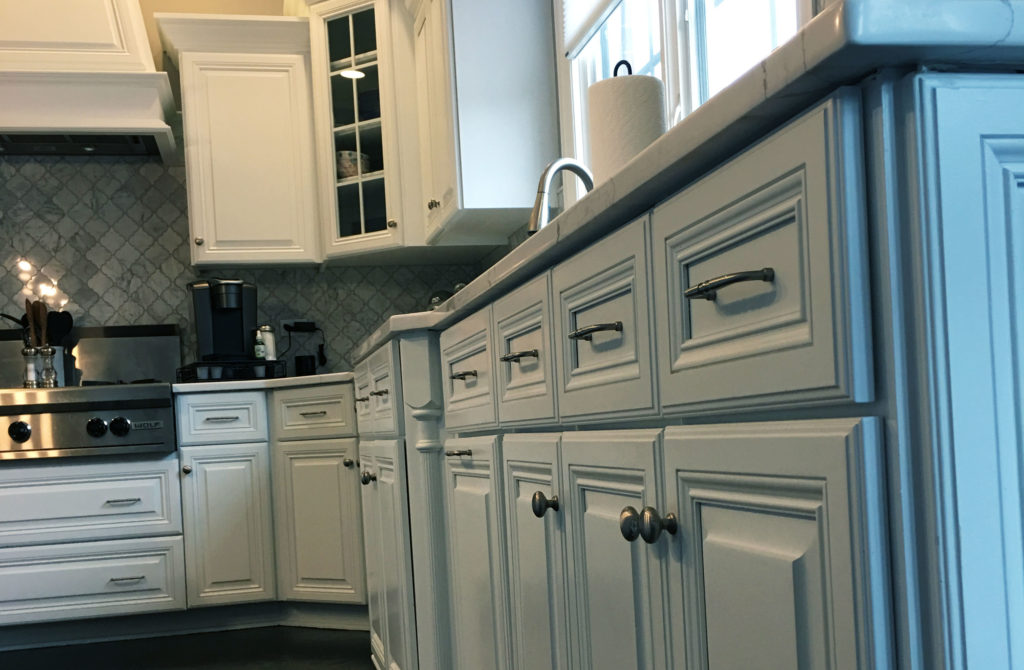
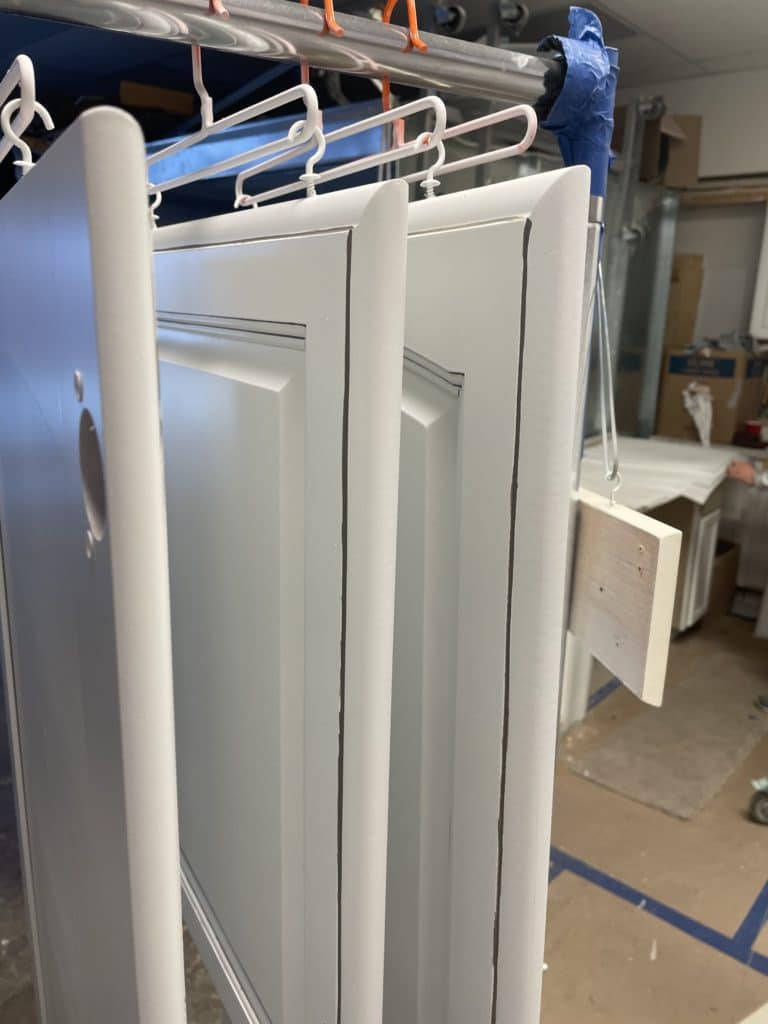
    • Waterborne lacquer paint provides a smooth, clear finish and is often used for interior surfaces such as furniture, cabinets, and trim. It is popular among those who want a clear and crisp finish that enhances the natural appearance of wood and other materials.
    • This type of paint requires careful application to ensure an even and smooth finish. It also typically requires several coats for adequate coverage and durability.
Waterborne Laquer cabinet paint

Choosing between the two paints

When choosing between urethane trim paint and waterborne lacquer paint, consider the specific requirements of your project.

If you need a highly durable and protective finish for surfaces exposed to harsh conditions, urethane trim paint might be the better choice. To my knowledge Urathanes do not have the approvals from the Kitchen and design standards to resist stains, or kitchen food borne virus that come from raw food.

On the other hand, if you’re working on interior surfaces and are looking for a more environmentally friendly option with a smooth and clear finish, waterborne lacquer paint could be the way to go.

Somplace you can look for kitchen paint standards is here…KCMA . great location of materials that have been tested for kitchen use,

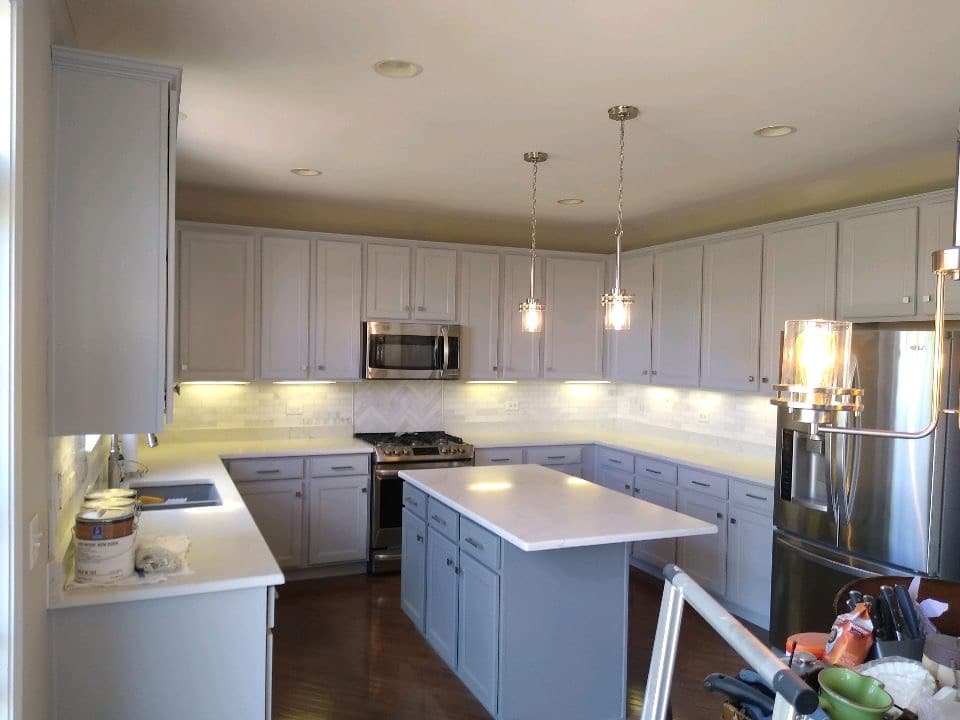
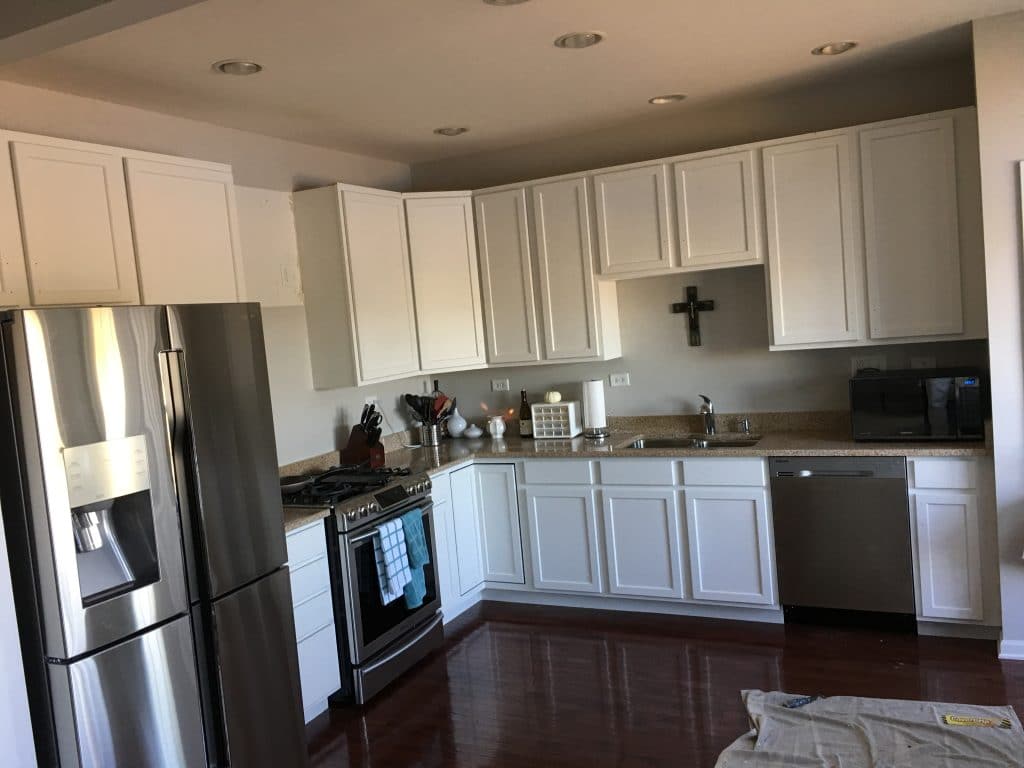
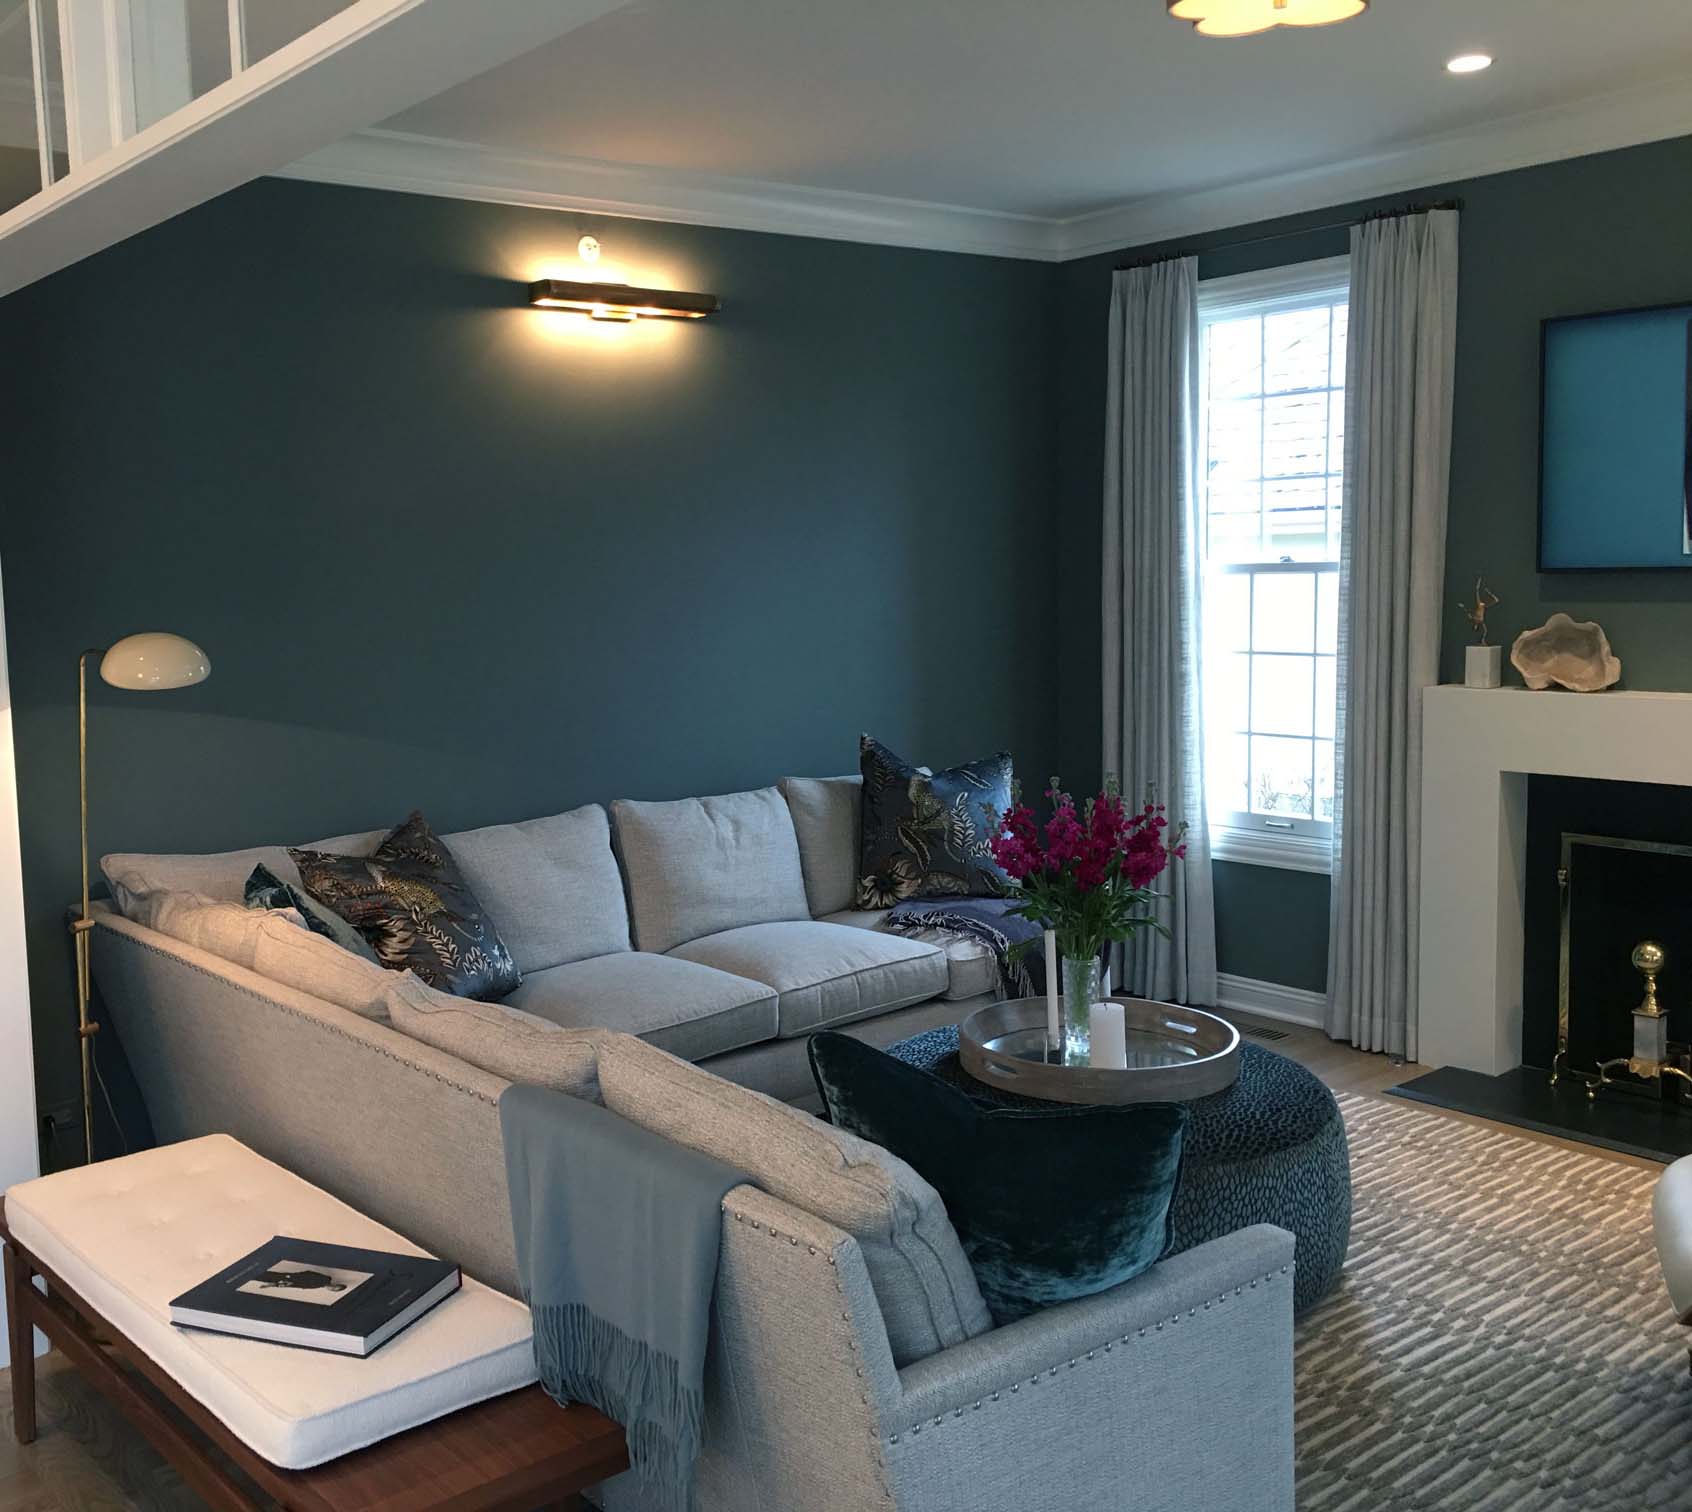
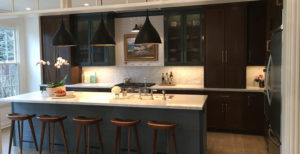
if you are just painting doors, trim etc, then Advance urethane or Emerald Urethane products will be great option!

Always follow the manufacturer’s instructions for the best results with either type of paint.

So which paint is better?

there really isnt a better, it is they are different.What are you using the paint for and where yo are located really matters when deciding what to use.

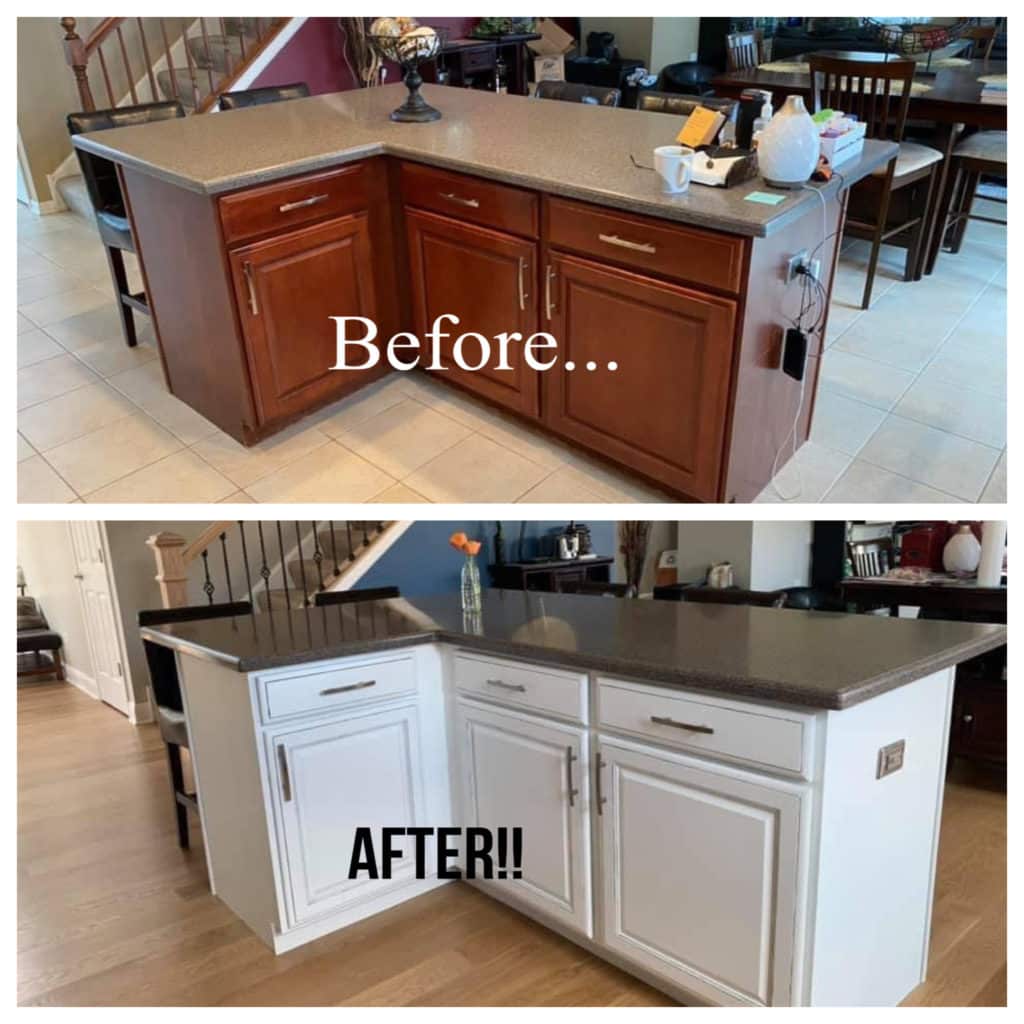
For example, Nick May, walls by design in Denver, CO, uses Advance Urethane paints for cabinets- why? Location. Due to the climate there he needs something that will be able to be sprayed and lay flat, where a laquer there dries too fast.
For us, we want to be efficient with our time. So i can paint sand and repaint 2 coats in a day! That gets us more productive and your kitchen back to normal much faster.

Applying Top Coat to Cabinets
Applying Top Coat to Cabinets: Protecting and Enhancing Your Wood Surfaces

Wooden cabinets are not only functional storage solutions but also important design elements in your living spaces. To ensure their longevity and maintain their appeal, applying a protective top coat is a step you shouldn’t overlook in cabinet painting. In this guide, we’ll walk you through the process of applying top coat to cabinets, preserving their beauty while safeguarding them against daily wear and tear.

Why a Top Coat is Important

A top coat acts as a shield, safeguarding your cabinets against moisture, scratches, and fading due to sunlight. It enhances the wood’s natural beauty, providing a durable layer that keeps your cabinets looking fresh and new for years to come.

Assembling Your Supplies

Before you begin applying top coat to cabinets, gather the necessary supplies:

  • Protective eyewear and gloves
  • Fine-grit sandpaper
  • Clean, lint-free cloths
  • High-quality top coat (polyurethane, lacquer, or varnish)
  • Paintbrush or sprayer
  • Stir stick

Step-by-Step Guide: Applying a Top Coat to Cabinets

  1. Preparation: Start by ensuring your cabinets are clean and free of dust. If necessary, lightly sand the surface with fine-grit sandpaper to create a smooth foundation for the top coat.
  1. Stirring the Top Coat: Open the top coat can and use a stir stick to gently mix the contents. Avoid vigorous stirring, as it can introduce air bubbles.
  1. Application Method: Choose between a paintbrush and a sprayer for application. A paintbrush offers more control and is suitable for small areas, while a sprayer can provide a more even finish on larger surfaces. Ensure your chosen method suits your cabinets’ design and your comfort level.
  1. First Coat Application: Dip the paintbrush into the top coat, allowing excess to drip off. Apply the top coat in smooth, even strokes, following the wood’s grain. For a sprayer, maintain a consistent distance from the cabinet’s surface to achieve an even layer.
  1. Drying Time: Allow the first coat to dry according to the manufacturer’s instructions. This usually takes a few hours. Avoid touching the surface during this time to prevent smudges.
  1. Light Sanding: After the first coat dries, lightly sand the surface with fine-grit sandpaper. This smooths out any imperfections and provides a better bond for the subsequent coats.
  1. Second and Subsequent Coats: Apply additional coats of the top coat, following the same process as the first coat. Most projects require at least two or three coats for optimal protection and finish. Ensure each coat dries thoroughly before applying the next.
  1. Final Sanding: Once you’ve applied all desired coats and they’ve dried completely, perform a final sanding with fine-grit sandpaper to achieve a smooth and even finish.
  1. Buffing and Polishing: After the final coat has cured, you can buff and polish the surface to enhance its sheen. Use a clean, lint-free cloth to gently buff the cabinets, revealing their true beauty.

Maintenance Tips for Top-Coated Cabinets

  • Wipe spills promptly to prevent moisture damage.
  • Use gentle, non-abrasive cleaners to clean the surface.
  • Avoid placing hot objects directly on the cabinet’s surface.
  • Regularly dust the cabinets to prevent dirt buildup.

Conclusion

Applying a protective top coat to your cabinets is a straightforward process that yields long-lasting benefits. By preserving the wood’s natural beauty and shielding it from daily wear, you ensure that your cabinets remain an exquisite and functional element of your home.

Enhancing Cabinets with Professional Finishes

Unlock the full potential of your cabinets with D’Franco Painting & Wallpaper’s expert touch. Our commitment to impeccable finishes and transformative craftsmanship ensures that your cabinets are not only protected but also elevated to new heights of beauty.

With years of experience in enhancing wood surfaces, we understand the delicate art of applying protective top coats. Our skilled team combines precision and finesse to create a seamless finish that stands the test of time. Whether it’s modern elegance, timeless charm, or a unique statement you’re seeking, we tailor our expertise to your vision.

Preserve the natural charm of your cabinets while safeguarding them from life’s demands. Our dedication to excellence guarantees that your cabinets remain an attractive focal point in your home for years to come.

Contact us at (847) 349-4112 and we’ll help you transform your cabinets into timeless pieces of artistry and protection.

White painted island cabinets
How Much Does It Cost to Paint Cabinets

The top question we are asked every week is How much does it cost to paint cabinets?

Painting cabinets are the most cost effective ways to improve the look and feel of your kitchen. However, making sure that it is done the right way with the right products is the key to enjoying the look of amazing looking painted cabinets.

painting kitchen cabinets white - how much does it cost to paint cabinets

How do you determine the cost of painting kitchen cabinets?

There are several questions we ask when we price out cabinet painting. Here is the list of questions I ask:

  • What type of cabinets do you have? (are the cabients solid wood as such as oak and maple, or do you have veneer plywood or MDF?)
  • Have the cabinets been previously re-painted already?
  • If your cabinets are stained?
  • Are you removing or changing hardware?
  • Is there any water damage to your cabinets?
  • Do you want a solid color, two different colors or maybe you are looking to have them glazed?

Each of these questions affects the materials, time to complete the job and the price of the cabinet painting.

So, how much does it cost to paint cabinets? We start out at about $125.00 per door/box set. (this equates to about 1 hour and 40 minutes per box and door set of work needed to prep, sand, clean, prime and paint) A door/box set consists of both sides of the door and the frame on the cabinet. The cost of a drawer is about $55.00.  The cost can increase to about $150.00 per door/box set depending on the questions above, such as filling in oak grain.

What is the process you use to paint cabinets?

We recently posted a few small videos on YouTube about the painting process of cabinets. It is a good introduction to the process we use for cabinet painting.

  • We start with cleaning. Cabinets gets cleaned with a de-greasing agent.
  • Each cabinet is sanded to scuff the surface in preparation for the primer.
  • Rubber gloves are used at all times when cleaning and painting- we don’t want finger prints back on what was already cleaned.
  • The cabinets are wiped clean and allowed to dry before the primer is applied.
  • Primer is sprayed on, allowed to dry, then we sand it to remove any uneven areas
  • Finally, we paint!

What products do you use to paint cabinets?

One of our products of choice for priming is Stix bonding primer. It is a heavy bodied product and has some of the best adhesion properties available. When we are painting Oak doors, two coats of this primer will fill in quite a bit of the oak grain.  

stix bonding primer - painting oak cabinets
bonding primer

Once we finish priming we will use Chem Aqua, or Sherwood paint, the color will determine which product due to the tinting Process.

This paint is a true cabinet grade paint hybrid lacquer. It dries ultra smooth and hard. It resists stains, it touches up well, and it is water clean up. There is some smell but what paint doesn’t?

sherwood cabinet paint

What if I have Damaged Cabinet doors?

If any of your doors or drawers have water damage we have some extra work to do.

  • MDF cabinets with water damage are difficult to repair. MDF swells once water is introduced. It swells like a sponge but does not go down again. The area must be sanded smooth to the existing door surface. We then use a shellac-based primer or problem surface sealer which will seal the damaged area from further damage.  If a filler is needed we use glazing putty to make it smooth. Then we are ready to prime and paint.
  • Doors that are cracked, broken, or other wood damage are repaired using wood glues, putty or other fillers or repair materials.

Other ways to improve the look of your kitchen

Hardware!! Aside from new paint, new hardware is the last factor you need to consider. If there was no hardware previously, we need to drill holes to mount them. That adds about $7.00 per door.

A few other things you can do:

  • Changing out your hinges to a soft close style…pretty cool!
  • Change out your counter tops
  • Add or update your backsplash
  • New appliances
  • New sink/plumbing fixtures

That, in a nutshell, is a basic course on how much it will cost to paint cabinets. It is a lot to take in and digest, so if you want a quick ballpark figure, text us some pics of your cabinets to 847-553-1726 and we can give you an idea of what to expect. If you have any other questions, give us a call!

dfranco dollars - painting referral program
Here is 1 of our D’franco $100 referral vouchers!, earn yours today!
Replacing Cabinets vs Painting Cabinets

If you are among the millions of people considering remodeling their kitchen, then I’m sure that you have seen a few YouTube videos or remodeling shows about kitchen remodeling. Choosing what is best for you, either replacing cabinets or painting them, may not have crossed your mind as an option. So, let’s see if we can help with what we have seen in homes we have worked at.

How do you decide between replacing cabinets and Painting cabinets? Let’s dig in to this one! I am just using the kitchen we just finished as an example.

How Much Will It Cost to Replace Cabinets?

What is will cost to replace your cabinets is a question that is a bit more complicated than just money, what does that mean?

  • what is the cost of demolition?
  • will there be wall damage?
  • are you going to have to have electrical work done?
  • does the flooring have to be redone?
  • do new cabinets fit in the same space? ie soffits
  • will your countertop have to be replaced?
  • can you use your existing sinks?
  • new lighting?
  • time without a sink, kitchen appliances, etc.

That is a long list, so what does that mean? Well, the cabinets coming out, floors being worked in, repairs, items ordered, and installed all mean that you could be two weeks to 4 months with a construction zone in your home. We have seen it!

So all of the above is not a dollar cost but a cost for your time, stress, and aggravation. The money part on a low-end kitchen can start at $15,000- and we have witnessed up to $75,000! It all depends on what you want. In our house, a decent vanity alone was 1100! So if you have 16 cabinet boxes, that is over $16,000 just for the cabinets.

So, What is the Cost to Paint Kitchen Cabinets?

In the video above, we painted the oak cabinets. What we did (the shortlist)

  • cleaned the cabinets
  • masked the floor
  • covered the tile and counters
  • removed and painted closet door
  • filled in 1 layer of grain
  • sanded primer smooth
  • sprayed the 2nd coat primer
  • sprayed the top coat

This kitchen was about $3700, and the customers lost access to their kitchen for one night. There is a HUGE difference from the carnage of demotion. Here is another link to a blog we did on cost to paint cabinets.

How to decide…

That is a tough decision to make, and I feel for you. We have had similar choices to make, so the choice of Replacing Cabinets vs Painting Cabinets can be challenging, but it just depends on what options you have; if your cabinets are in good shape- then just paint them!

Once you start getting estimates, you will get a better understanding on which way you will decide to go.

If and when you have questions, feel free to reach out; we are here to help.

What is the cost to paint cabinets yourself?

I recently had the opportunity to provide an estimate to a customer for painting kitchen cabinets. The customer decided that the cost for professional cabinet painting was too expensive and they would do it themselves.

painting kitchen cabinets - cabinet refinishing
professional cabinet painting

It happens – we do not sell every job we go on. One of the things we like to make sure of is that when you’re doing it yourself, that you can see our videos on our YouTube channel or read our kitchen cabinet painting blog posts to see how we do it, so the process is similar and the results are good!

Read on for a customer’s feedback on doing DIY cabinet painting and how long it took.

How much time it takes to professionally paint kitchen cabinets

When we are bidding, we start out with 90 minutes per door, on the low end, to clean, sand, prime and paint a cabinet door. We also have a spray booth, sprayers, power sanders with dustless attachments to help us be a bit faster.

For this particular kitchen, we estimated a time frame of 4 days to have the doors and drawers removed, cabinets cleaned, kitchen masked, sanded, all items sprayed and re-installed. There were about 33 pieces total of different sizes we had to paint.

How much does it cost to paint kitchen cabinets?

We will keep on the theme of using this estimate so you can get a consistent understanding of our reference. This kitchen we estimated was $5,324 for all labor and materials. Again this kitchen was about 33 pieces we were working on.

How much are materials to paint cabinets?

The kitchen we are discussing, again had about 33 pieces. so our material list was:

  • cleaner
  • rags
  • drop cloths
  • sprayer with 5 and 3 needle set
  • strainer
  • masks
  • masking tape
  • maker to mark each piece
  • fan for exhaust
  • air cleaner/filter
  • razor/scrapers to remove old bumpers
  • wood filler for old handles and dowel rods
  • sand paper, 320 and 220
  • sanding blocks for hand sanded areas
  • power sander and vac
  • 12 ft. painters plastic
  • 6 extension poles to make temp wall
  • rosin paper to cover floors
  • bonding paper
  • cabinet paint- we use Chem-Aqua which is a cabinet grade paint (yes, there is difference)

Some of these items we buy in bulk and save money by doing so, some are just averaged in to the cost over the life of a given tool, and some are for each job such as primer/paint. For this kitchen we were at about $610.00.

So what is the cost difference to paint cabinets myself?

So here was the feedback from the customer that did it themselves. They are happy with the results.

For the island:

  • sept 6th – 3.5 hours
  • sept 7th – 3 hours
  • sept 8th – 3 hours
  • sept 9th – 6 hours
  • sept 10th – 5 hours
  • sept 12 – 6.5 hours

Total=27 hours

For the main cabinets:

  • sept 13 – 3 hours
  • sept 14 – 6 hours
  • sept 15 – 4 hours
  • sept 16 – 1 hours
  • sept 17 – 3 hours
  • sept 19 – 2 hours
  • sept 20 – 2 hours
  • sept 21 – 2 hours
  • sept 22 – 2 hours
  • sept 26 – 4 hours
  • sept 27 – 4 hours
  • sept 28 – 4 hours

Total=37 hours

Customer Feedback on DIY Cabinet Painting

“I stopped keeping track…Started Sept 6th, finished Oct 12th. Took a lot longer to get technique and flow going, issues with daycare and when I could or could not do it due to family issues. Messed up a few pieces to redo.”

So what do you think the cost is?? I don’t have hard numbers for you. I have the cost we provided and time it takes us to do the job, which was above.

For me, I’m not having a kitchen tore up for over 5 weeks while it’s being painted. (my wife would really not be a fan of that!) This is just feedback from one person- it does not mean that you will have the same issues or take as long with DIY kitchen cabinet painting. So the $5,000 and 4 days is kind of nice from where I sit.

If you have questions about cabinet painting, let us know. We are here to help! Even if you decide to paint your cabinets yourself, we just want to help you love the space you’re in!

Painting Cabinet Hardware

If you are like us, we needed to update our kitchen after moving in to our new home. After issues with the roof, electrical, plumbing and floors, the kitchen was going to be killed or scaled back. We chose to scale back, by painting the cabinets. The hardware and hinges however were BAD!! Due to their age we could not replace them, so instead we decided we would be painting cabinet hardware.

You can see the house as we saw it in our video series Huntley home makeover, shows what everything looks like before we started. Day 1- Day 10 is a decent progression of the cabinets and cabinet hinges being painted.

Can I paint my cabinet hardware?

Before setting out to repaint your hardware, here are a few things to consider:

  • Do the cabinet hinges still work?
  • Can you remove the hinges?
  • Do you want to see them anymore?
  • Do you have a place to paint them?

If the hinges don’t work then don’t paint them; paint will not fix them. It sounds like that would make sense but we have had people ask us this question.

You have to be able to remove them as well, because they will need to be cleaned, scuff sanded, and ideally sprayed with bonding primer and top coat.

painting cabinet hardware
before and after painted cabinet handles
painting cabinet hinges - paint over cabinet hinges
before and after painting cabinet hinges

So if the hinges can be cleaned, removed, and they work, then yes, you can paint your cabinet hardware.

Clean your cabinet hardware before anything else!

As we set out to just get by with what we have but improve the look of our kitchen, painitng cabinet hardware was the best option for us.
Once the hardware was removed, we had to do several things: wash our hands because they were so gross and disgusting with grease, grime… YUKKKK!!

The screws did overall come out- but they were in very bad shape. They were made of old brass which meant we had to get new screws to put everything back.

To clean the hardware we used a finger/nail cleaning scrub brush and heavy concentration of Dawn dish soap. Daphne set out on this venture and it took her several buckets and about 4 hours to scrub away the grime so we had a good clean surface to paint.

How to paint your hardware

Once you have all the items you want to paint, and the items are completely dry, you can set out to start painting cabinet hardware!

We started with Rustoleum Rust Reformer. This is a primer that seals rust, so it won’t keep rusting and it won’t bleed or come right though the paint again. This primer takes a good 12-24 hours to dry. It comes in several colors, so pick one of them- black, white or orange/red, that is close to the color you are painting.

When the primer is dry, then you can start painting!! We used a gloss white for the hinges and a hammered metal for the handles. (the handles already have that style of metal so it makes sense)

The white gloss, if you read the instructions, says to keep about 1-12 inches away from the surface and use light coats, we had to use 3 coats. They have to dry completely before new coats which if you use the fast dry still takes 4-6 hours. So this nothing you will do in 1 hour.

We hope this helps you with your home remodeling and or kitchen updates. It is not for everyone, we know, but we are just hoping it can help those in that need it. If you have any questions about painting cabinet hardware and hinges or general painting kitchen cabinet questions, please let me know!

Painting MDF Veneer Cabinets

So you bought a home that has older kitchen cabinets like I did. They are an oak veneer, have MDF cores, they are heavy and look old. You want to replace them but it is not in the budget because windows, floors, roof, and bathrooms need work more than your cabinets do. Then my friend, you’re in the same boat as I was in. You’re stuck painting your MDF veneer cabinets.

painting mdf cabinets - painted veneer cabinets
image of oak veneer cabinets with a coat of primer on them

Painting MDF cabinets is not all bad. They are solid and they were made better than some of the cabinets today. The hinges are usually pretty sound as well. Let’s dive in…

Can I paint my MDF cabinets?

The answer is always going to be…maybe. Really you can paint almost anything but should you is a completely different conversation. Let’s start with a few questions..

  • Do your MDF cabinets have water damage?
  • Are the hinges working or are they falling apart?
  • When you look at the cabinets are they in good shape? Not falling apart?
  • Can you stand them?

Let’s go through these one by one. If your cabinets have water damage they may not be fixable. You can check out a YouTube video we did on fixing damaged MDF cabinets.

If the hardware and cabinets themselves are in good working order, then you should be ok to paint them. On the other hand, if they are broken, falling apart, or damaged then you may have an issue with old hardware you can’t replace.

Lastly, do you want them? If you hate these things, then honestly, just find a plan B , because the money you spend will be wasted. There is only so much lipstick you can use.

Problems with painting veneer cabinets

If you are not aware, veneer is a very thin piece of wood, maybe as thin as the cardboard of a cereal box, maybe thinner. It is glued to MDF so it looks like real wood. The problem is that it is not real wood. It is all kinds of fillers, glue, paper, sawdust that is compressed and glued together to make something that looks and acts like wood.

MDF, depending on where it is made, is very susceptible to wood damage. Water makes it swell up and that is very difficult to fix. The water exposure also makes the MDF weak in those areas. These areas tend to break, peel or crumble.

We have been able to fix areas in the past, but some damage is too much for us to fix. You can see two videos we did on painting MDF and veneer cabinets also..

How long will painted MDF or painted Veneer last?

When we are painting cabinets that are veneer/MDF, we prepare them just as we do a solid wood cabinet. We use the same products as far as primer and paint. With that being said, we expect them to last 5-10 years. All the prep in the world cannot affect poor quality materials. The MDF will keep fading over time. For our kitchen, we are repainting the hinges and handles that the cabinets already had, (lipstick on a pig) and hoping we can get 3 years out of them until we have the budget for the kitchen remodel.

The house we are in right now that we are moving from, has the same type of cabinets except they are plywood and MDF. We painted them 8 years ago for the 2nd time, 15 years ago total. They are solid, they are not showing signs of wear and tear and with some molding, new pocket hinges, these cabinet doors would look great. The problem is before we moved in they were changed so some are plywood some are oak, so the mismatch of wood grain is kind of hoaky.

Paint or replace MDF cabinets?

I cannot answer that for you, but I am just giving you options that you can save some money by painting kitchen cabinets and use the money for other areas that need more work and attention. If we say that painting your kitchen will cost you $4,500, then a new kitchen will cost about $20,000. And that does not include the time you lose in your kitchen when they tear it out, electrical work, plumbing, flooring repairs, and counter tops.

Painting cabinets is great option!! We have done it 3 times now in our own home. The next time we are replacing and getting a whole new kitchen, so stay tuned for our adventure with that! If you have any questions about painting MDF cabinets, let us know.

What Do I Do First in a Kitchen Remodel?

When we make appointments with our customers to paint their kitchen cabinets, the number one question we are asked is what should I do first: carpet, cabinets, counters, window treatments, new trim? Kind of a loaded question, as I don’t know what you’re getting done. But if you’re wondering what to do first in a kitchen remodel, let’s tackle this from the most extreme first. 

kitchen remodel - painting kitchen cabinets

I want new counter tops in my kitchen

So let’s start the kitchen remodel process as we see it from a painter’s perspective. People make the mistake of selecting a color based on paint chips they like. WRONG! The very first thing you need to figure out is what you are doing with your countertops.

If you are keeping your counter tops then move on to the next item. If you are changing them, then finding out if you want laminate, marble, quartz, or some other material is your first stop. This will be the most limited on availability and color. Everything else come from your counters, as it deals with color.

Should I get new floors during my kitchen remodel?

Now that you have the counter top selected, you need to figure out your floor. Are you keeping what you have? Can it be refinished? Do your cabinets have to be worked on to fix/refinish your floor? That is for a flooring guy to figure out but this is messy and time consuming. Get this done first!!

What about a backsplash?

Now that flooring is over, and you have a counter top. Take a sample of your counter to the tile store and select away. If you have a backsplash, coordinate this work with your counter person and tile person, as the wall may have to be cut out to change your tile.

Selecting colors to paint my kitchen cabinets

For us, the number one color for repainting kitchen cabinets is white. Grey is very common also, but second fiddle to white colors.

The color usually comes from the counter or the tile.

You can get large color samples from most paint stores now. Once you have a color, we can paint out a door sample to make sure it is what you want.

Other kitchen improvements to consider when painting your cabinets

Usually appliances are getting changed, but the items that are often overlooked is hardware. The hinges and the knobs or drawer pulls are something you should really consider having replaced. They can have a huge difference in the look, feel and function of your cabinets!

There is also plumbing; sinks or faucets. We have seen where existing cabinets have to be cut and fixed as the new sink must be altered to accommodate the sink.

I’m not sure if this short and sweet explanation helped or not, but knowing what to do first in a kitchen remodel can help getting the job done in a timely manner and avoid:

  • mistakes with sequencing
  • multiple trips to the various home improvement stores
  • doing things over
  • buying the wrong parts/items

If you have more questions let us know. We are more than happy to help you find ways to love the space you’re in!

painting oak cabinets with the grain
Painting oak cabinets and not filling the grain

You are here, I believe, because you are considering painting your oak cabinets. Like most of our customers, you have questions before beginning this project. We will do our best to answer the questions you have about painting your oak cabinets. But for today, it is all about painting oak cabinets and not filling the grain.

What is the difference between oak cabinets with the grain filled and without grain filled?

What a great question. It is all about appearance. Smooth vs. more grain. So let start with a few images..

here is a oak cabinet with the oak grain filled

oak cabinet painted white
here is a oak cabient with the oak grain filled

As you can see by the photos there is a huge difference. Which one you choose is completely up to you, it really is a matter of opinion and personal style. The difference we see is appearance. Preparation and materials are both the same, it is the steps we take to achieve each style that is difference.

Here is a video we did on oak doors painted with grain filled:

Here is the next video on cabinets we painted where there was no grain was filled

How to fill in the grain of oak cabients

We will skip the steps we use for cleaning as it really doesn’t matter for the purpose of this post. Let’s assume you have used the right cleaners to clean and scuff sand all of the doors and they are dry and ready for paint.

There are several ways you can fill in oak grain, some including grain fillers. This is the method we have decided works the best:

  • We use foam wooster mini roller to apply a heavy bodied primer such as Stix to apply the first coat of primer.
  • By using the mini foam roller, you can really work the primer into the nooks, grains etc. of the wood.
  • Adding a little water 10-15% seems to work best for us, as it helps the primer settle.
  • Once the primer is dry, we power sand smooth.
  • We then spray a second coat of primer, then again sand smooth by hand.
  • This process is priced for two coats, sometimes a customer will want even a smoother finish so we will poer sand the second coat or primer then spray a third coat of primer. The extra layer really flattens out the grain.
  • After cleaning off all the dust, then we are ready to apply a top coat.
stix bonding primer - painting oak cabinets
bonding primer

Painting cabinets to show the oak grain

Just like the previous section, we will skip the cleaning section here as well.

The process of painting with out filling in the grain is a bit simpler and quicker.

  • After the scuff and cleaning, the doors get their first coat of primer sprayed on.
  • Once the primer is dry, we do a quick hand sand to make sure the surface is smooth.
  • Then we apply the first coat of top coat.

Pretty easy and pretty quick too!

How can we help you with painting of your oak cabients?

I hope this helps with your decision. Painting oak cabinets and not filling the grain is actually a big decision. It is hard to change your mind once we start the paint process.

Here are some other oak cabinet painting articles we have done:

Will oak cabinets show grain when they are painted?

Can Oak Cabinets be Painted?

Painting Oak Cabinets White

Let us know if you have other questions about not just oak but other cabinet painting. We are here to help you love the space you’re in!

painting cherry cabinets white
Painting Dark Wood Cabinets White

Do you have dark stained wood cabinets?  Do you hate how they look?  Have you ever asked yourself “Can I paint my dark cabinets white?” (And YES! is the answer!!)

The kitchen is the number one place for you and your family to hang out. Like most of our customers, the kitchen gets the most attention. This attention is from you, your family, and your friends when they come over. But like so many people, the thought of replacing and remodeling the kitchen is too overwhelming, too costly, and too time-consuming. Not anymore.

Here is one of our YouTube videos we have posted a small movie clip that shows a cherry cabinet painted white. Read this blog article about how we are transforming kitchens, (painting them white) changing how you feel about your home, loving the space you’re in all over again!

If you are buying or selling a home, the kitchen is the number one room that can make or break the sale.

Here is our process for painting Dark Wood Cabinets White:

before and after painting dark wood cabinets white
This is the latest project we started

Dark Stained Wood Cabinets

Painting over these types of cabinets is a relatively painful process and we guide you all the way through it. I’ve painted the wooden cabinets in my own home so I know stressful how it sounds. For the past 10+ years, we have refined our process, found the best materials, and have the needed experience to make this remodeling easy for you.

1. Prep Work

We start with the prep work covering floors and countertops.

repairing cabinets - cabinet refinishing geneva
Cabinet Prep Before Painting
cabinet refinishing geneva - how much does it cost to paint cabinets
Protecting Counter Before Painting Cabinets

2. Clean Everything! Before you use Primer.

You are going to need few materials before beginning this process:

  • TSP or other cleaner
  • 220 grit sandpaper
  • Degreaser
  • Denatured alcohol
  • Scuff pads
  • Clean rags

As you see by the photo below we removed all the doors, this is an after photo of all the doors painted and primed.

Once all the doors are off, we clean the cabinet boxes. The cleaner the better. You do not want to have issues with grease dirt or oil contaminating the surface or bleeding through the primer. There are times that some grease and oil may not come out of the wood. When this happens then it is time to use a oil-based spot primer.

One thing that people forget is to caulk the gaps and fill nail holes. When cabinets are dark wood, they usually have all of the gaps left open and all the nail holes left as well. So once we prime, all the black lines and holes show up. So we fill these areas to make a clean surface.

We prime all the surfaces with bonding primer. The cabinet boxes and doors get a sand paper treatment (yes that means we sand then with a sander) to make sure you get an ultra-smooth surface.

prepping to paint kitchen cabinets - painting cabinets white
Here is a kitchen cabinet that is all masked off and ready for paint
painting kitchen cabinets - painting dark cabinets white
Cabinets all primed

3. All the items are Primed. Now paint!

When we remove the cabinet doors, they are taken off-site to our shop and we repeat the same process of cleaning them, sanding them degreasing- denatured alcohol, spot primer where needed before we begin painting.

We will actually hang the doors when we paint, and yes we always spray our doors!

painting kitchen cabinets white - glazed kitchen cabinets
We hang the doors to spray them. This one is getting glazed.

Once all the doors are painted we load them up and bring them back to your home.

The doors are all packed up and placed in foam sleeves to make sure they do not get banged up or damaged.

Every door and hinge that was removed has a specific number so they go back to where they came from.

Once they are installed, hardware is replaced, and final adjustments are made.

painting cherry cabinets
Cherry cabinets painted white

There you have it a brand new kitchen! Check out this video!

Call us at (847) 349-4112 with your questions and schedule an estimate on painting your kitchen cabinets! We are here to help you love the house you live in.

Book Your FREE Estimate
MM slash DD slash YYYY
This field is for validation purposes and should be left unchanged.
close

Your Free Estimate

To help home and businesses owners during this challenging time, we are offering free virtual estimates.

Fill out the form below and we will schedule a time for a free video call estimate.