


If you have some older furniture that you are tired of, bring new life to it by painting your old furniture!
You may have the same dresser you had as a kid and are just sick of it. Maybe you were given some older furniture pieces. In either case, you don’t have to look at buying new pieces of furniture if it still works. Consider painting your old furniture, update the hardware, because then it will look brand new!
Let’s take a look at one of our latest projects!
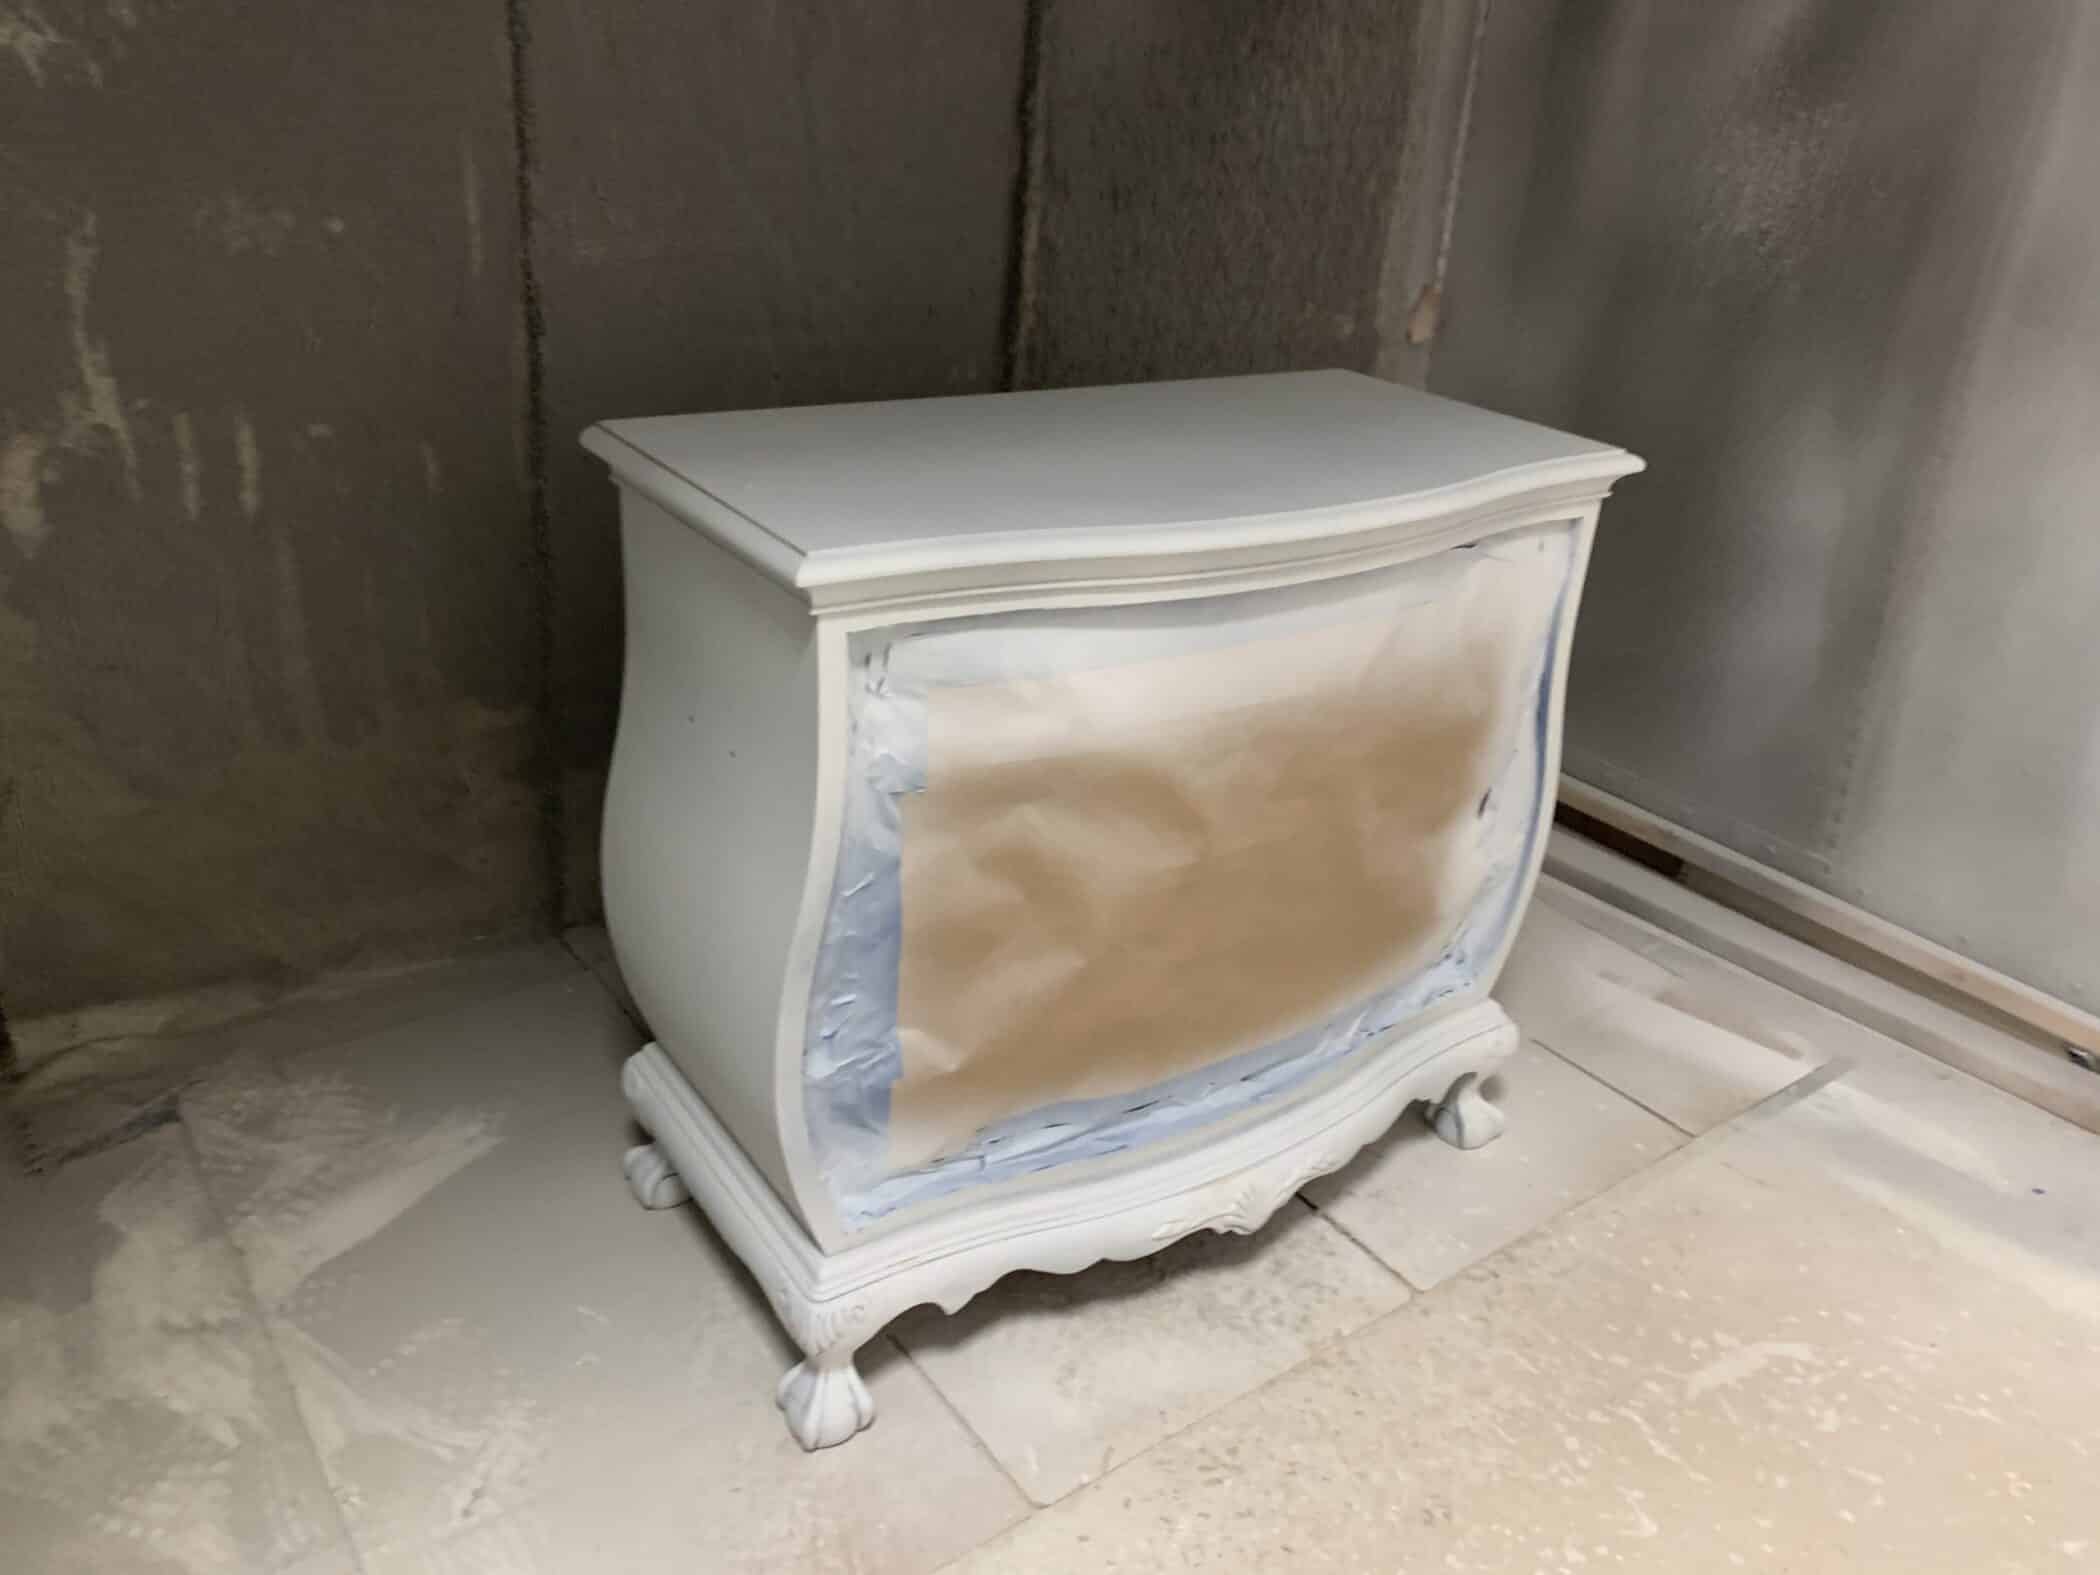
Existing furniture that needs a little TLC
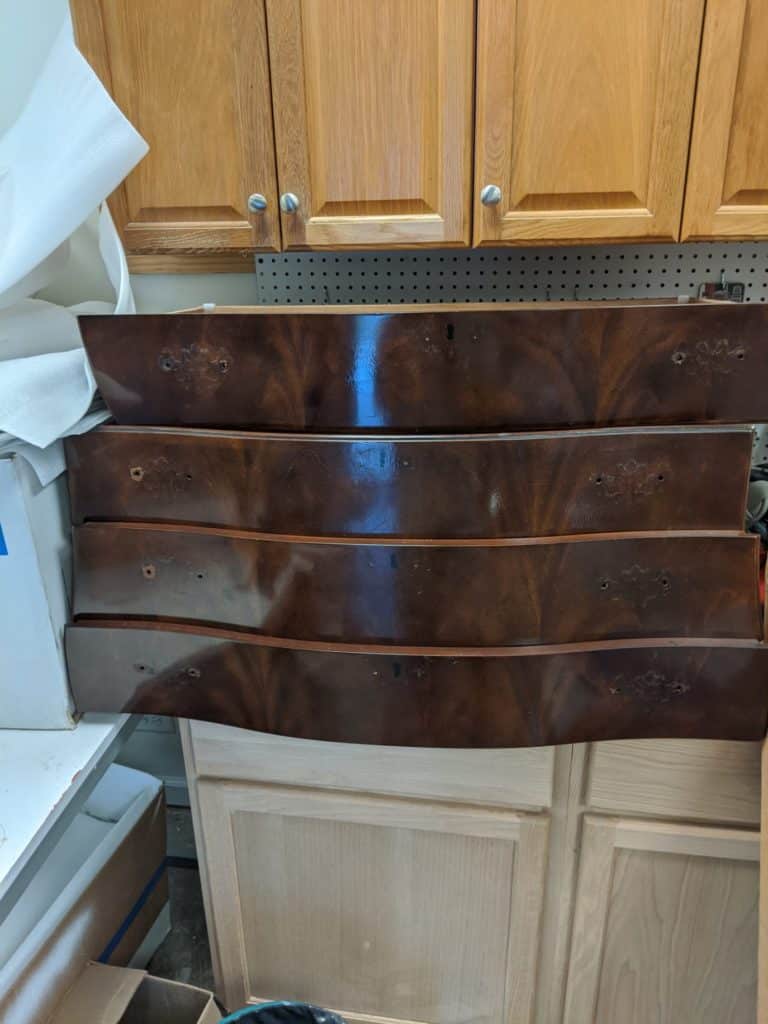
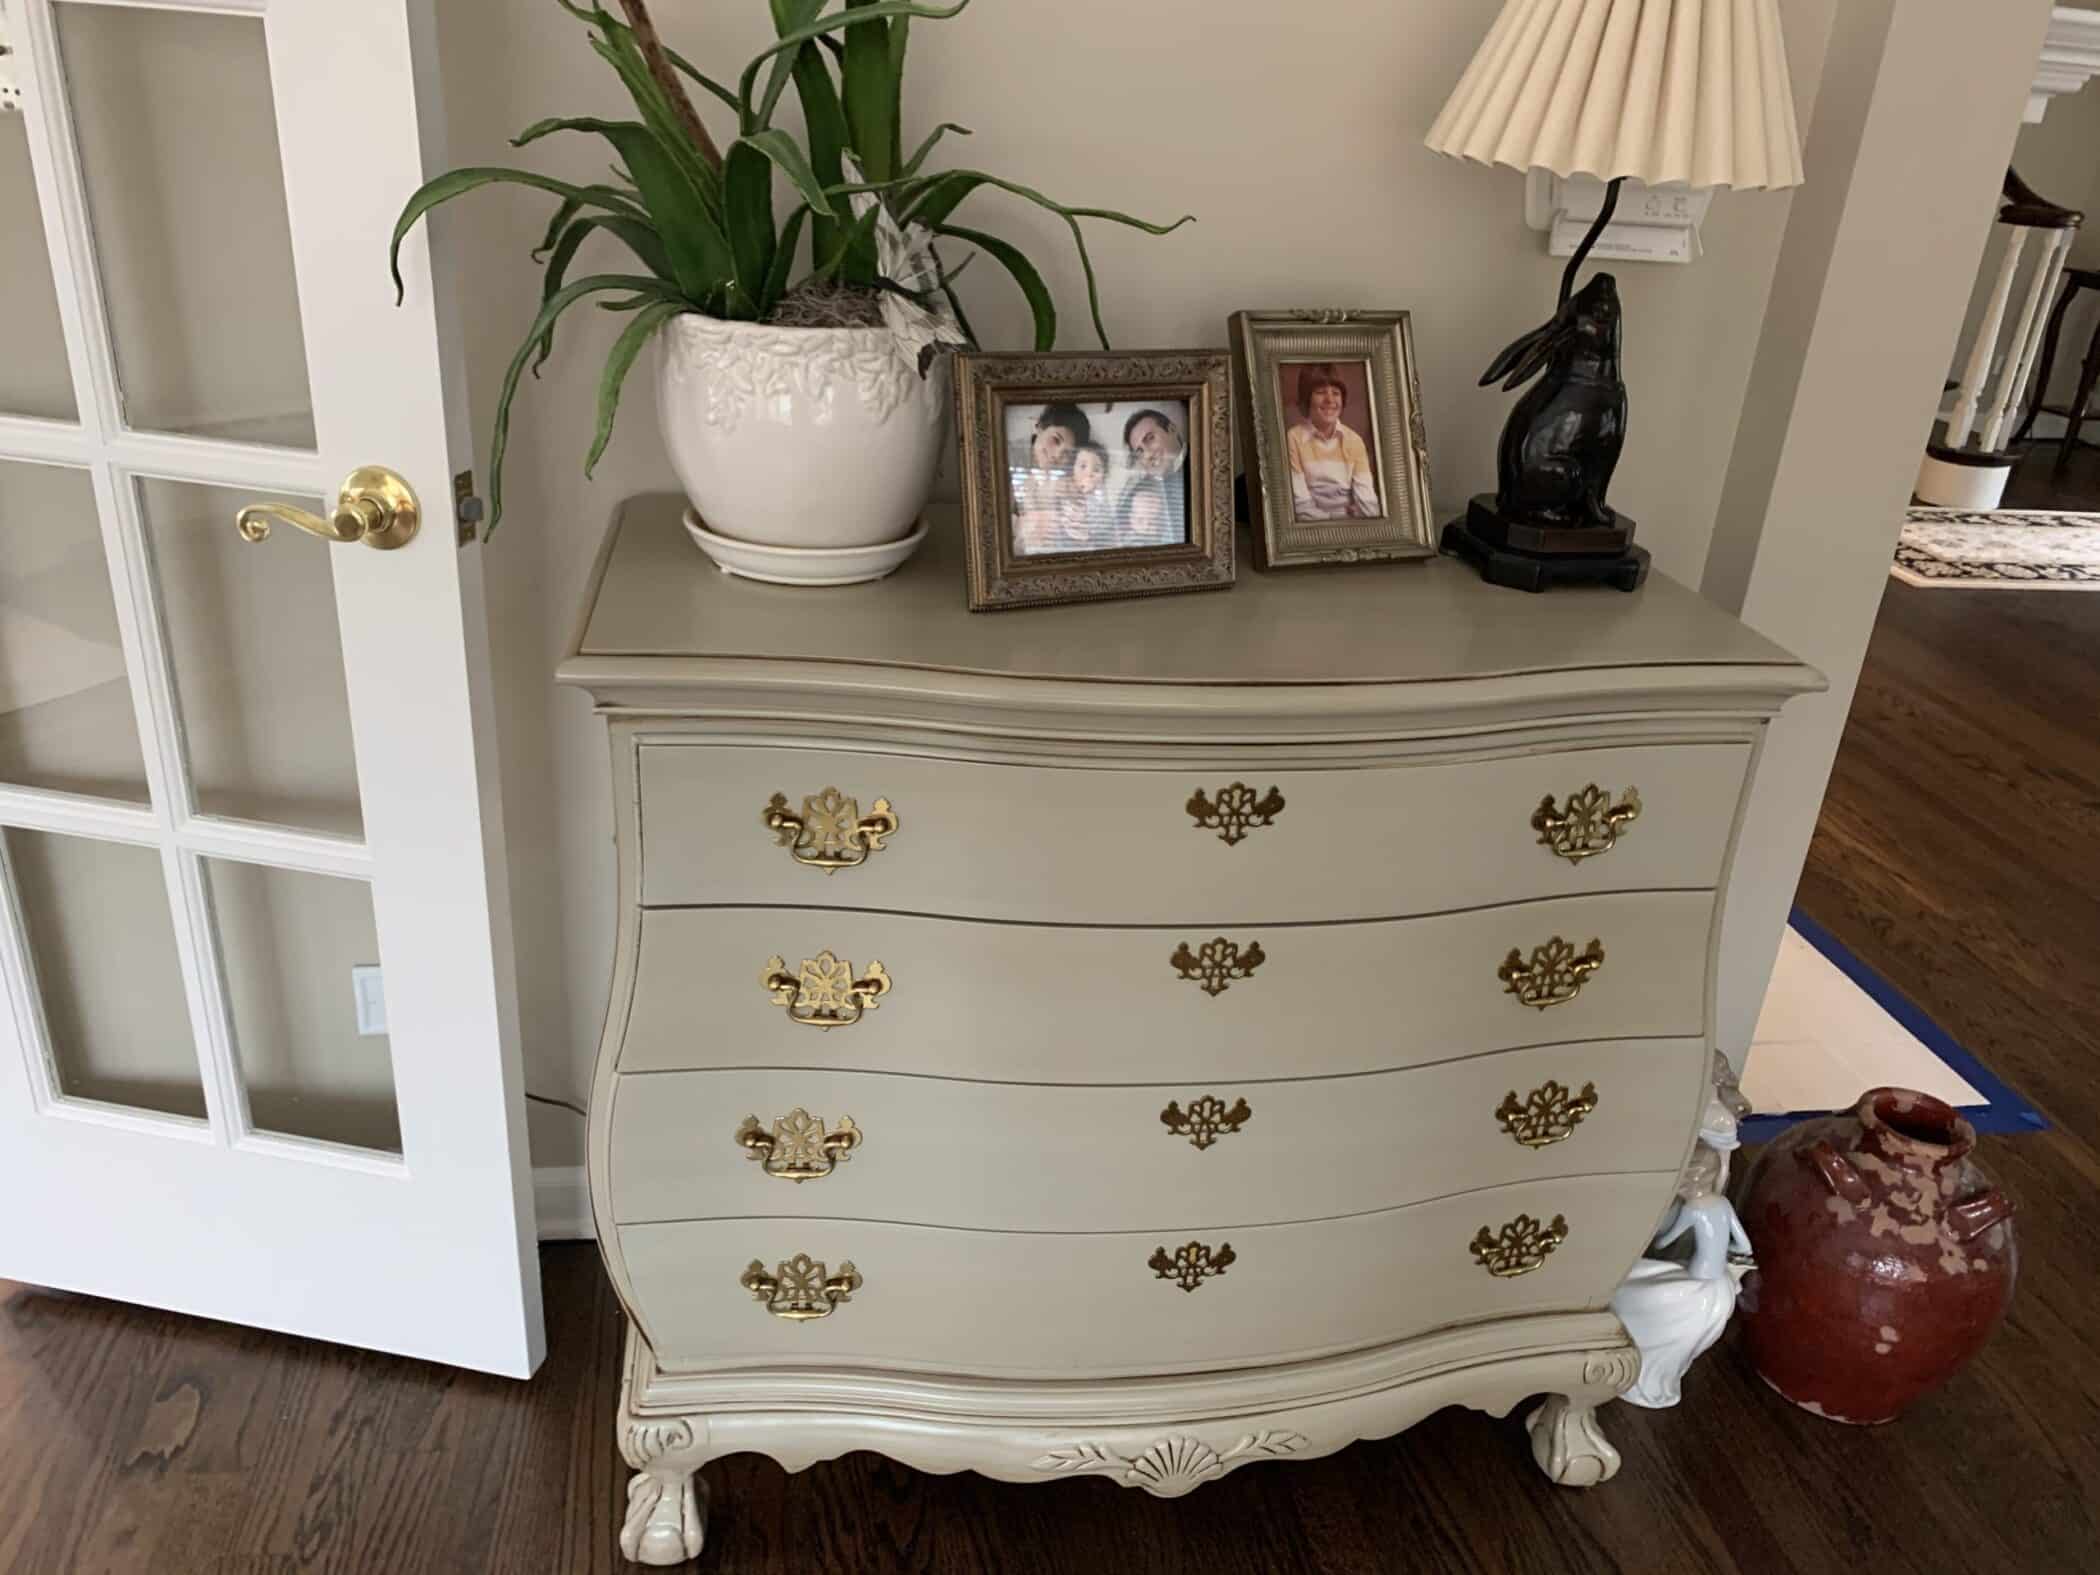
Here is a pic of an older dresser we were given to update to be used in a customer’s home. This furniture piece is in almost perfect condition. We just needed to get some hardware for it.
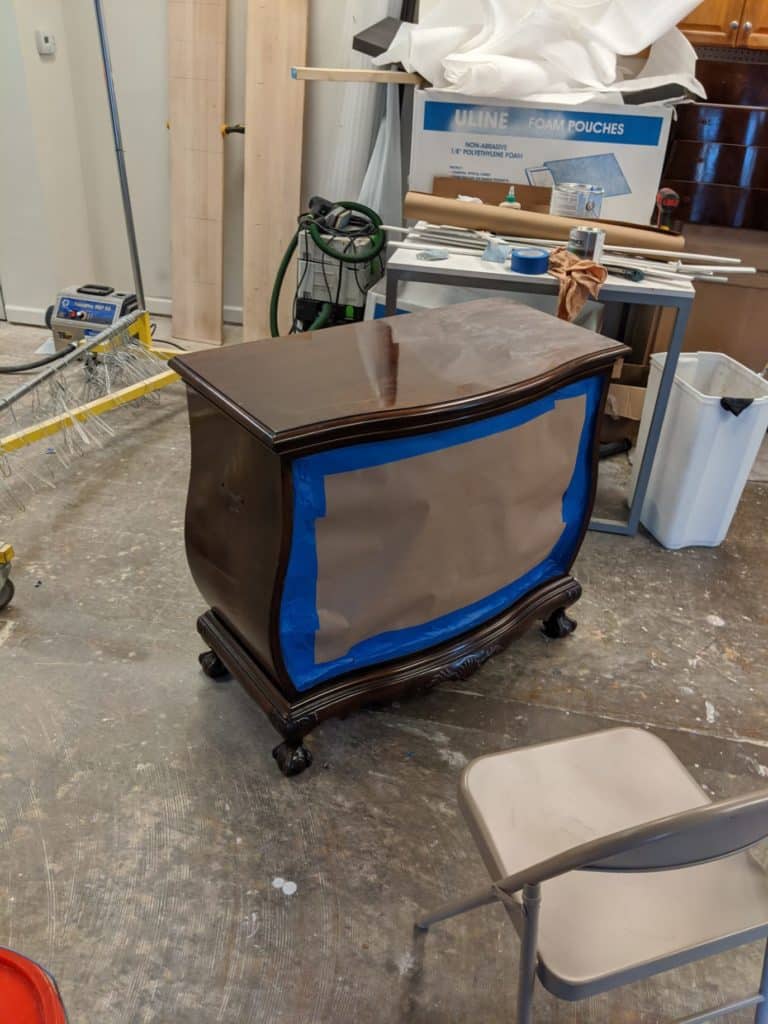
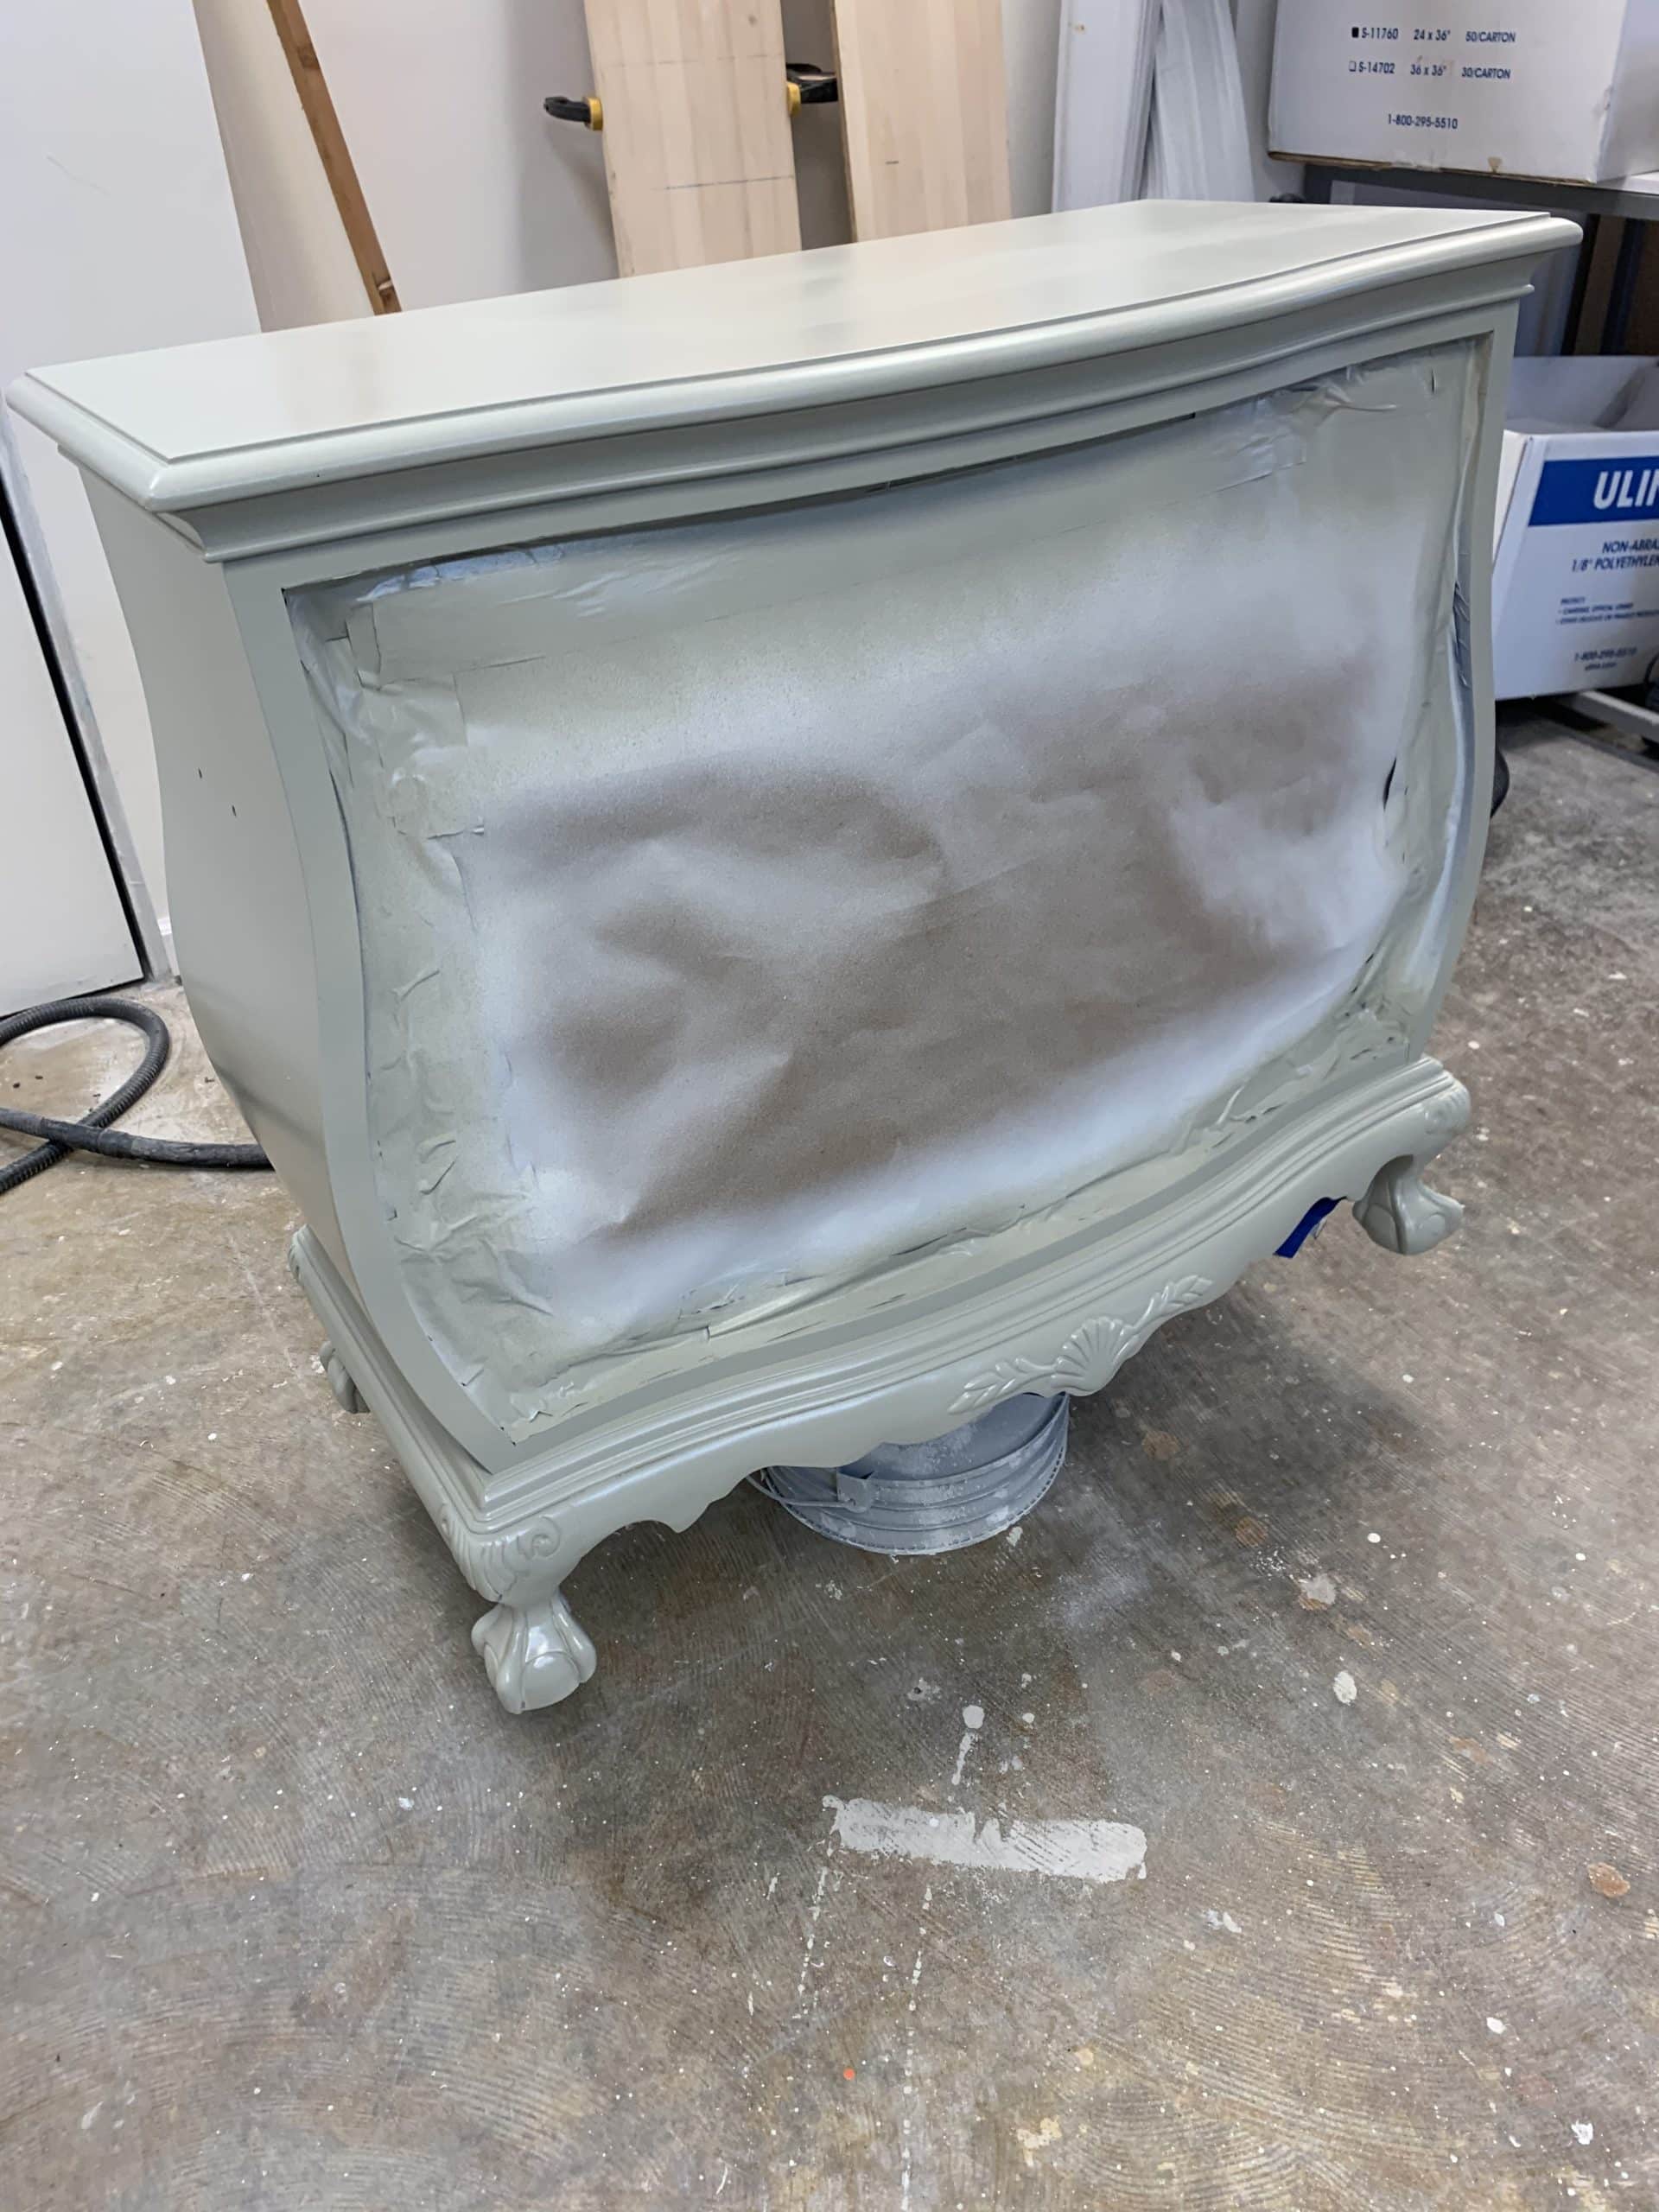
After finding the right color and deciding on the tone they wanted, we were off to the paint booth.
How to prep your furniture for paint
When we take on painting furniture we assume it is as dirty as kitchen cabinets. There will be cleaning products, oils from fingers, dust, pet hair, and dirt that is not seen with the naked eye.
Once we get to cleaning however, all the dirt is pretty nasty. We use a degreaser/deglosser as a cleaner, because it will remove finger prints, cleaning chemical residue and most dirt and grime from the surface of the furniture piece being painted.
After the piece has been cleaned, we will get it ready for primer. Just like cabinets we will use a bonding primer to start the painting process.
Once the primer is applied, I like to allow it to sit over night to make sure it dries and really bonds to the wood surface.
The next step is to scuff sand the furniture that was primed before applying any paint.
Applying paint to furniture
There are many type of paint that you can use for furniture. I stick with cabinet grade paint. For this piece we used ILVA 20 degree sheen tinted to SW6171 Chatroom as our base color.
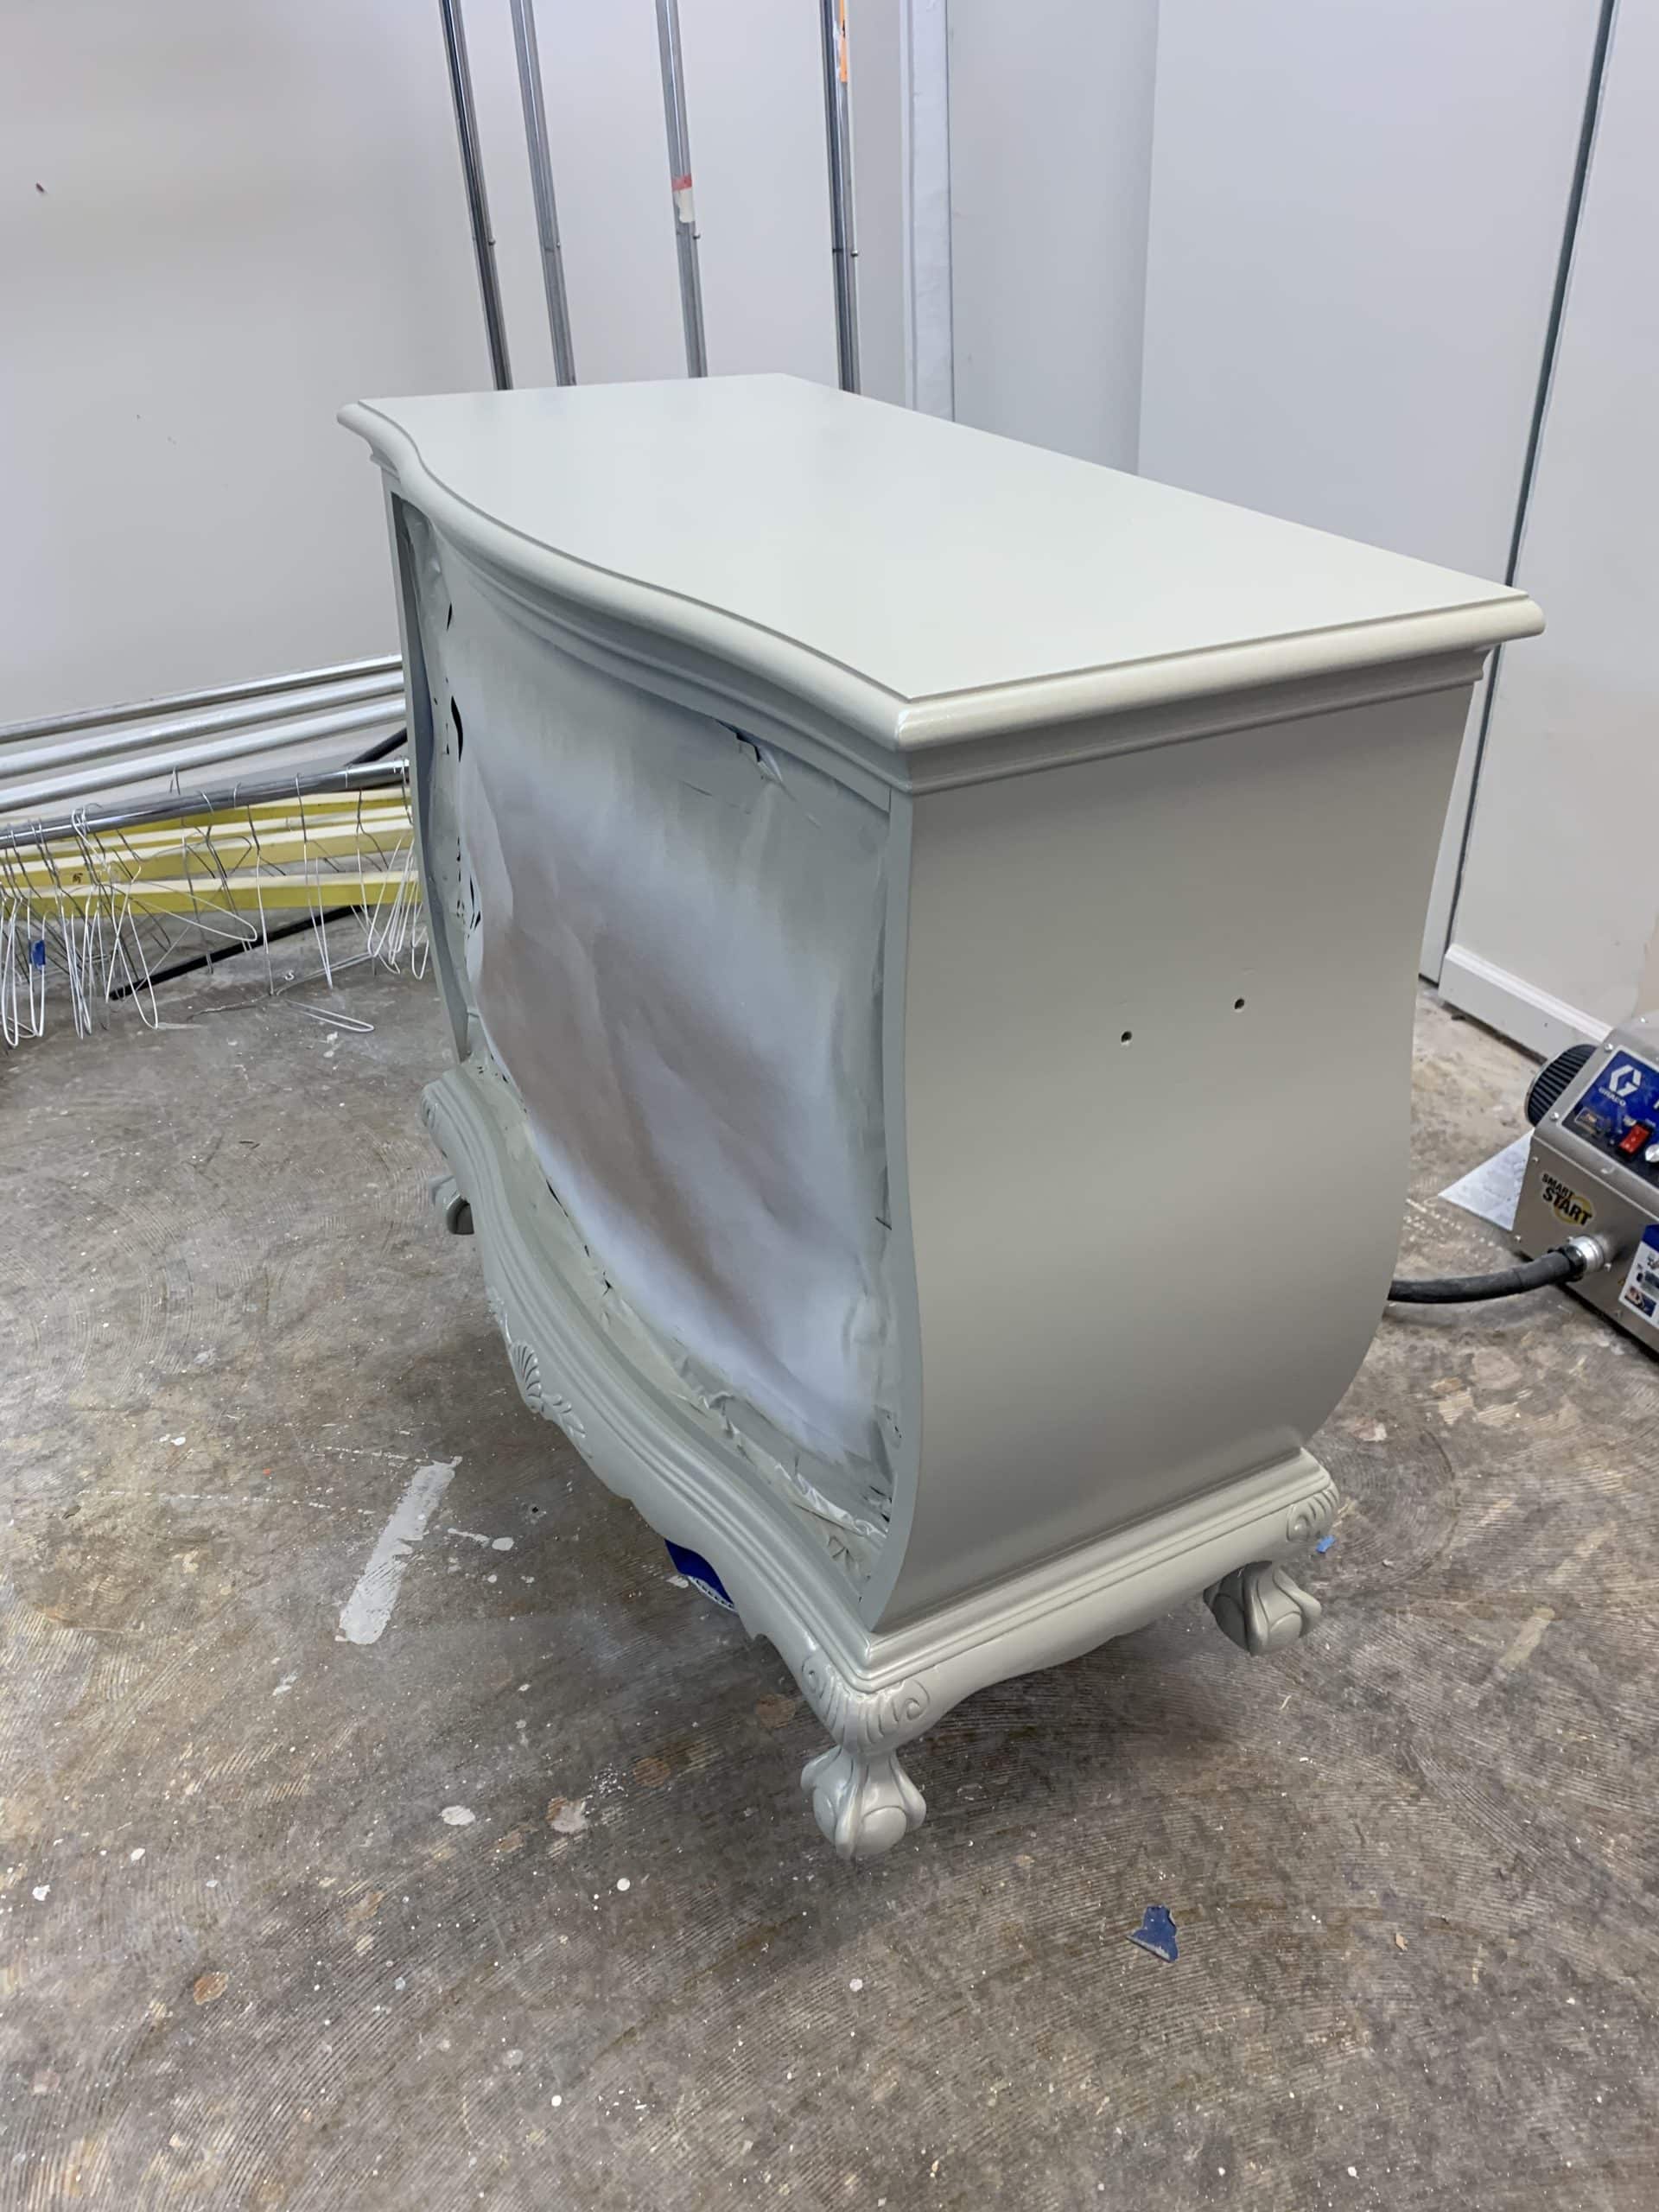
We have used different methods to paint furniture as well. I have rolled, I have brushed and even rubbed stain on before. My favorite is spray. That is my preference. It is nice because the materials we use is the same being used by furniture and cabinet makers, so it will last.
Now once you paint, you can say, “I’m done” and it will be fine. In this project, we decided to glaze.
What is glazing on furniture
A glaze is a stain, watered down tint or clear extended solid body clear finishes. It can be tinted to almost any color, diluted to deep base or light tint. Also, it can be sprayed, rolled, brushed, ragged, splattered, or any number of 10 other ways you can think of to get it on the furniture. It is something to play with!
For us, we brushed it on. Then, we used a stain pad applicator to remove the glaze until we had a soft tone. FUNNNN!
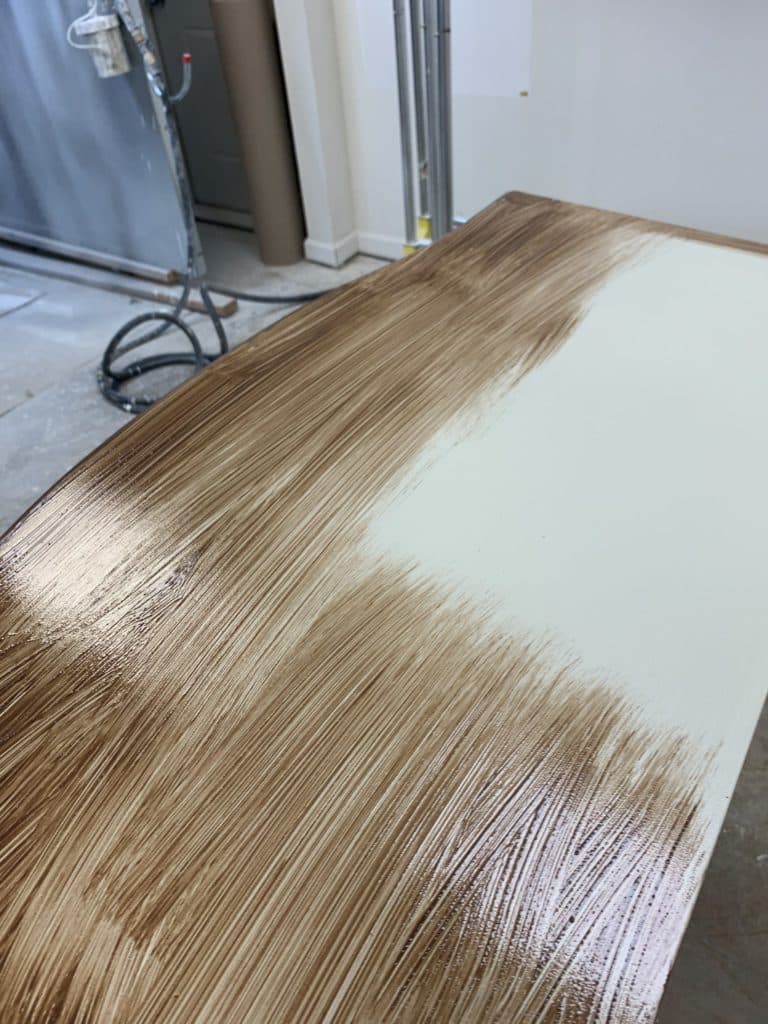
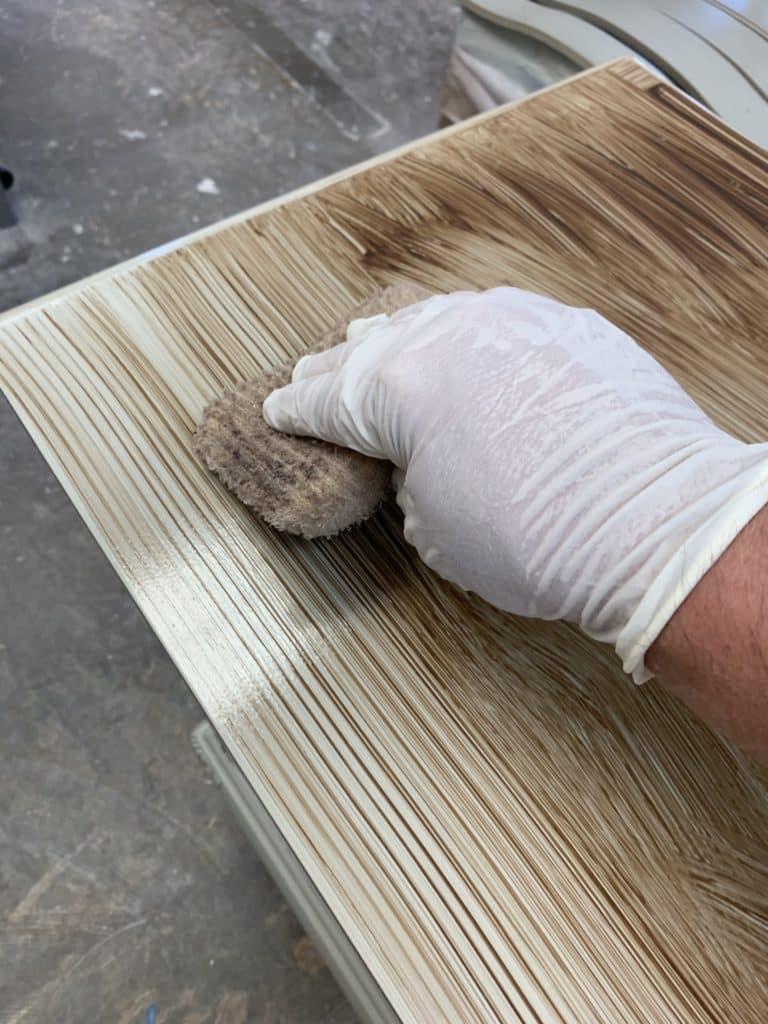

As you apply the glaze you MUST test this on a scrap piece of painted wood, because you need to know how fast it will dry. Also, if and how it will grab into the paint. Or will it just sit there ready to be removed? In any case that paint needs to be fully dry or the glaze will immediately bit into the paint and now you will have tinted the paint- it will never come off.
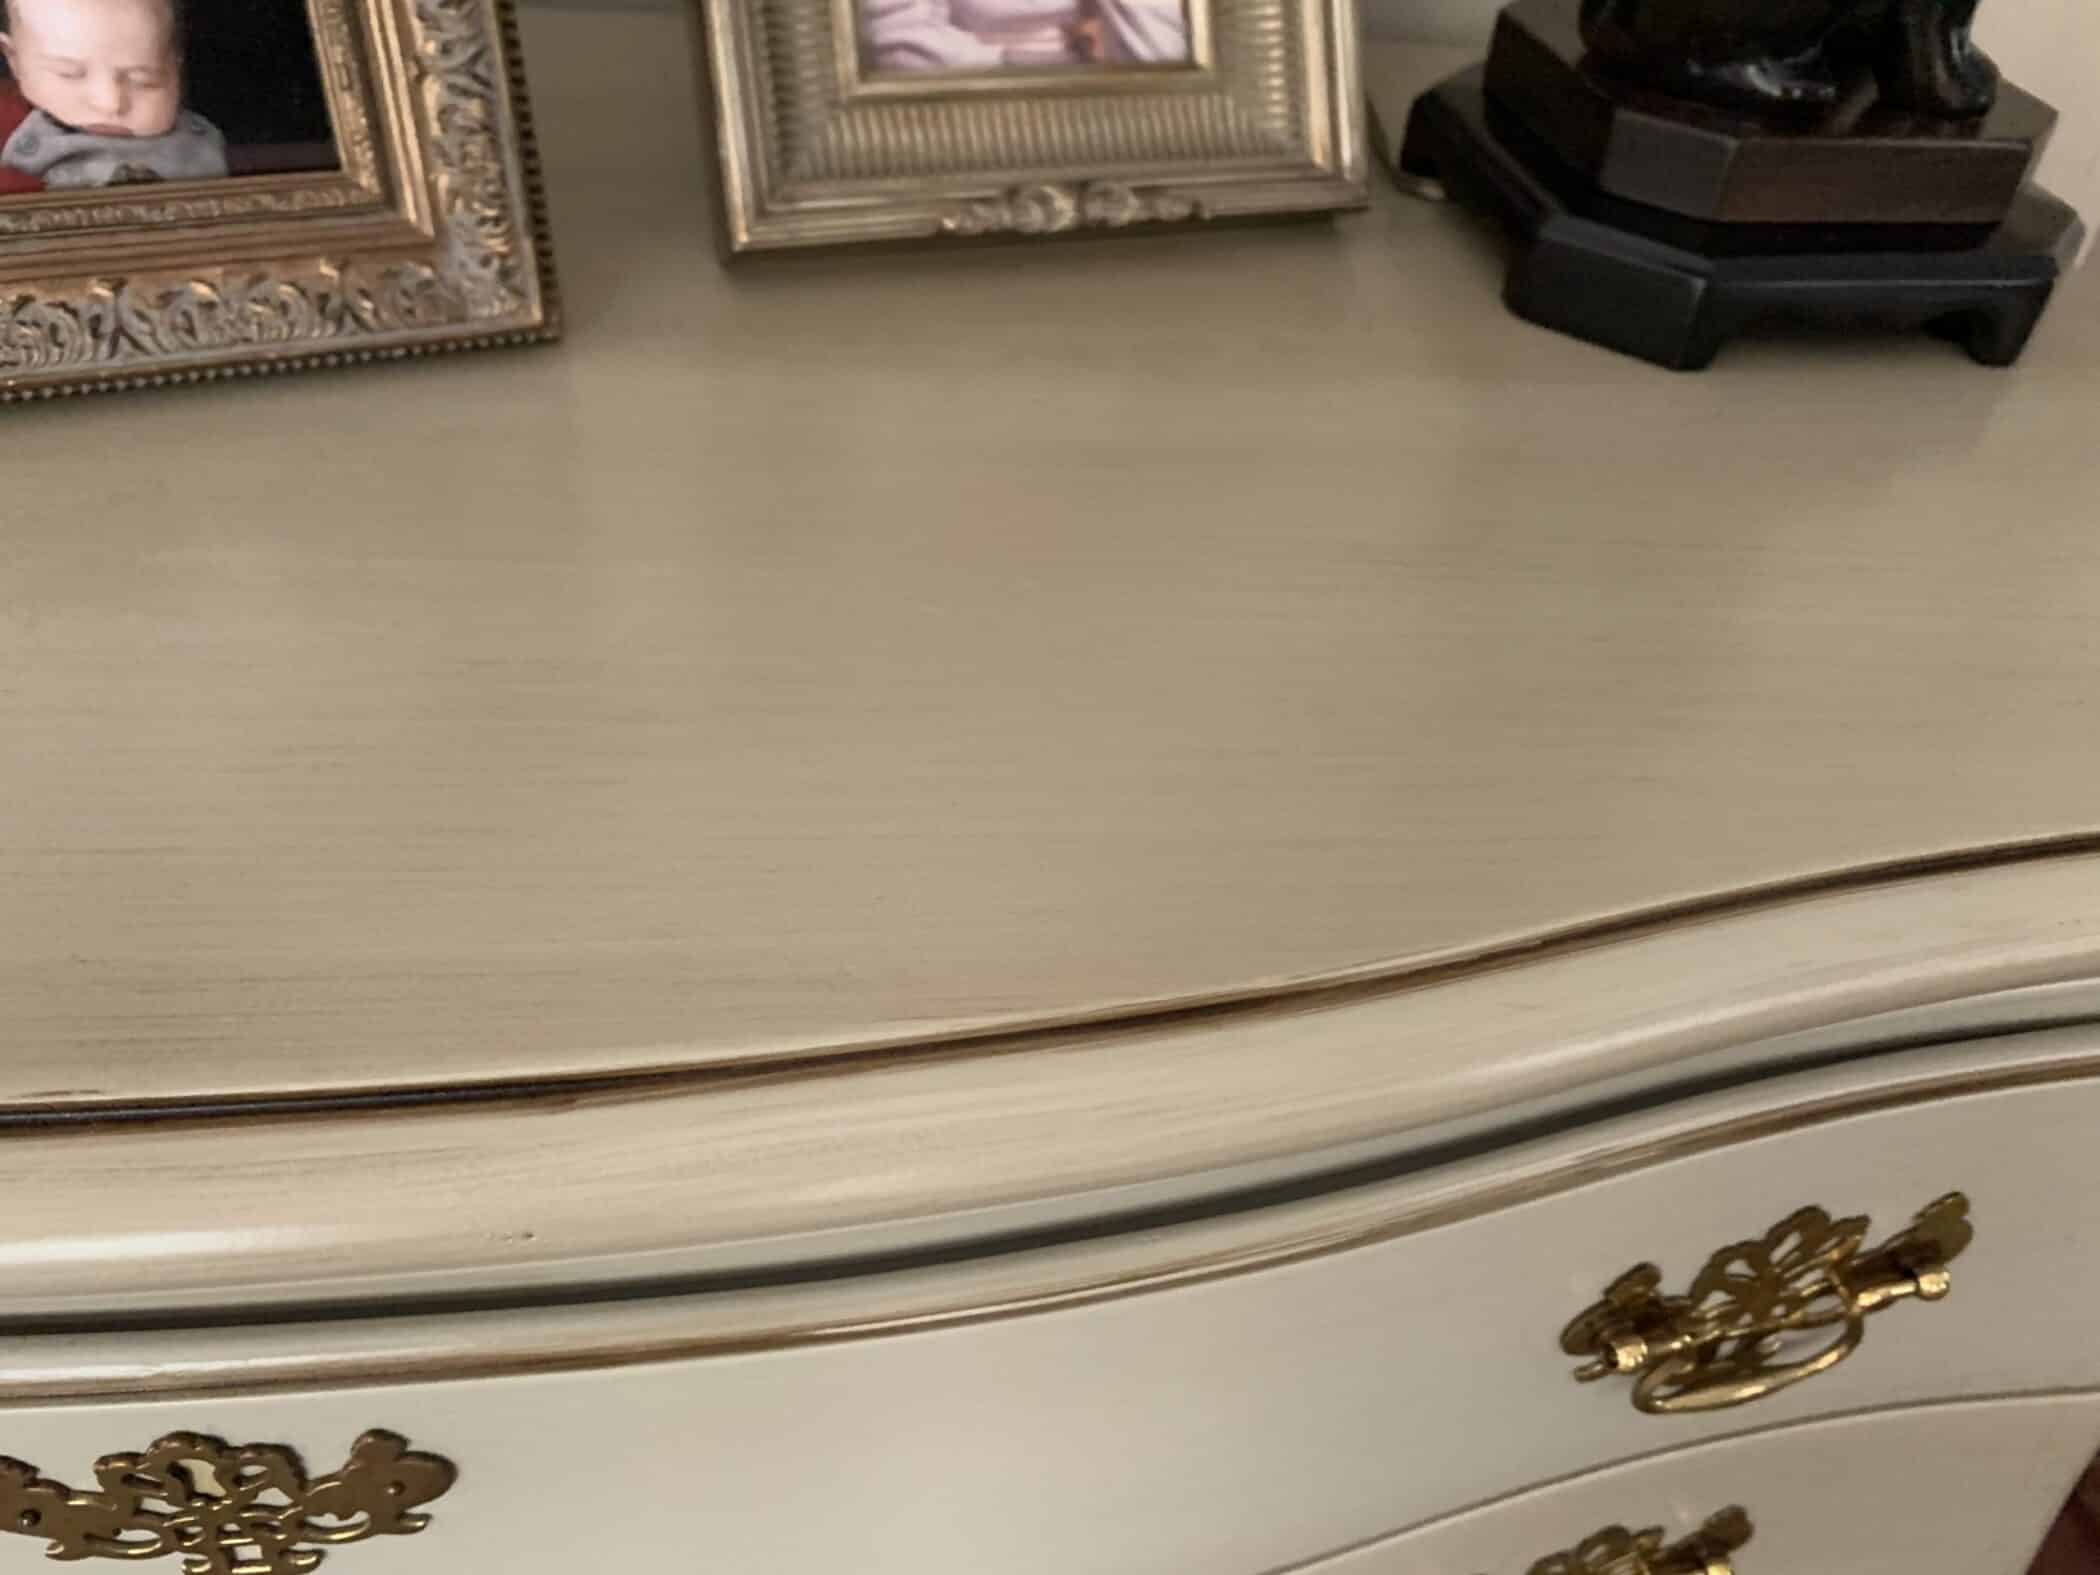
Get the tint into the nooks and crannies then remove it like we did to create the antique- reveal that was done with this piece.
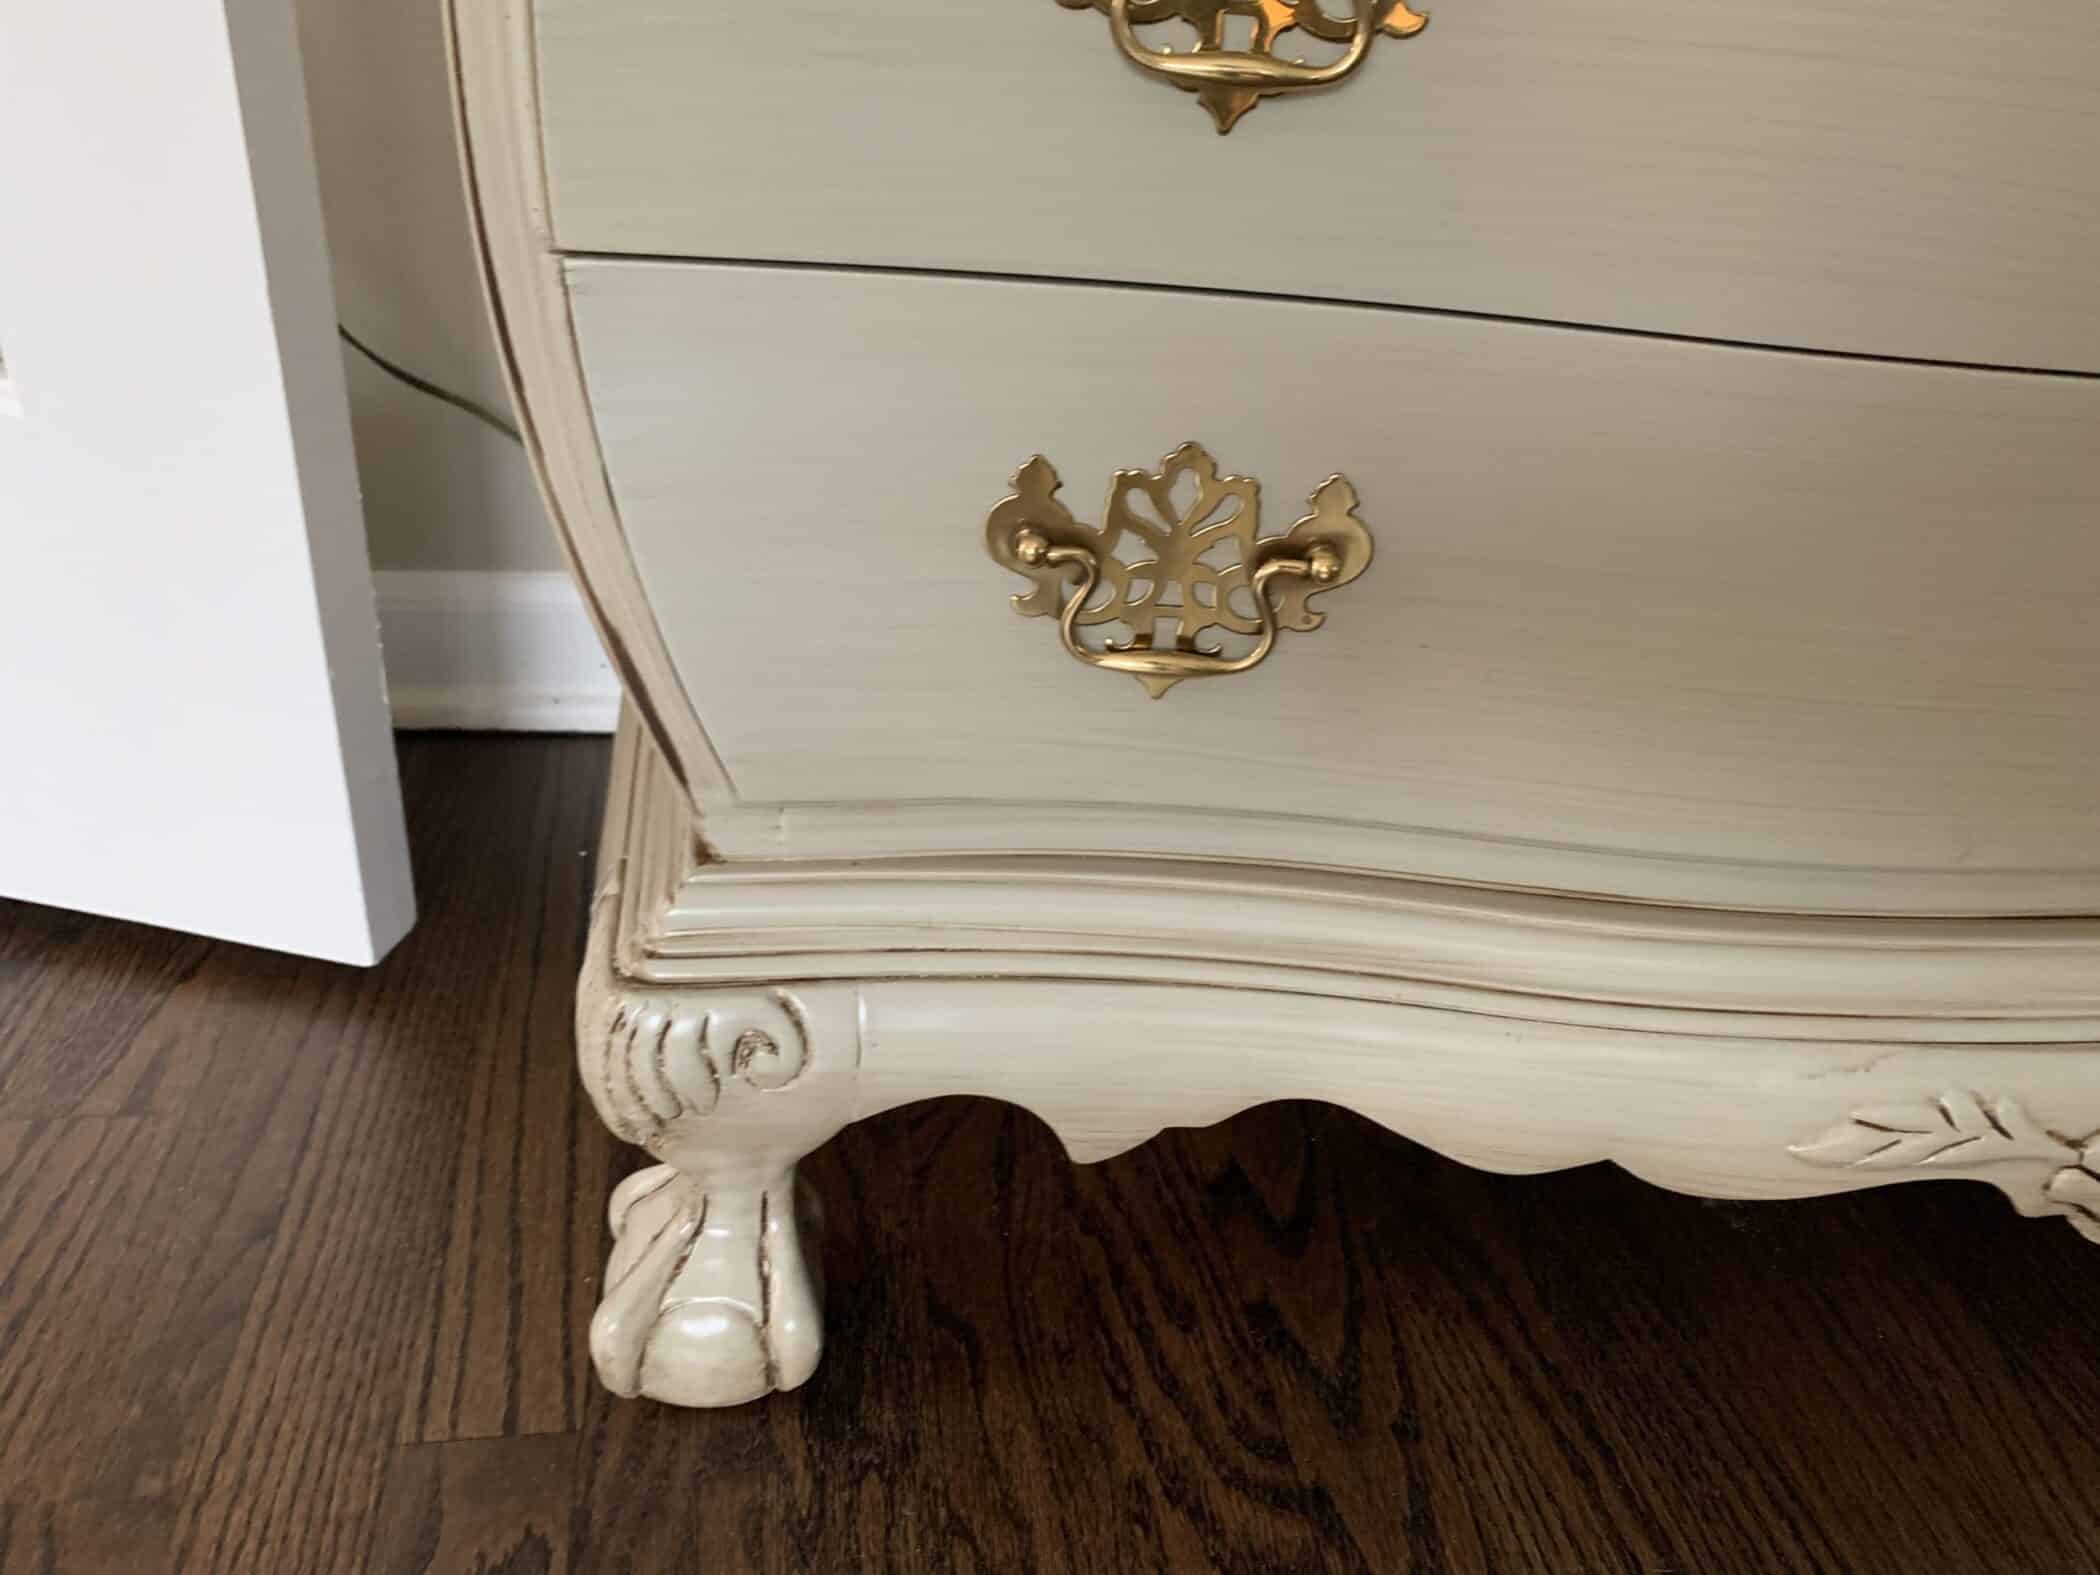
Add new hardware to your painted furniture
As you can see by the photos we found hardware that was more characteristic of this piece of furniture. You can do whatever you want! Have fun! There are so many options for hardware it is not even funny.
Enjoy the process and have fun!