

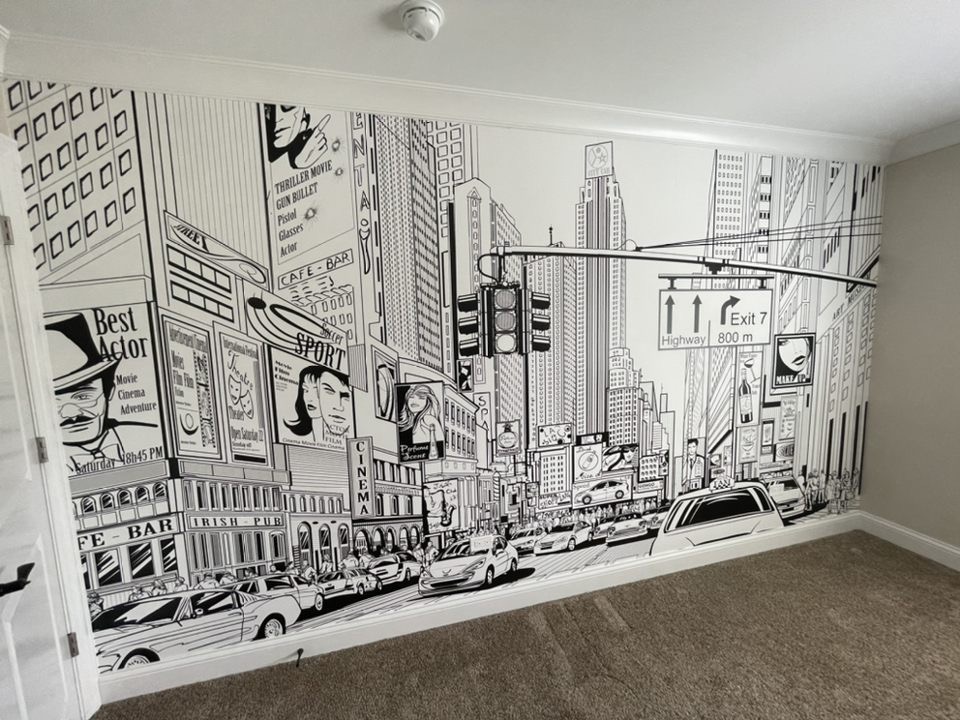

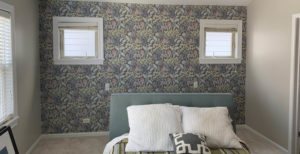

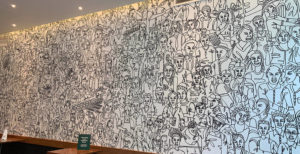


If you are going to have wallpaper installed, or if you are going to tackle it yourself, then you must make sure that your walls are prepared for wallpaper.
I hope you are doing well today! With all the blog posts we write regarding wallpaper, I see that I have never written a blog post on How to Prepare a Wall for Wallpaper. Today, we are giving you some things to look at, pay attention to and some products for wallpaper preparation.
What do your walls look like?
Here is a quick list of what you need to look at:
- Do you have drywall, plaster or cement walls?
- Are there any holes that need to be repaired?
- When was the last time the walls were painted?
- Can you see other spots on the walls from previous wall repairs?
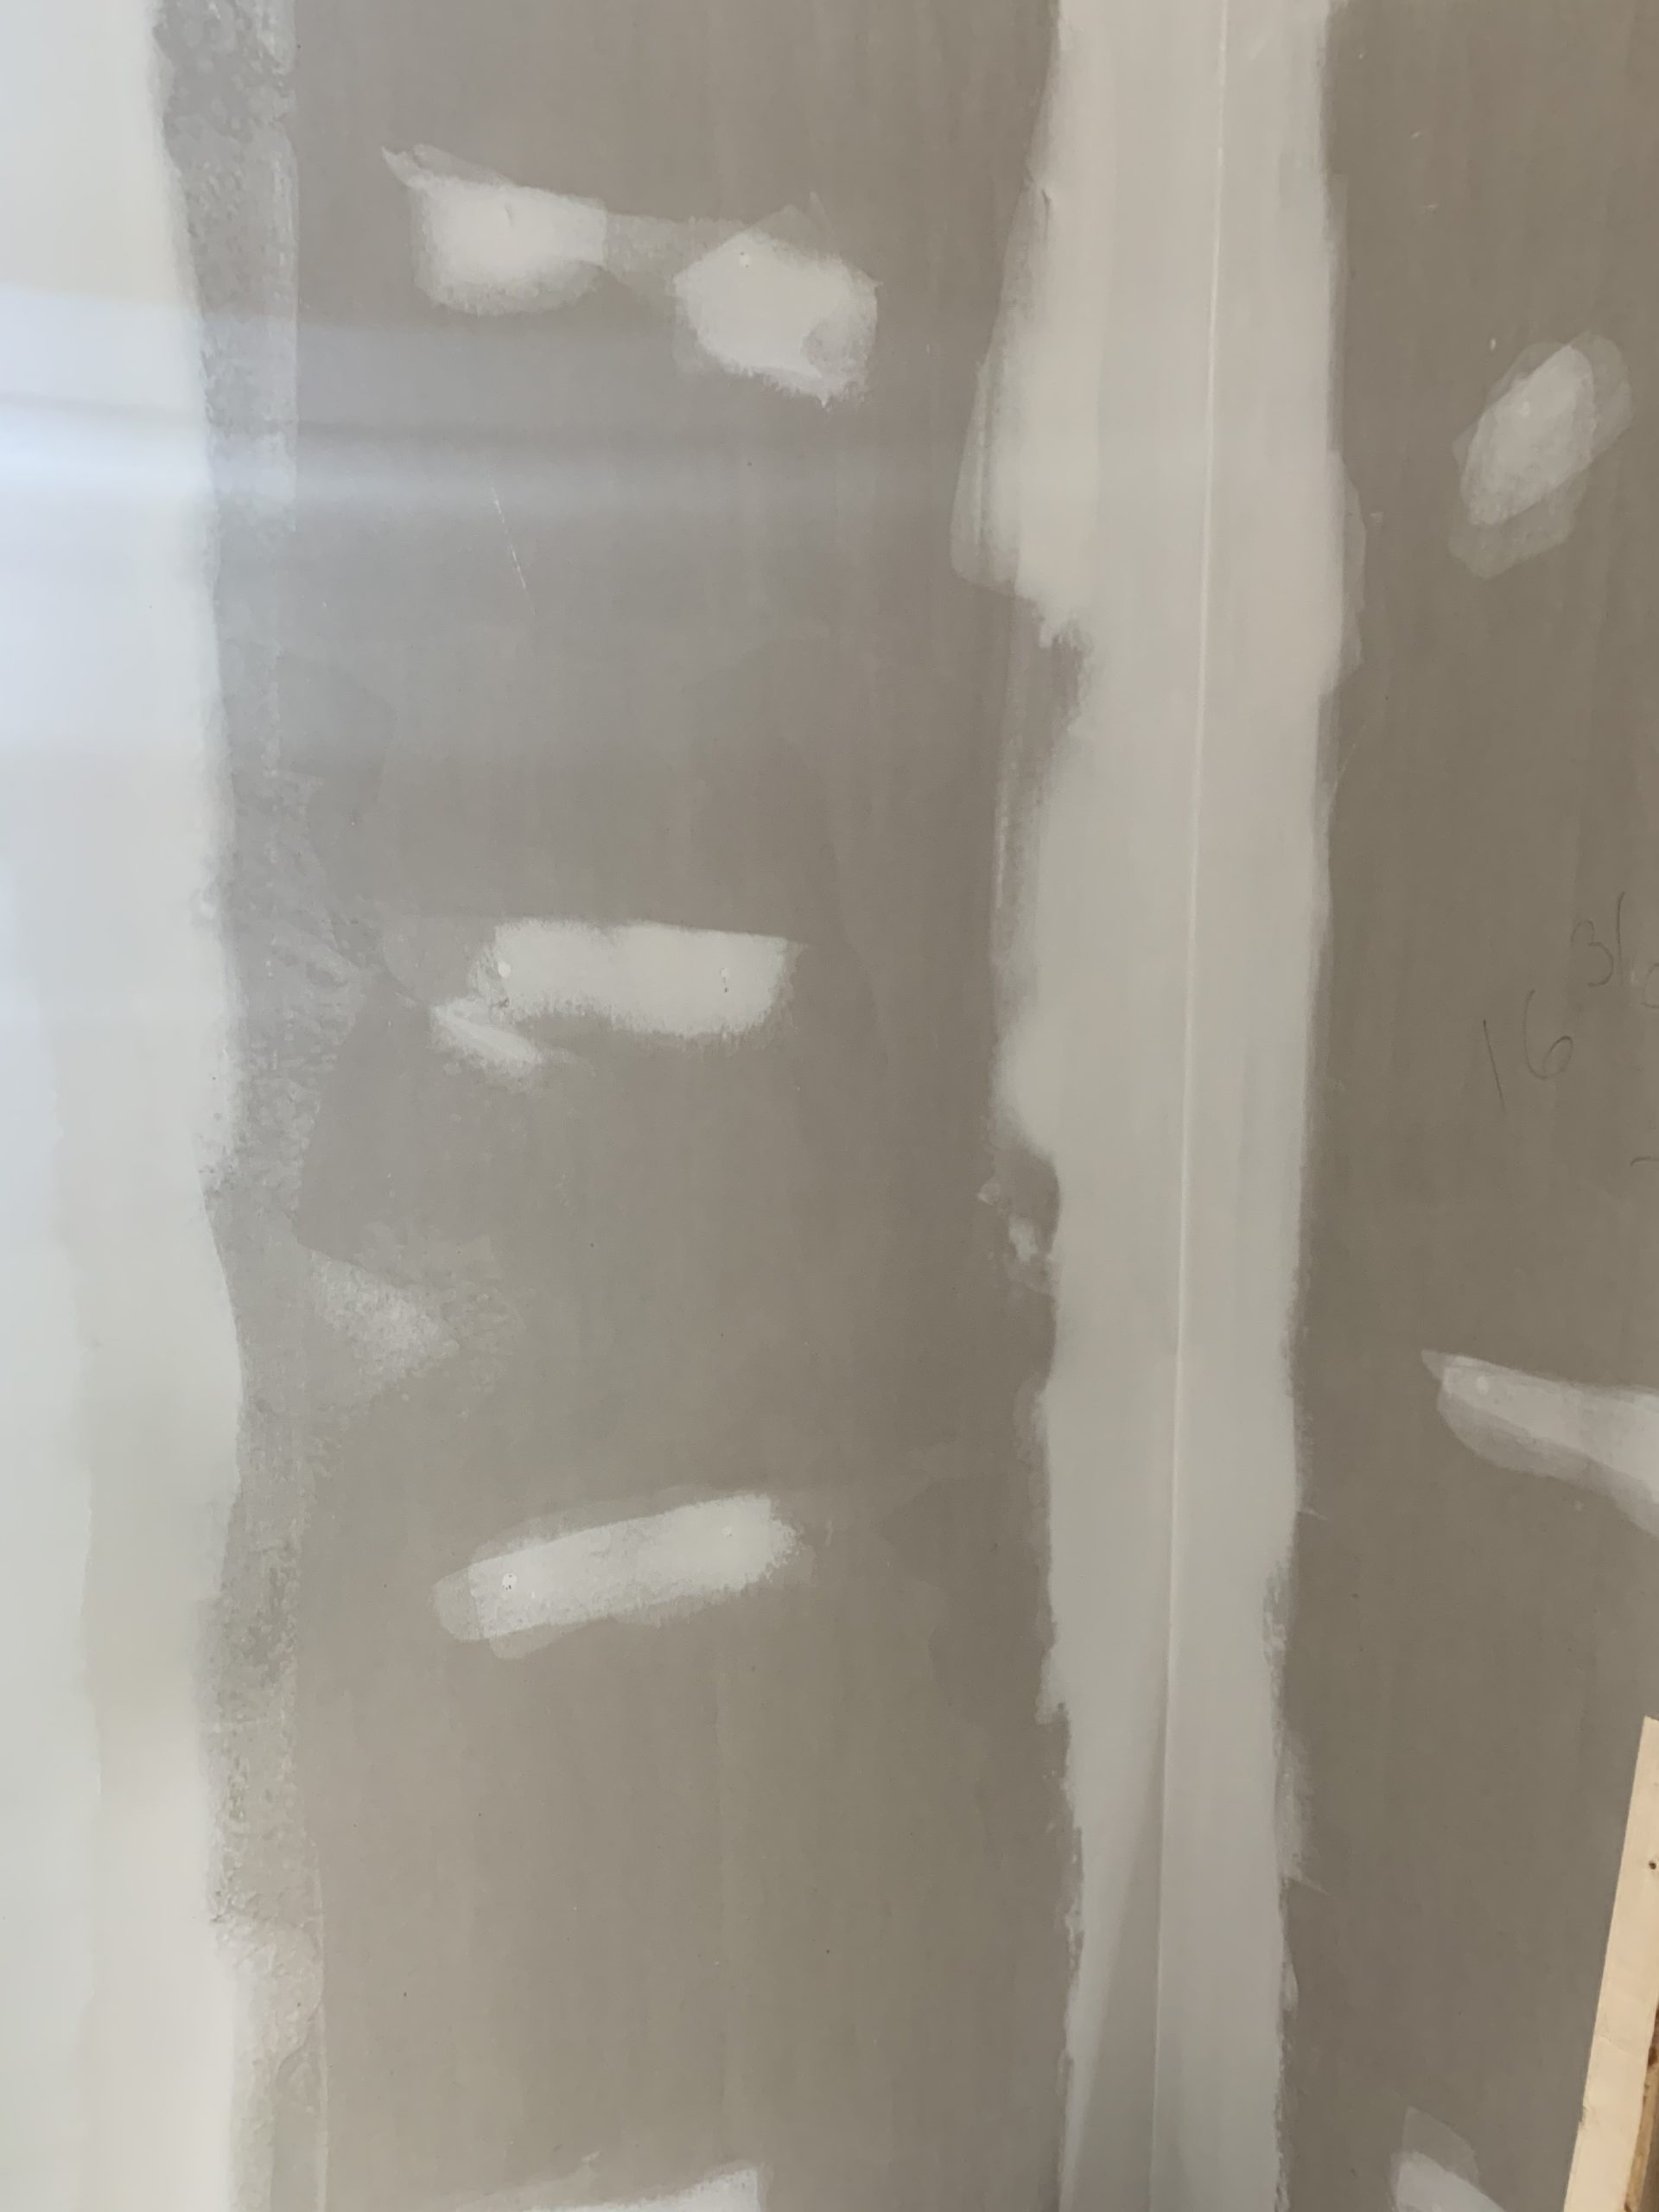
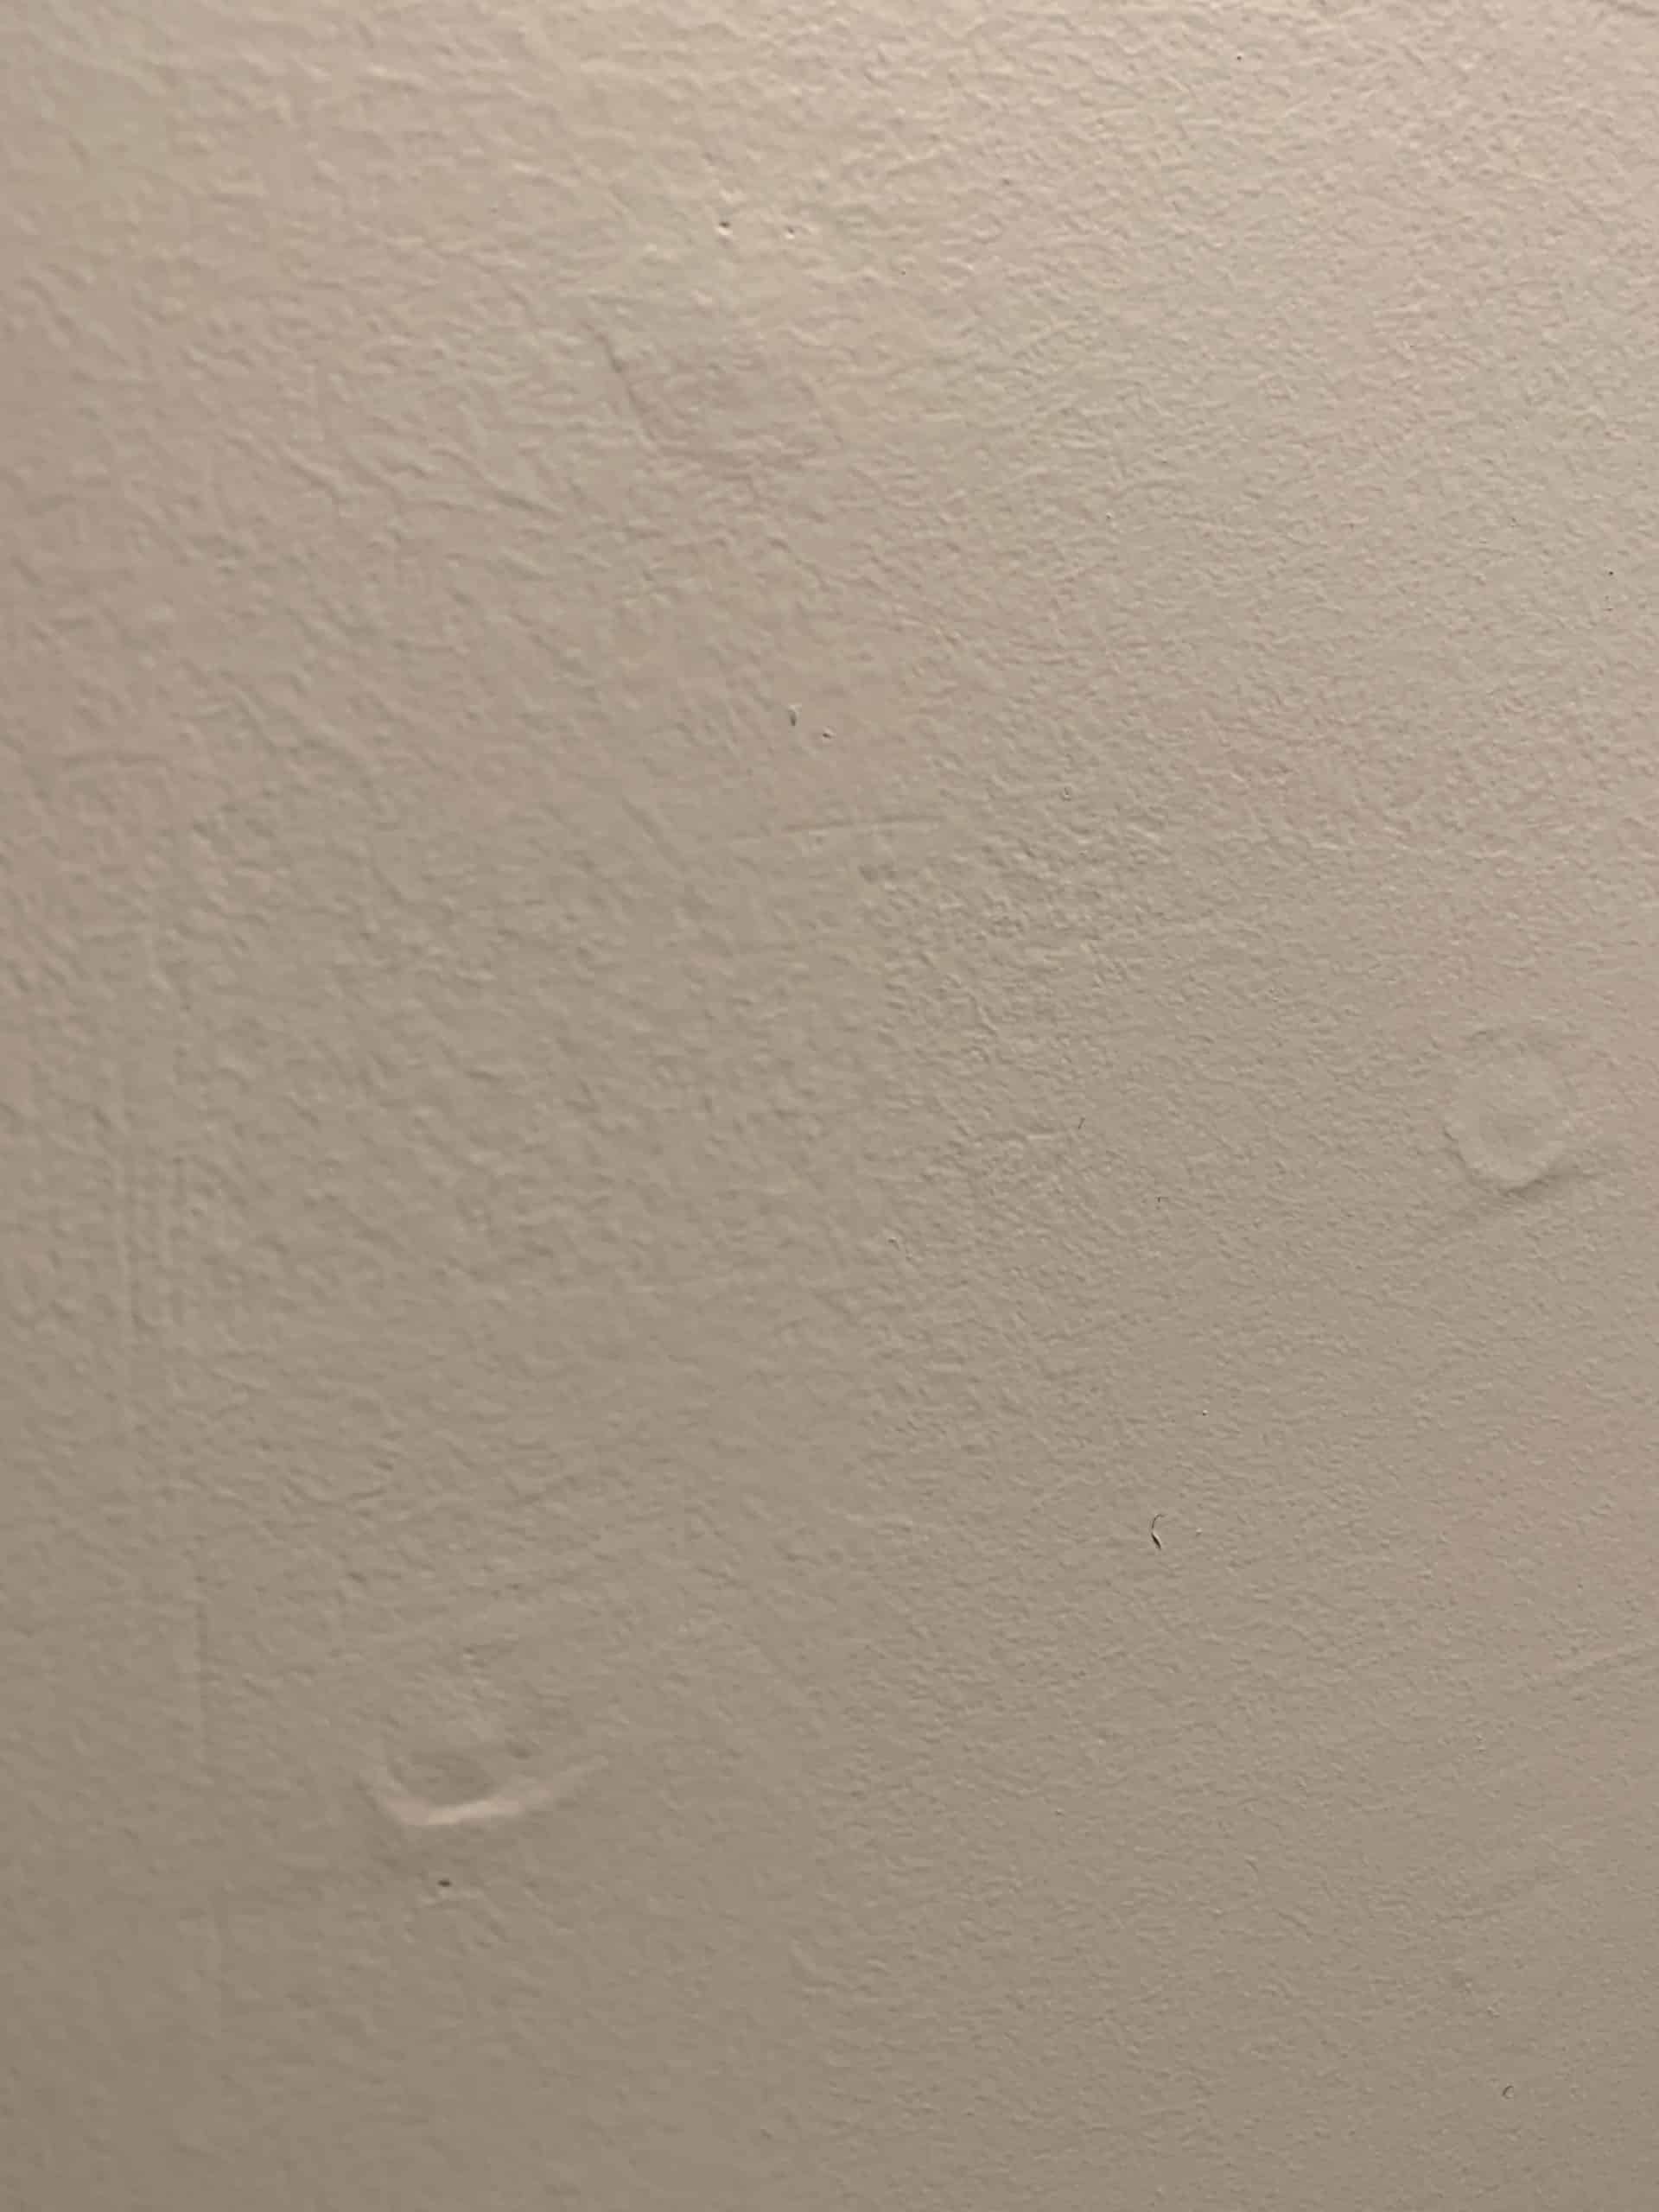
The pictures above are two things you must look very closely at. Wallpaper does not hide imperfections. In fact, it will reveal them.
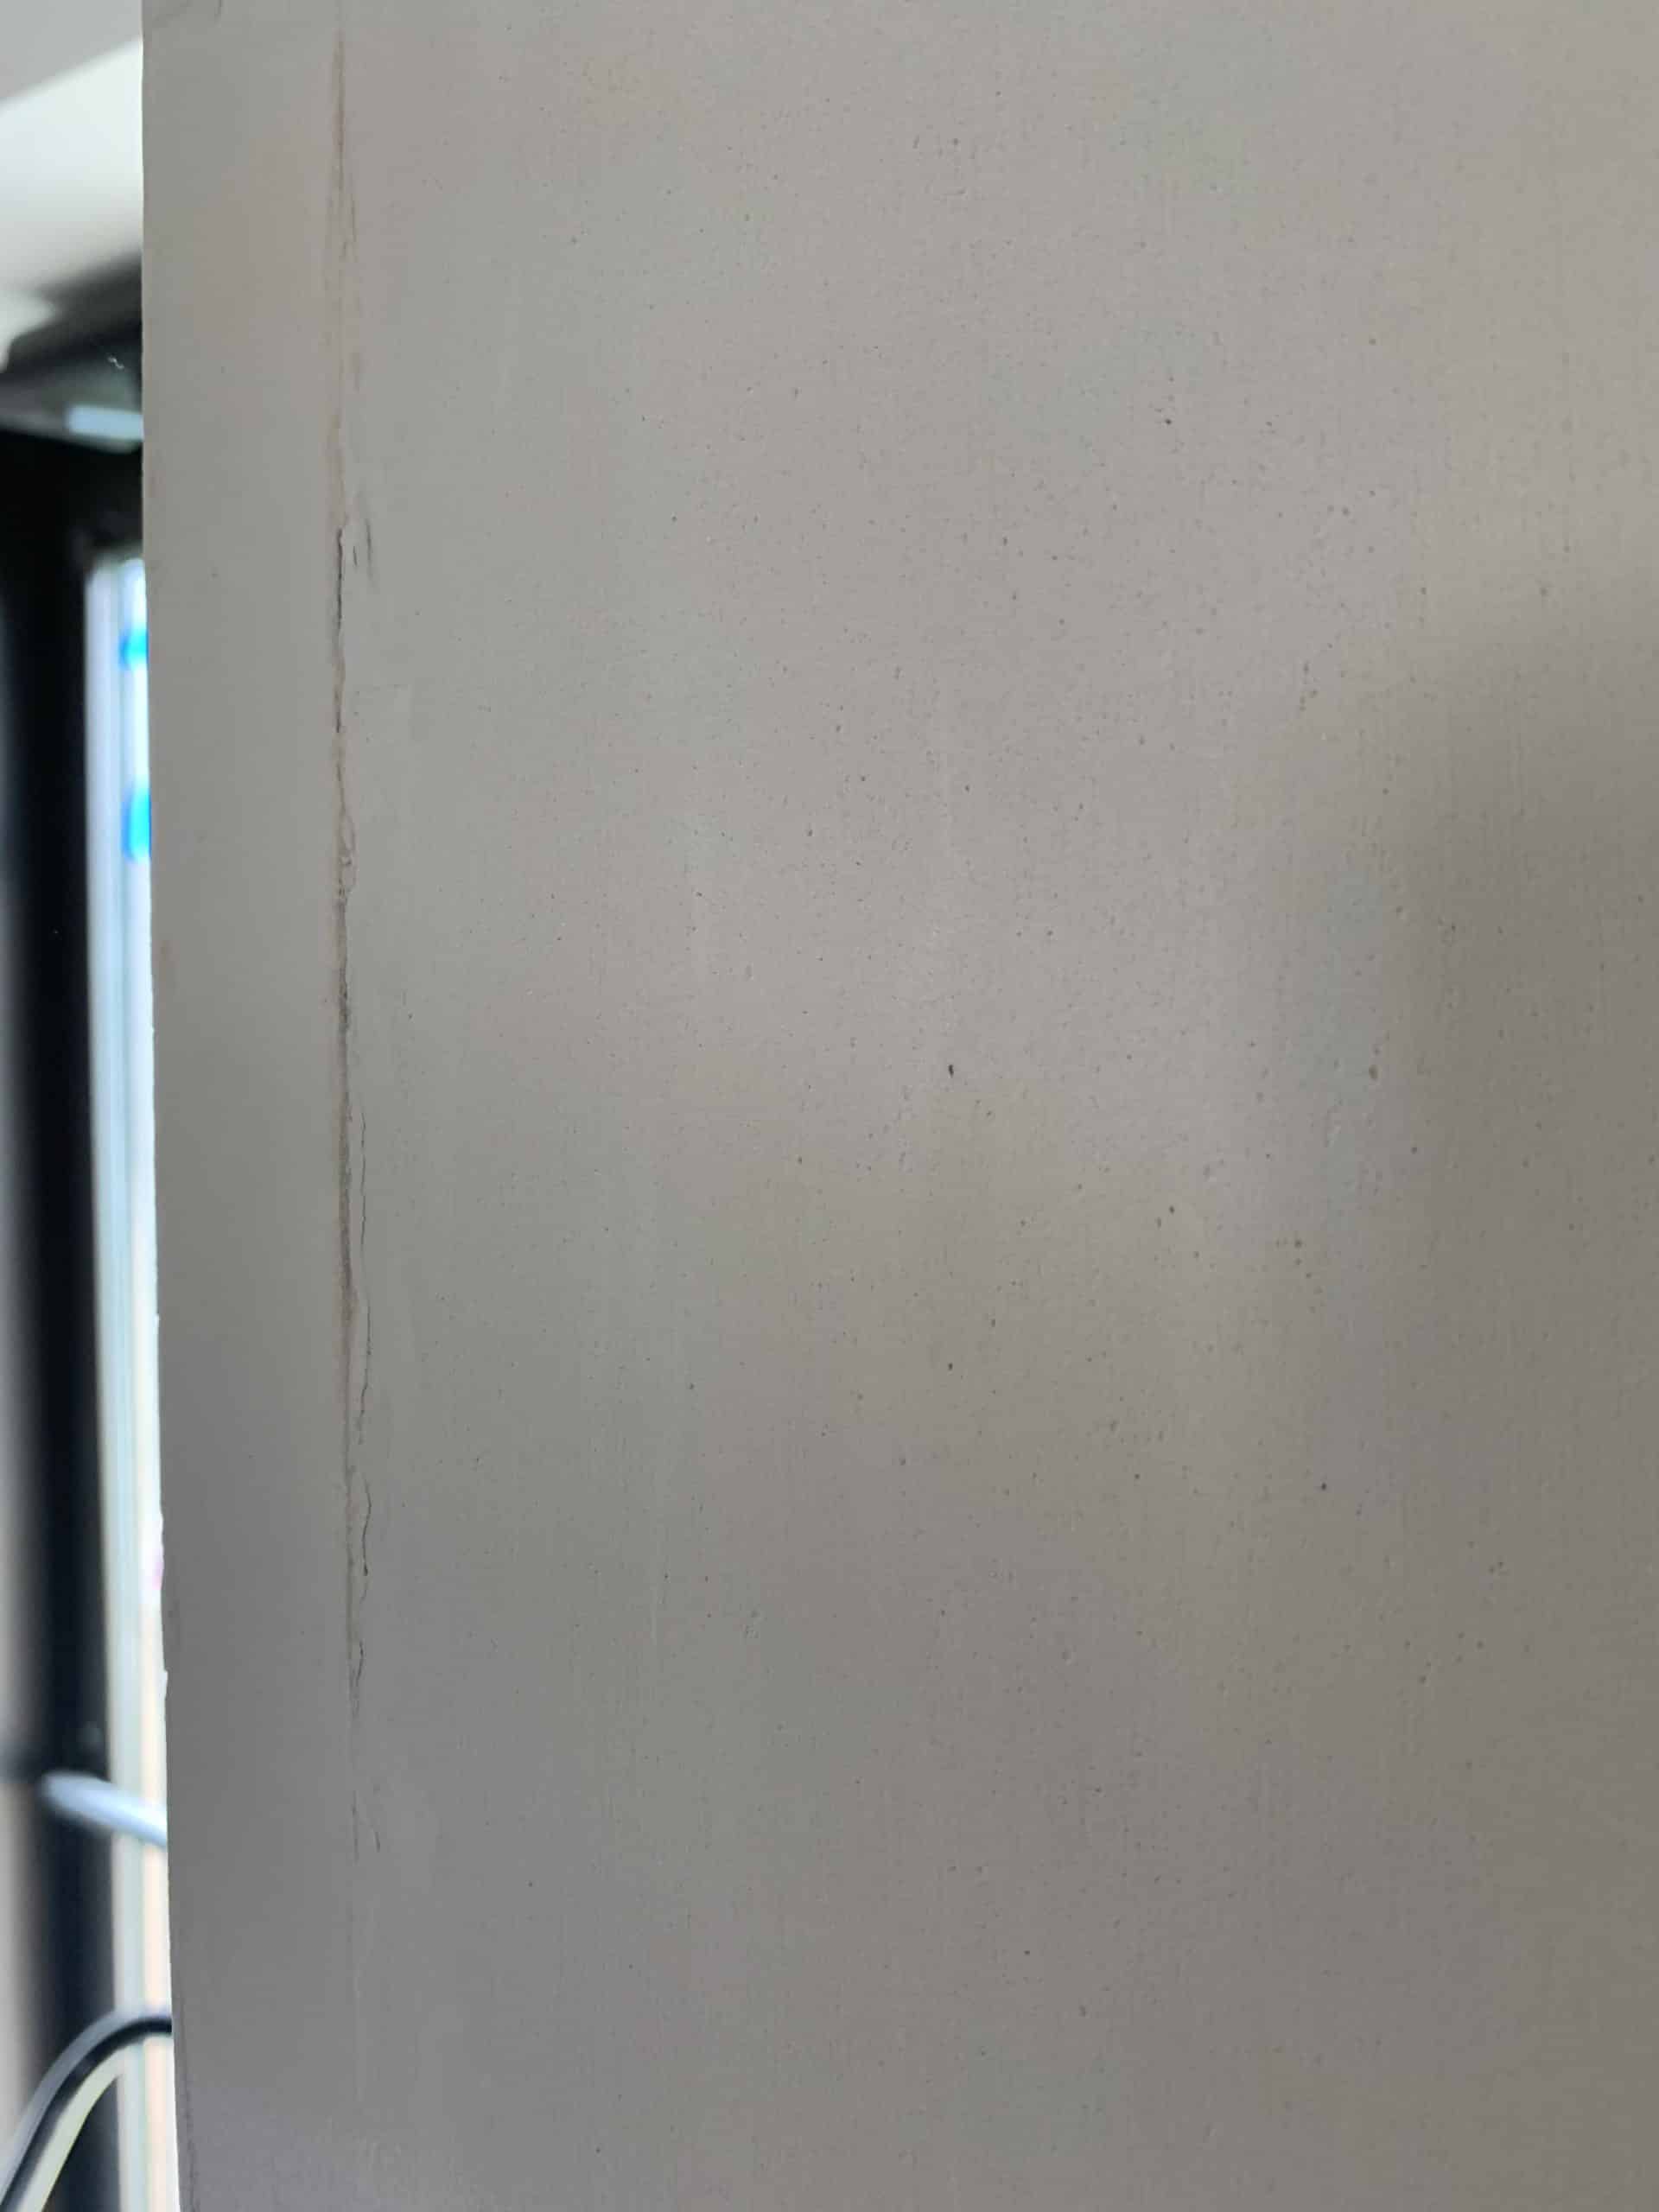
The above photo is common in almost every home we visit, damaged drywall corners. These are tricky to repair. If you’re not handy don’t try to fix them as you will make them worse.
Where to start preparing walls for wallpaper
You have already looked at the walls- you may have list! That is ok! Now you know exactly what you need to do, we will just lay out the start to finish for you.
- Repair any wall damage! the above photos show a few things that are common to have repaired. There are many other things to consider as you begin wall repairs- nail holes for instance. If you are filling holes, plan on filling the hole, allow to dry completely, then sand smooth. Add a second coat of filler to make sure the repair is smooth to the wall- no divots.
- Once you make the repairs, you need to scuff sand your walls. We use sand sponges and pole sanders such as this one:
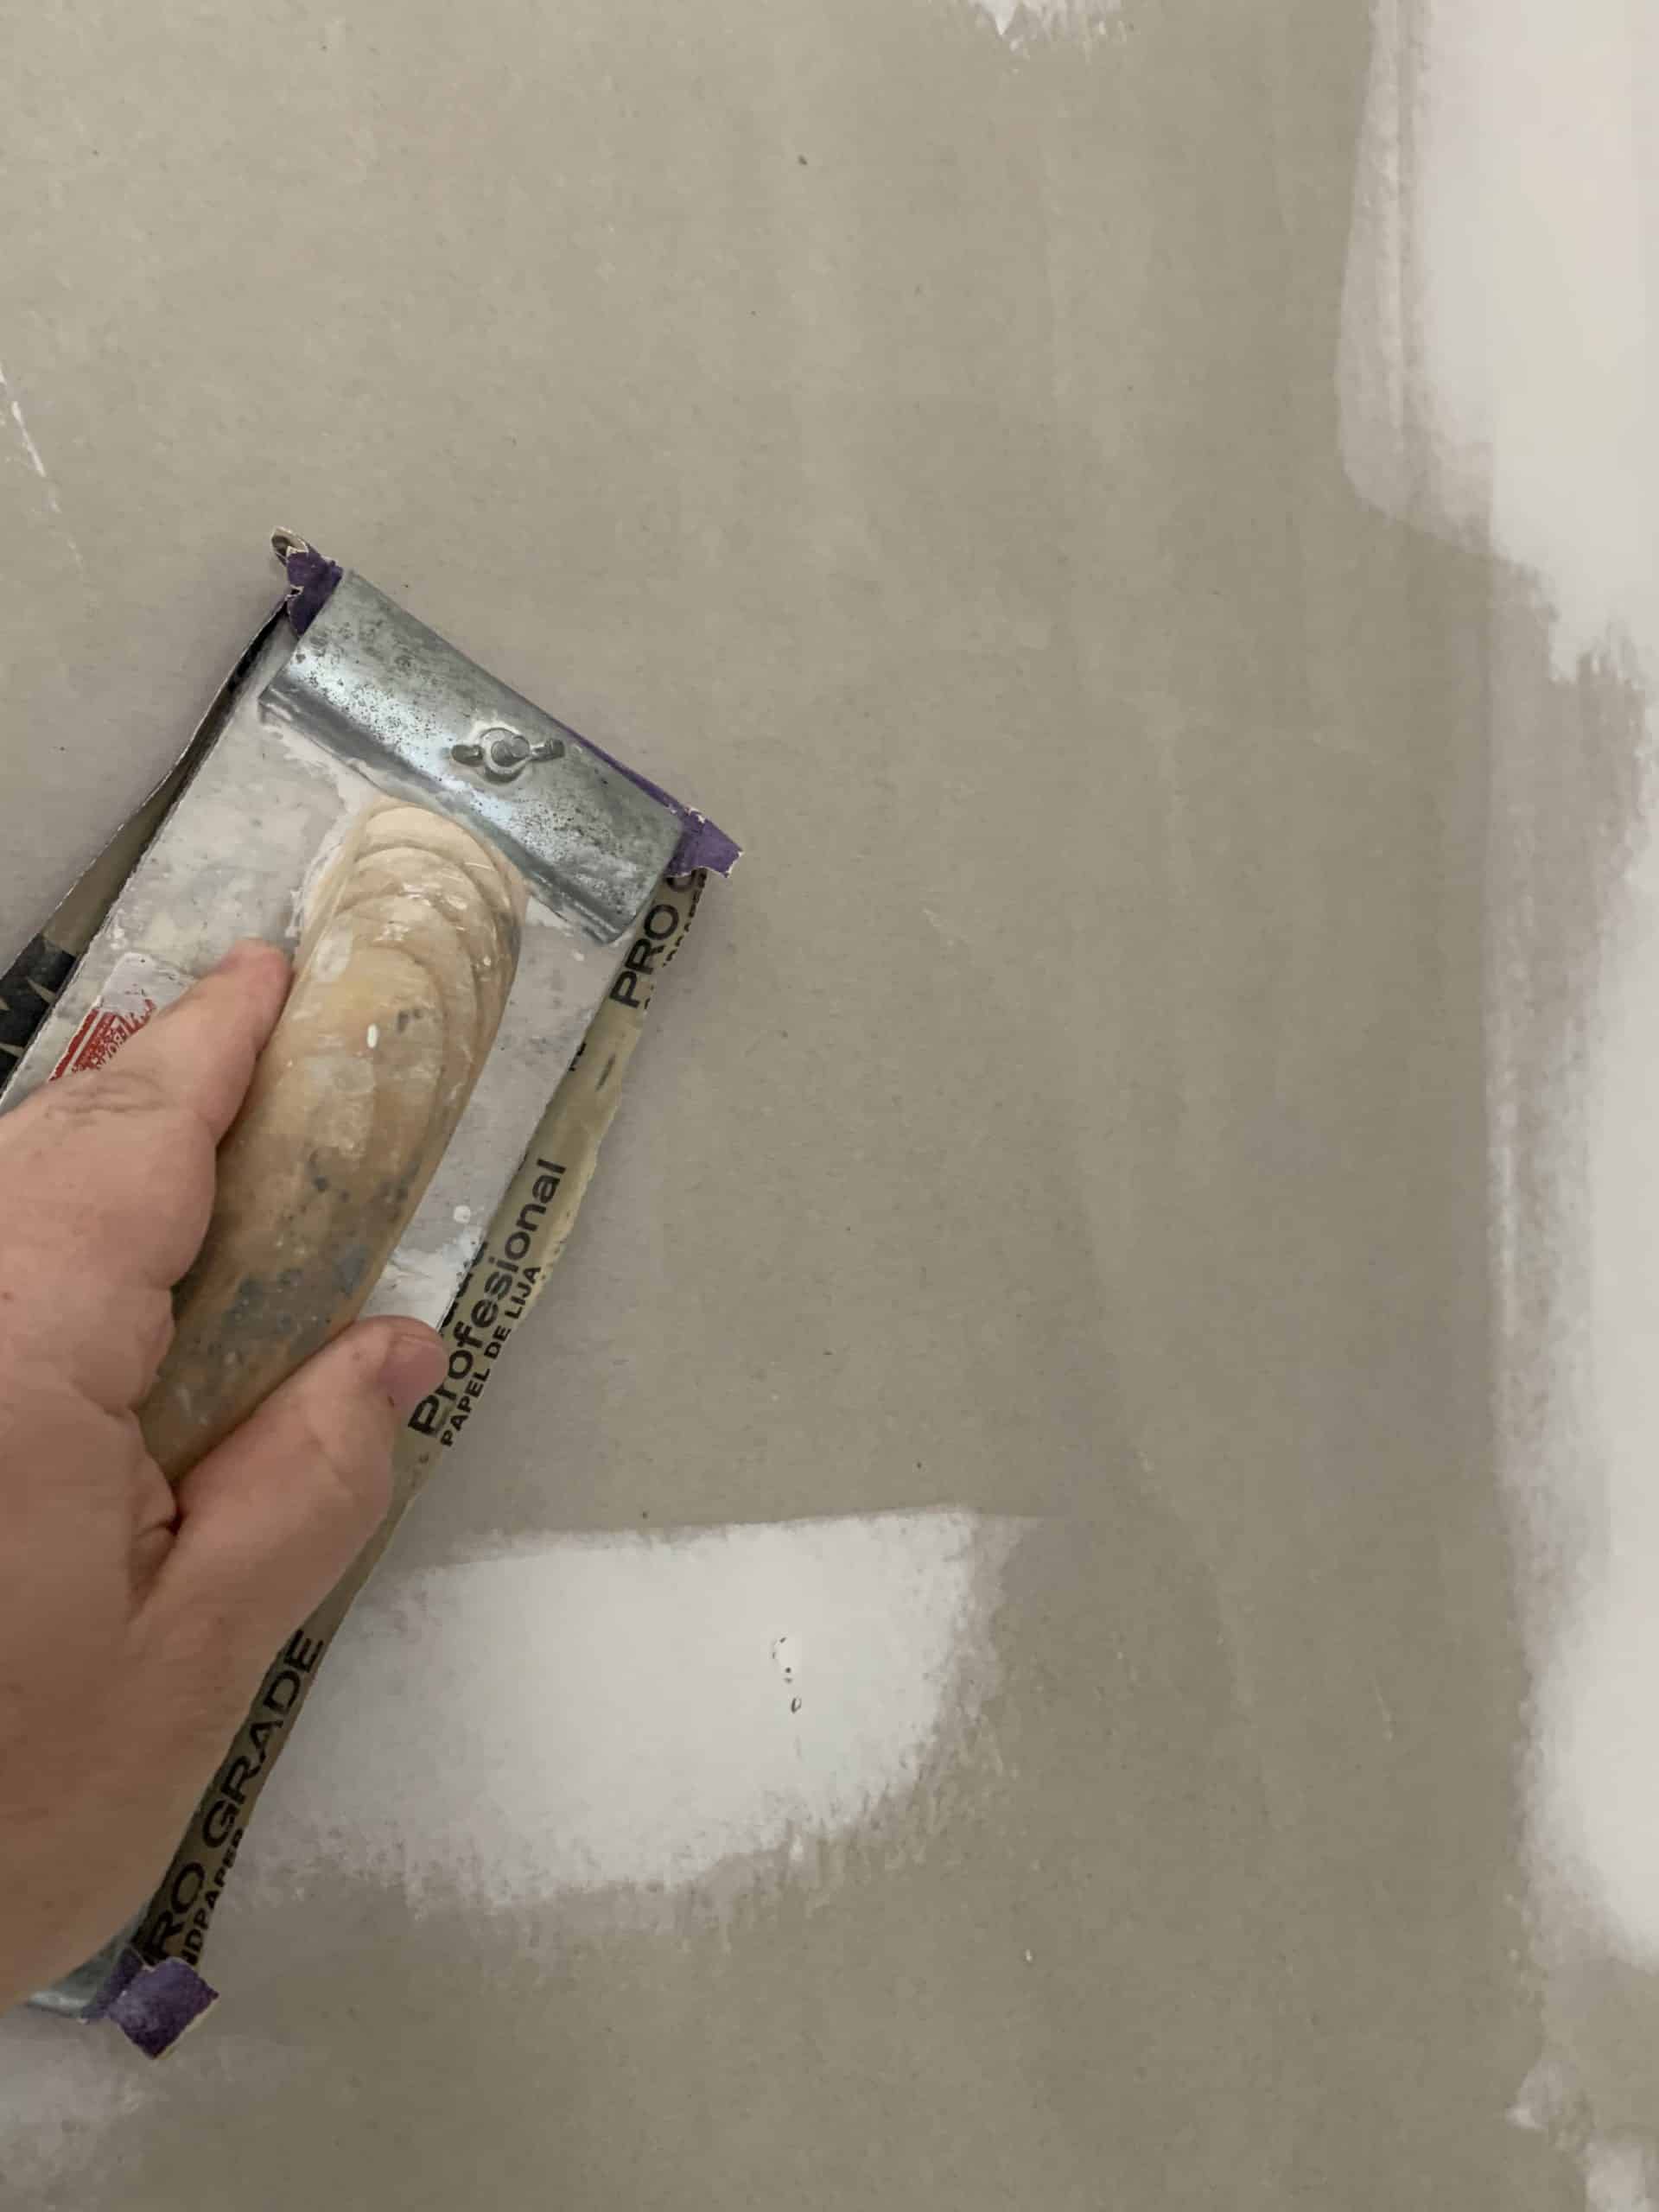
- After you have sanded the walls, it should feel smooth, no rough spots, no burrs or old paint drips.
- You need to wipe the walls to get rid of the dust you just created- makes a better smoother surface!
- Now it’s time for primer!!
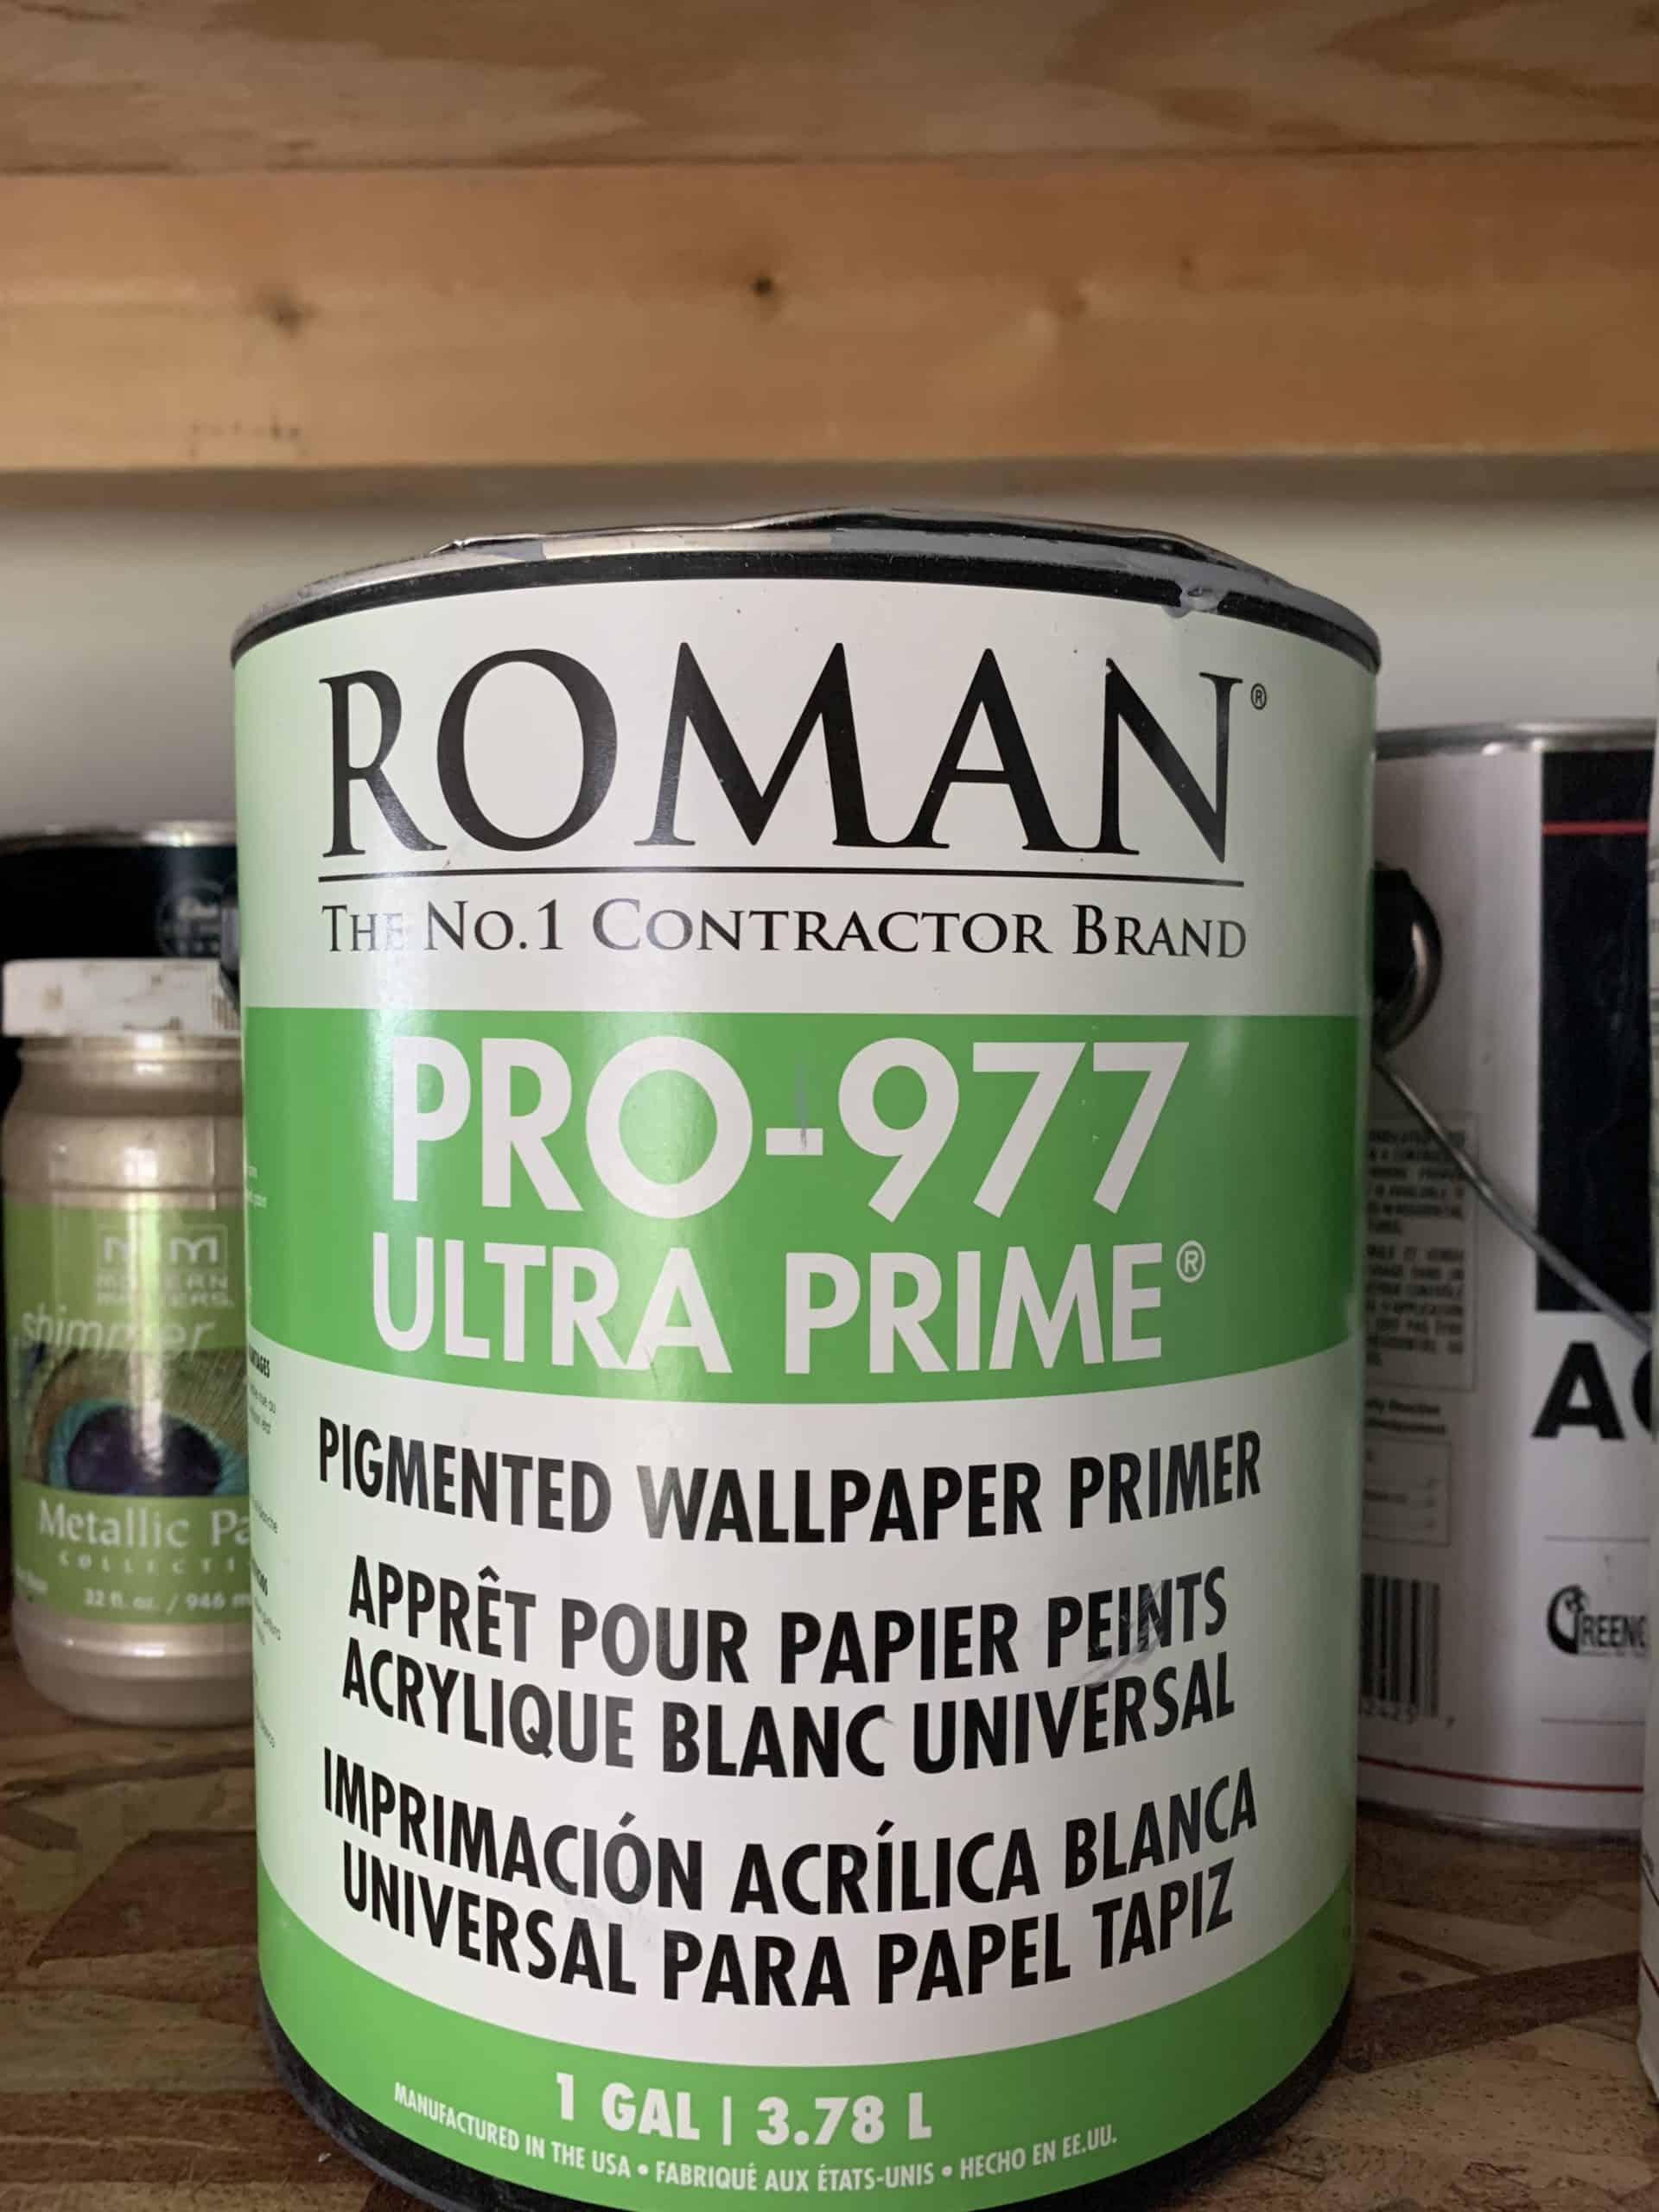
These are the two primers we use for wallpaper. Roman is white pigment and can also be tinted. The Gardz, is clear- but it also penetrates the wall! Crazy how it works but it will actually soak into the wall to provide great surface to work with. You can see even though Gardz is clear, the difference in how the wall looks after only 1 coat!
Once you apply the primer it is best to allow the primer to dry overnight.
Special wall circumstances for wallpaper
I asked earlier if you have plaster or cement walls. These walls have their own methods of wall prep before wallpaper. These surfaces are harder, usually uneven textured in their appearance, and can will have their own special issues when trying to wallpaper over.
The surfaces being harder will need different primers and they will need to be scuffed up! Especially plaster- the surface is so hard and dense that the moisture from the wallpaper adhesive will cause bubbles in the wallpaper. This takes place because as the glue dries, it evaporates, and that air has to go somewhere- if no into the wall- it goes to the paper. The surface with the least resistance will have to deal with air- and you don’t want a wall full of bubbles!
What else ?
That’s it! It sounds pretty easy and straight forward, but this is the most important part of wallpaper installation to make sure the paper can be removed, and to ensure the wallpaper has a proper uniform surface to adhere too.
If you have questions on wallpaper prep or installs please let us know. We hope we can help you love the space you’re in!