


How to patch wallpaper around a new light fixture.
Do you like remodeling and changing out light fixtures? Me too! But if you have wallpaper behind the light fixtures, you will have to patch around the new lights.
Today I am helping you with this problem or at least help you know what you are in store for if you call a professional wallpaper installer to make these repairs. How to patch wallpaper around a new light fixture can be tricky, but it is worth the effort to make your walls look seamless. If you hate reading how to’s, then scroll to the bottom to see the video we made on making a repair like this.
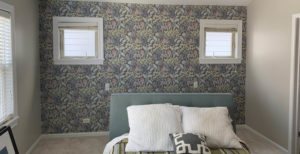
Why is there no wallpaper behind my light fixture?
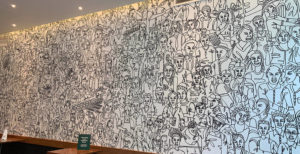
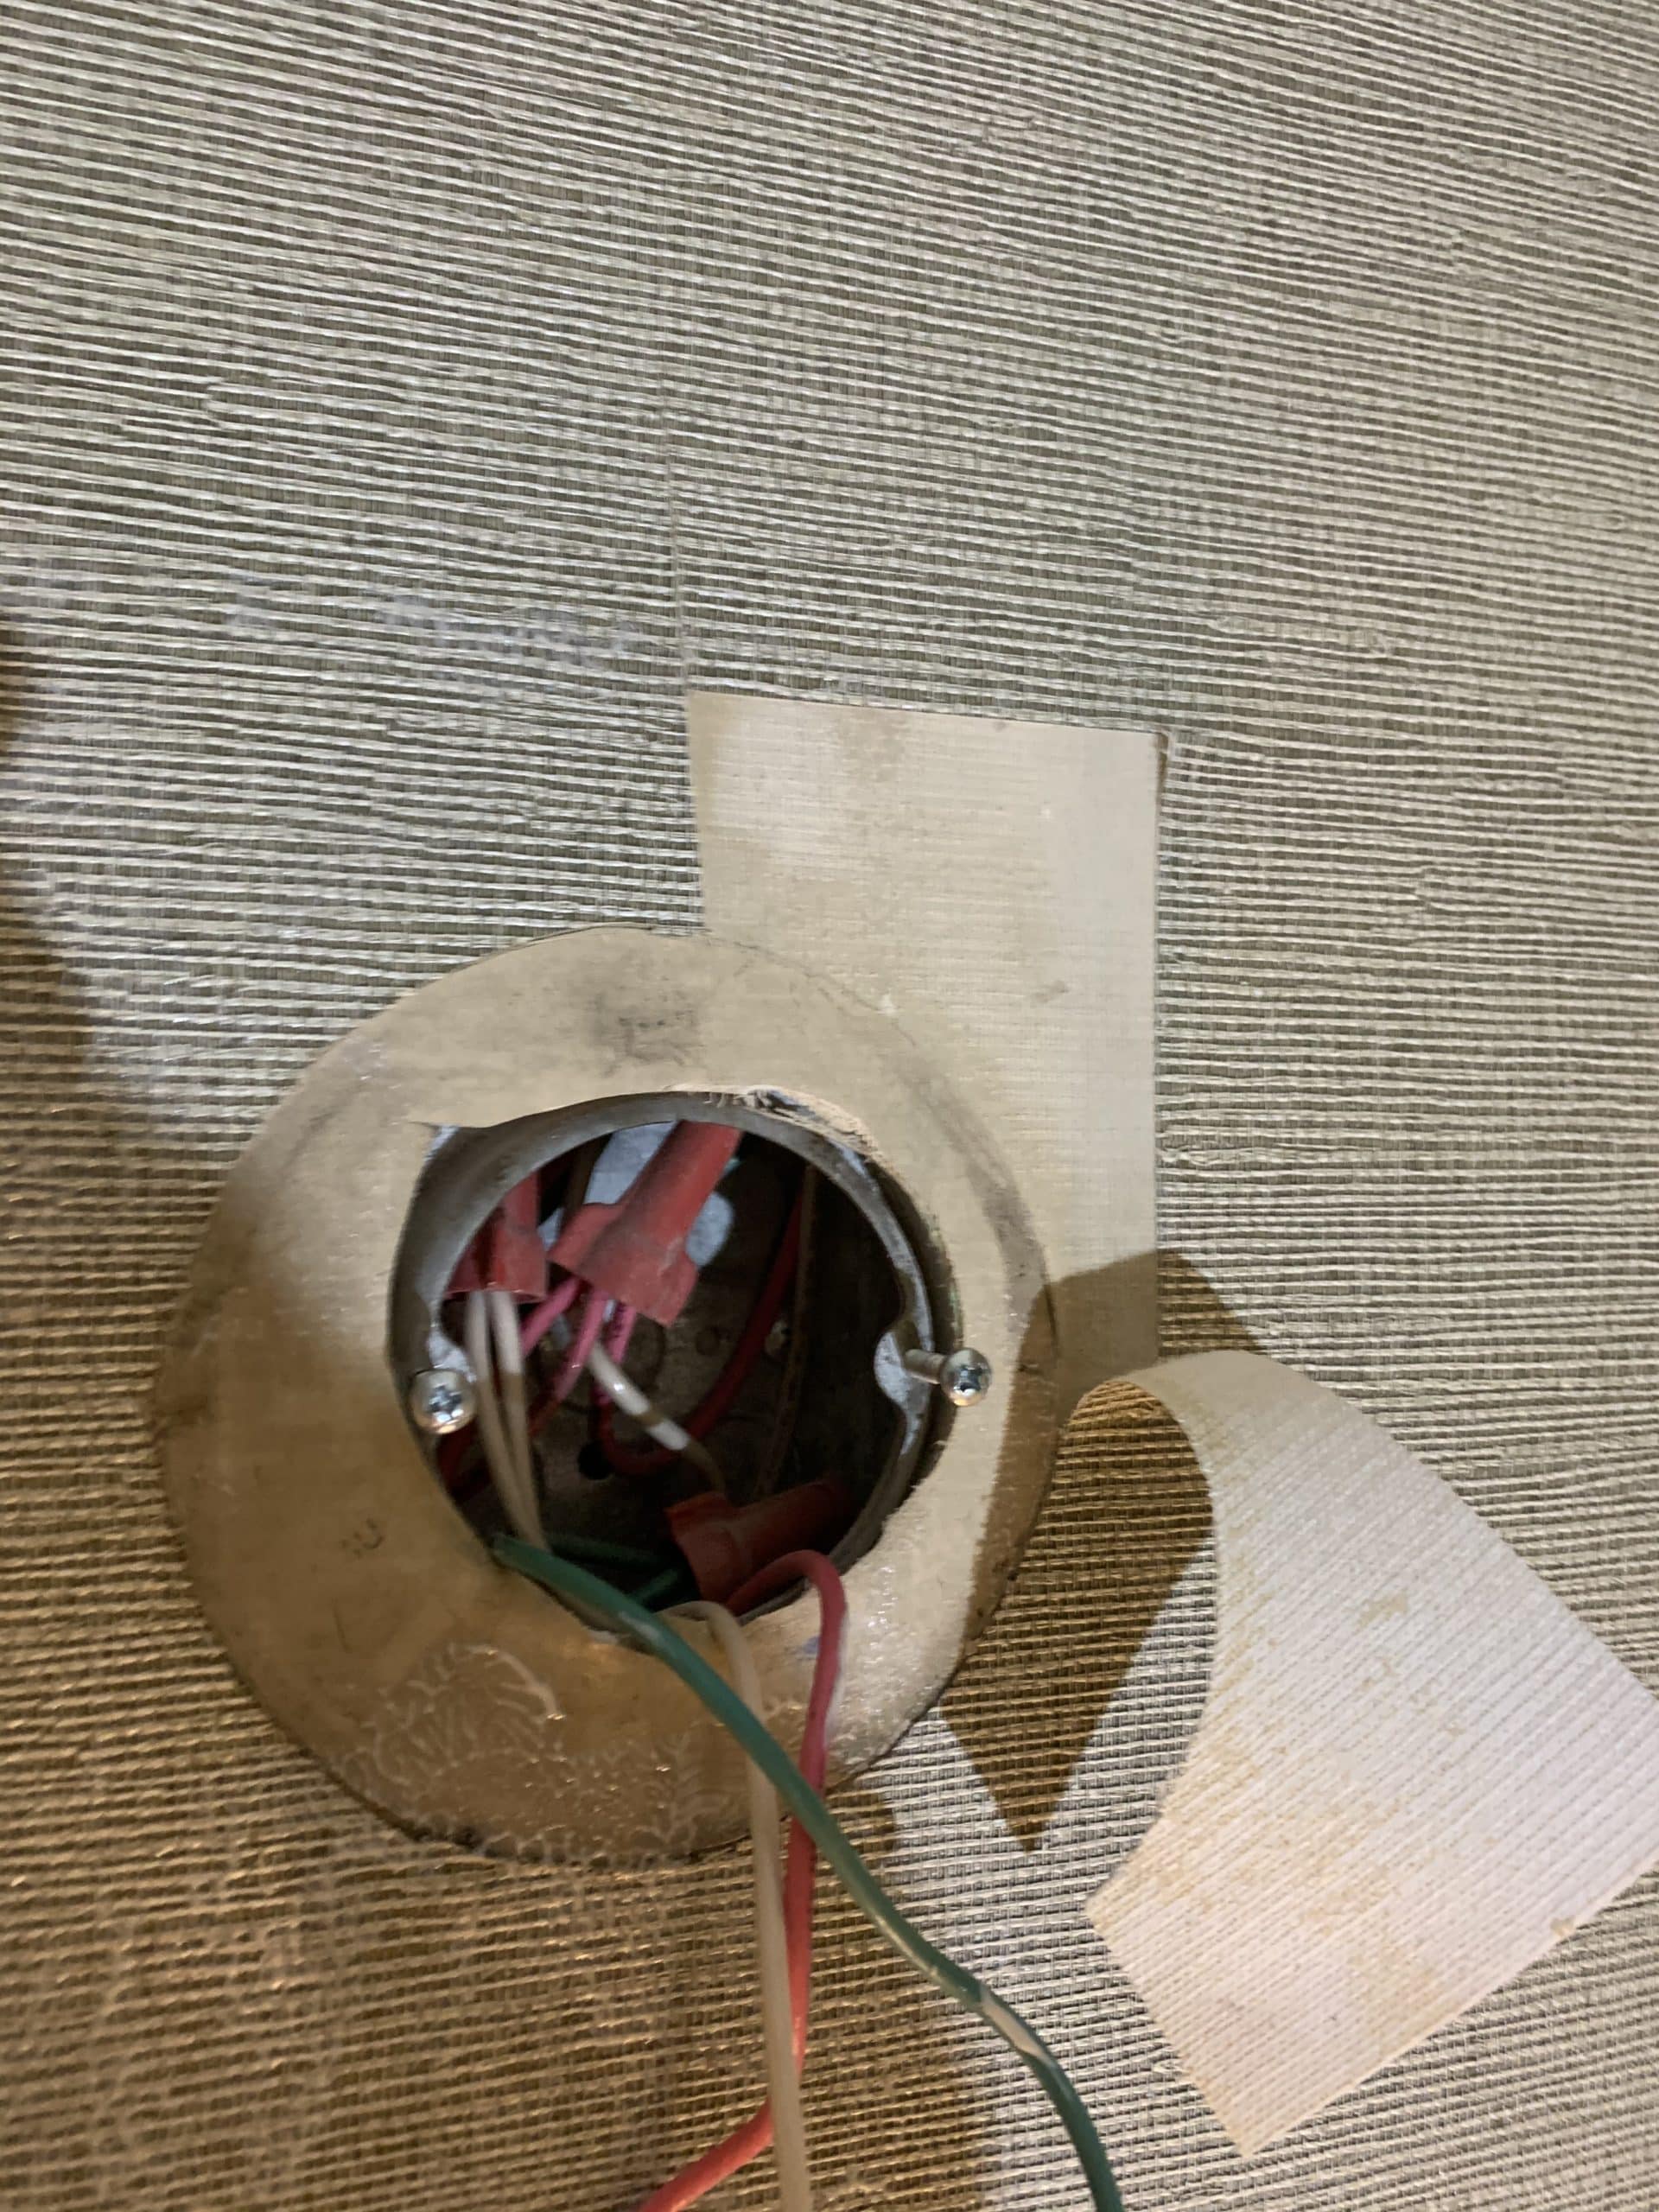
I cannot give you a great answer for that. Is this photo familiar?
There are a few reasons why this happens:
- If this was a union job, a wallpaper installer cannot remove a light fixture…period.
- Someone did not want to remove the light fixture before installing wallpaper.
- The installer did not know how to remove the light fixture.
- They didn’t care to try.
In any case, you are now stuck with making the repair. We are going to assume you have the same wallpaper that was used to install the first time.
Where to begin making a wallpaper patch?
As we have already stated, we are assuming a few things:
- The wallpaper used on the wall that needs to be repaired is on site or available.
- Someone will remove the light fixture and the mounting bracket.
- You have experience with working with wallpaper.
Tools you will need:
- scissors
- tape measure
- masking tape
- wallpaper adhesive
- clean water
- sponge to clean with
- snap off type razor knife
- straight edge
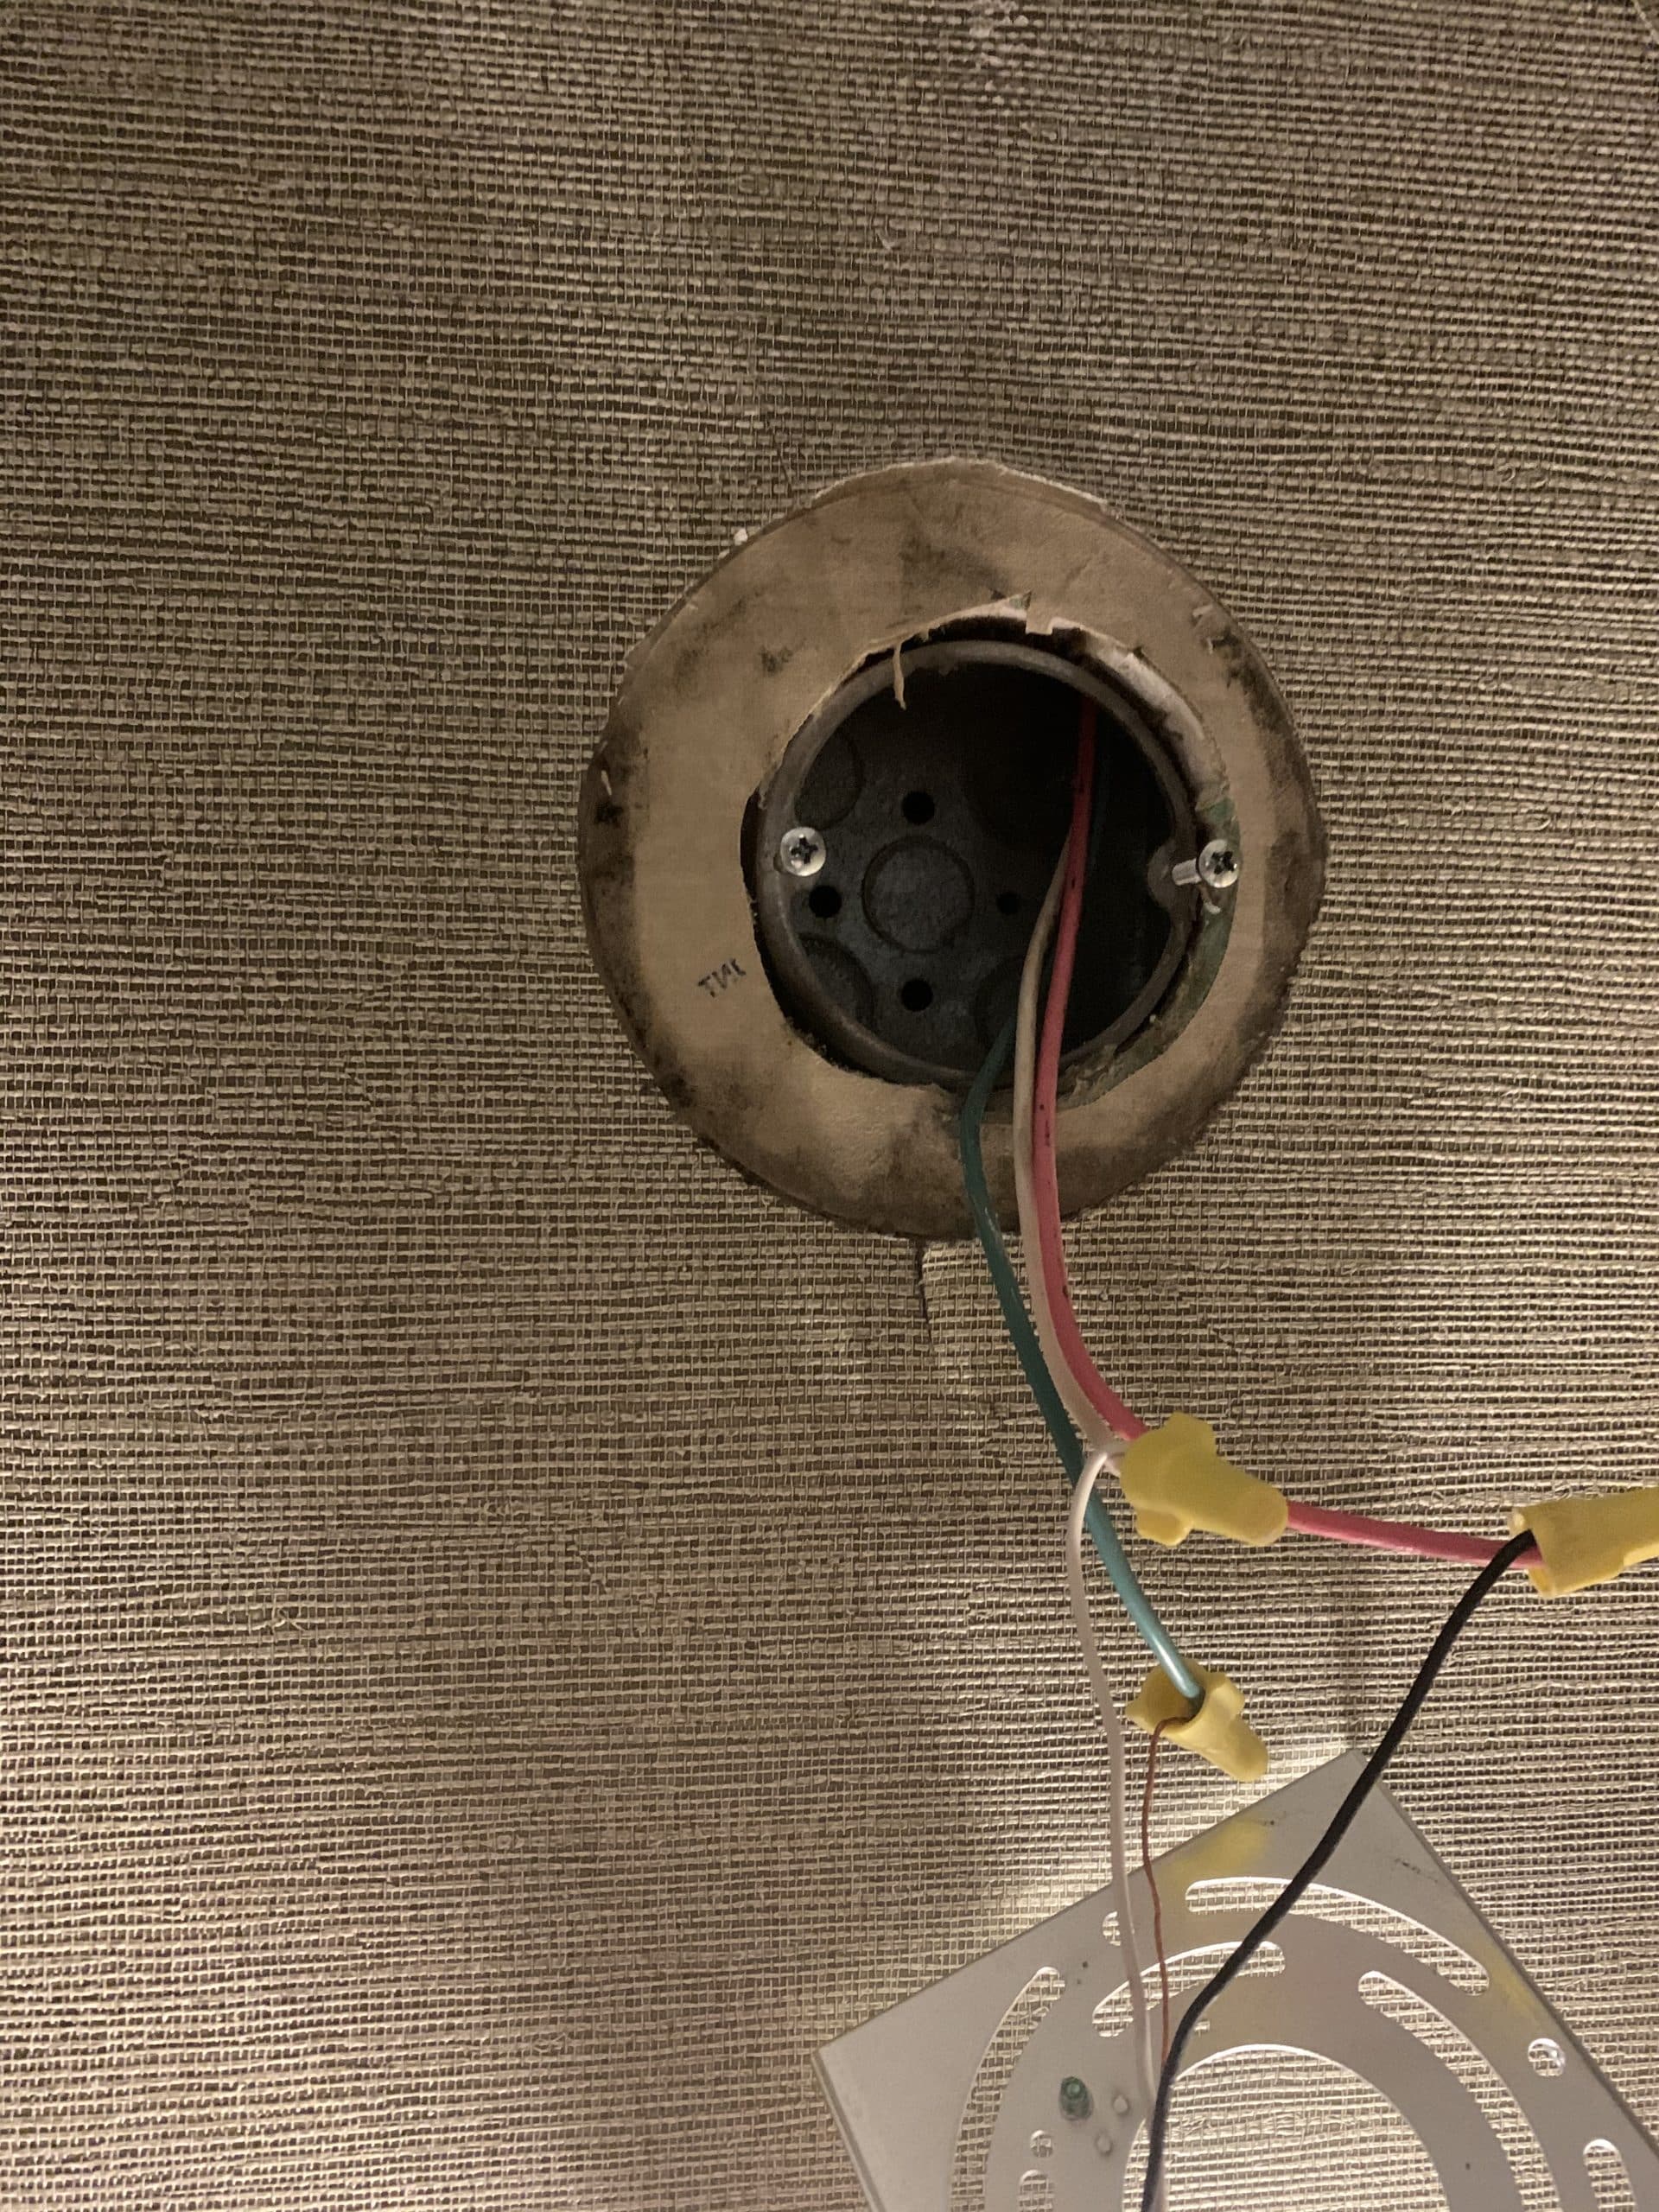
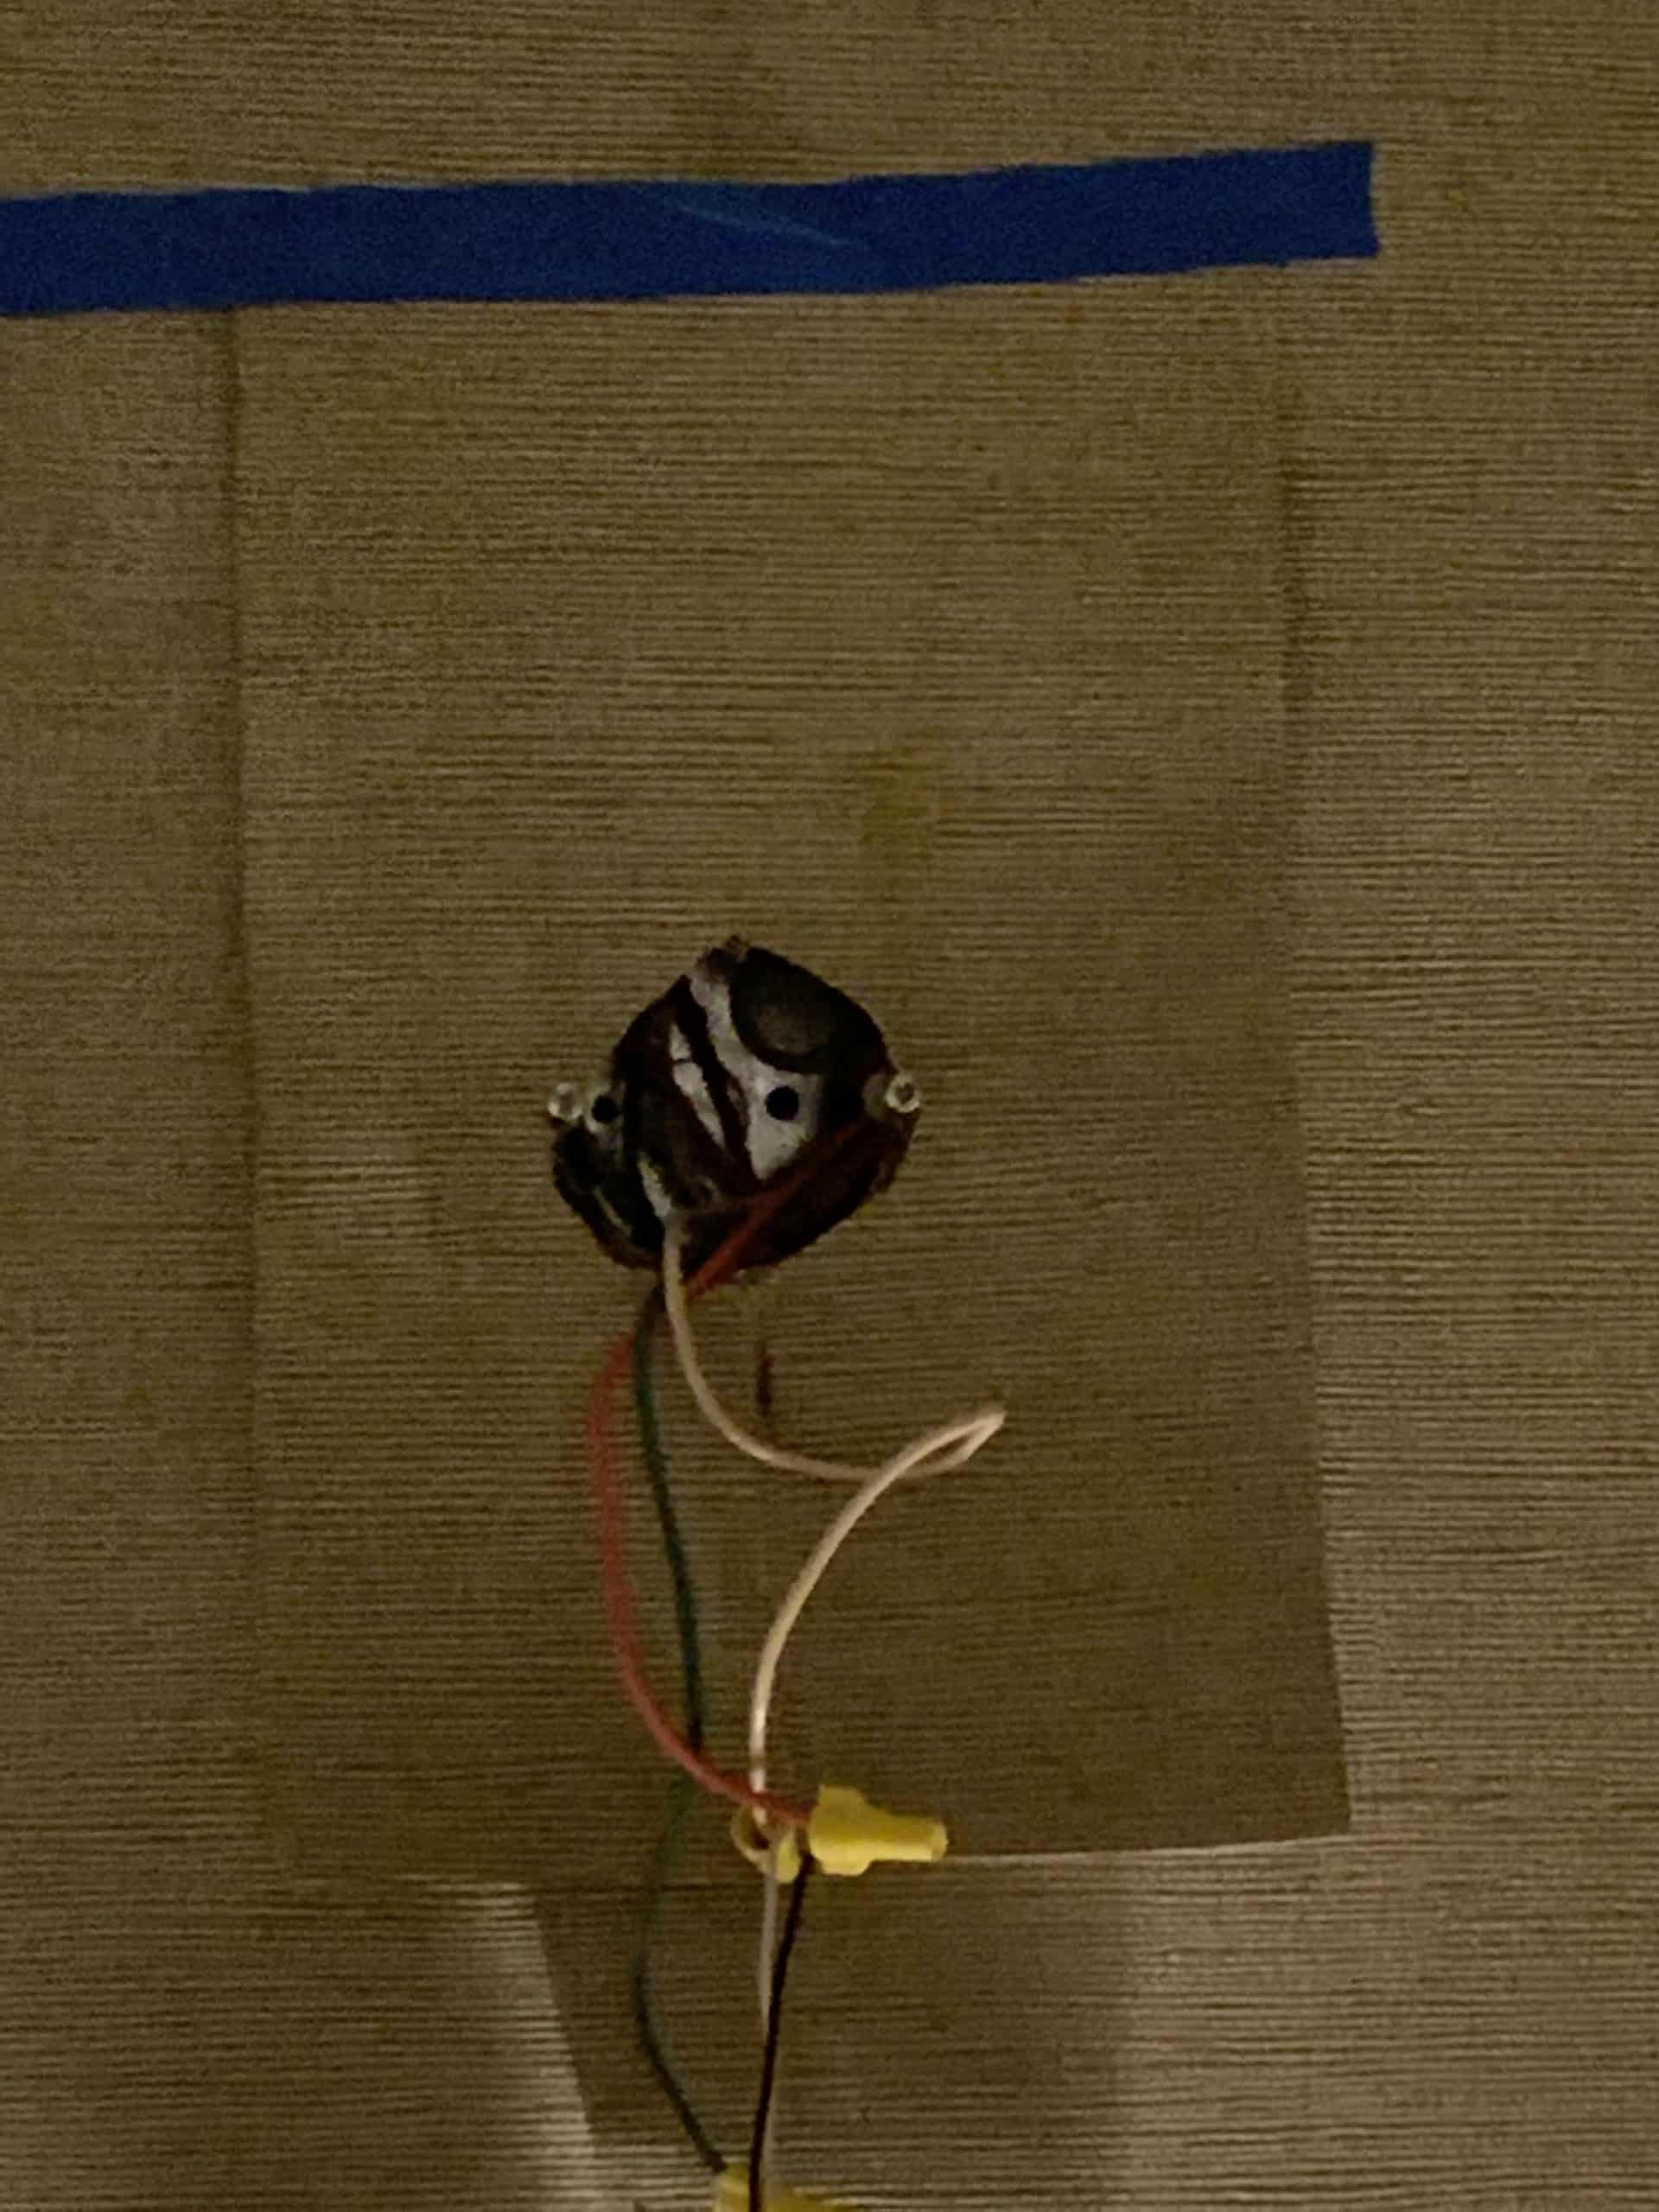
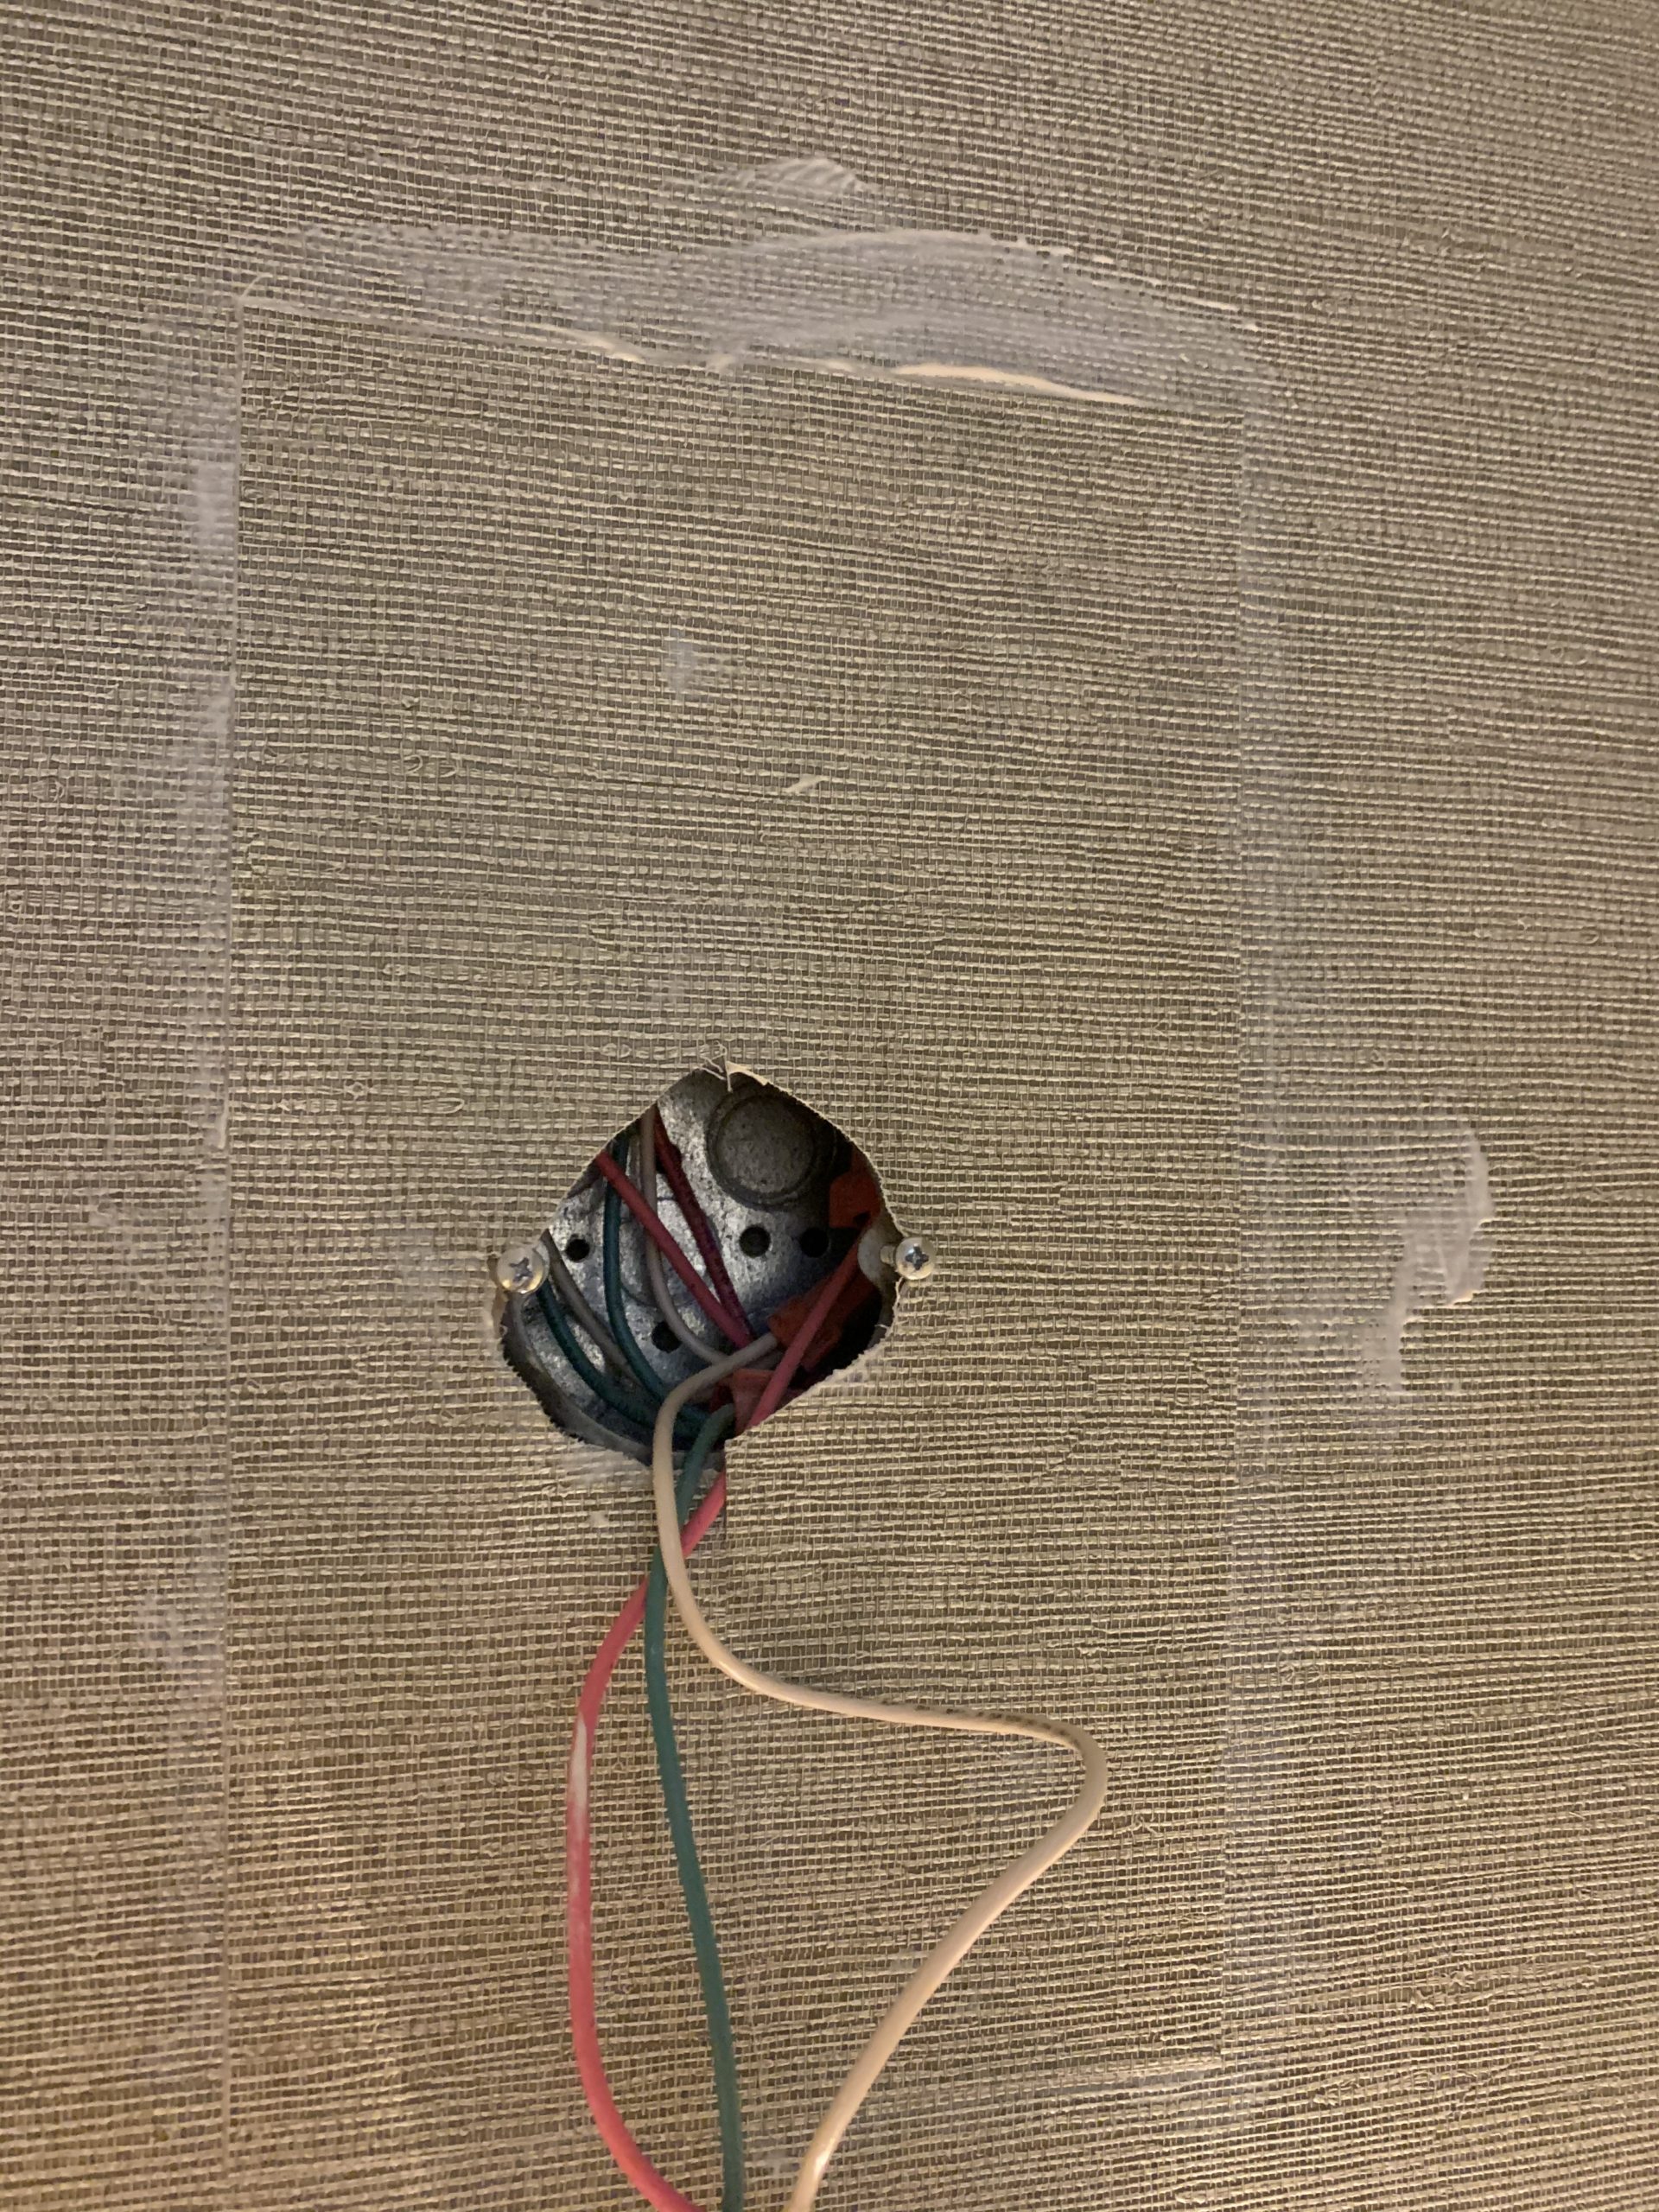
In the above photo, we started the process
- turn off power to the light fixture
- remove any cover, shades or vanity type accessories that are on the light fixutres
- take the light bulb out of the light and set it aside
- using a screwdriver or your fingers, remove the light fixture from the wall
- unscrew the mounting bracket from the wall if there is one
Cut a piece of wallpaper for the area needing to be patched.
Look at the area needing to be repaired. You will need to measure, cut, test, then place to the wall. Easy, right? Okay, here is the play-by-play.
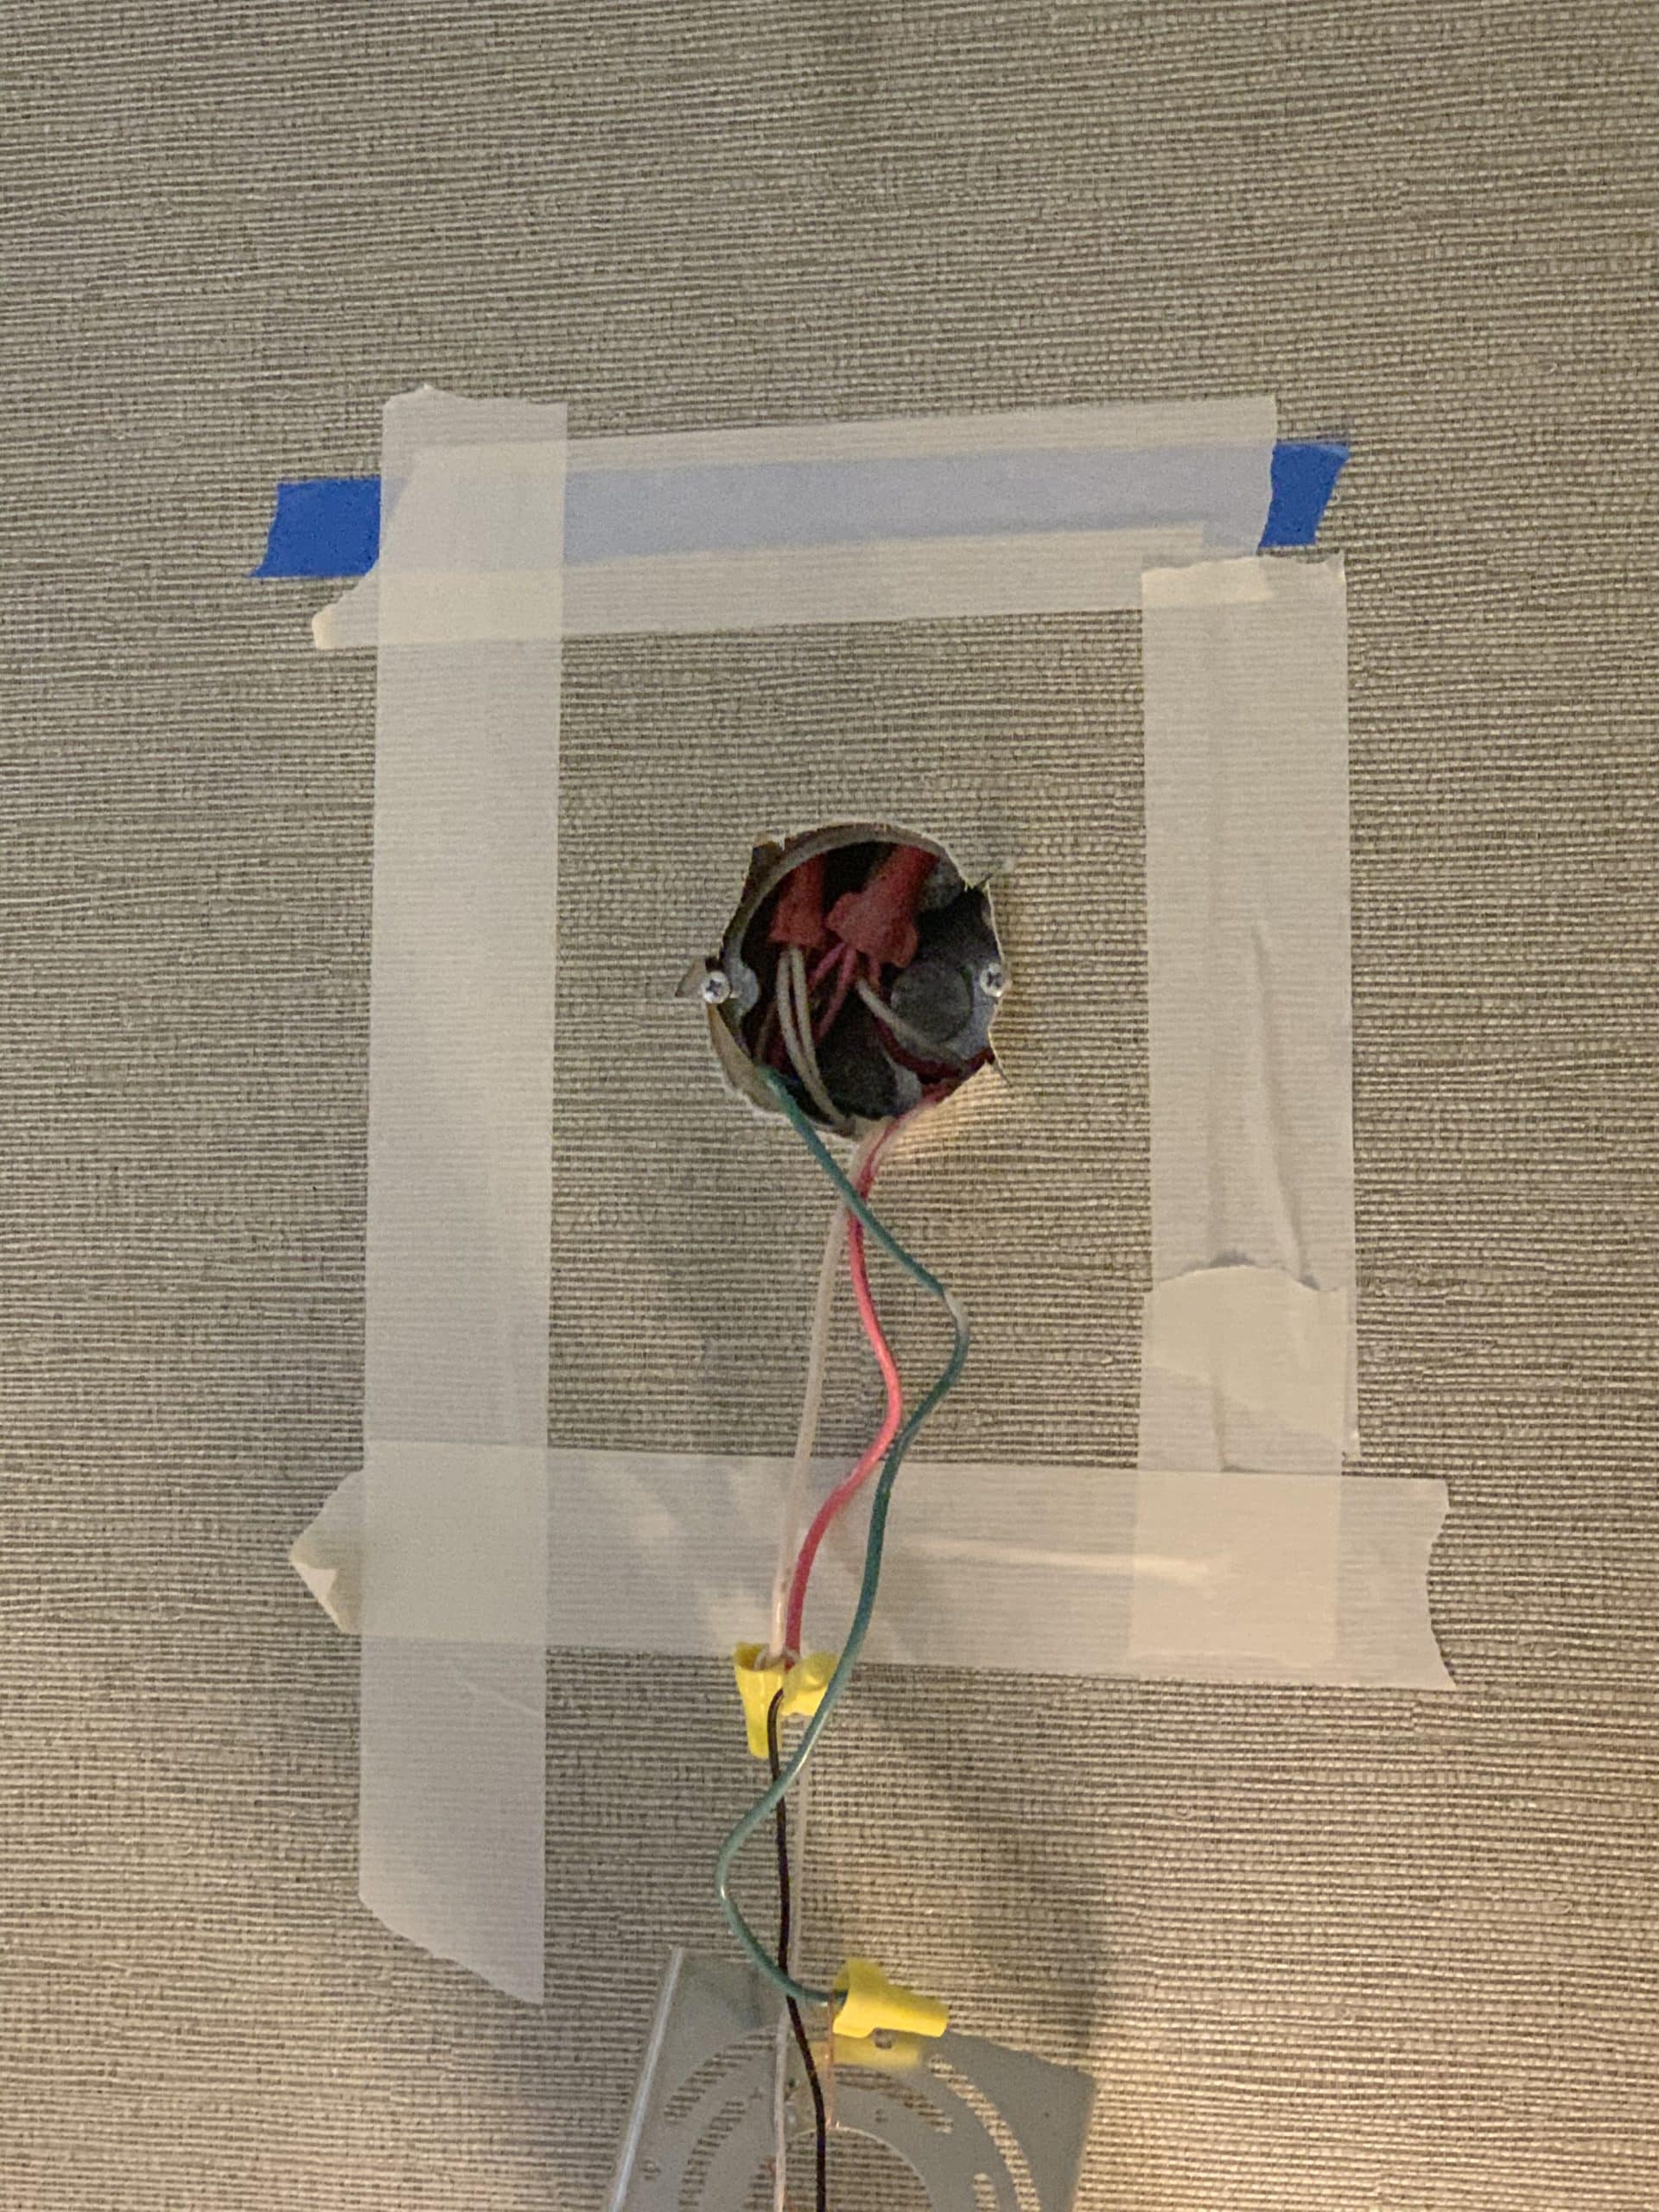
- Measure the area you need to repair. Cut a piece of new wallpaper at least 1 1/2 inches wider than the area needing to be repaired as seen here:
- This piece of wallpaper has been mounted to the wall with a piece of painters tape so that we know it is larger than the hole we have to repair.
- If the wallpaper piece you cut is large enough to fit over the area, remove it from the wall.
- Apply wallpaper adhesive to the wallpaper patch.
- Then, take the wallpaper patch and apply it to the wall. Make sure you have enough space around the area you need to repair. You should have about 1 to 1 1/2 inches of excess wallpaper, and it should look like this:
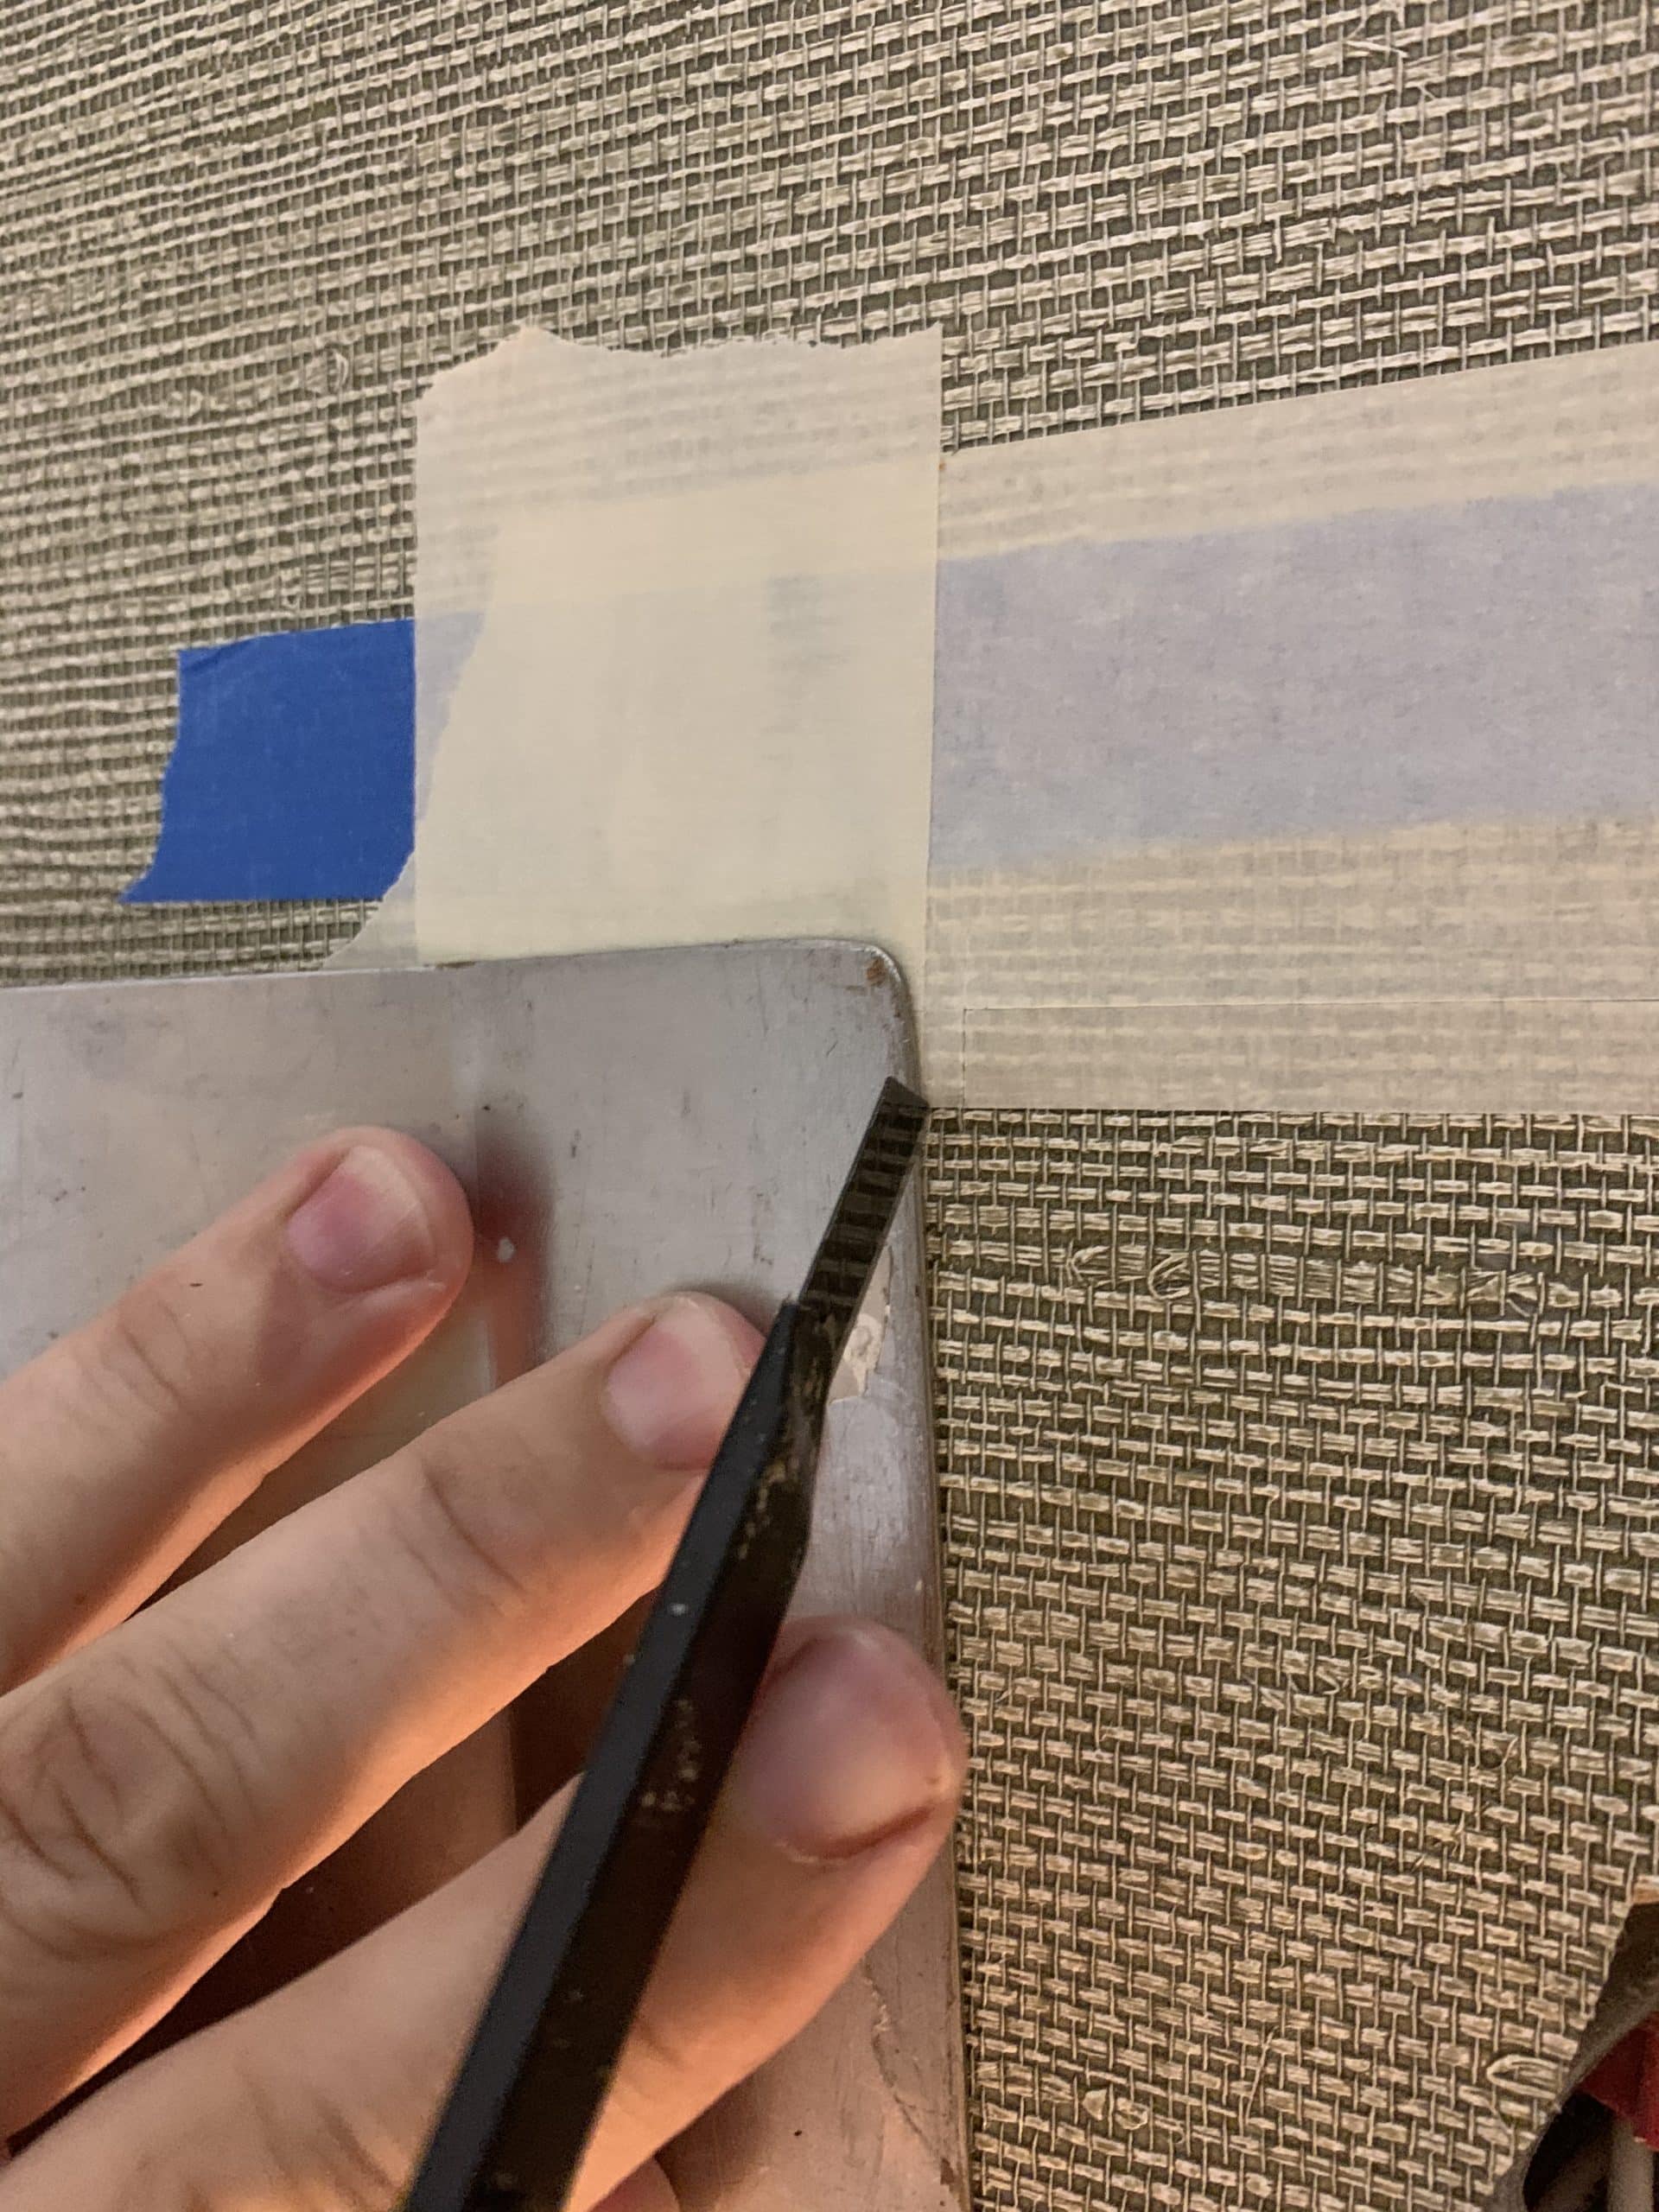
- Go get that painters tape and tape the edges to the wall all the way around. Secure it to the wall! Like so…
- In your tools, you need a straight edge. Hold the straight edge to the wall, and use your razor to cut through the tape and both pieces of wallpaper like this:
- After you have cut the wallpaper patch, you can put the straight edge down and the razor down. Then, remove the tape from the patch and the wall. It will look like the above photo except this time, it is a perfect splice of new wallpaper to fit in to the new hole you have made.
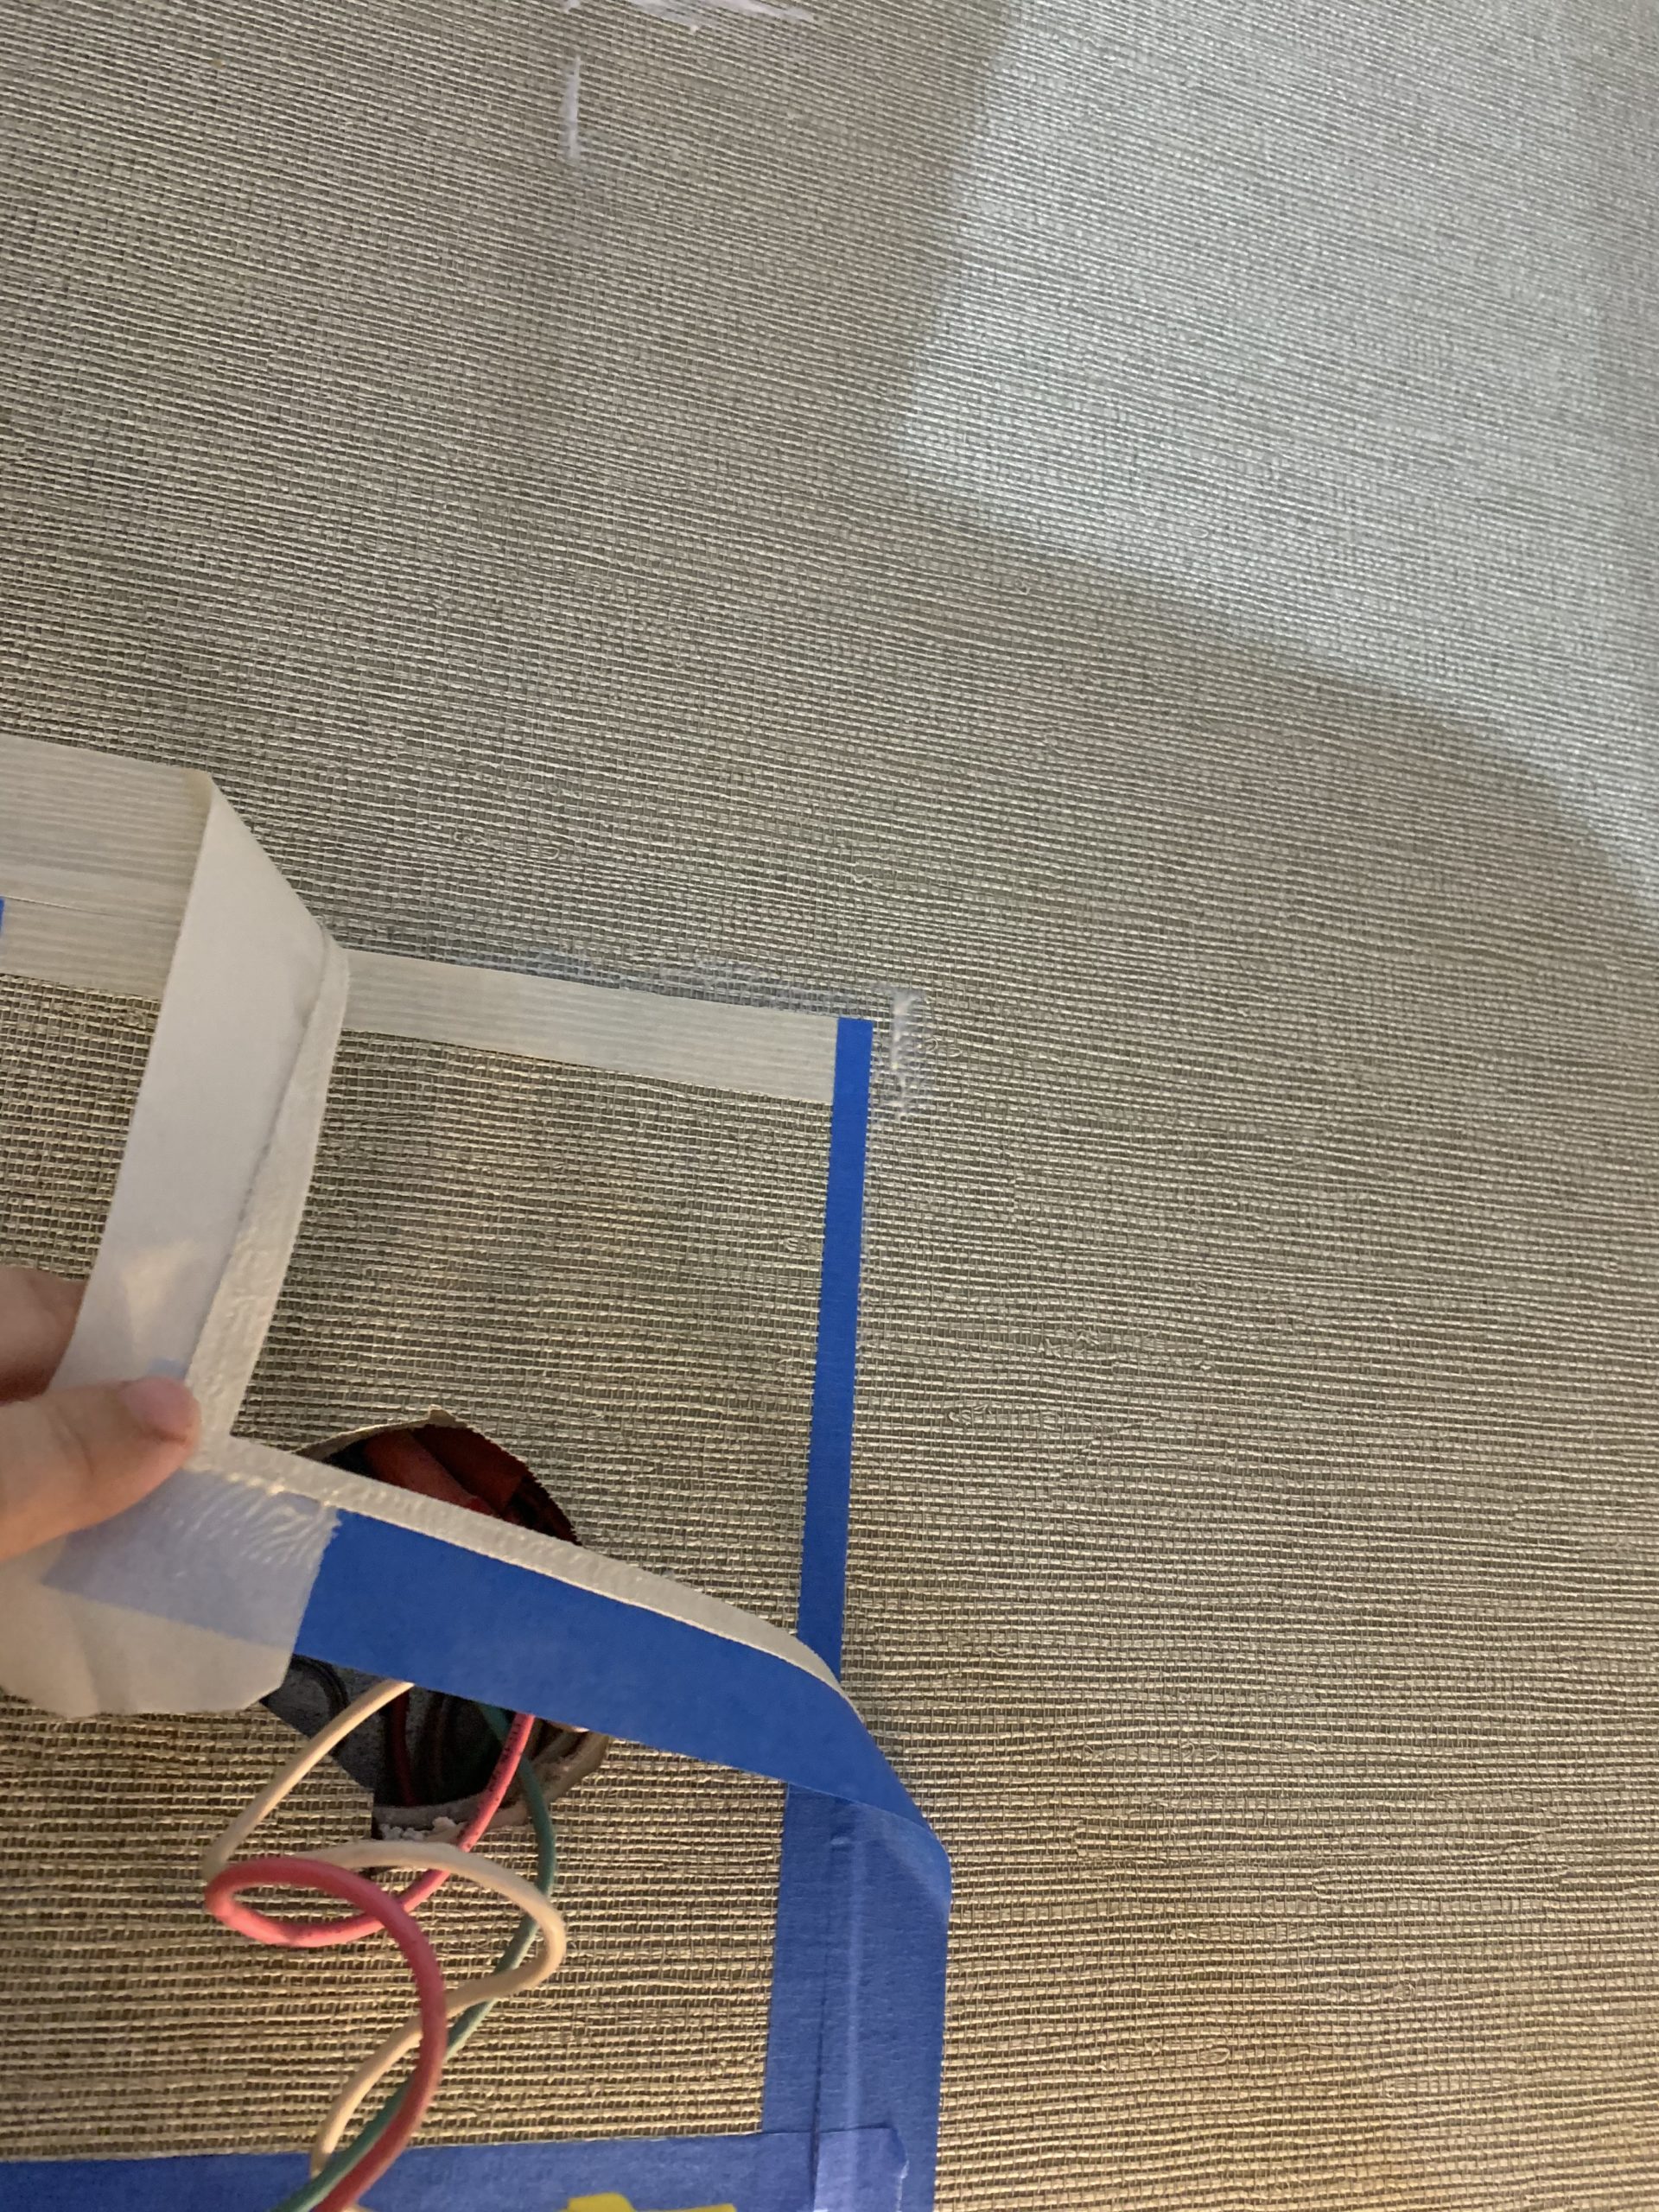
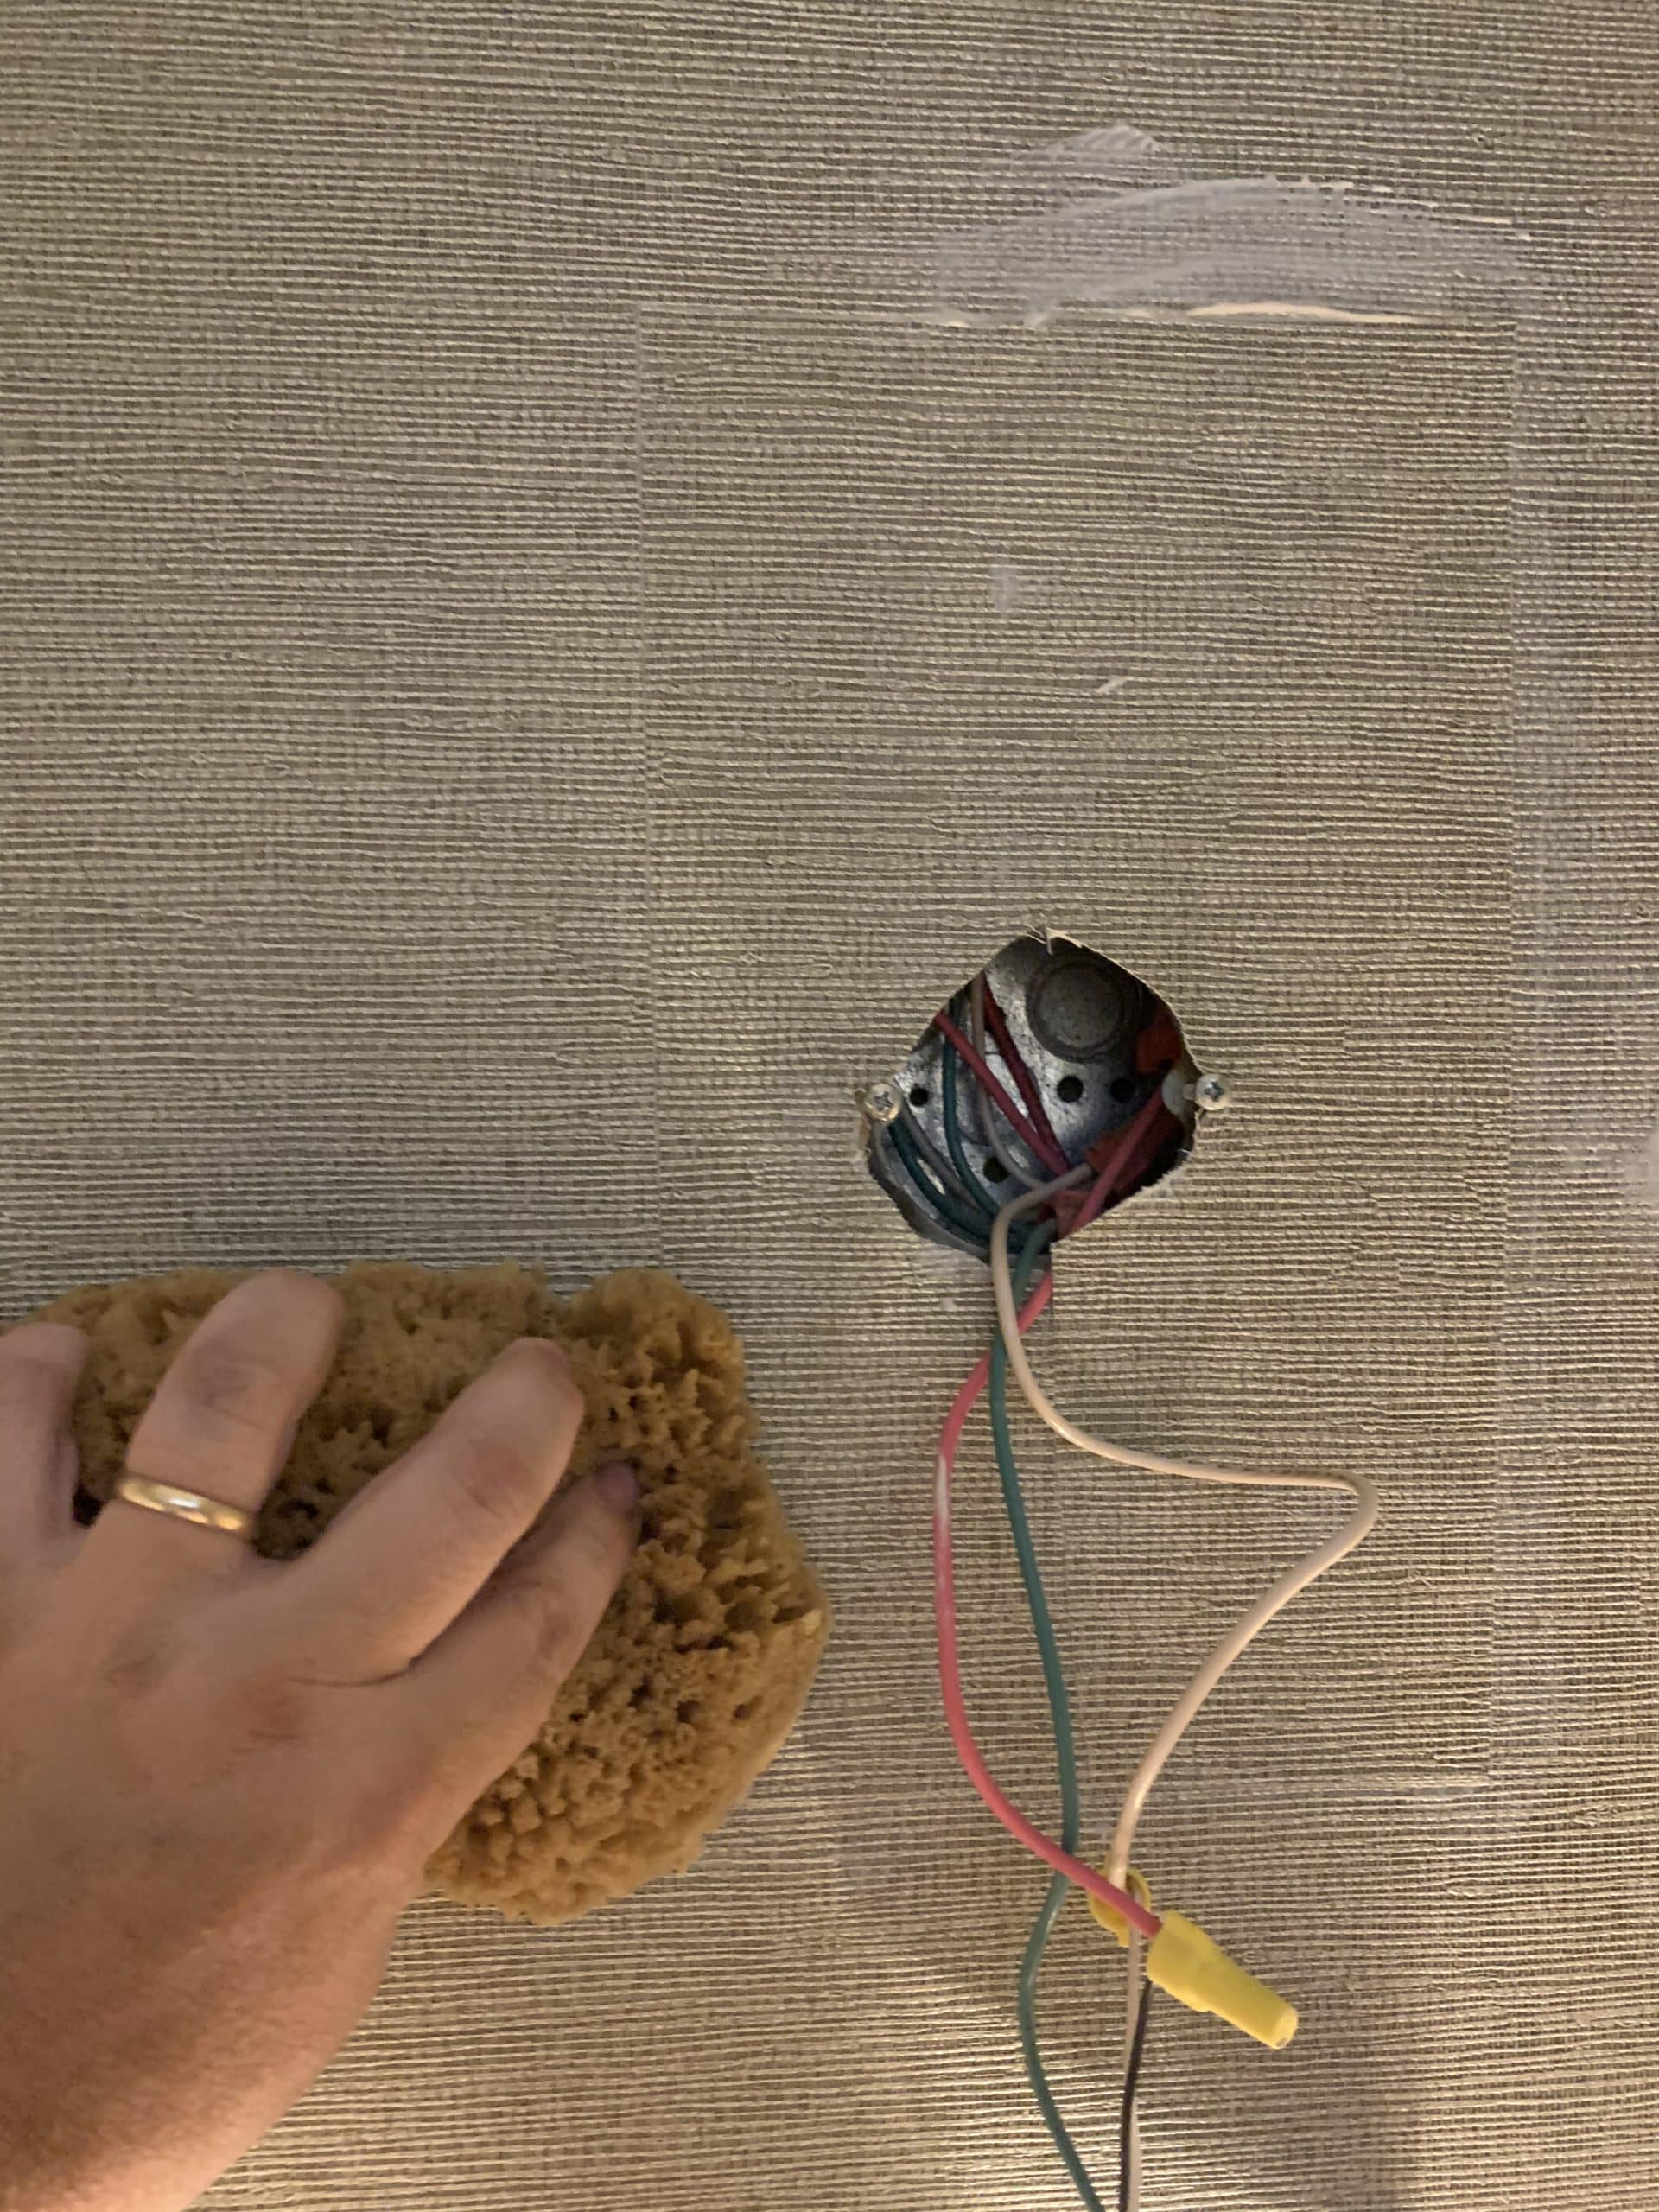
- It is now time that you pull the patch from the wall and set it aside (glued side up). Also, we can remove the old wallpaper piece.
- Are you ready to see how well you did? Place that patch onto the area where you just removed the wallpaper. Again, it will look like this:
- Use a sponge to squeeze excess glue and to smooth the wallpaper to the wall and wipe away excess glue.
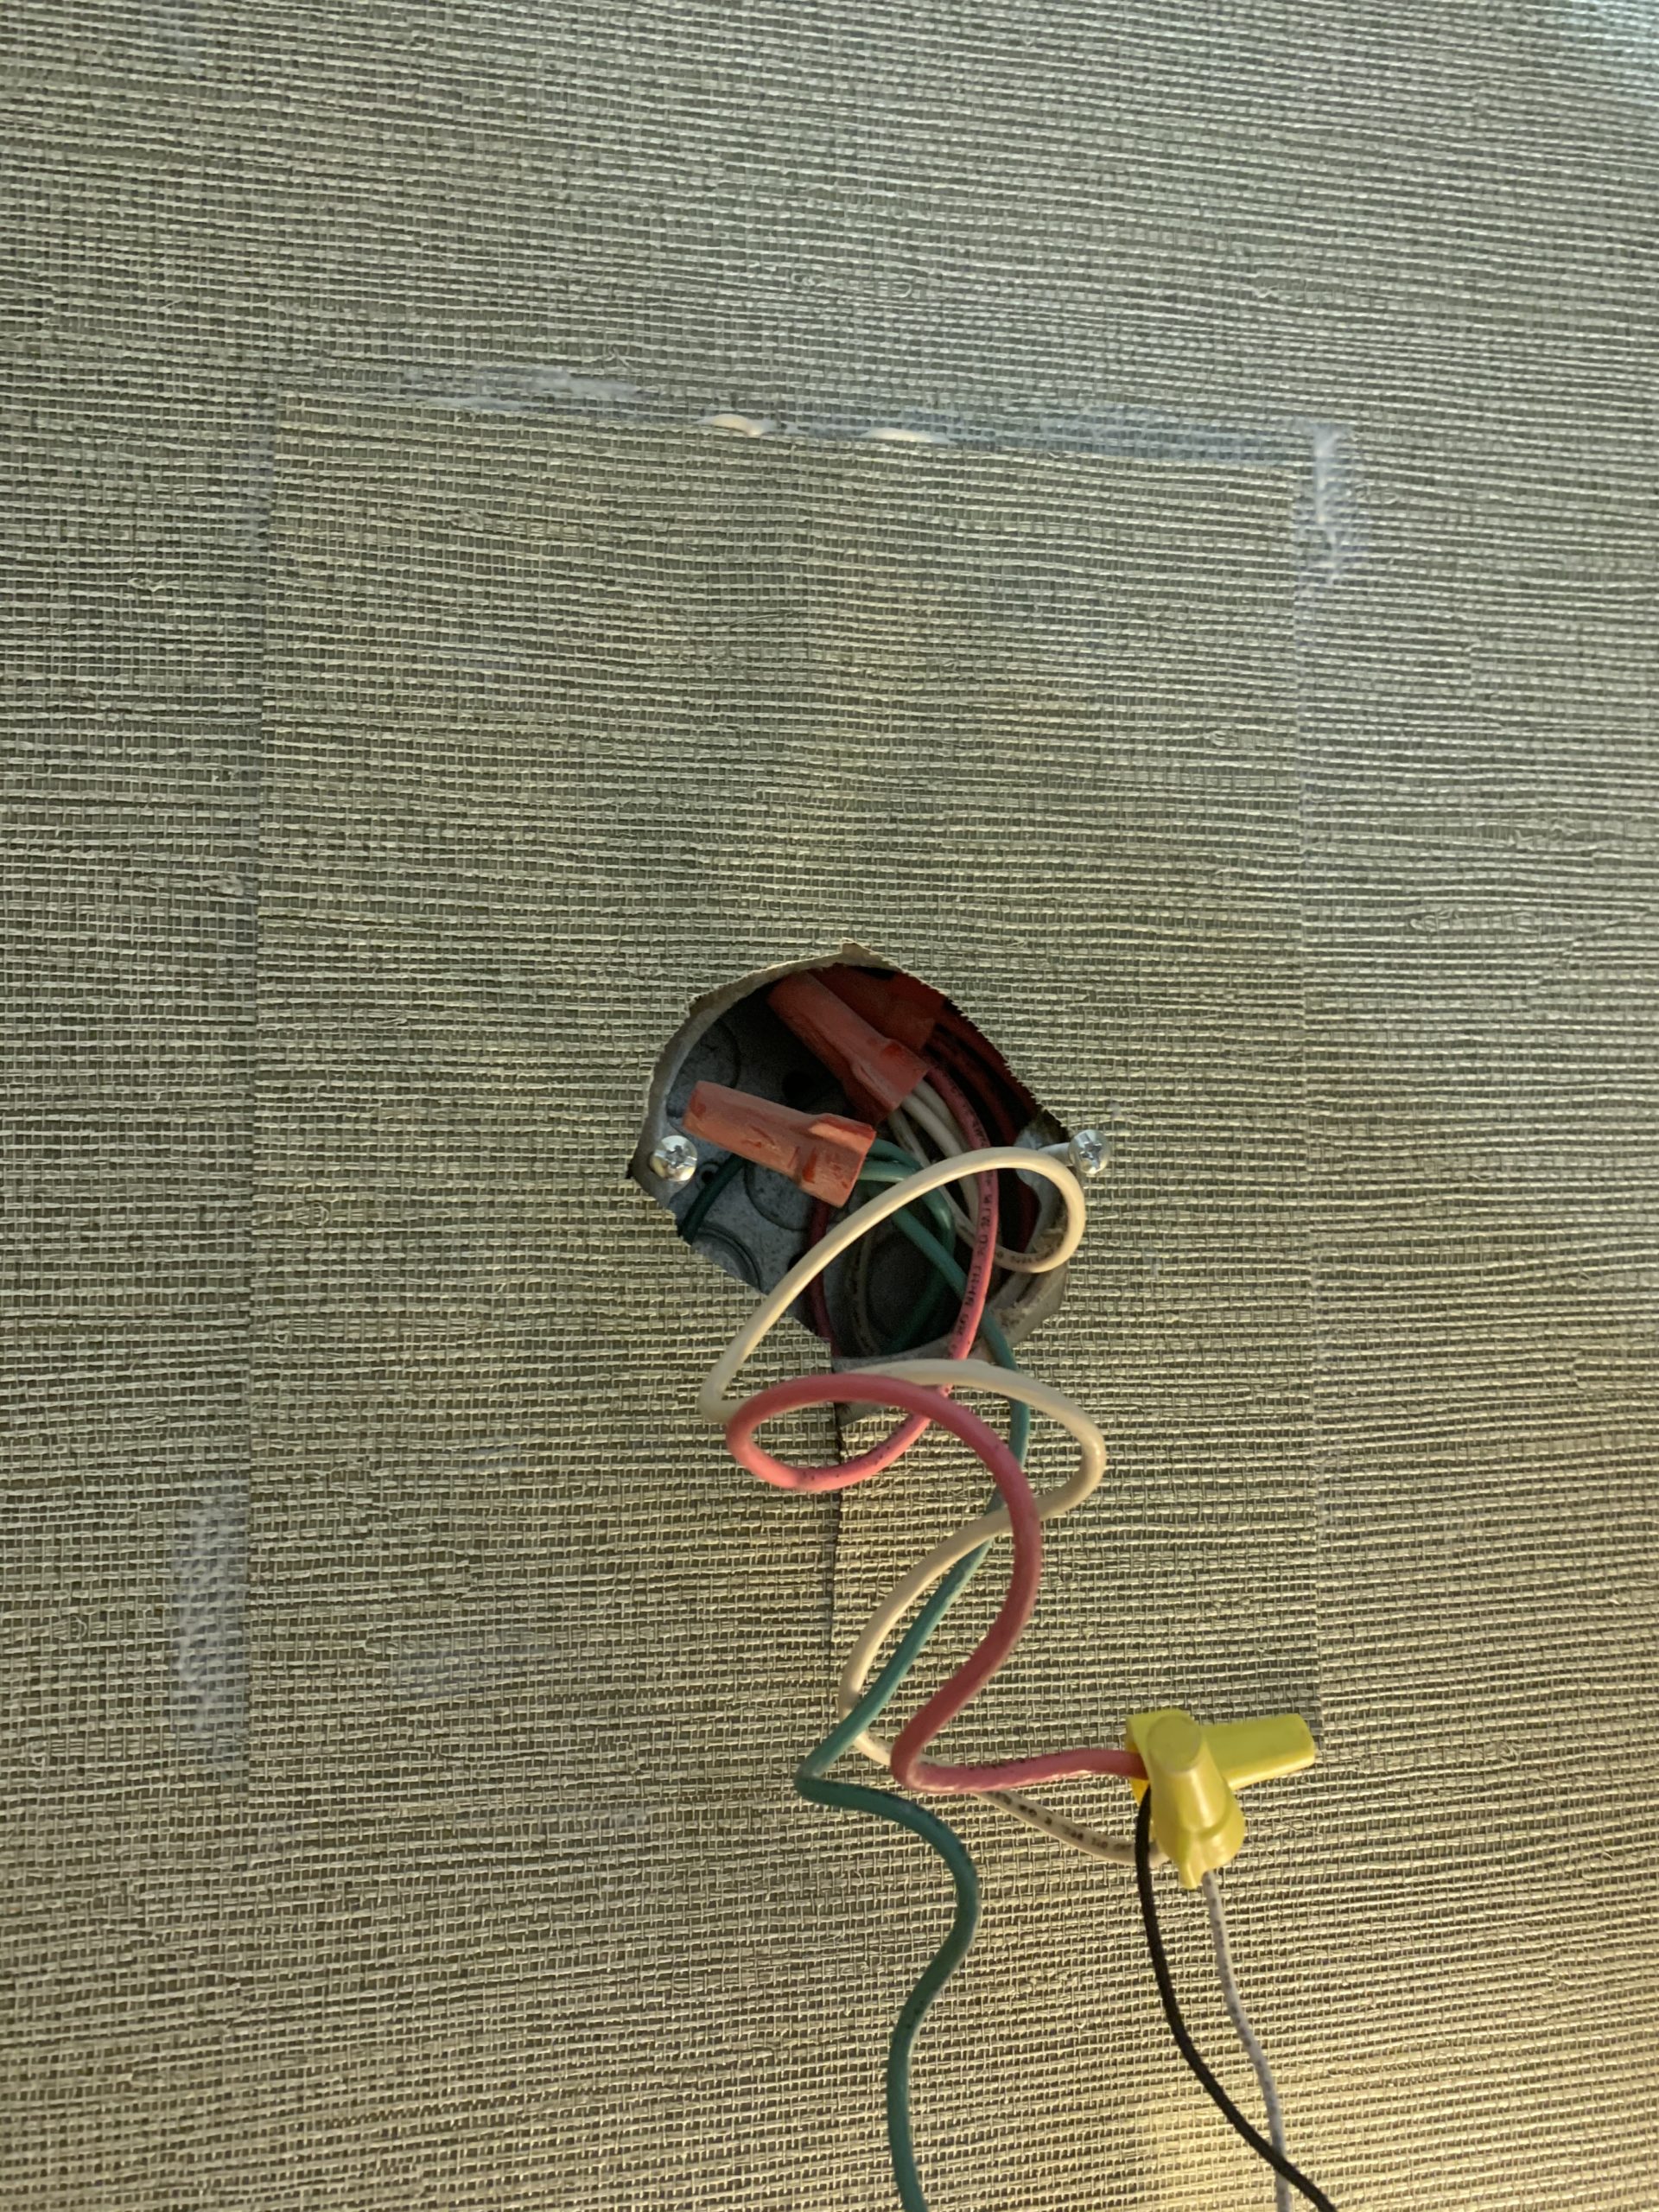
- Take a step back. How does it look? You will see lines. There is nothing you can do about that. However, I am sure it looks much better than the hole you saw before starting.
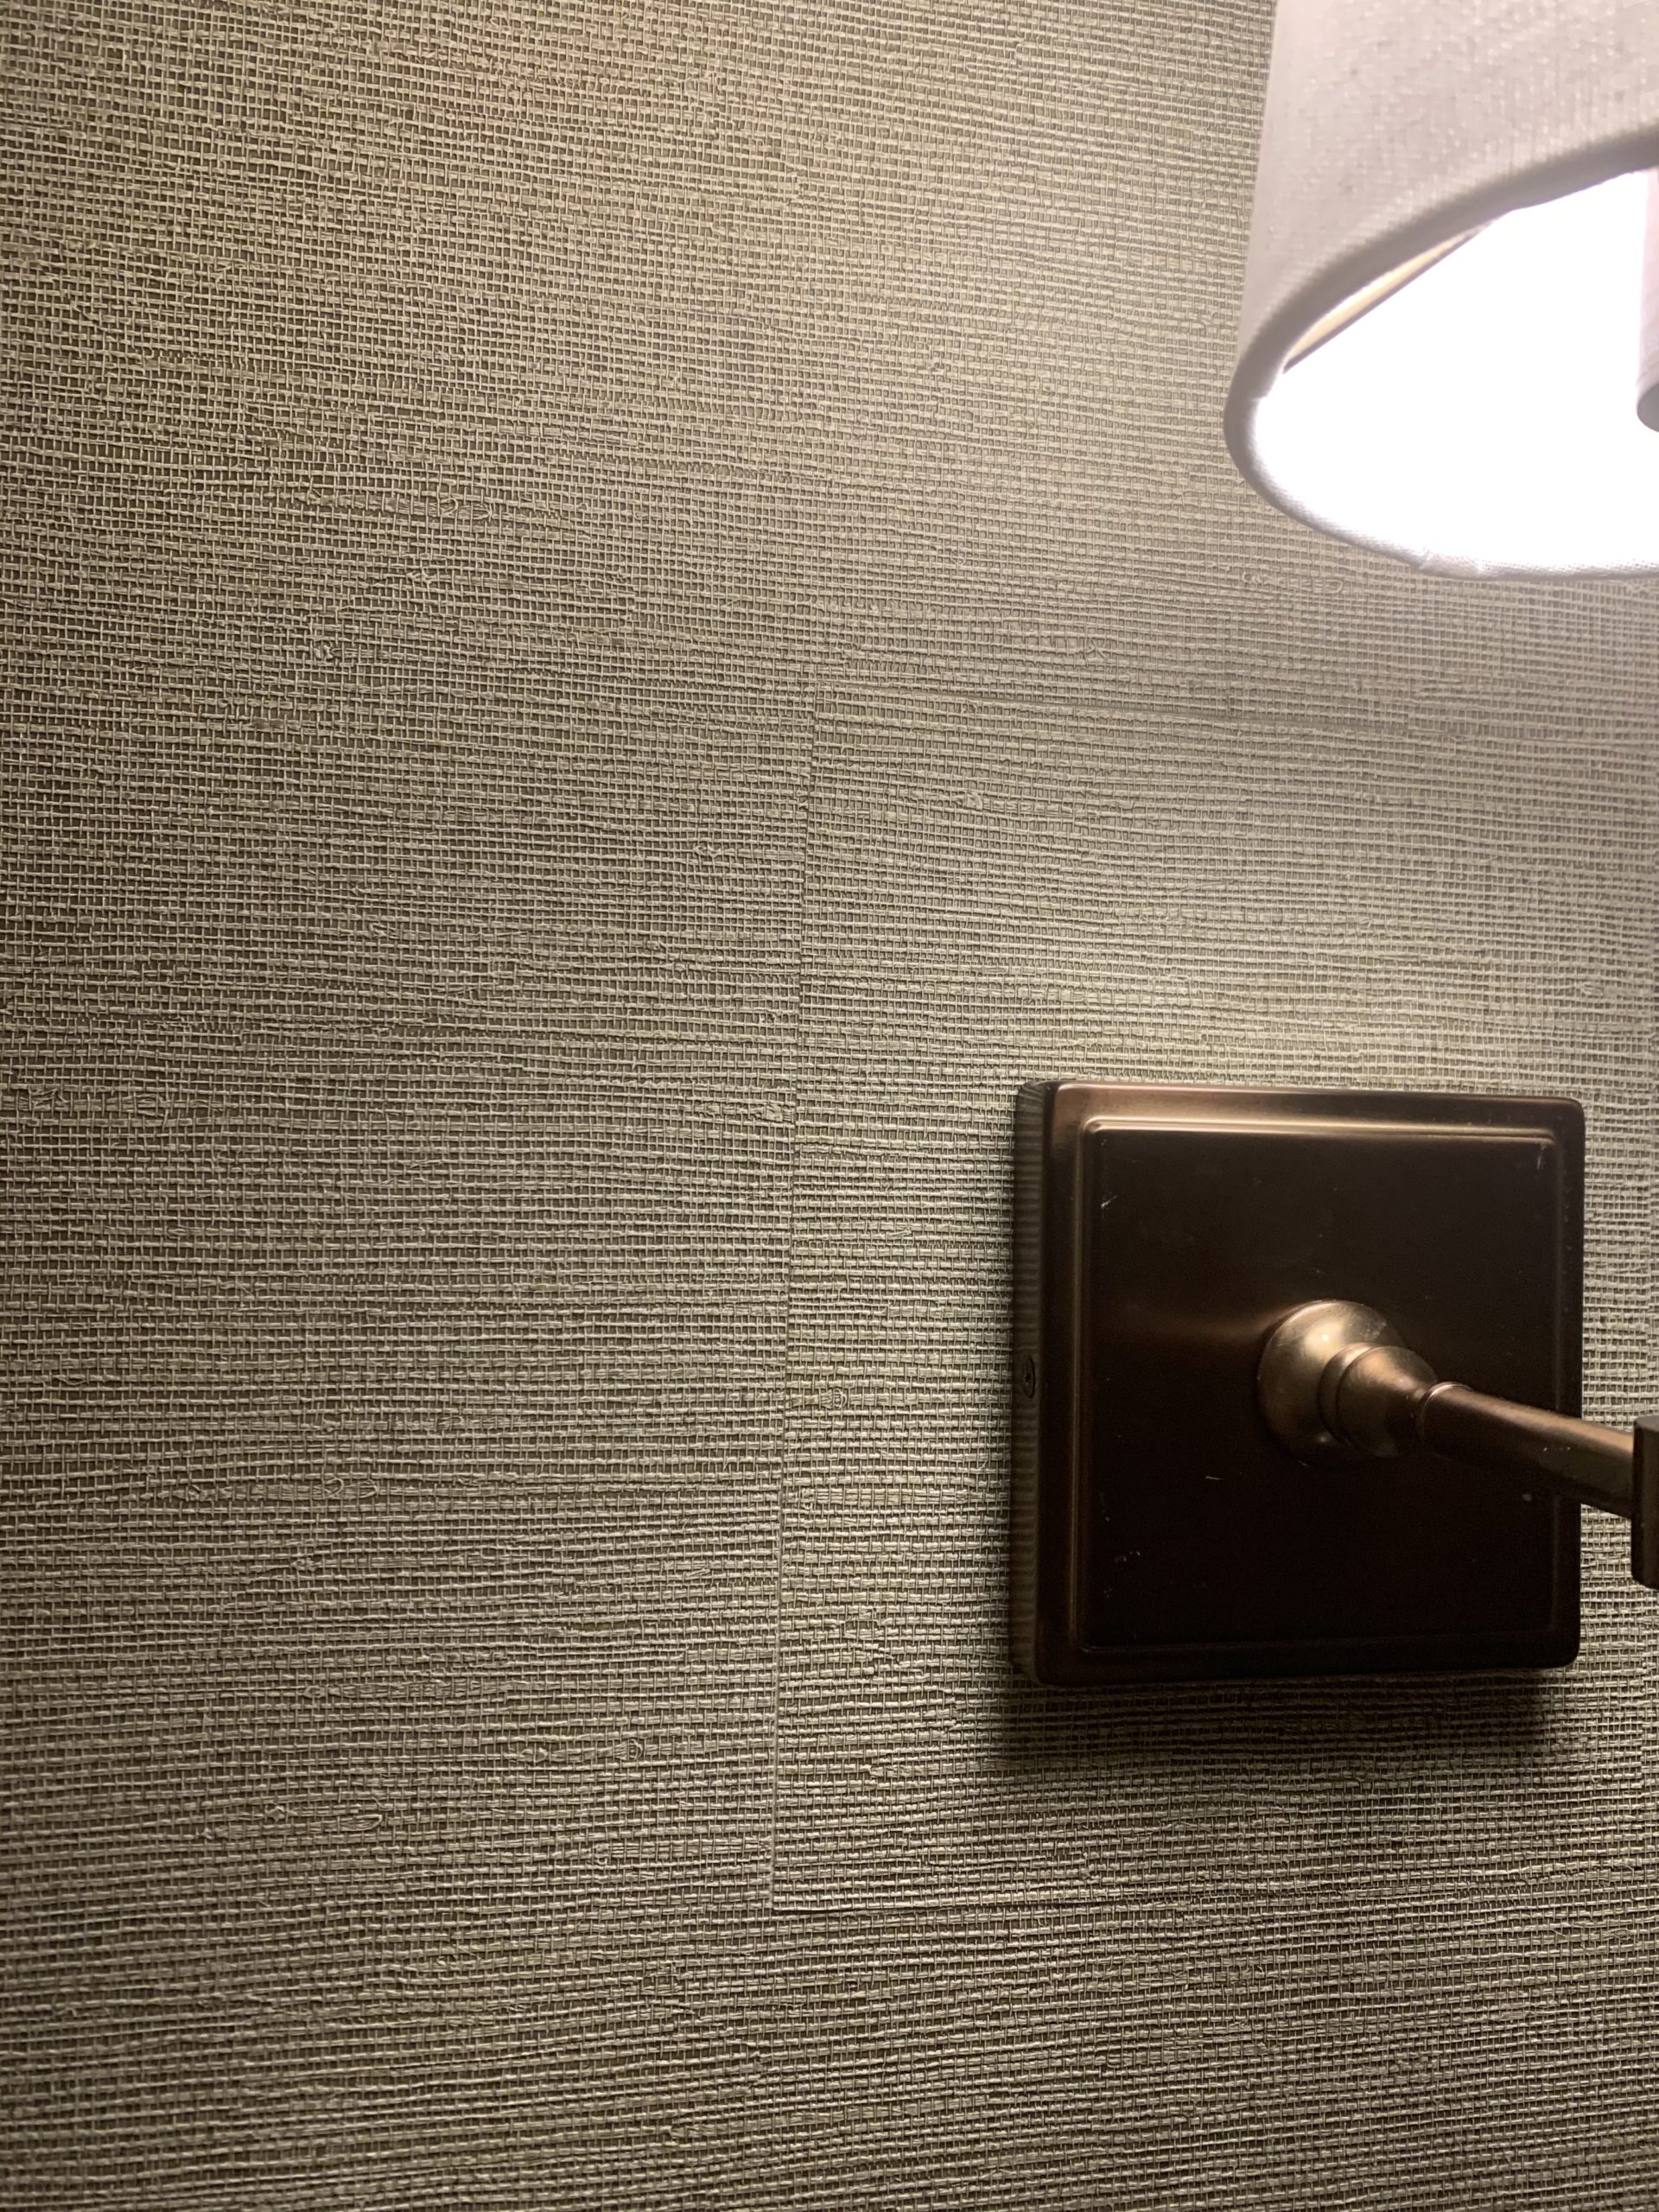
How does your wallpaper patch look?
I hope it looks great! We would love to see how you did. Let us know if this helped you out! As promised at the start, we did a video of ourselves doing this as well.
Here is a video of repairing wallpaper around a new light fixture:
Now you know How to patch wallpaper around a new light fixture! How else can we help you with your wallpaper installation, repairs, or removal? Let us know how we can help you love the space you’re in!
Get Your Free Estimate
Our team will provide a free virtual estimate during a time that is convenient for you.
Book TodayRefer a Friend
Do you know a friend that is in need of painting, wallpaper or cabinet refinishing? Earn D'franco Dollars for each referral
Learn More