How to Stain a Fiberglass Woodgrain Door

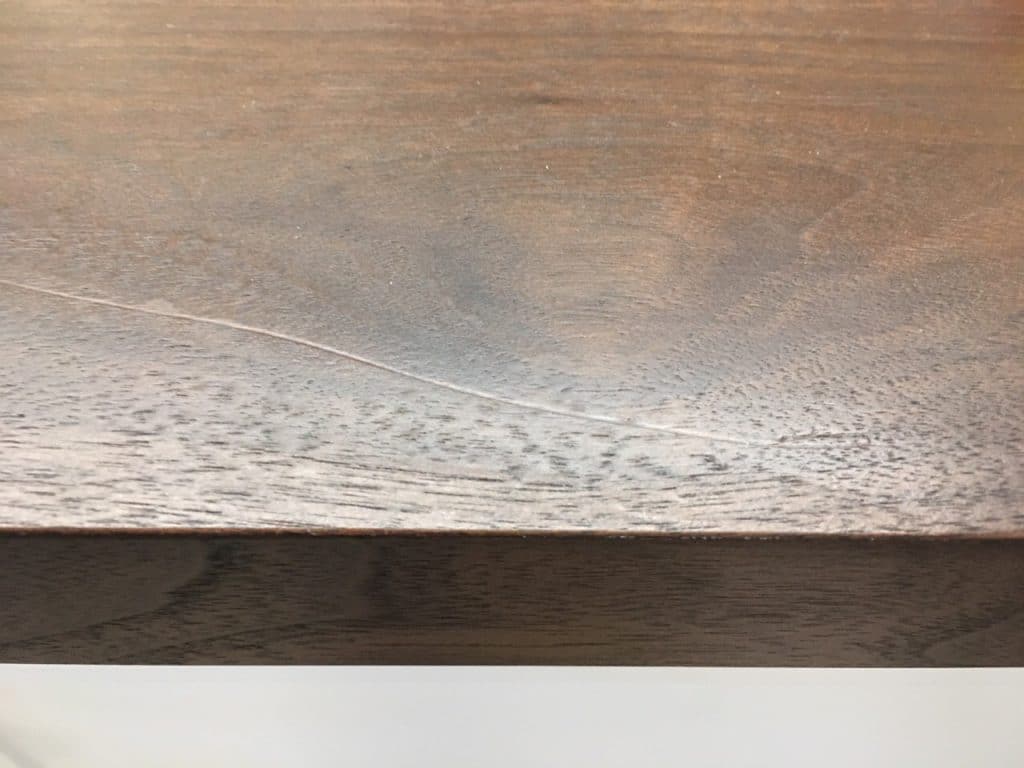
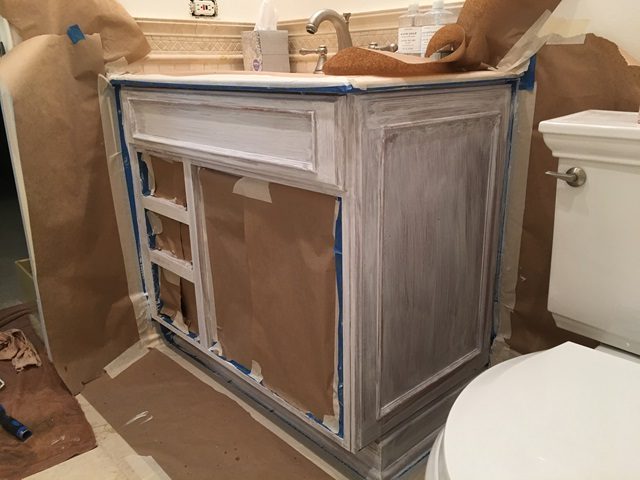
If you own a home, that means you have a front door. The front doors of homes usually take the brunt of weather and wear and tear of peoples homes. So it is important that you maintain it.

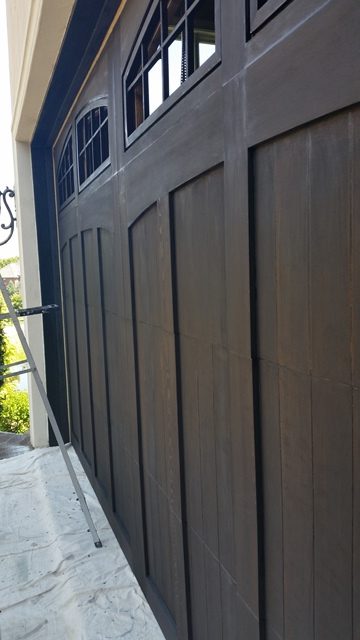
Hello Everyone! David with Dfranco Painitng and Wallpaper here in Huntley, IL, and as we are getting into warmer weather (March) it is time to start thinking of exterior projects that need to be done. Here is one door of many that will need attention this year, and if you are in the Elgin, Algionquin, St. Charles or other suburbs of Chicago, we can help breath new life in that door to give long lasting results.

staining a fiberglass door

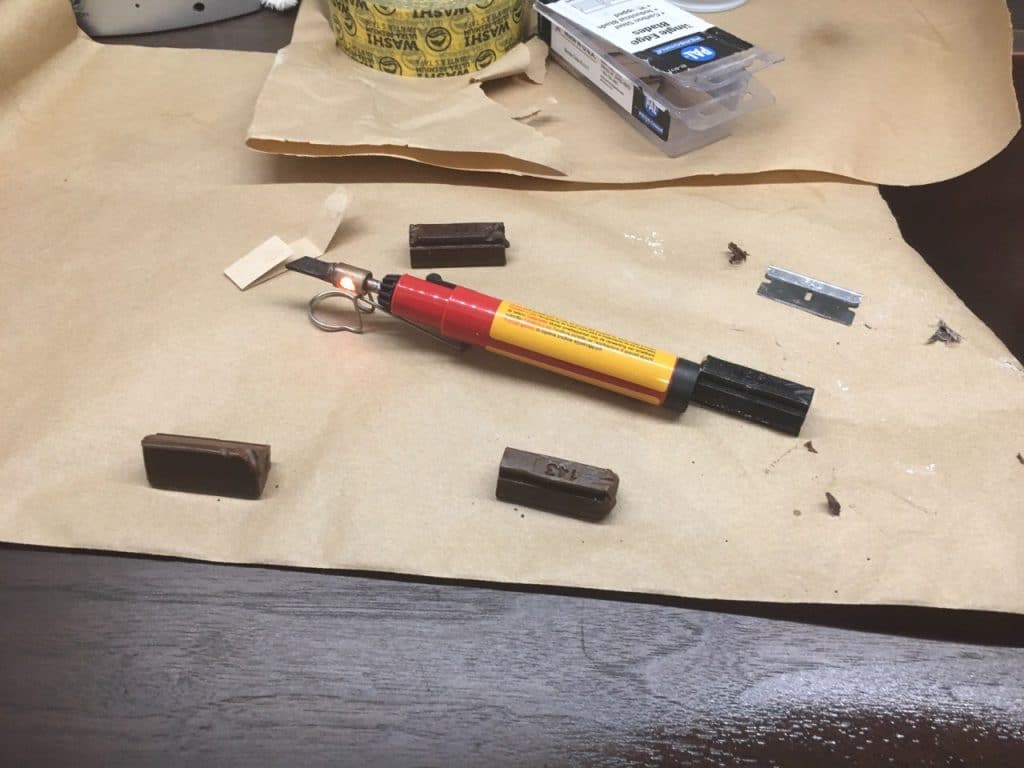
What you need to stain a fiberglass door

So you have seen the video, maybe you skipped it, it is ok- here is a quick list of what you will need for your door staining project:

  • a warm day with no rain
  • rags
  • masking tape
  • inexpensive paint brush
  • sandpaper
  • denatured alcohol
  • drop cloths
  • rubber gloves
  • Slotted and Philips screwdriver
  • Gel stain
  • a clear sealer for the door

Cleaning your door before you start staining

A warm day with no rain is a must. If it is overcast, that is the best. A bright sunny day is great for being outside but can make things difficult to use a gel stain. The sun will cause the stain to dry quickly. The drying will make it difficult to keep the stain flowing on the door eliminating spots or streaks.

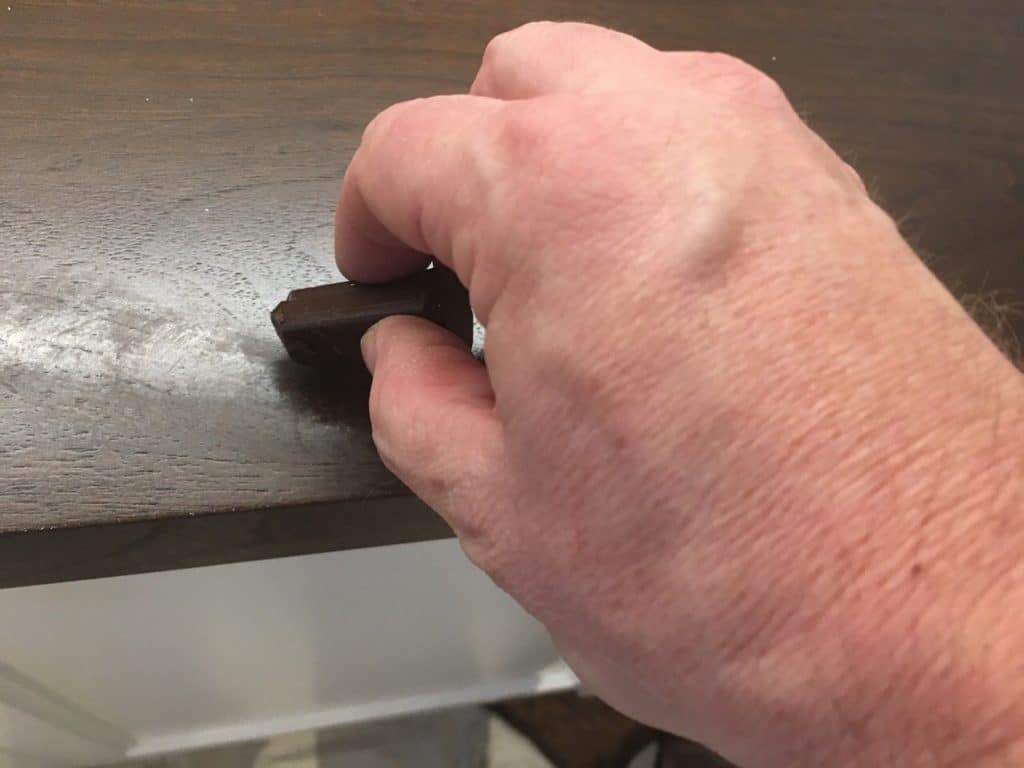
Get clean! You can use a hose a few days before to wash the door off from cobwebs, dirt, and grime.  If you use water and soap give the door a full day to dry off. Otherwise, dust the door off with a clean rag.  Use your sandpaper to lightly scuff the door (if there are any areas that are peeling if must all be removed). Once the door is sanded, use the Denatured Alcohol to wipe the door off.

Staining your door

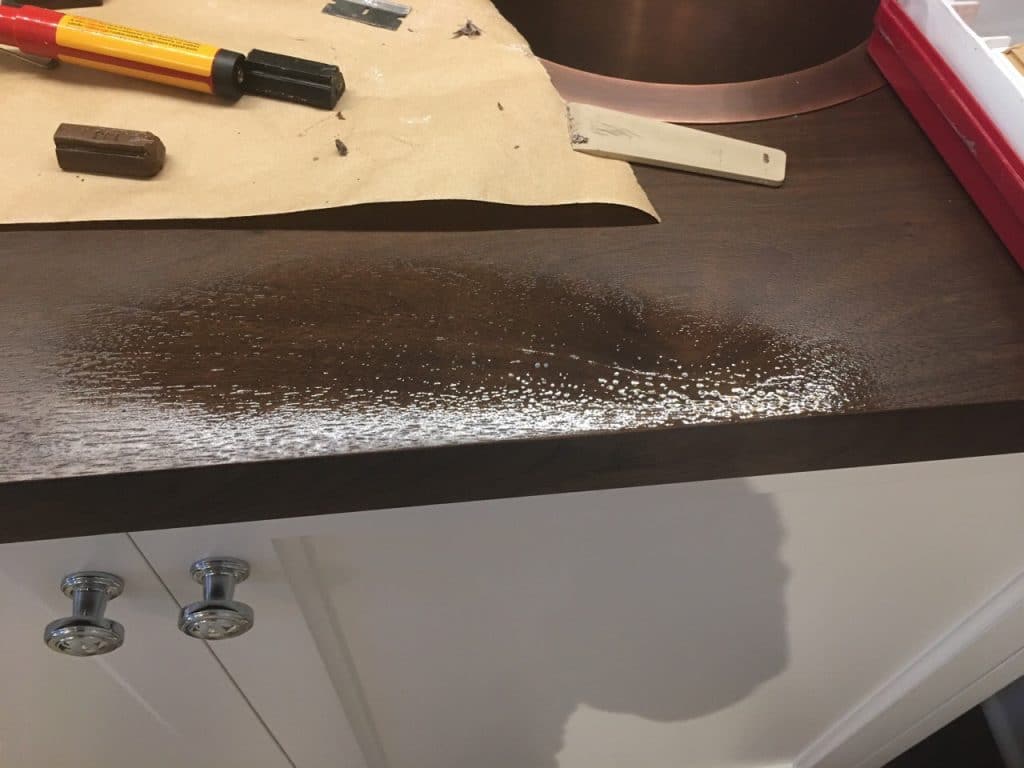
Are you Ready? Now we must get everything ready for stain. Use the masking tape and mask off the glass (if you have any). Mask the hinges if you are doing the inside of the door.  Mask the areas that will not be stained. Remove the door handle and lock set.

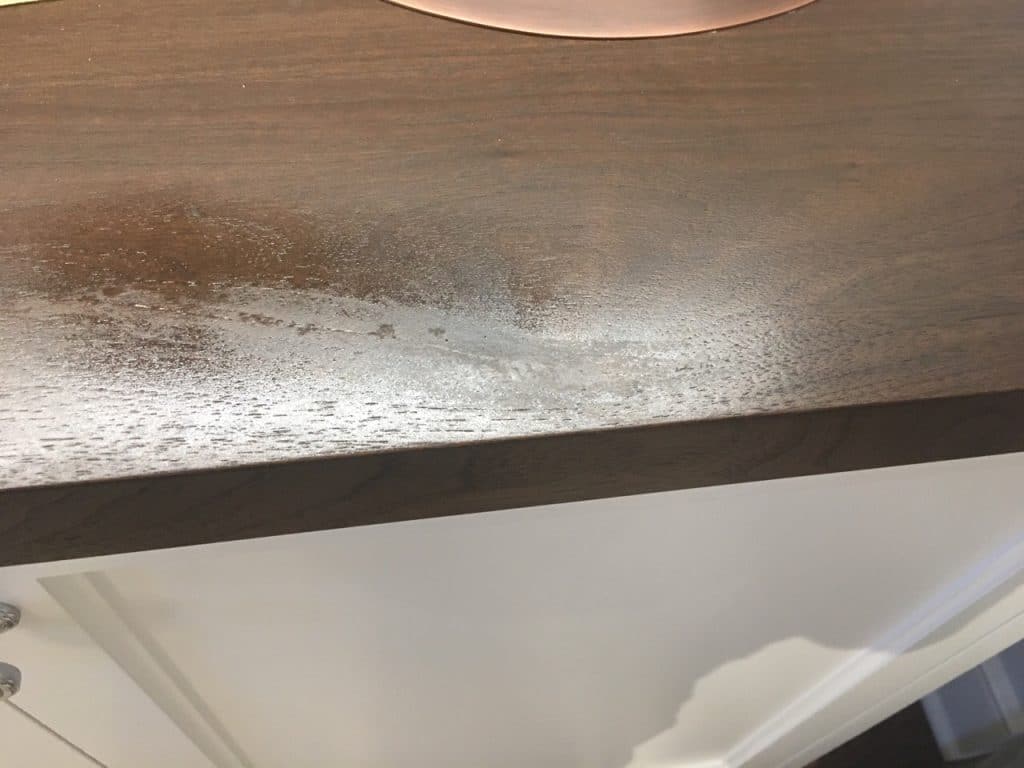
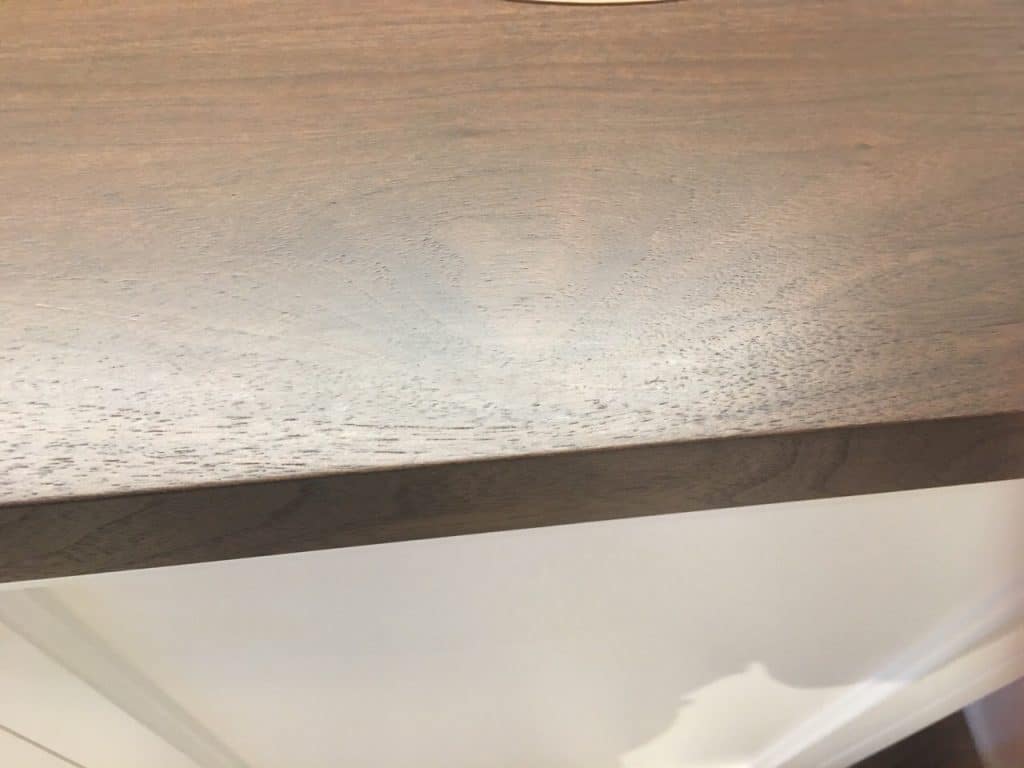
Get some color!  I am assuming at this point you already have the color of the stain that you want for the door. I use gel stain for the fiberglass doors. You can google the reason why you will see other methods -this is what works for Dfranco Painting and Wallpaper and what we will warranty.  The gel stain goes far. Most of the time a quart is twice as much as you need. Gel stains don’t go bad as fast as other materials so when it is time to do it again you have it.

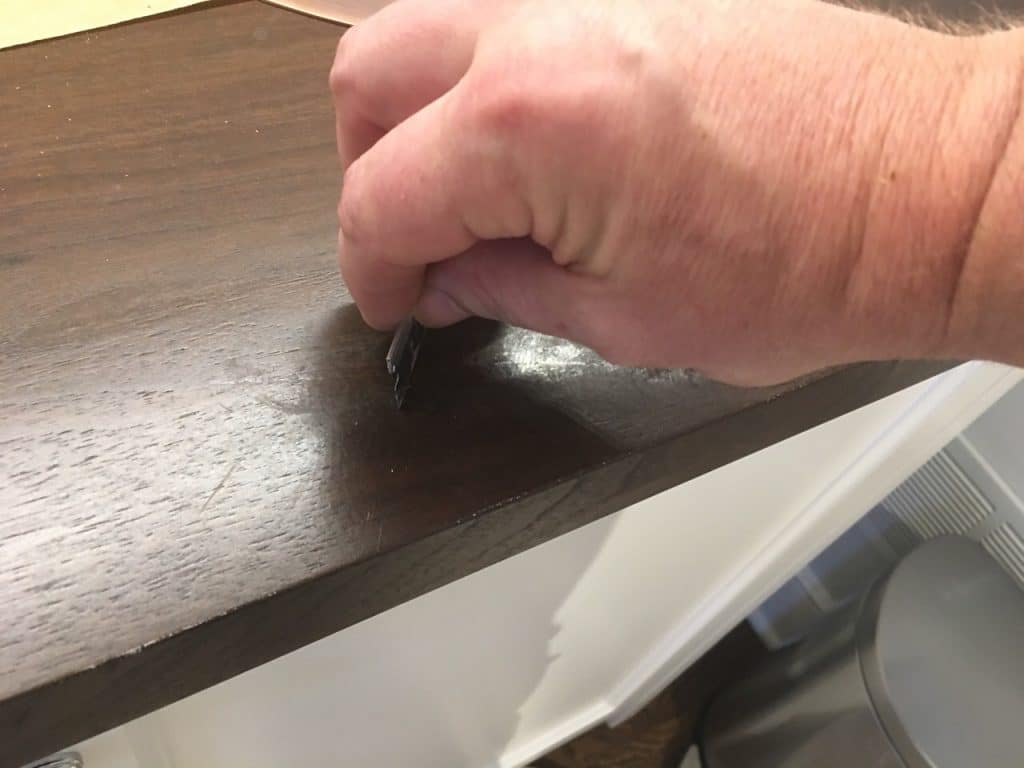
GO! Taking your brush, find a spot, lower corners work the best, they are small for starting out to you can apply a SMALL amount of stain on the brush. Work the brush/stain back and forth on the door surface to see/feel the way it moves, how much you need, and you need to wipe it off etc.

quick video of gel staining fiberglass door

I like using small amounts on the edge of the paint brush and just keep working it back and forth to get into all of the nooks and grains of the door. The excess will work it’s way into the brush as you go along. Section of the door and keep moving don’t go to lunch in the middle of this project. Keep the stain wet, working into the wet edges as you go don’t go from the middle of the door to an area you jut stained it will not blend as well.

Clear coating your exterior door

Once the stain is dry -THAT MEANS 12-24 Hours! , then you can apply a clear coat to the stained areas.  I like the Modern Masters clear UV coat. It is the blue can.  It goes on well and works with all types of stains and paints.  The other one I have started to use and am really liking is Epifans.

You can reach me at david@dfrancopainting.com or contact us for any wallpaper, cabinet refinishing, or wallpaper installation!

How to Repair Scratches in Wood

cabinet refinishing geneva - wood refinishing

Scratches on the Wood Top

Do have scratches on your wood furniture? Scratches on wood can be difficult to remove. Keep reading and see how we can help you make your furniture look new.

 After seeing the scratches on the wood top in this photo, we had to tackle how to repair the scratch. Shallow wood scratches can be hard to repair. It can be hard to get patching materials to stick.

Repairing Scratches in Wood

cabinet refinishing geneva - cabinet refinishers

What We Use to Fix Wood Scratches

The materials used for this repair were hot wax sticks. The sticks are hard waxes that when melt, adhere to wood surfaces.

To start we have to clean the wood tops with Denatured Alcohol. Then we use a sandpaper that helps materials adhere to the surface. For this project, we used 400 grit sandpaper.

cabinet refinishers - cabinet refinishing st. charles

Adding Wax to Scratches in Wood

Using the different colors, we match the colors to the wood. The tool we used was a hot knife, this melts the wax into the scratch.

cabinet refinishing st. charles - how to refinish cabinets

We Are Sealing the Wood Surface

Here we are using a sealer to make sure the repairs blend into the previous finish.

how to refinish cabinets - cabinet refinishing geneva

Using a Razor Blade, We Scrape the Surface Smooth

By using a razor blade, we scrape the surface clean and flat. This creates a flat uniform area that blends perfectly with the existing wood surface.

cabinet refinishing geneva - repairing cabinets

Clear coat applied with spray applicator

repairing cabinets - repairing scratches in wood

Scratches are Gone!

After the clear coat is dry, the scratch is gone!

Here is a short video of the repair:

We come across many people that get frustrated with the looks of their damaged wood counters and furniture pieces. We offer an easy way to restore and make things look new again! Repairing scratches in wood is what we do!

Give us a call at 847-553-1726  to see how we can help you love the house you live in.

Take a look at another post on wood repairs.

How to Paint a Vanity Cabinet

How Do You Paint Your Vanity Cabinet?

You think it’s easy, right? Not exactly. We will show you pictures and then give you a link to a video on some issues you can face–especially with bathrooms.

When we start refinishing or painting a vanity cabinet, the biggest issue is getting them clean! The picture below is a vanity that we have sanded with 220 grit sandpaper, then filled some holes with filler, and have taped it off so we can spray it with primer and paint.

How to paint a vanity cabinet - repairing cabinets

Vanity sanded, getting ready for primer.

Prior to painting we “sanitize” it with denatured alcohol. This will remove any oils from our fingerprints and other types of contaminants that may be on the cabinet surfaces. Then we get the primer on. (It is a great habit to use rubber gloves while working to keep your fingerprints and dirt from hands off the surface.)

cabinet refinishing geneva - cabinet refinishing st. charles

Priming your cabinet.

We are a fan of the ML Campbell line of products.  You can click the name of the website and the many advantages of this product. Once dry, we give it a quick sand with 320 sandpaper. You have to vacuum the surface to remove the dust from the sanding.

Once you have primed and sanded you can run into problems of the product not adhering properly to the cabinet surface.  Click the link to see the video and what an adhesion problem looks like.  We had to then re-sand the areas and prime with a shellac based product to really block the problem area. Some woods (oak) are very porous. It is almost impossible to remove contaminants from them.  Hair care products can be very difficult to seal or block so a surface can be painted as well.

With everything cleaned, we paint!

cabinet refinishers - repairing cabinets

A painted cabinet.

Now just add the doors, install the toilet paper holder and this is ready to use!

repainted vanity cabinet - cabinet refinishing elgin

Painted vanity.

A great way to repurpose your existing vanities and kitchen cabinets is to paint them. Use the right materials, make sure you prepare the surface for paint the right way as well. You will have years of enjoyment and you will love that room all over again!

D’franco Painting & Wallpaper for your house and business! Let us know how we can help you. Call us now: 847-553-1726

Want a free estimate? Click on the top right button or call now!

How to Refinish your Wooden Garage Doors

Do you have Wooden Garage Doors?

If you do, then you know that those doors don’t take long for the colors to start to fade, or for the water to start to sink in instead of beading away and the surface to take on that white caulky film. At this point, you would be looking to have your wood doors refinished.

Last fall, we took on refinishing two sets of wooden garage doors that needed some help. The doors were starting to peel, there were some knicks, dings and that white caulk was starting to appear and take over.

We started our work with sanding the doors from the previous coatings. The clear coats and stain were not the easiest to get off. With our Festool Orbital Sanders and 60 Grit Sandpaper, it took two days

sanding wooden doors - garage

starting the sanding process

wood doors refinished - sanded garage doors - bare wood

both the doors have been sanded down to bare wood.

small sander - wood doors refinished

here we used small sander to get into the tight areas.

With the doors completely sanded down to bare wood, we were ready to start staining them. But then we saw the edges behind the door seals, so we made sure we sanded those down to bare wood as well.

wood doors refinished - behind door seals

getting the wood ready behind the door seals

Staining Wooden Garage Doors

Stain! We had to add some conditioner to the stain to make sure the wood took it in uniformly. We used small rollers to apply the stain, then clean rags to remove the excess stain from the surface.

wood doors refinished geneva il - painting garage doors

the stain being applied to the doors

wood doors refinished elgin il

one door completed!

With the doors stained and dry, we started the clear coat. Large doors can be difficult to get a uniform surface coat applied with our streak marks, brush marks, overlapping marks and uneven sheen. We found out that mineral spirits are the best to use in order to thin solvent-based materials. Paint Thinner can be used, but Mineral Spirits are a more pure blend.

I have to admit, we had one issue on this job when it came to the clear coat for the doors. Our original choice of exterior clear coats were not available anymore. So, we used Man O War Urethane. We must have had a bad batch; nothing but problems. Sheen was off, dry times were off, overlap marks and penetration was not what it should have.

After doing some homework, we found a different product that is used for marine boating use – Epifanes! I will never use anything else again! I had to have it shipped because it is not readily available to me, but it was well worth it.

wood doors refinished - painting garage doors

Doors are done!

Do you need help with refinishing your wood doors? Text us, call us or email and see how we can help!

Book Your FREE Estimate
MM slash DD slash YYYY
This field is for validation purposes and should be left unchanged.
close

Your Free Estimate

To help home and businesses owners during this challenging time, we are offering free virtual estimates.

Fill out the form below and we will schedule a time for a free video call estimate.