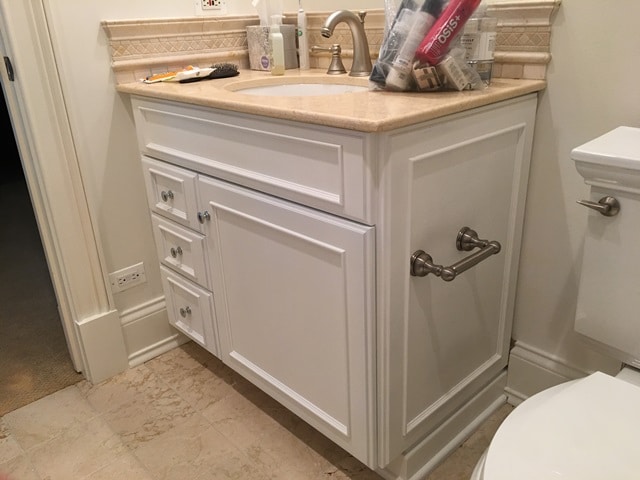


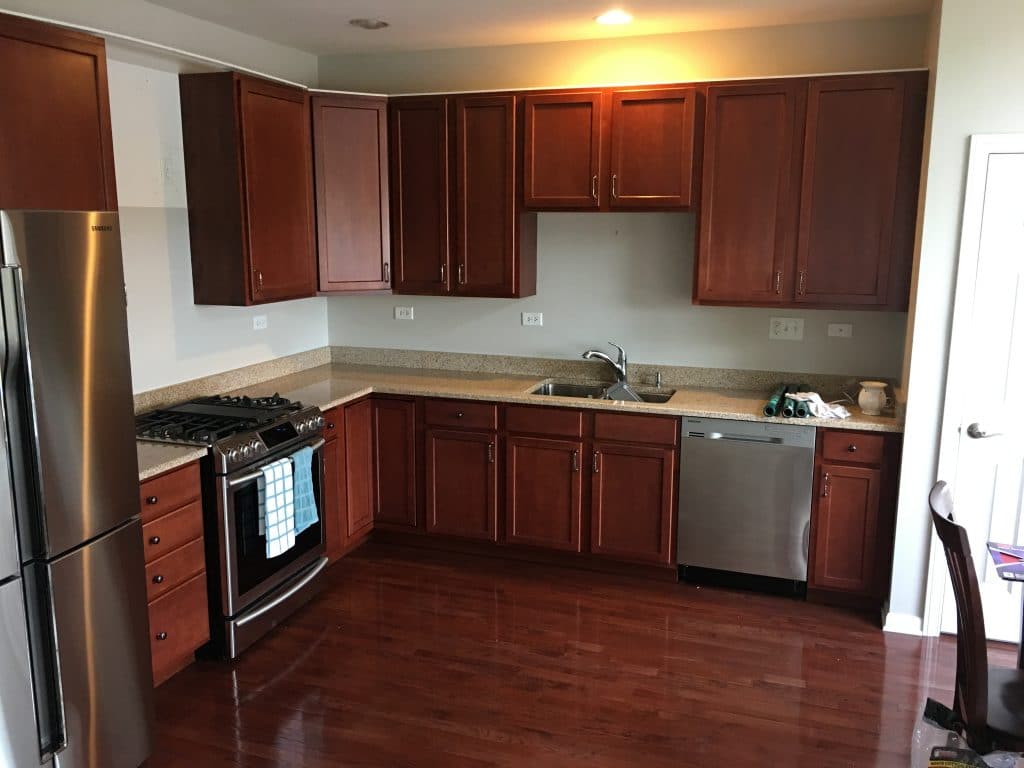
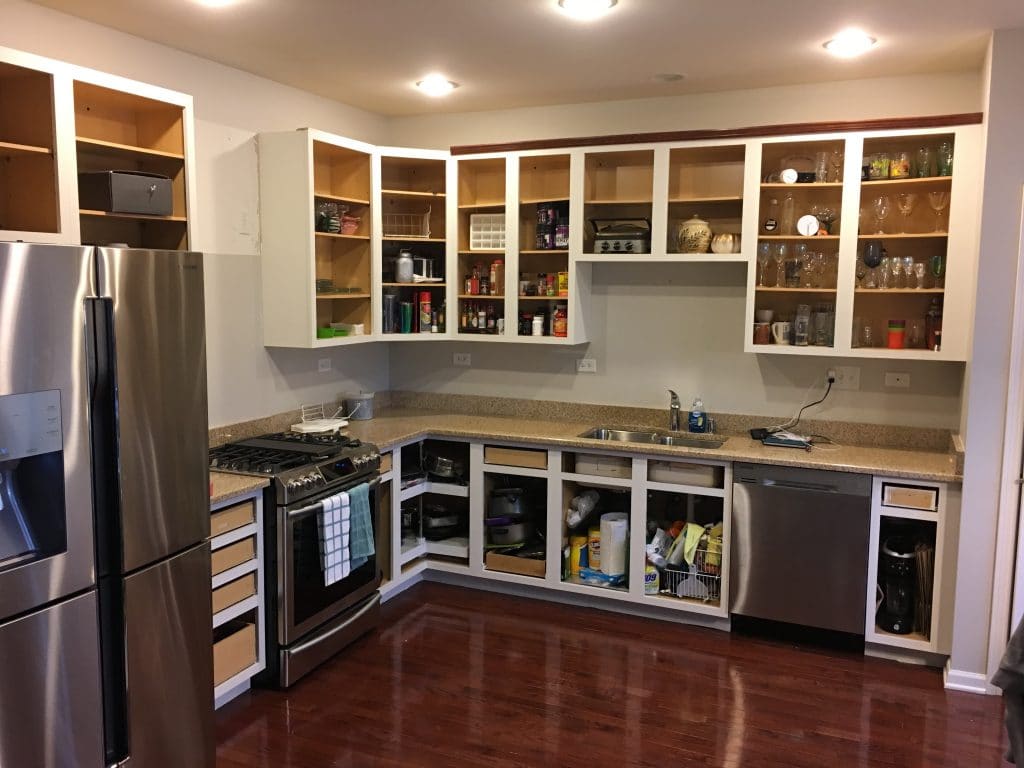
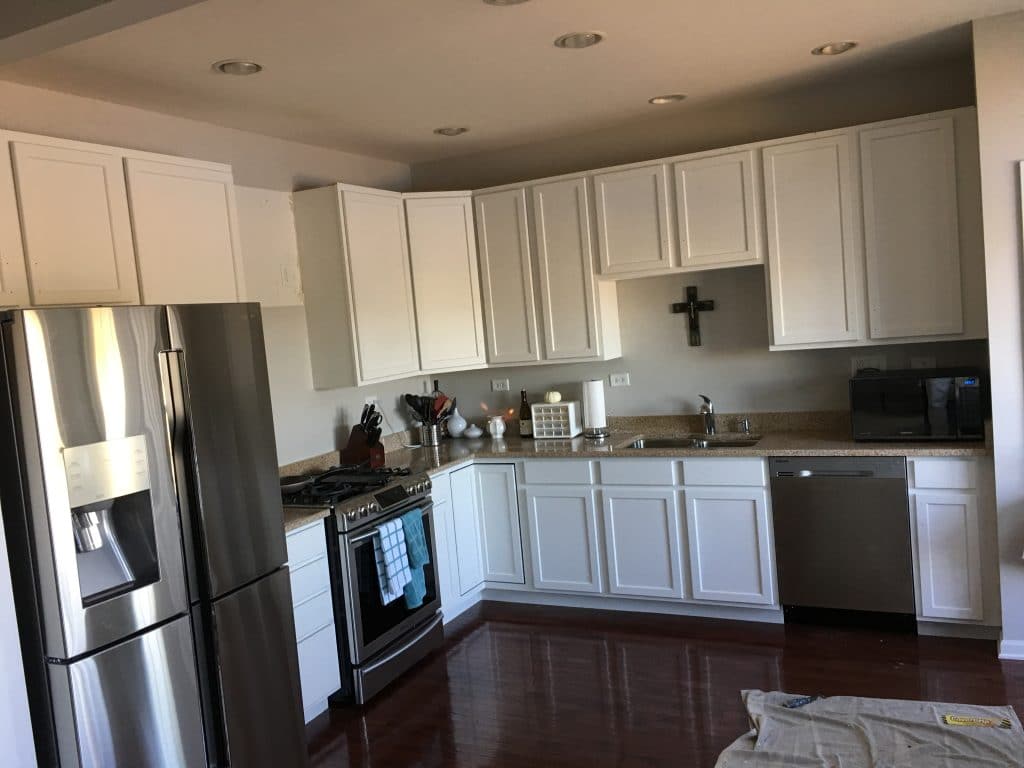
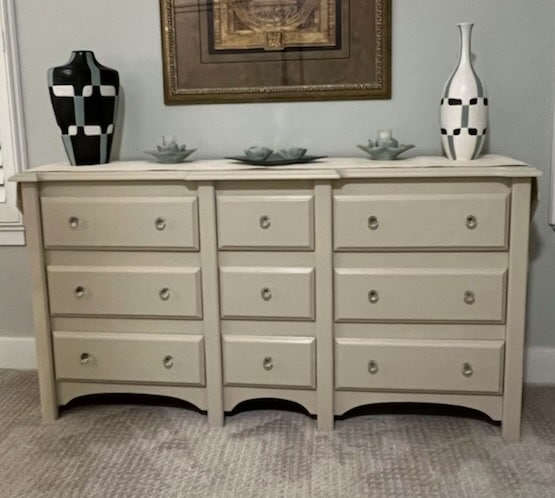
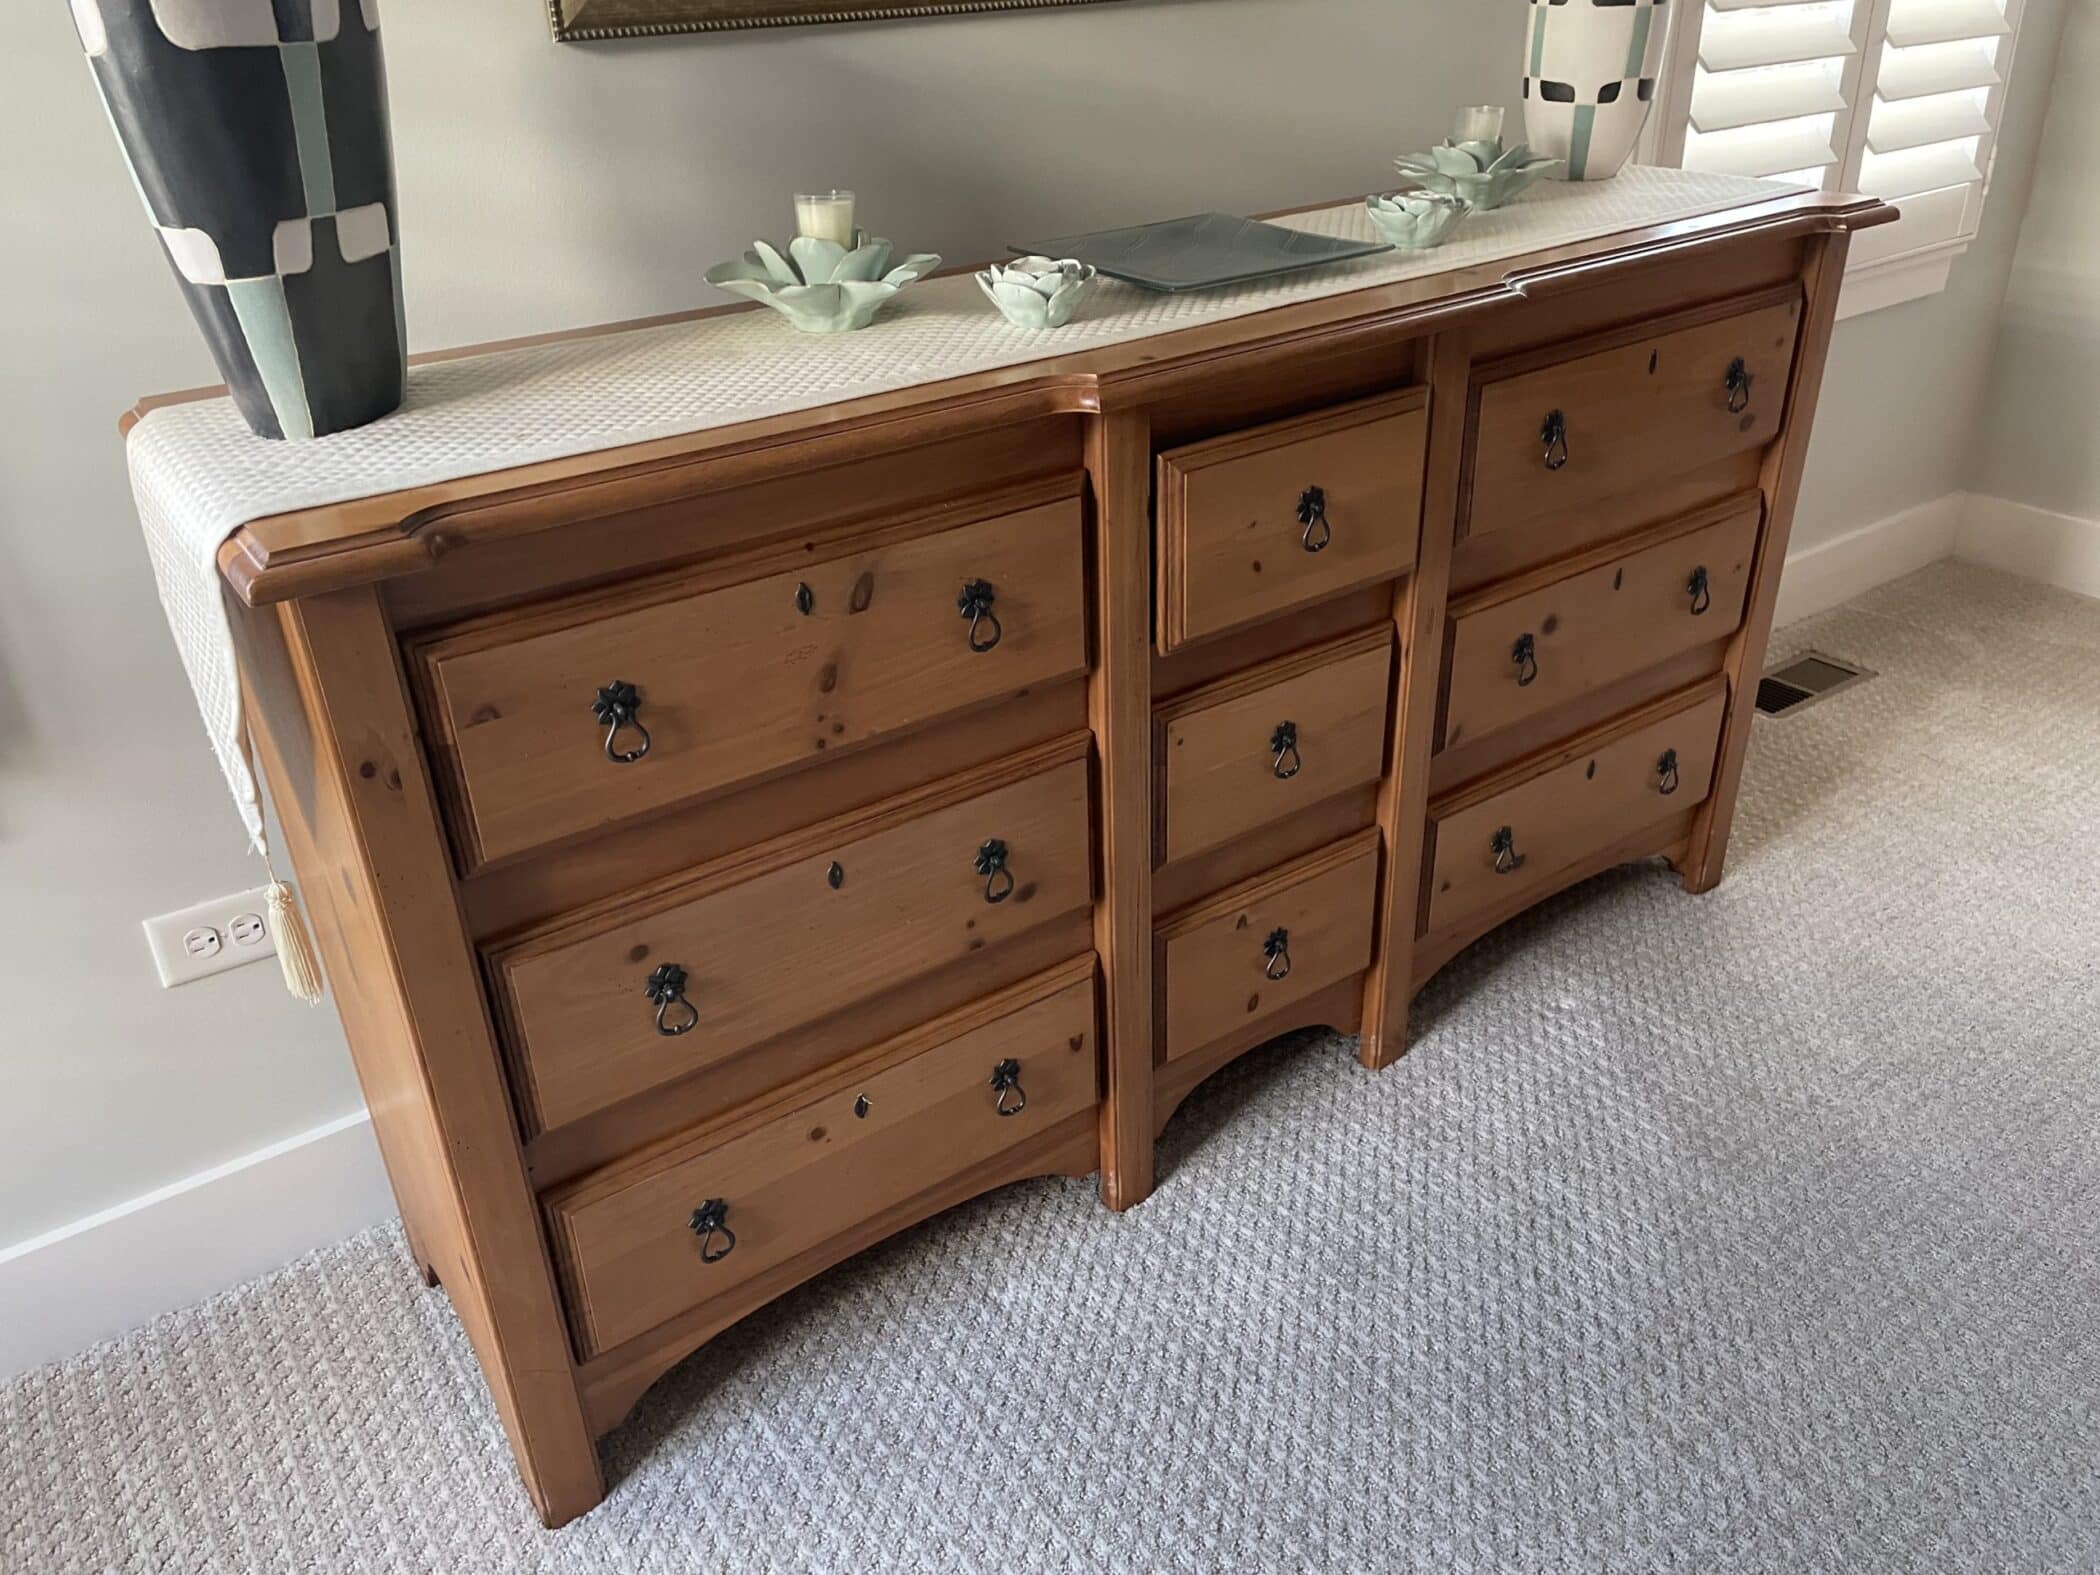
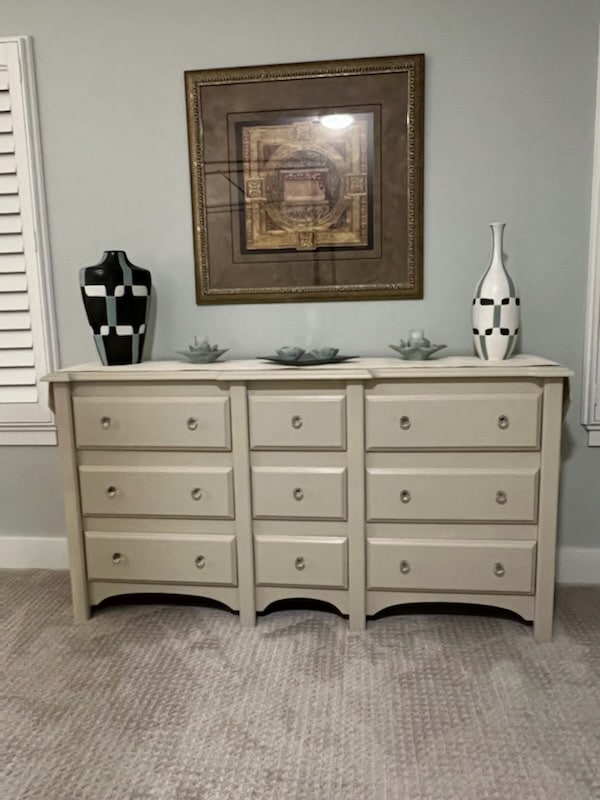
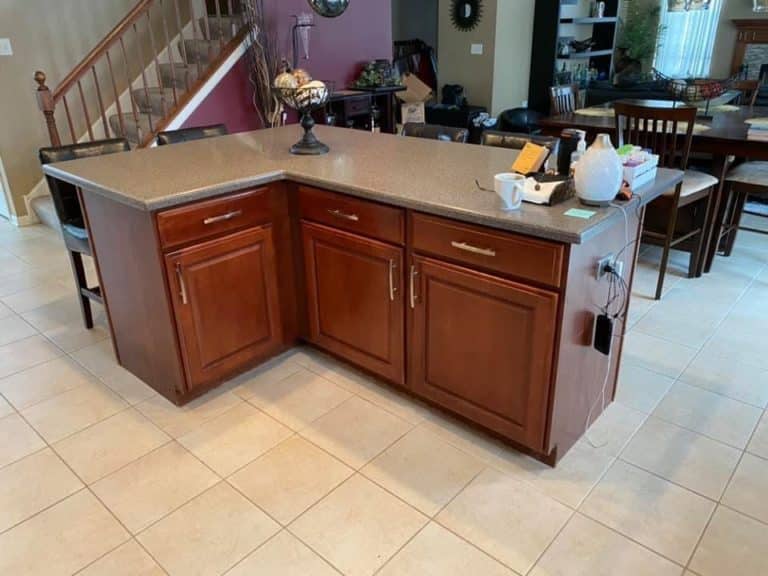
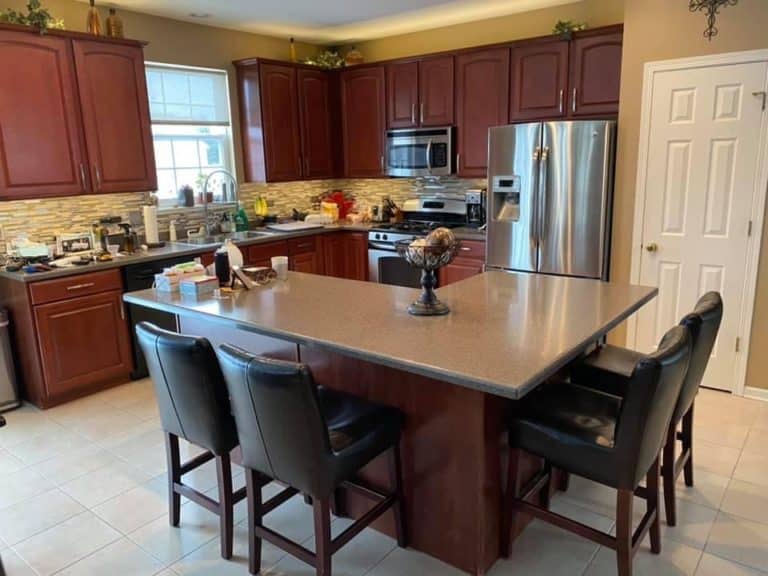
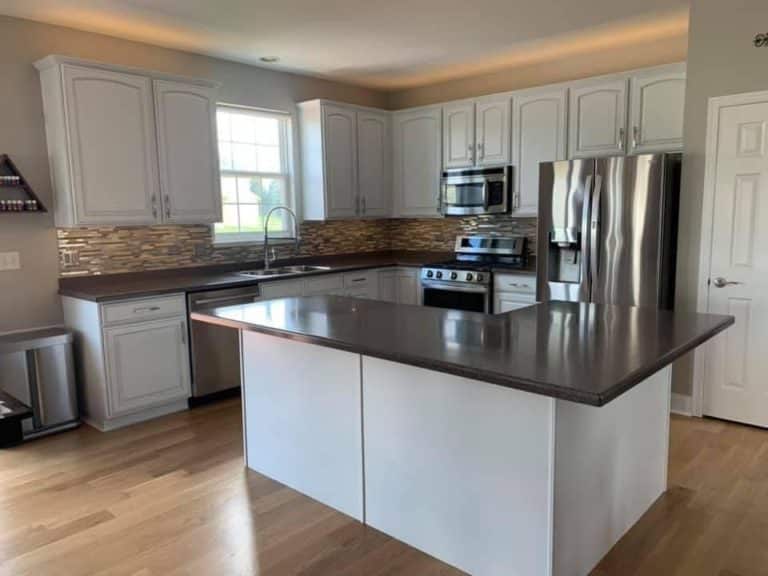
If you have a house that was built in the 1980-2005, odds are you have oak cabinets. Ok, maybe you have maple or cherry.. but most homes have wood cabinets. One of the best ways to update the look and feel of your home is to paint your home. The next best improvement is updating your kitchen cabinets. There are several ways to update your kitchen and cabinets, but the best value is to paint your kitchen cabinets. If you are going to paint kitchen cabients or bathroom vanities then you should know the Top 5 Issues With Painting Oak Cabients!
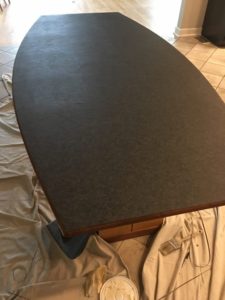
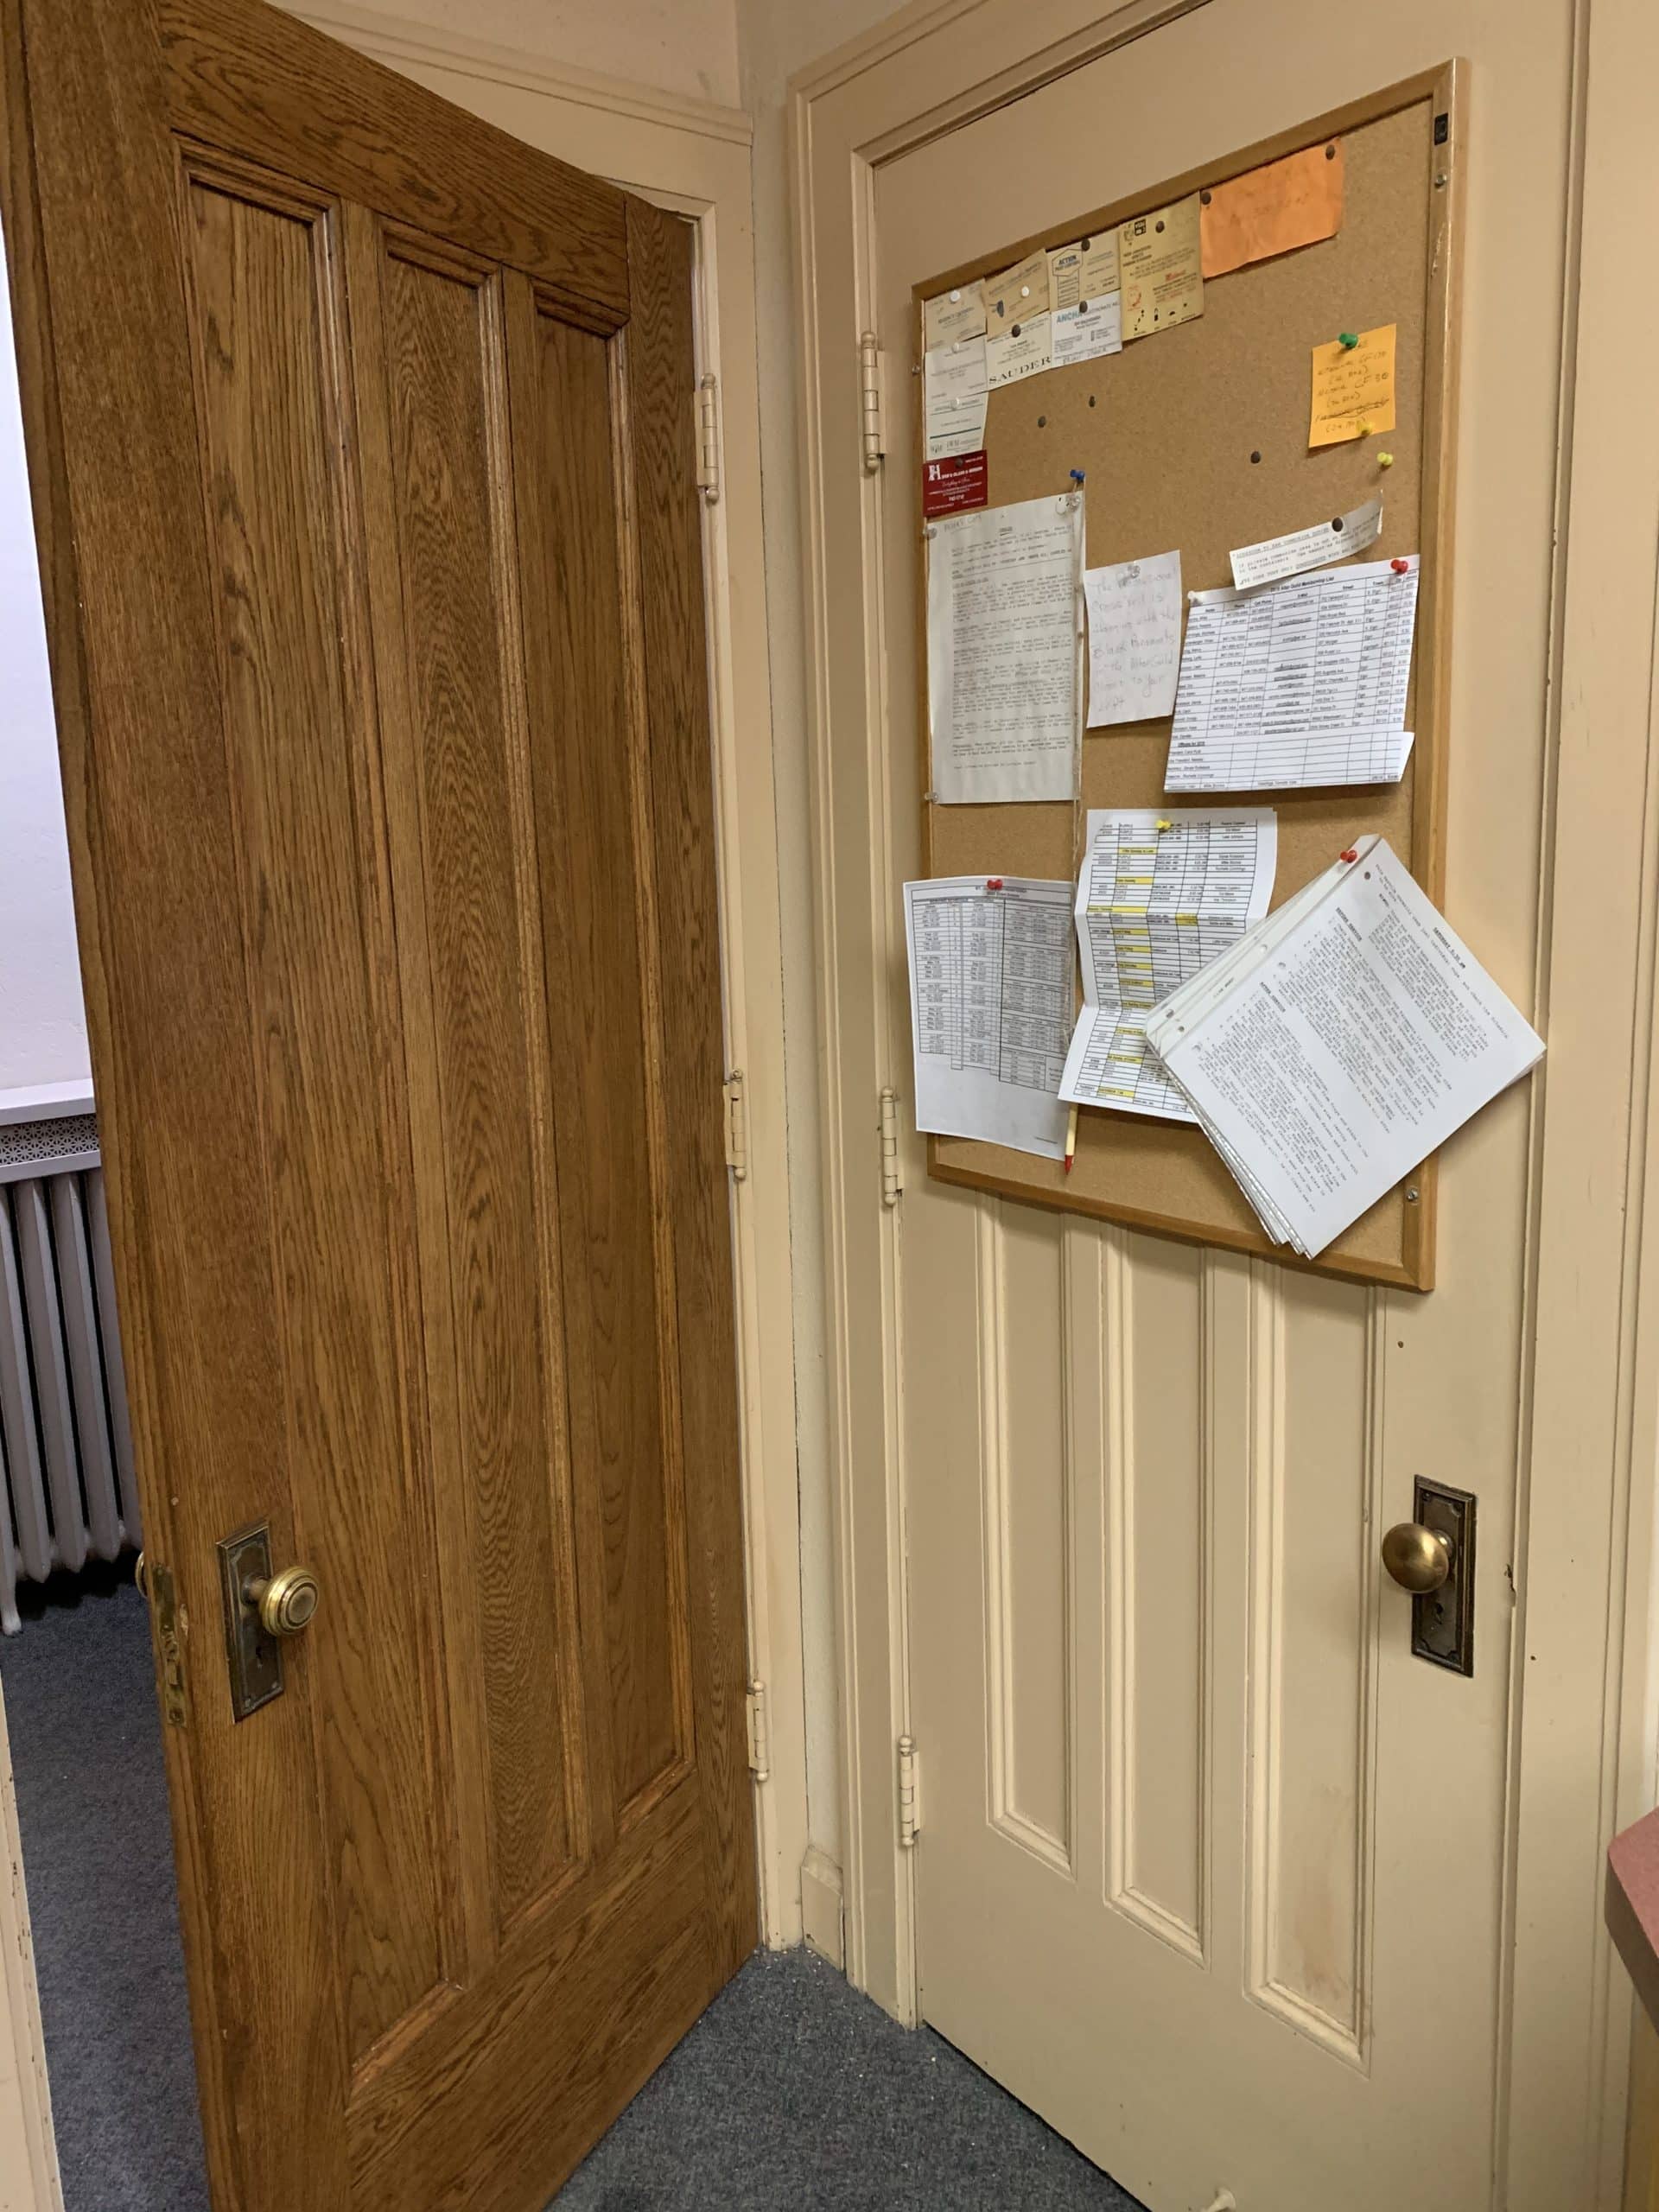
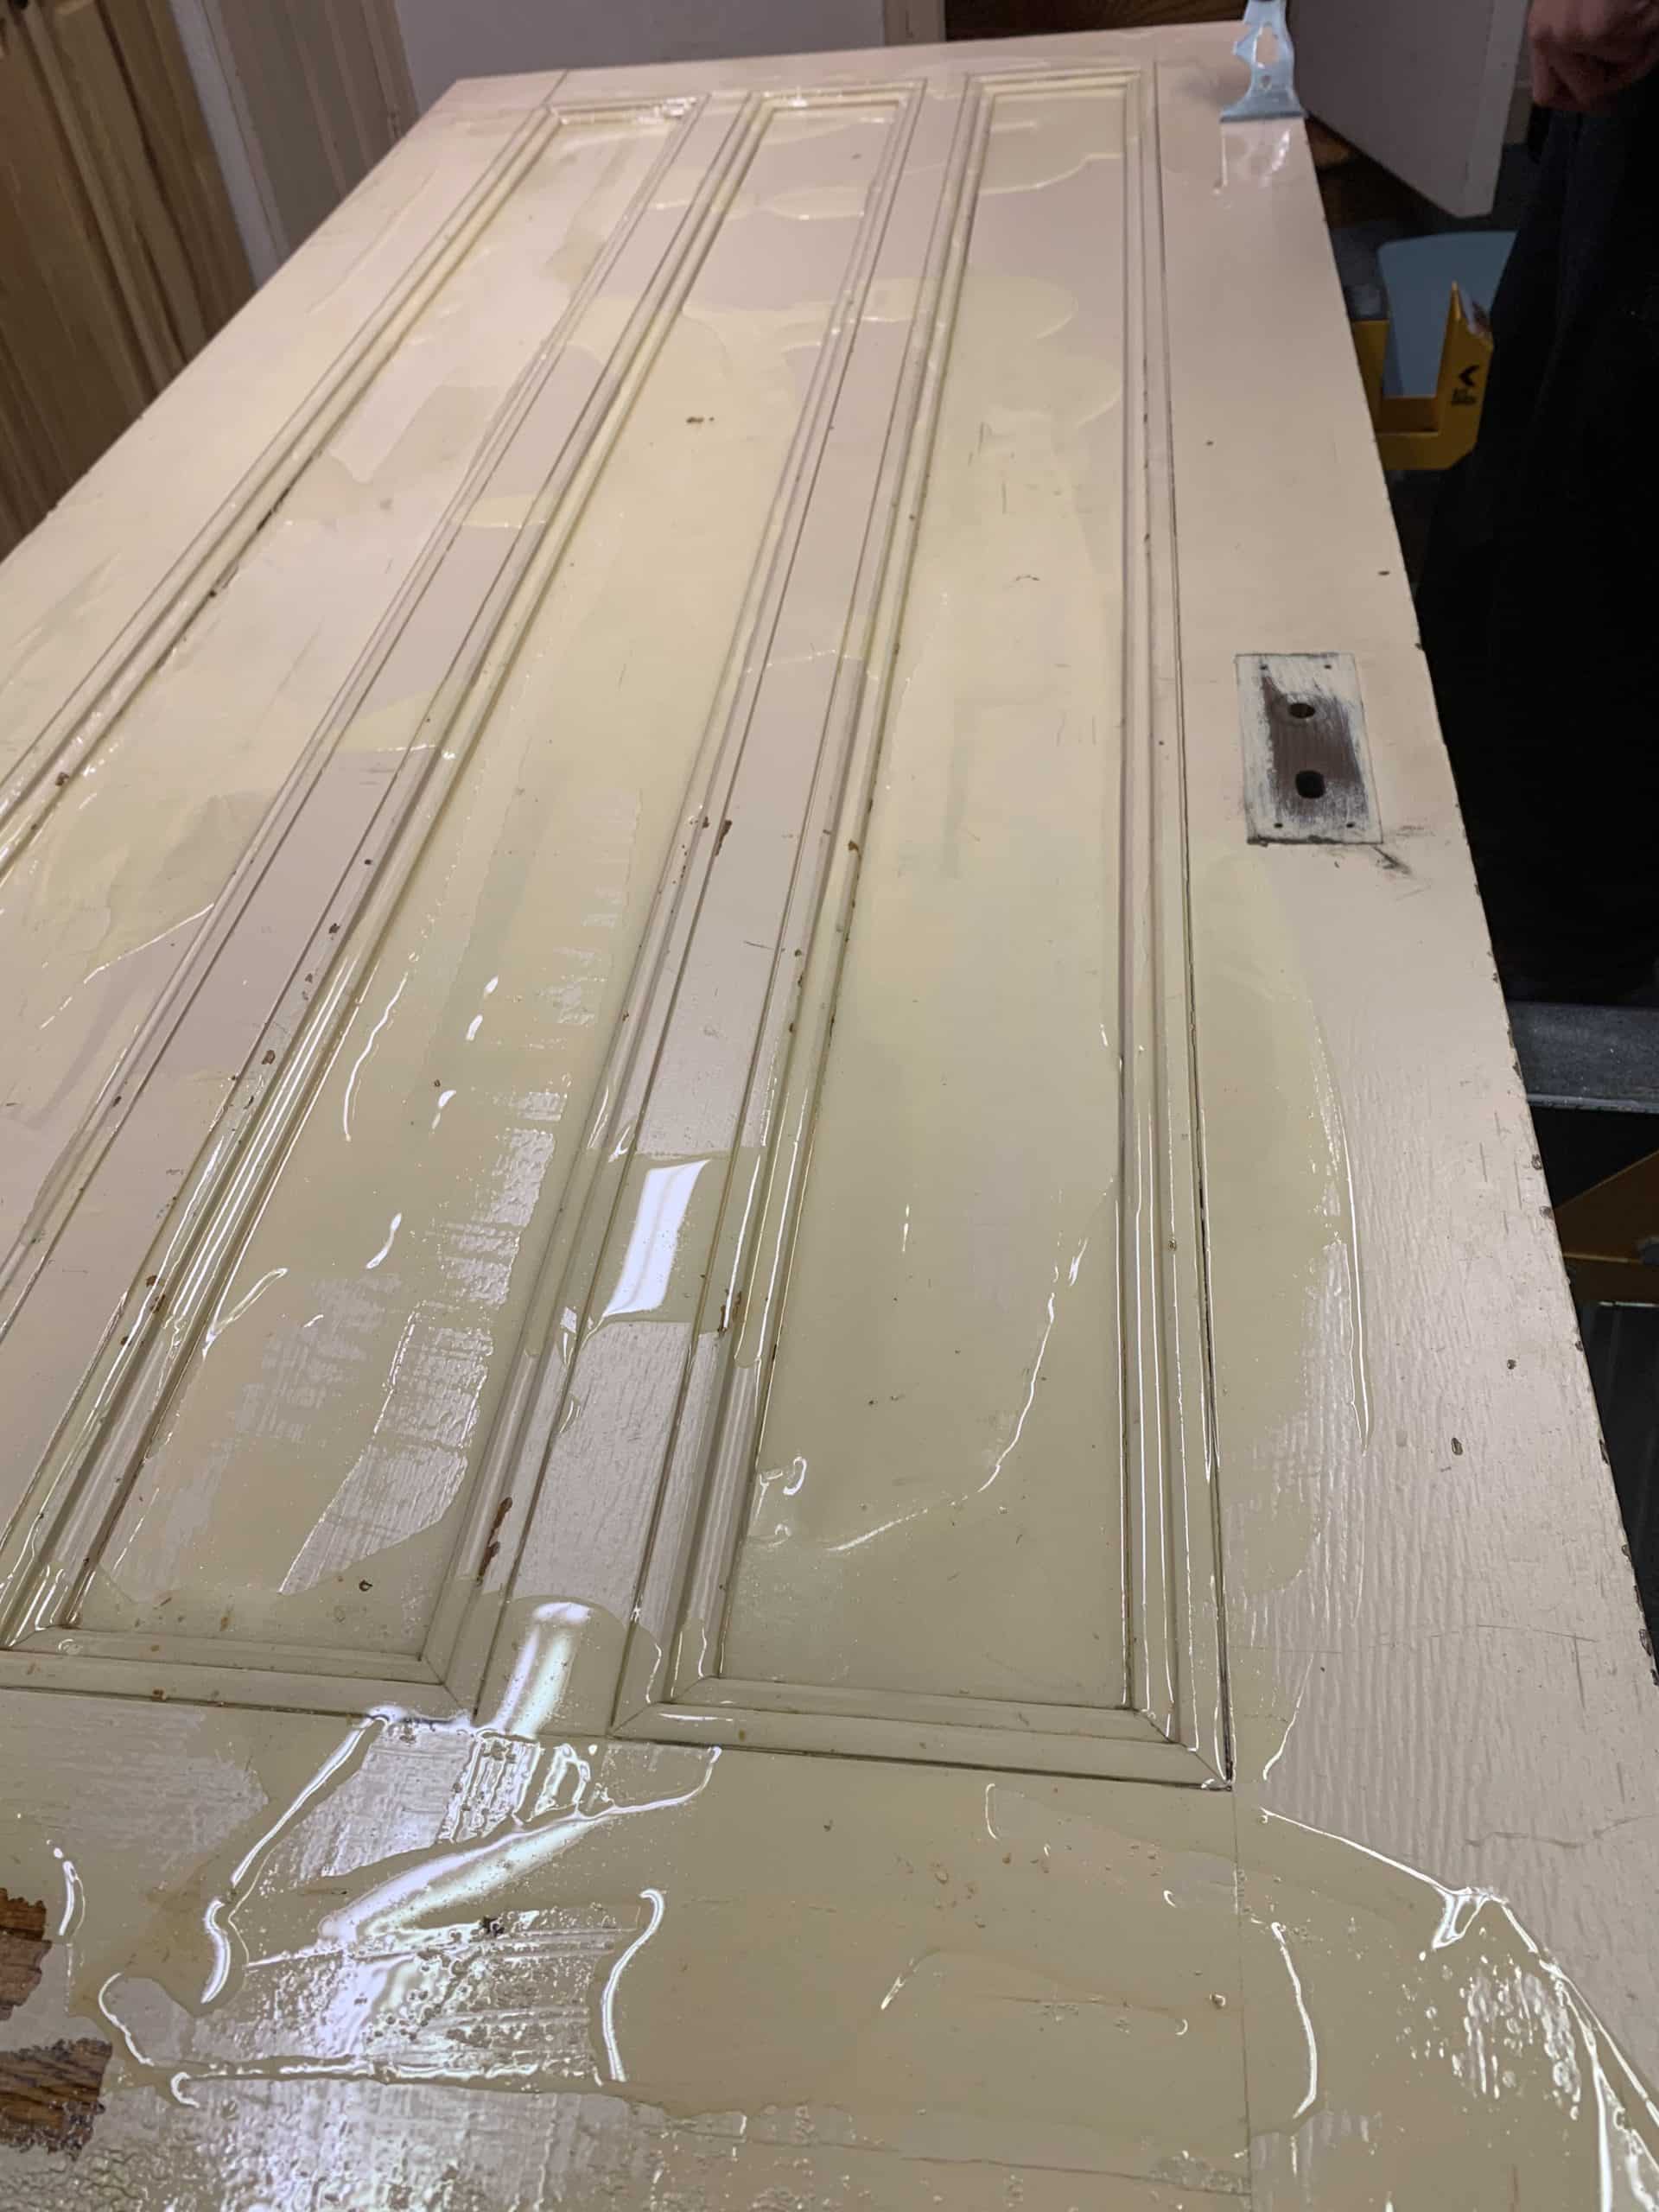
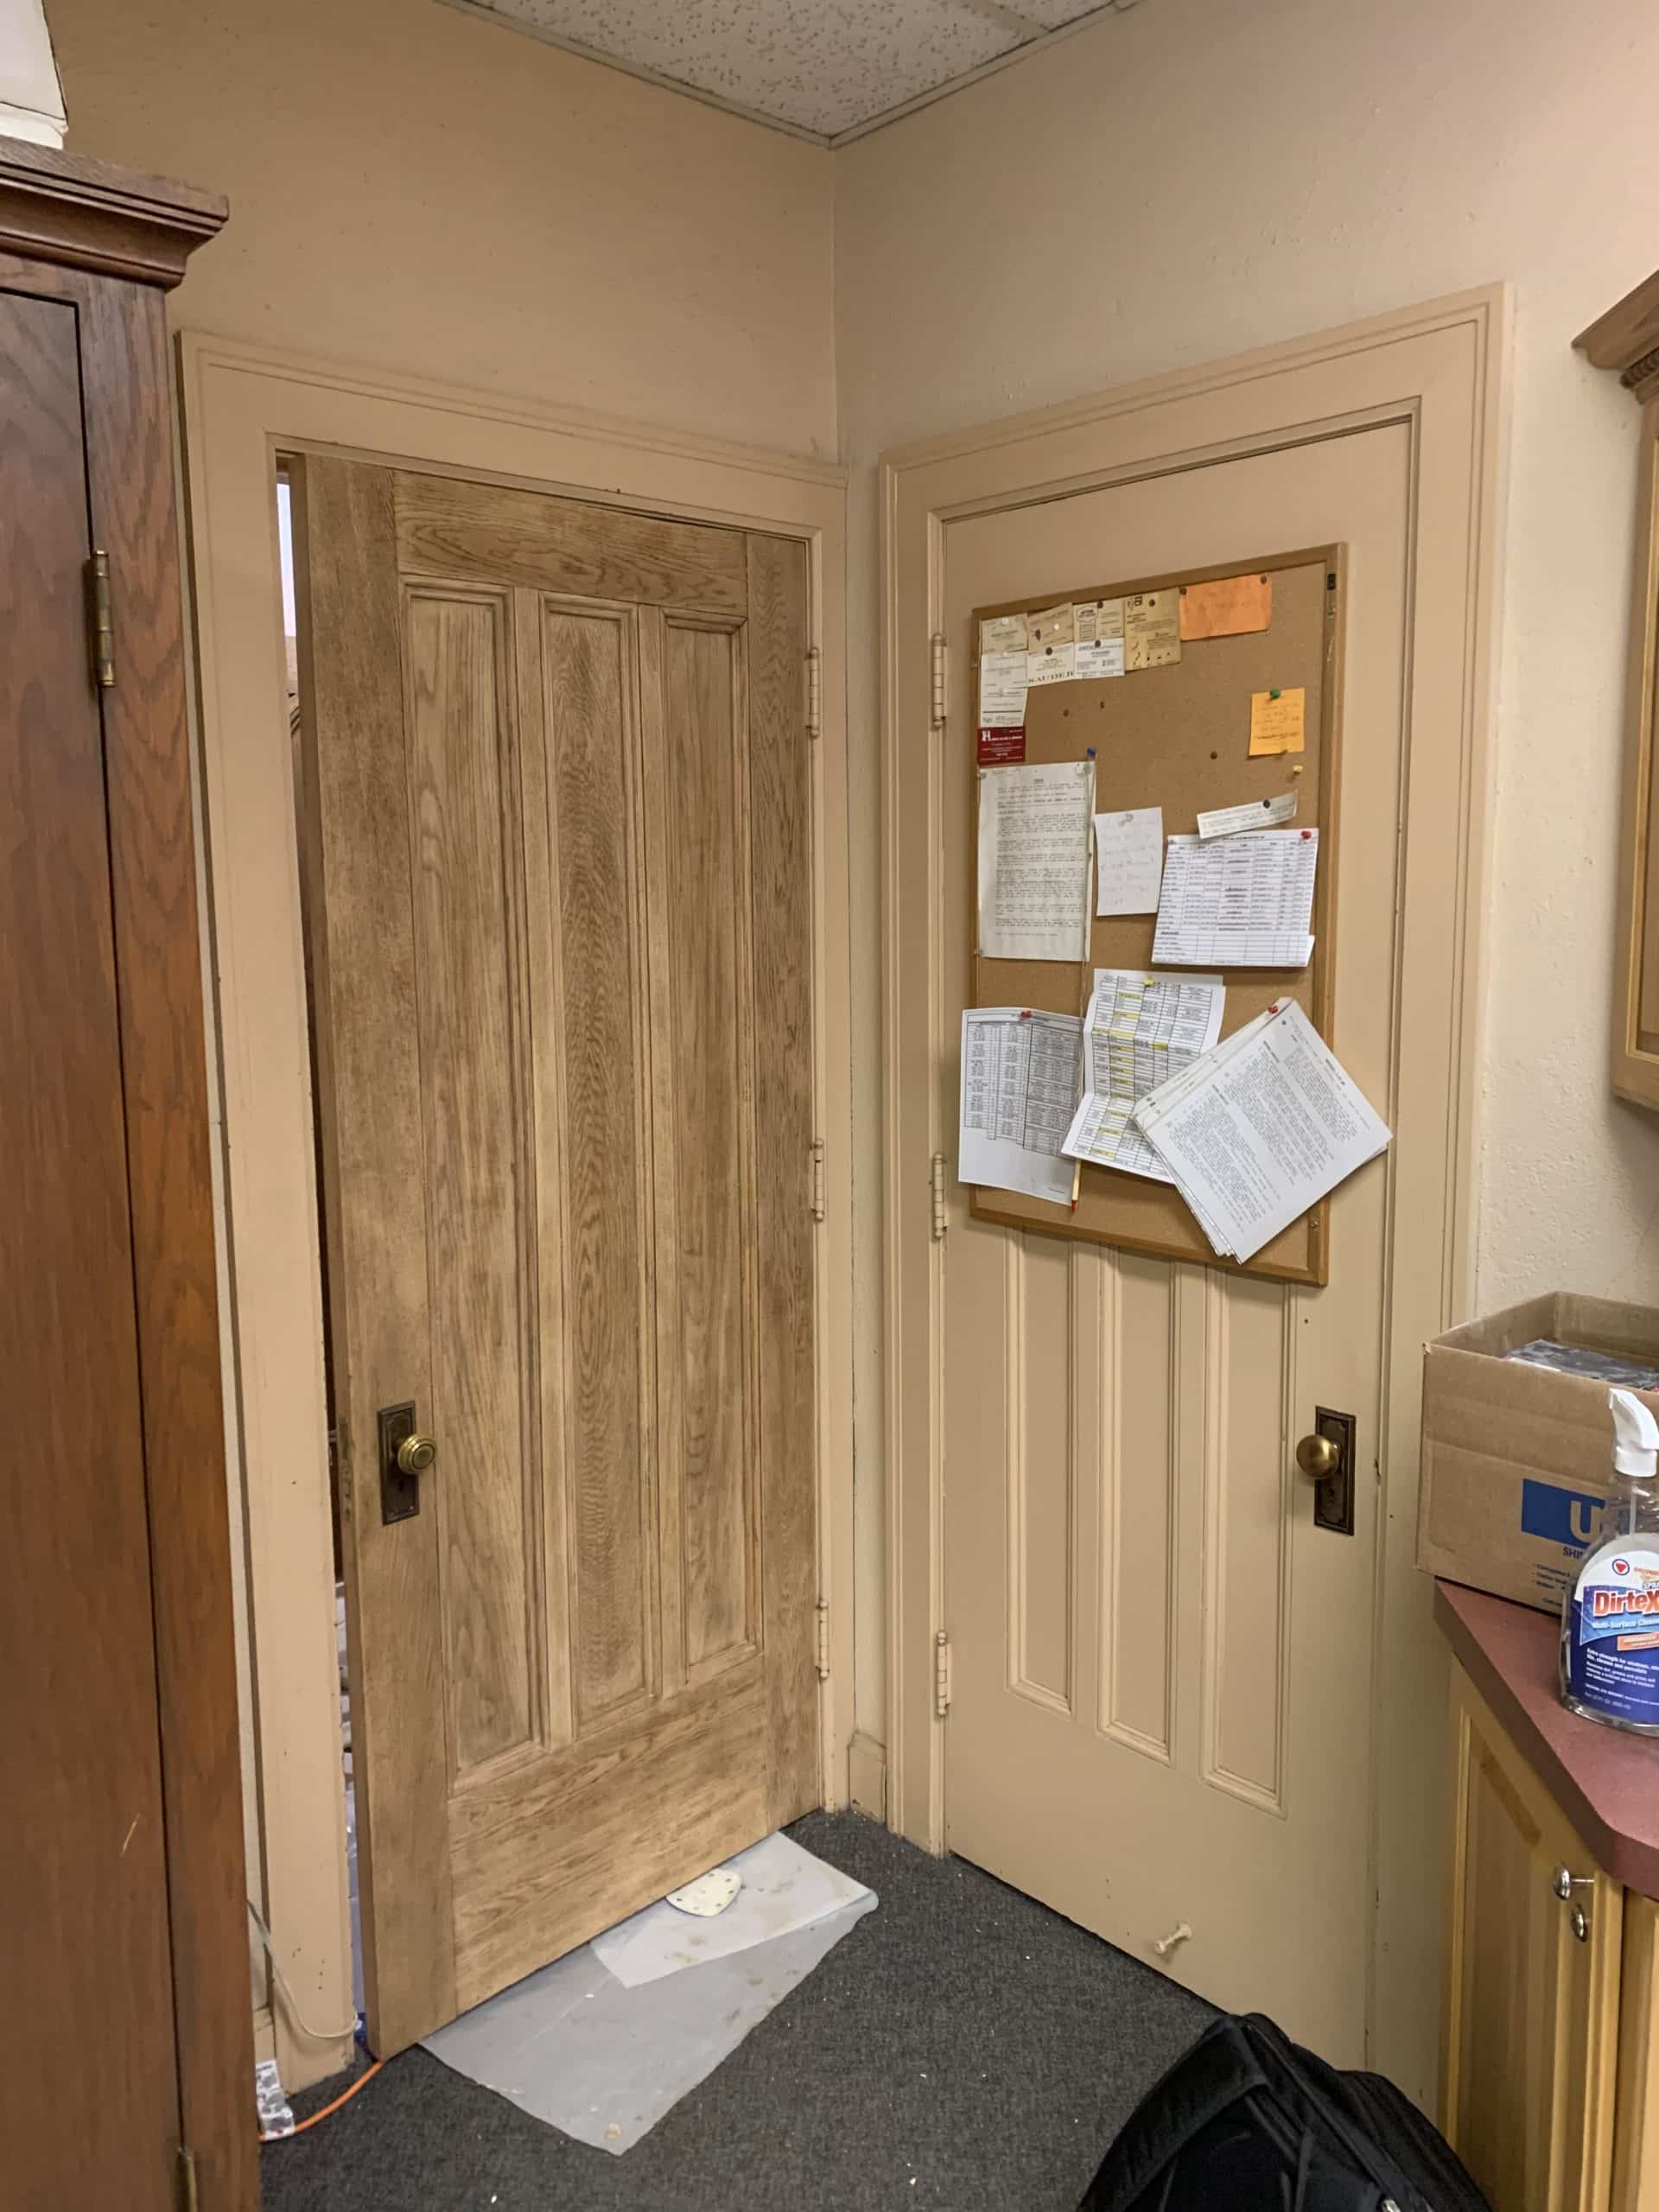
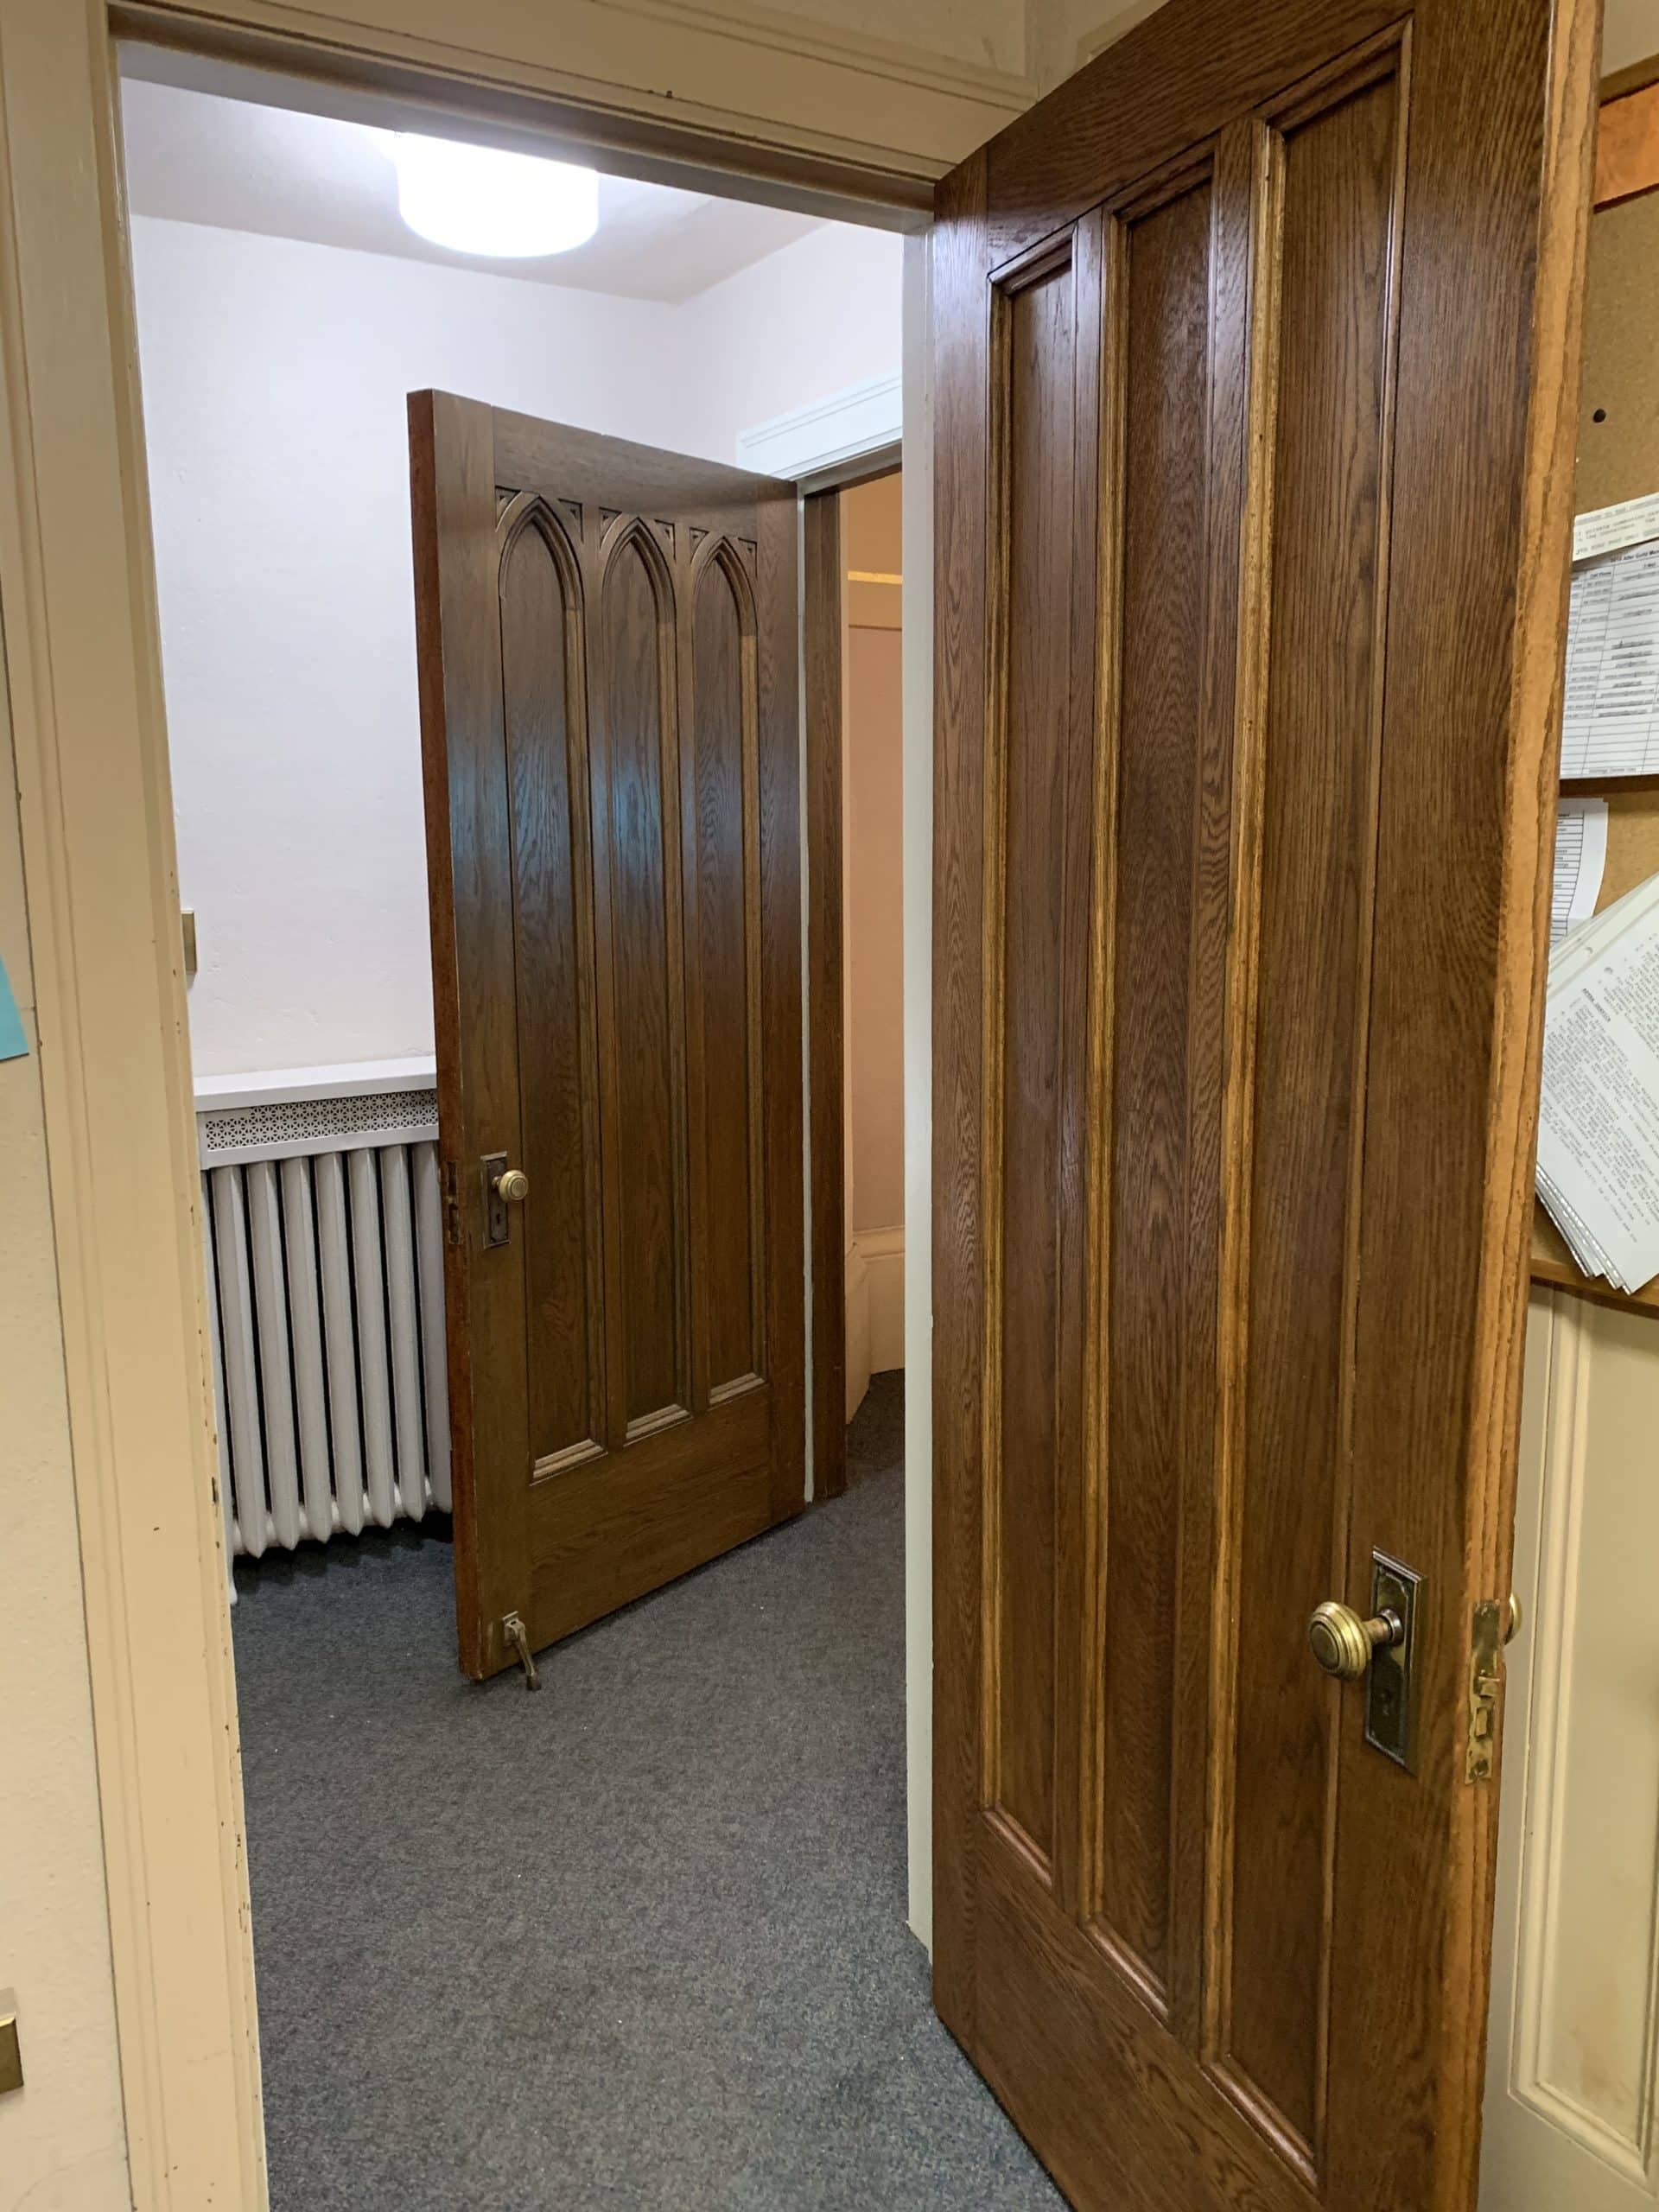
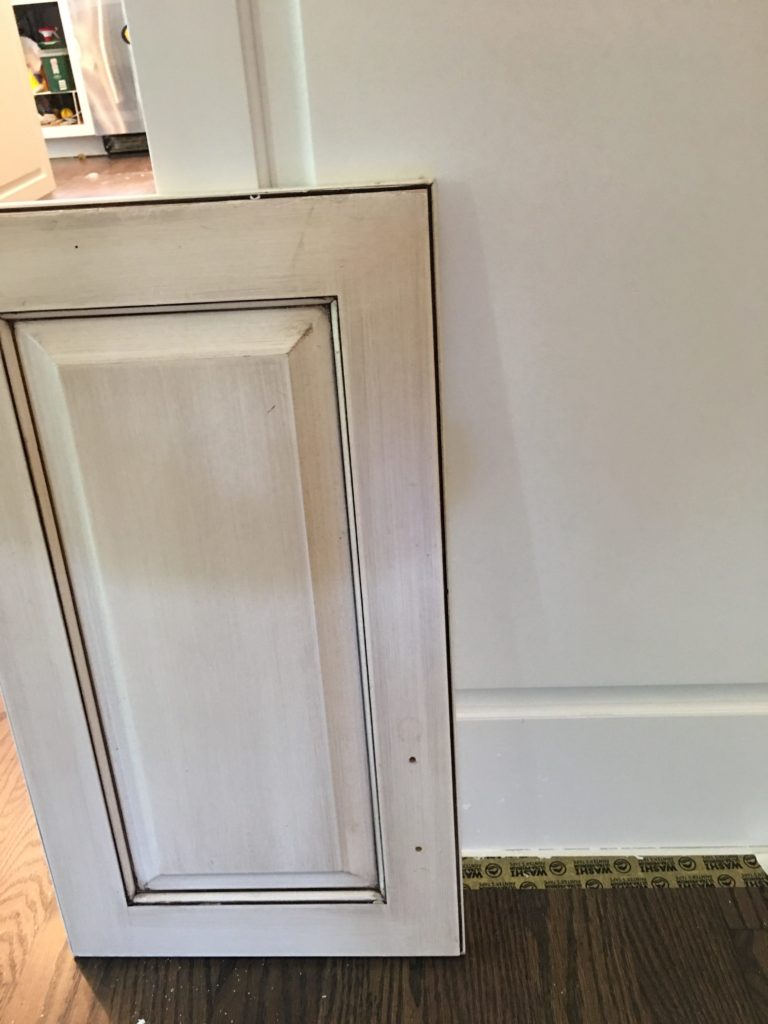
Thanks for taking the time to read this article and check us out! I am David Cook, with Dranco Painting and Wallpaper, here in Huntley, IL. Today’s title is a question we are asked almost every time we provide an estimate for painting Oak kitchen cabinets. So lets take a peek at a video of a sample oak cabinet door, then look at some issues you may be facing- or asking about.
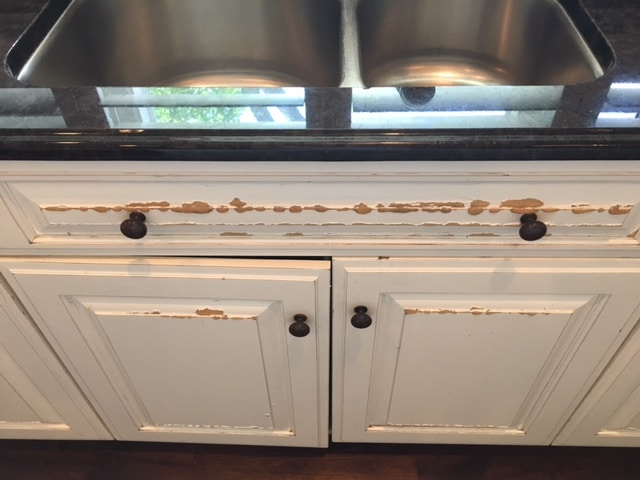
Will painted cabinets peel?
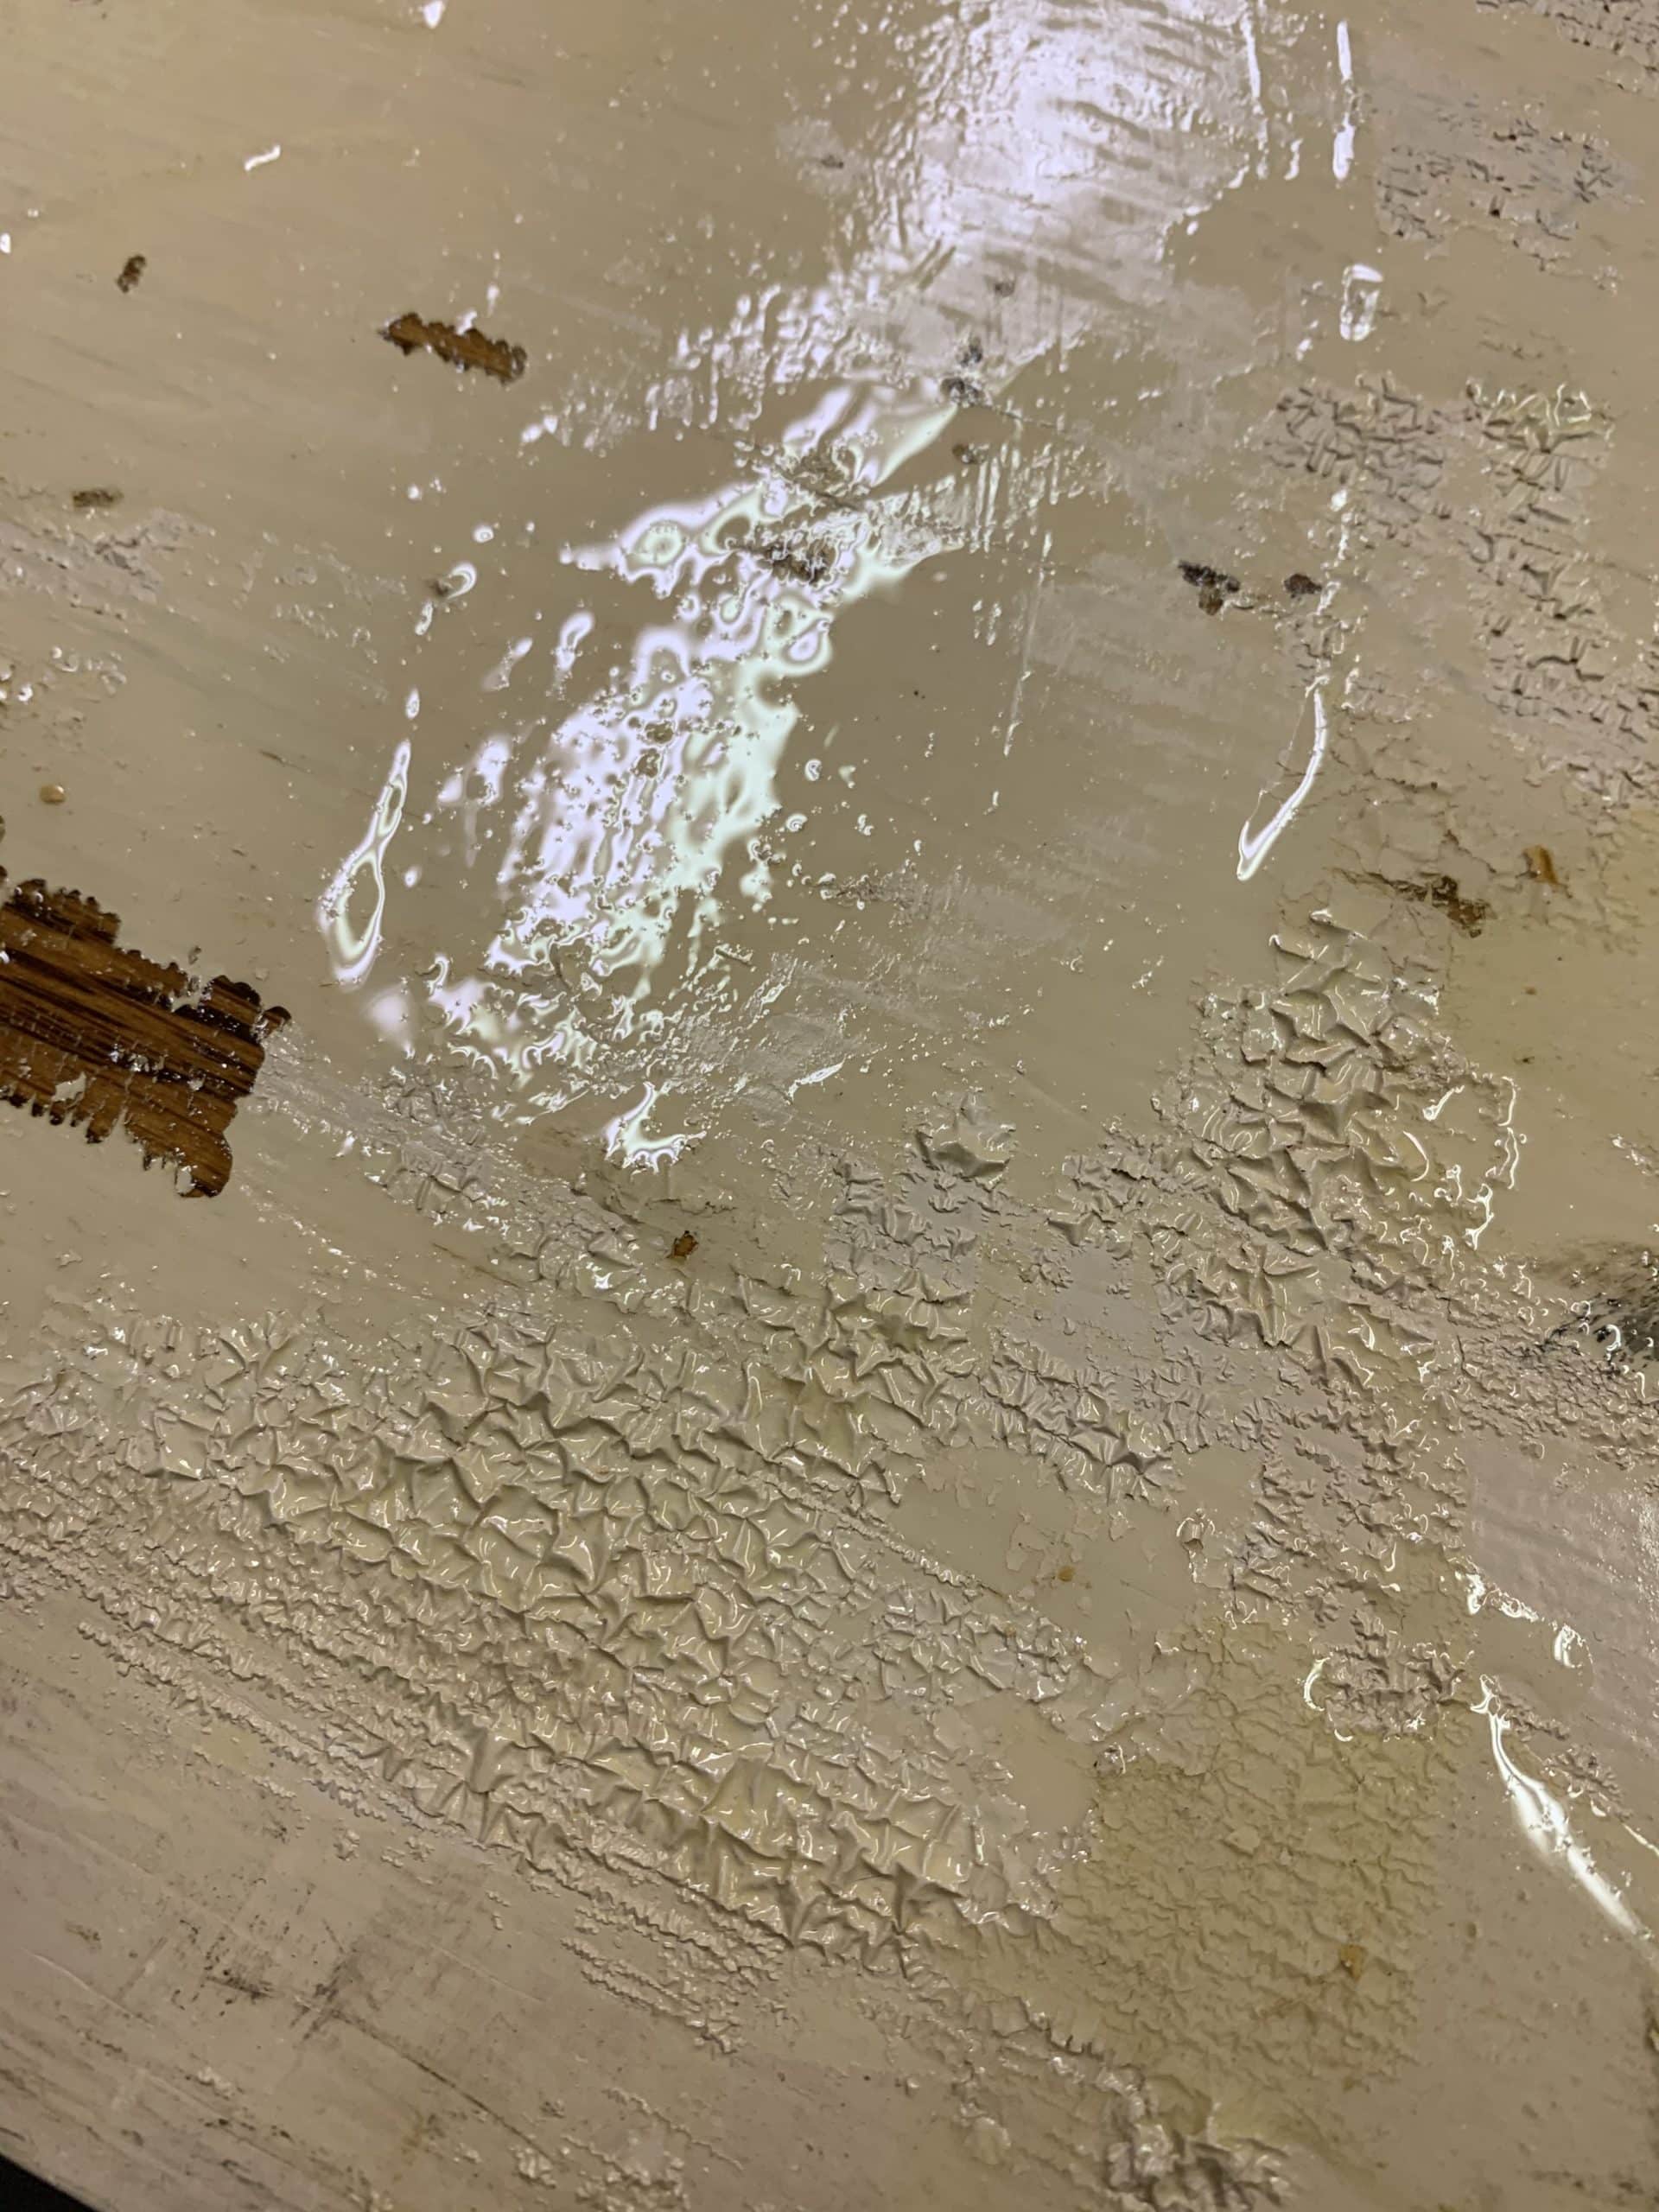
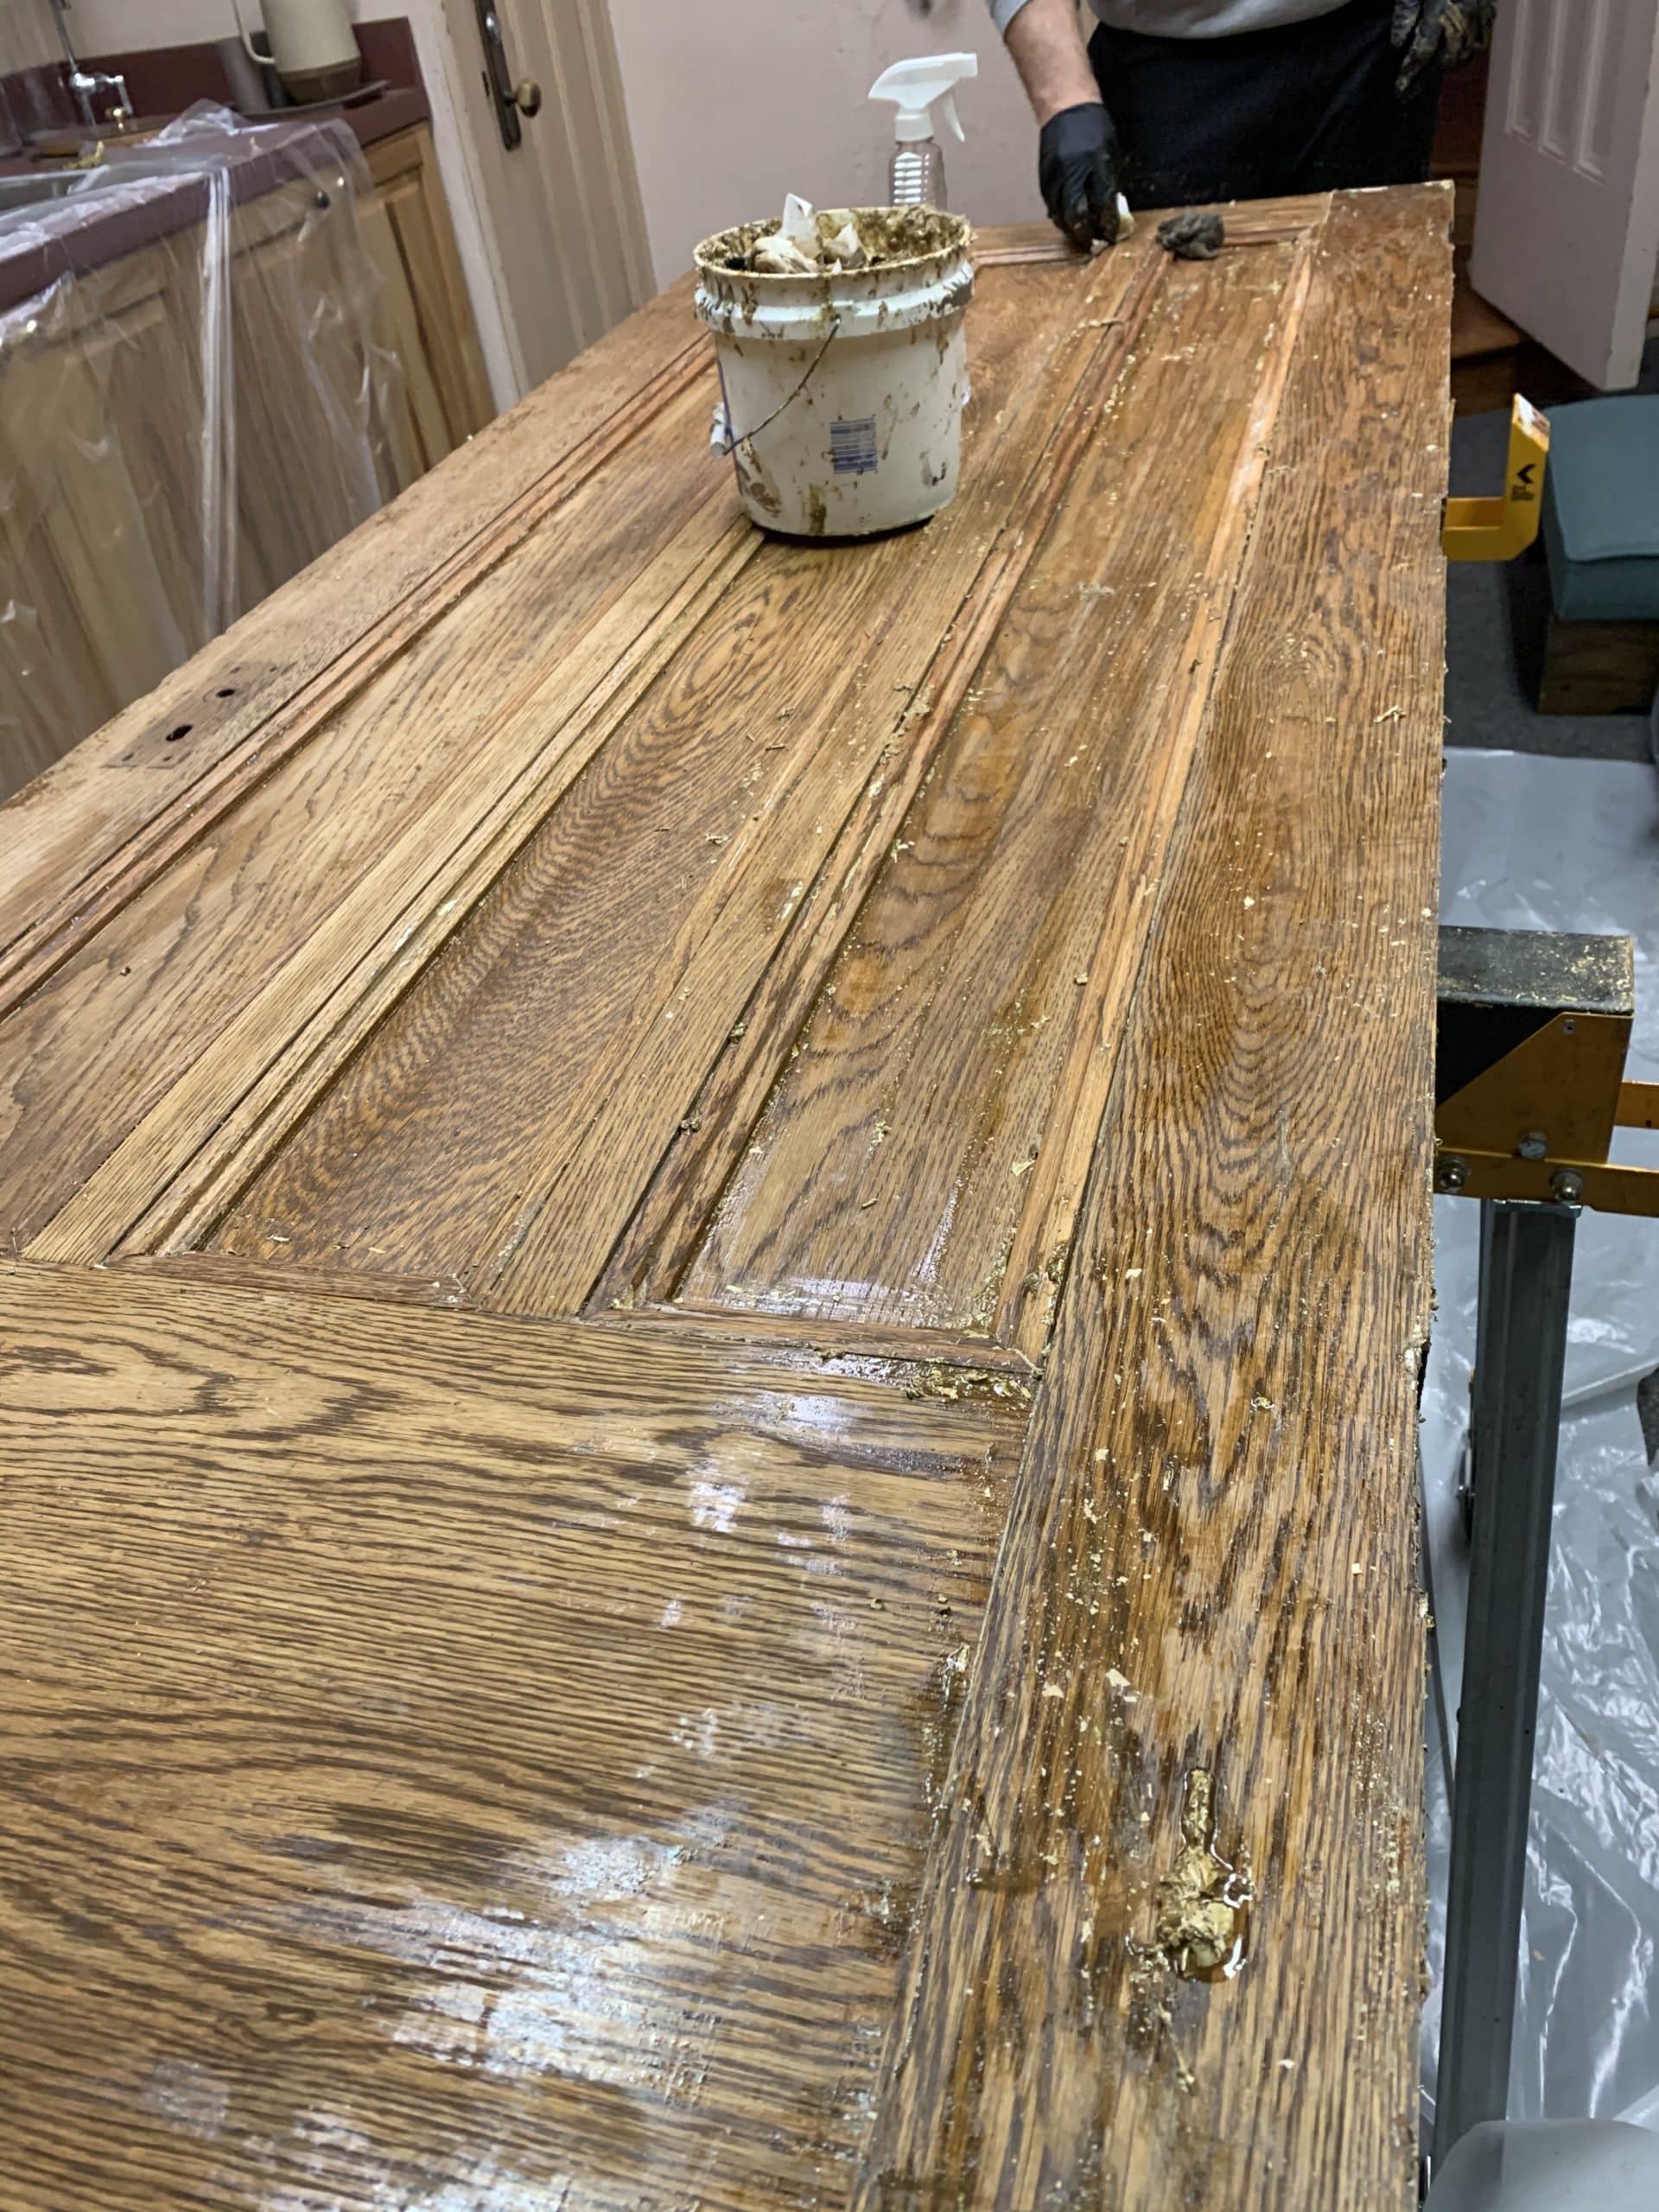
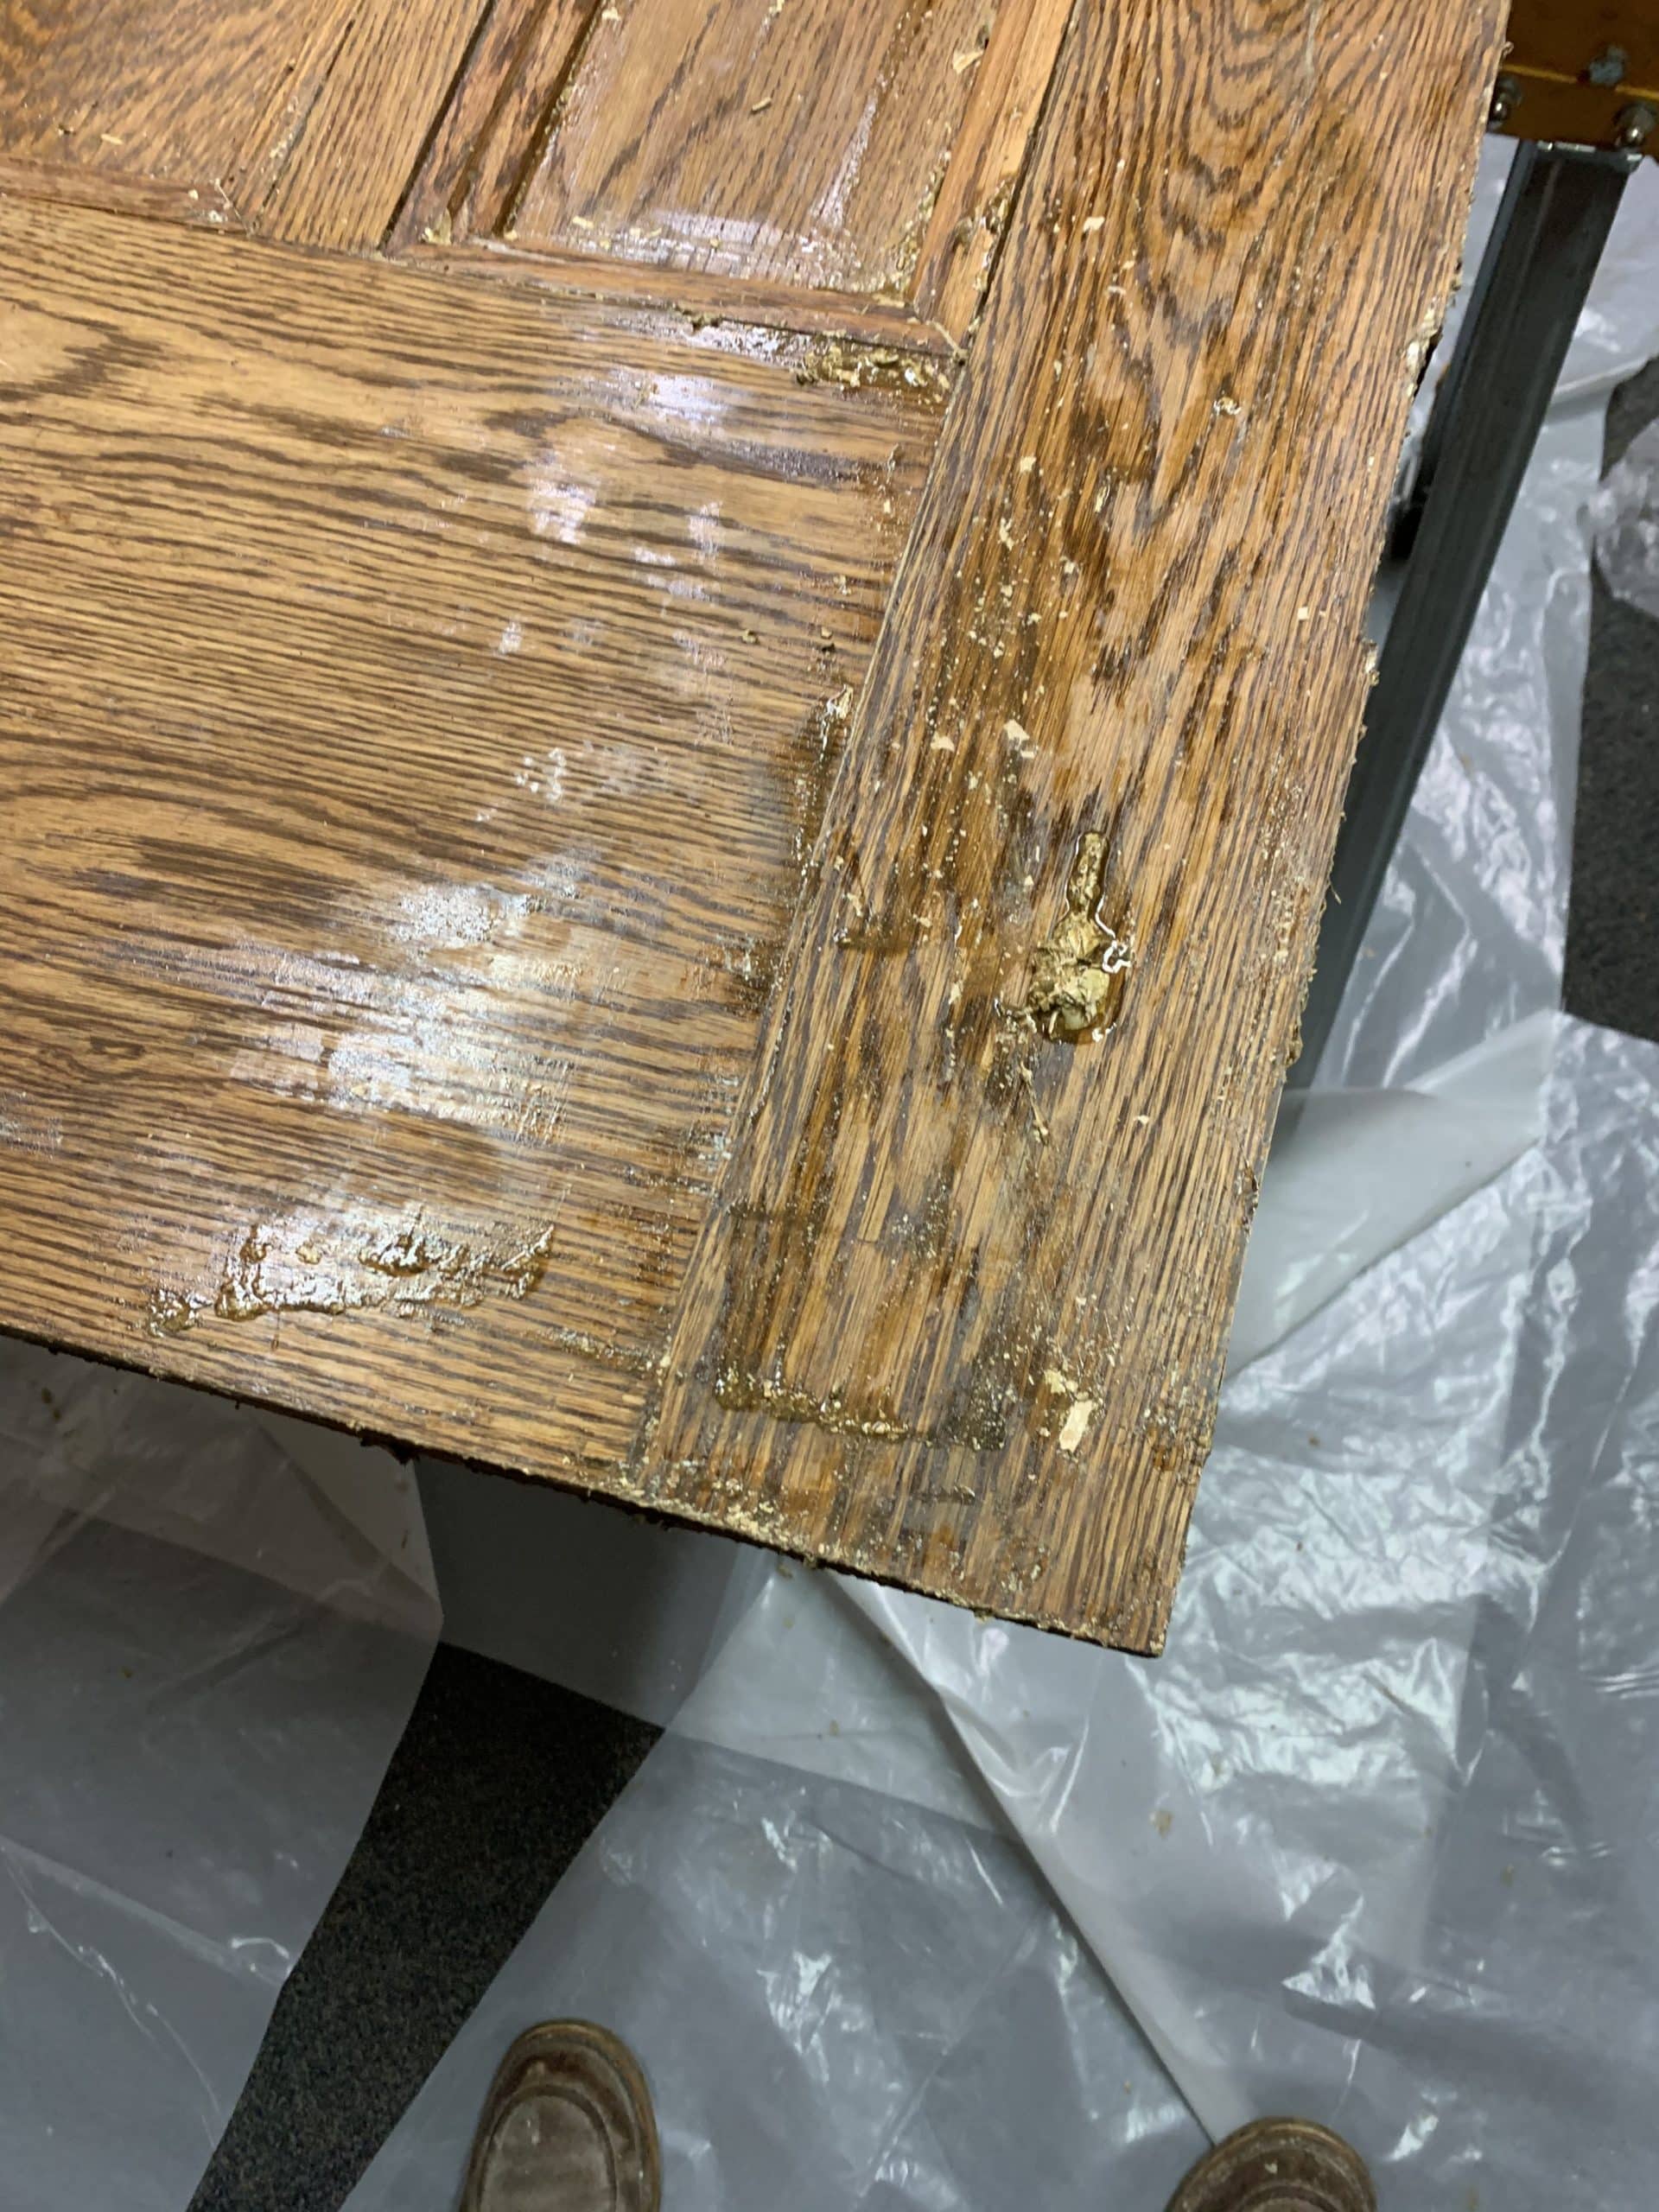
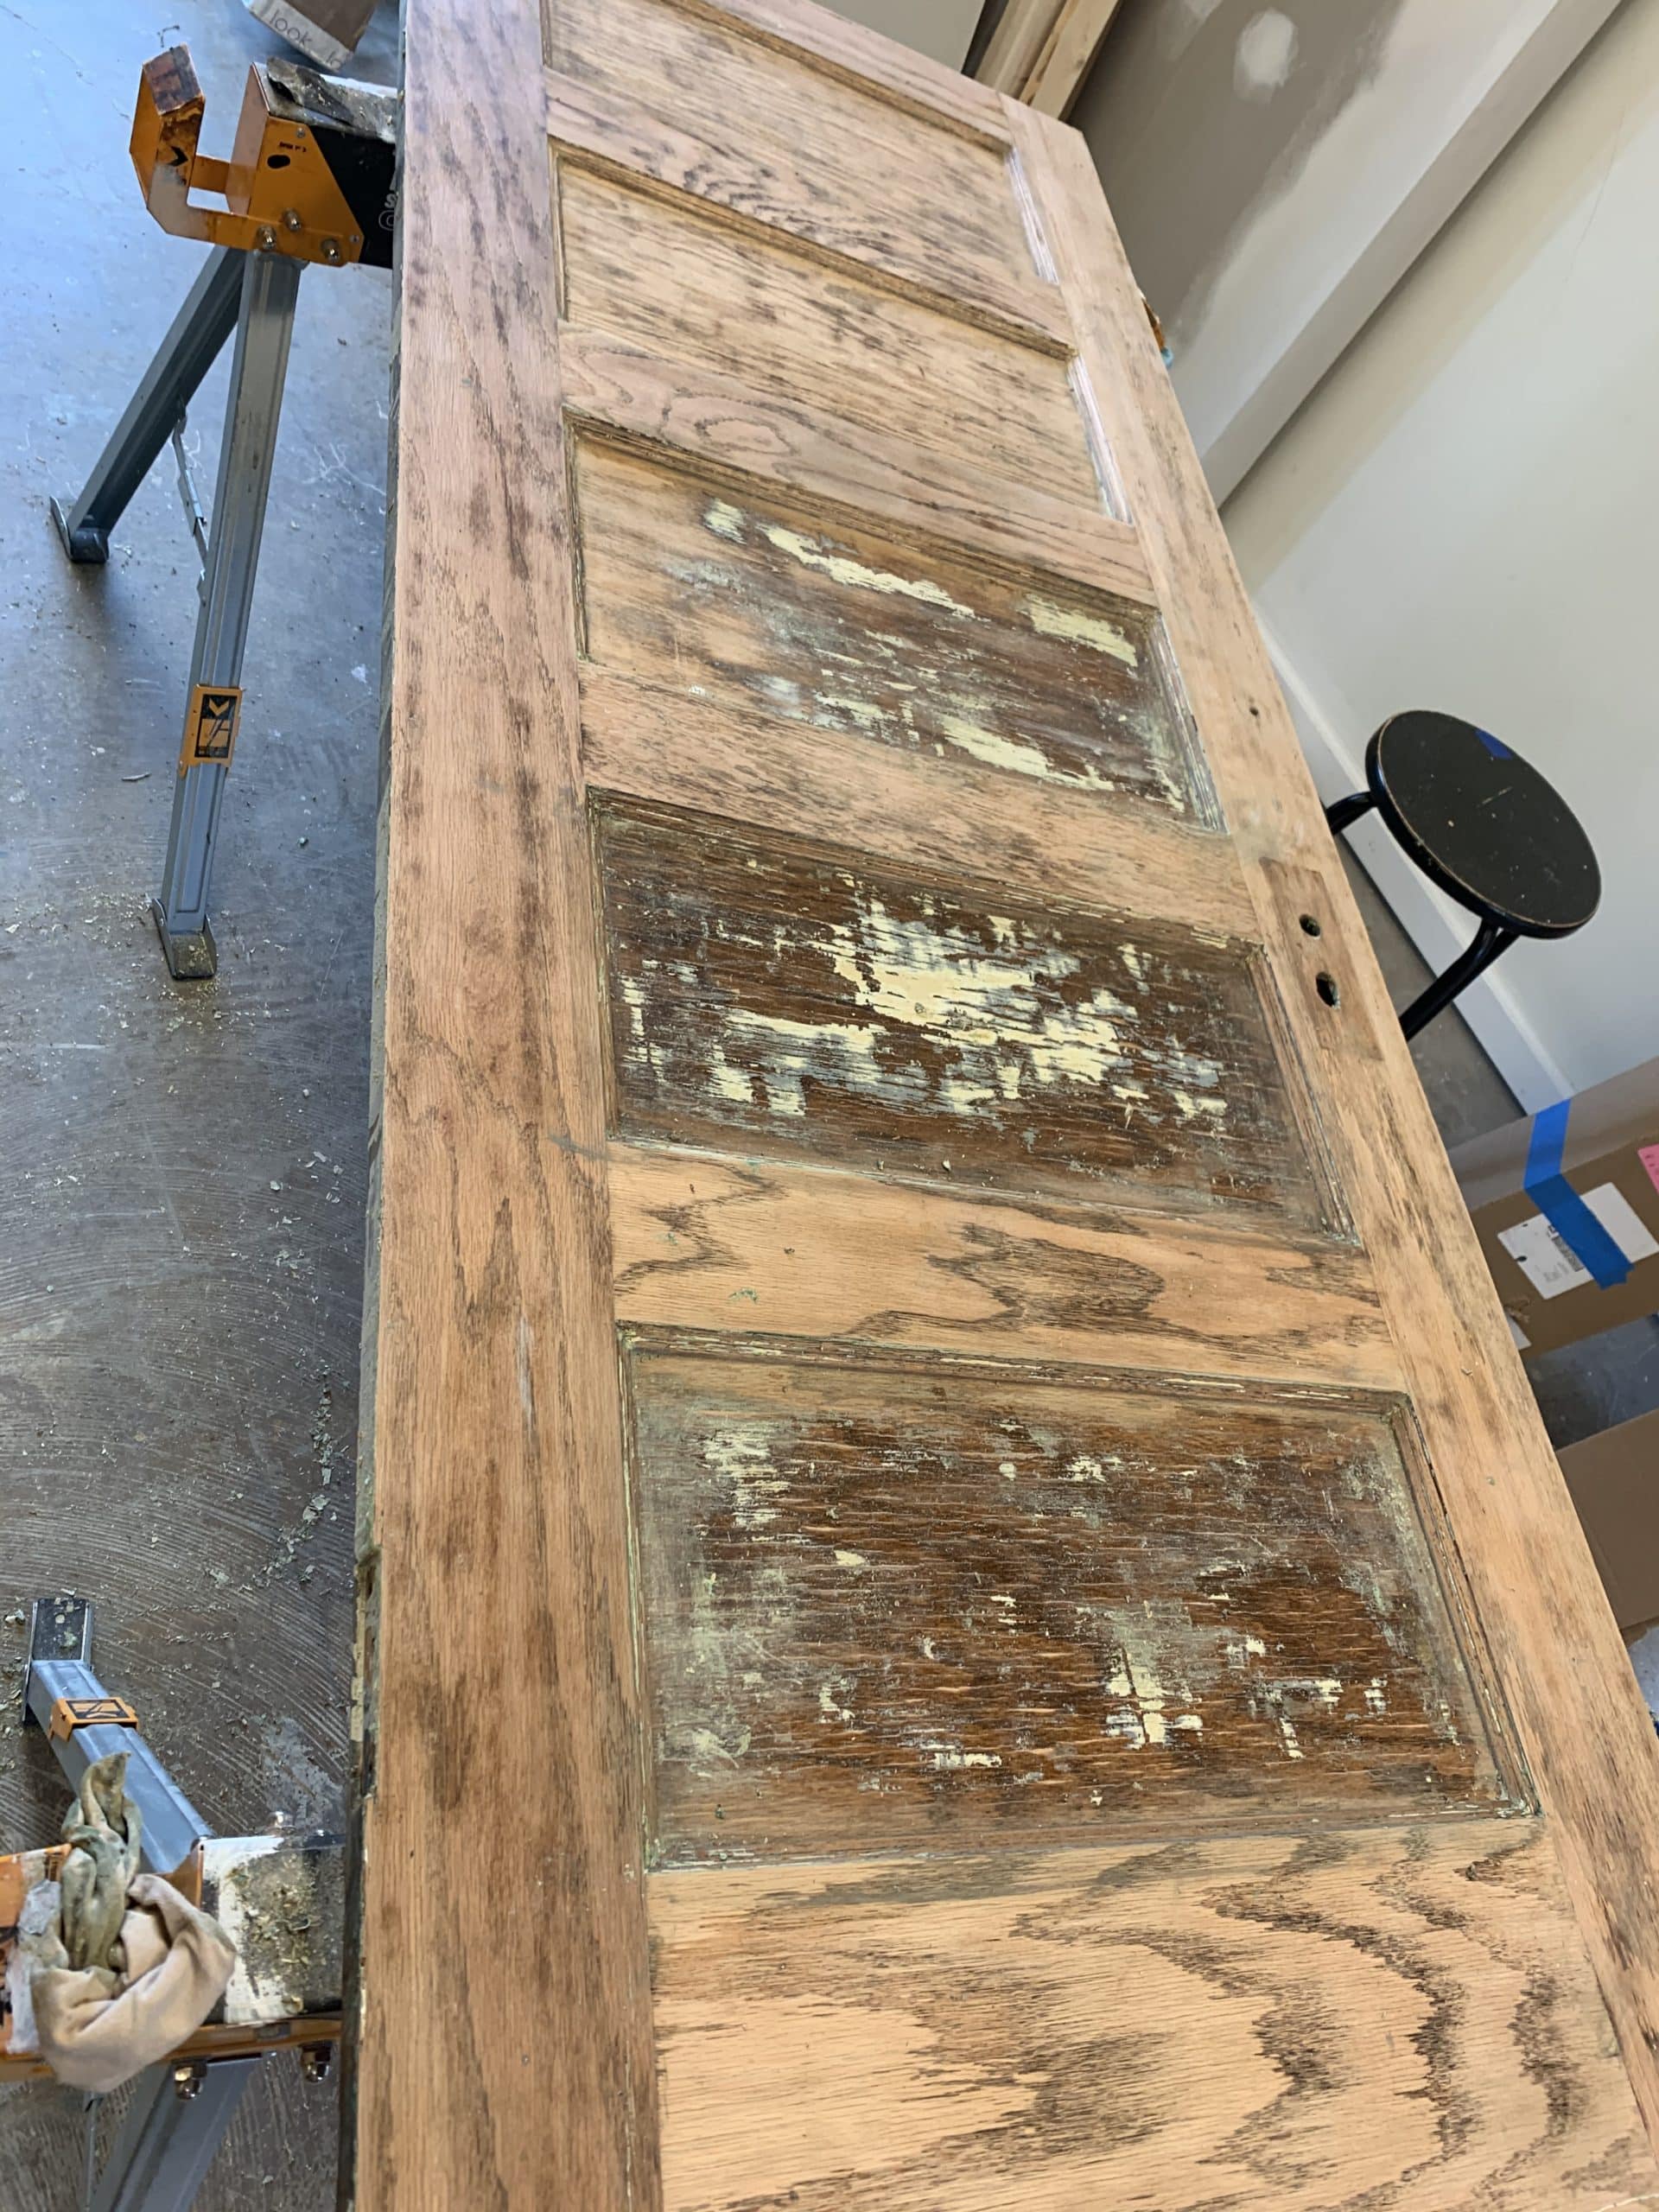
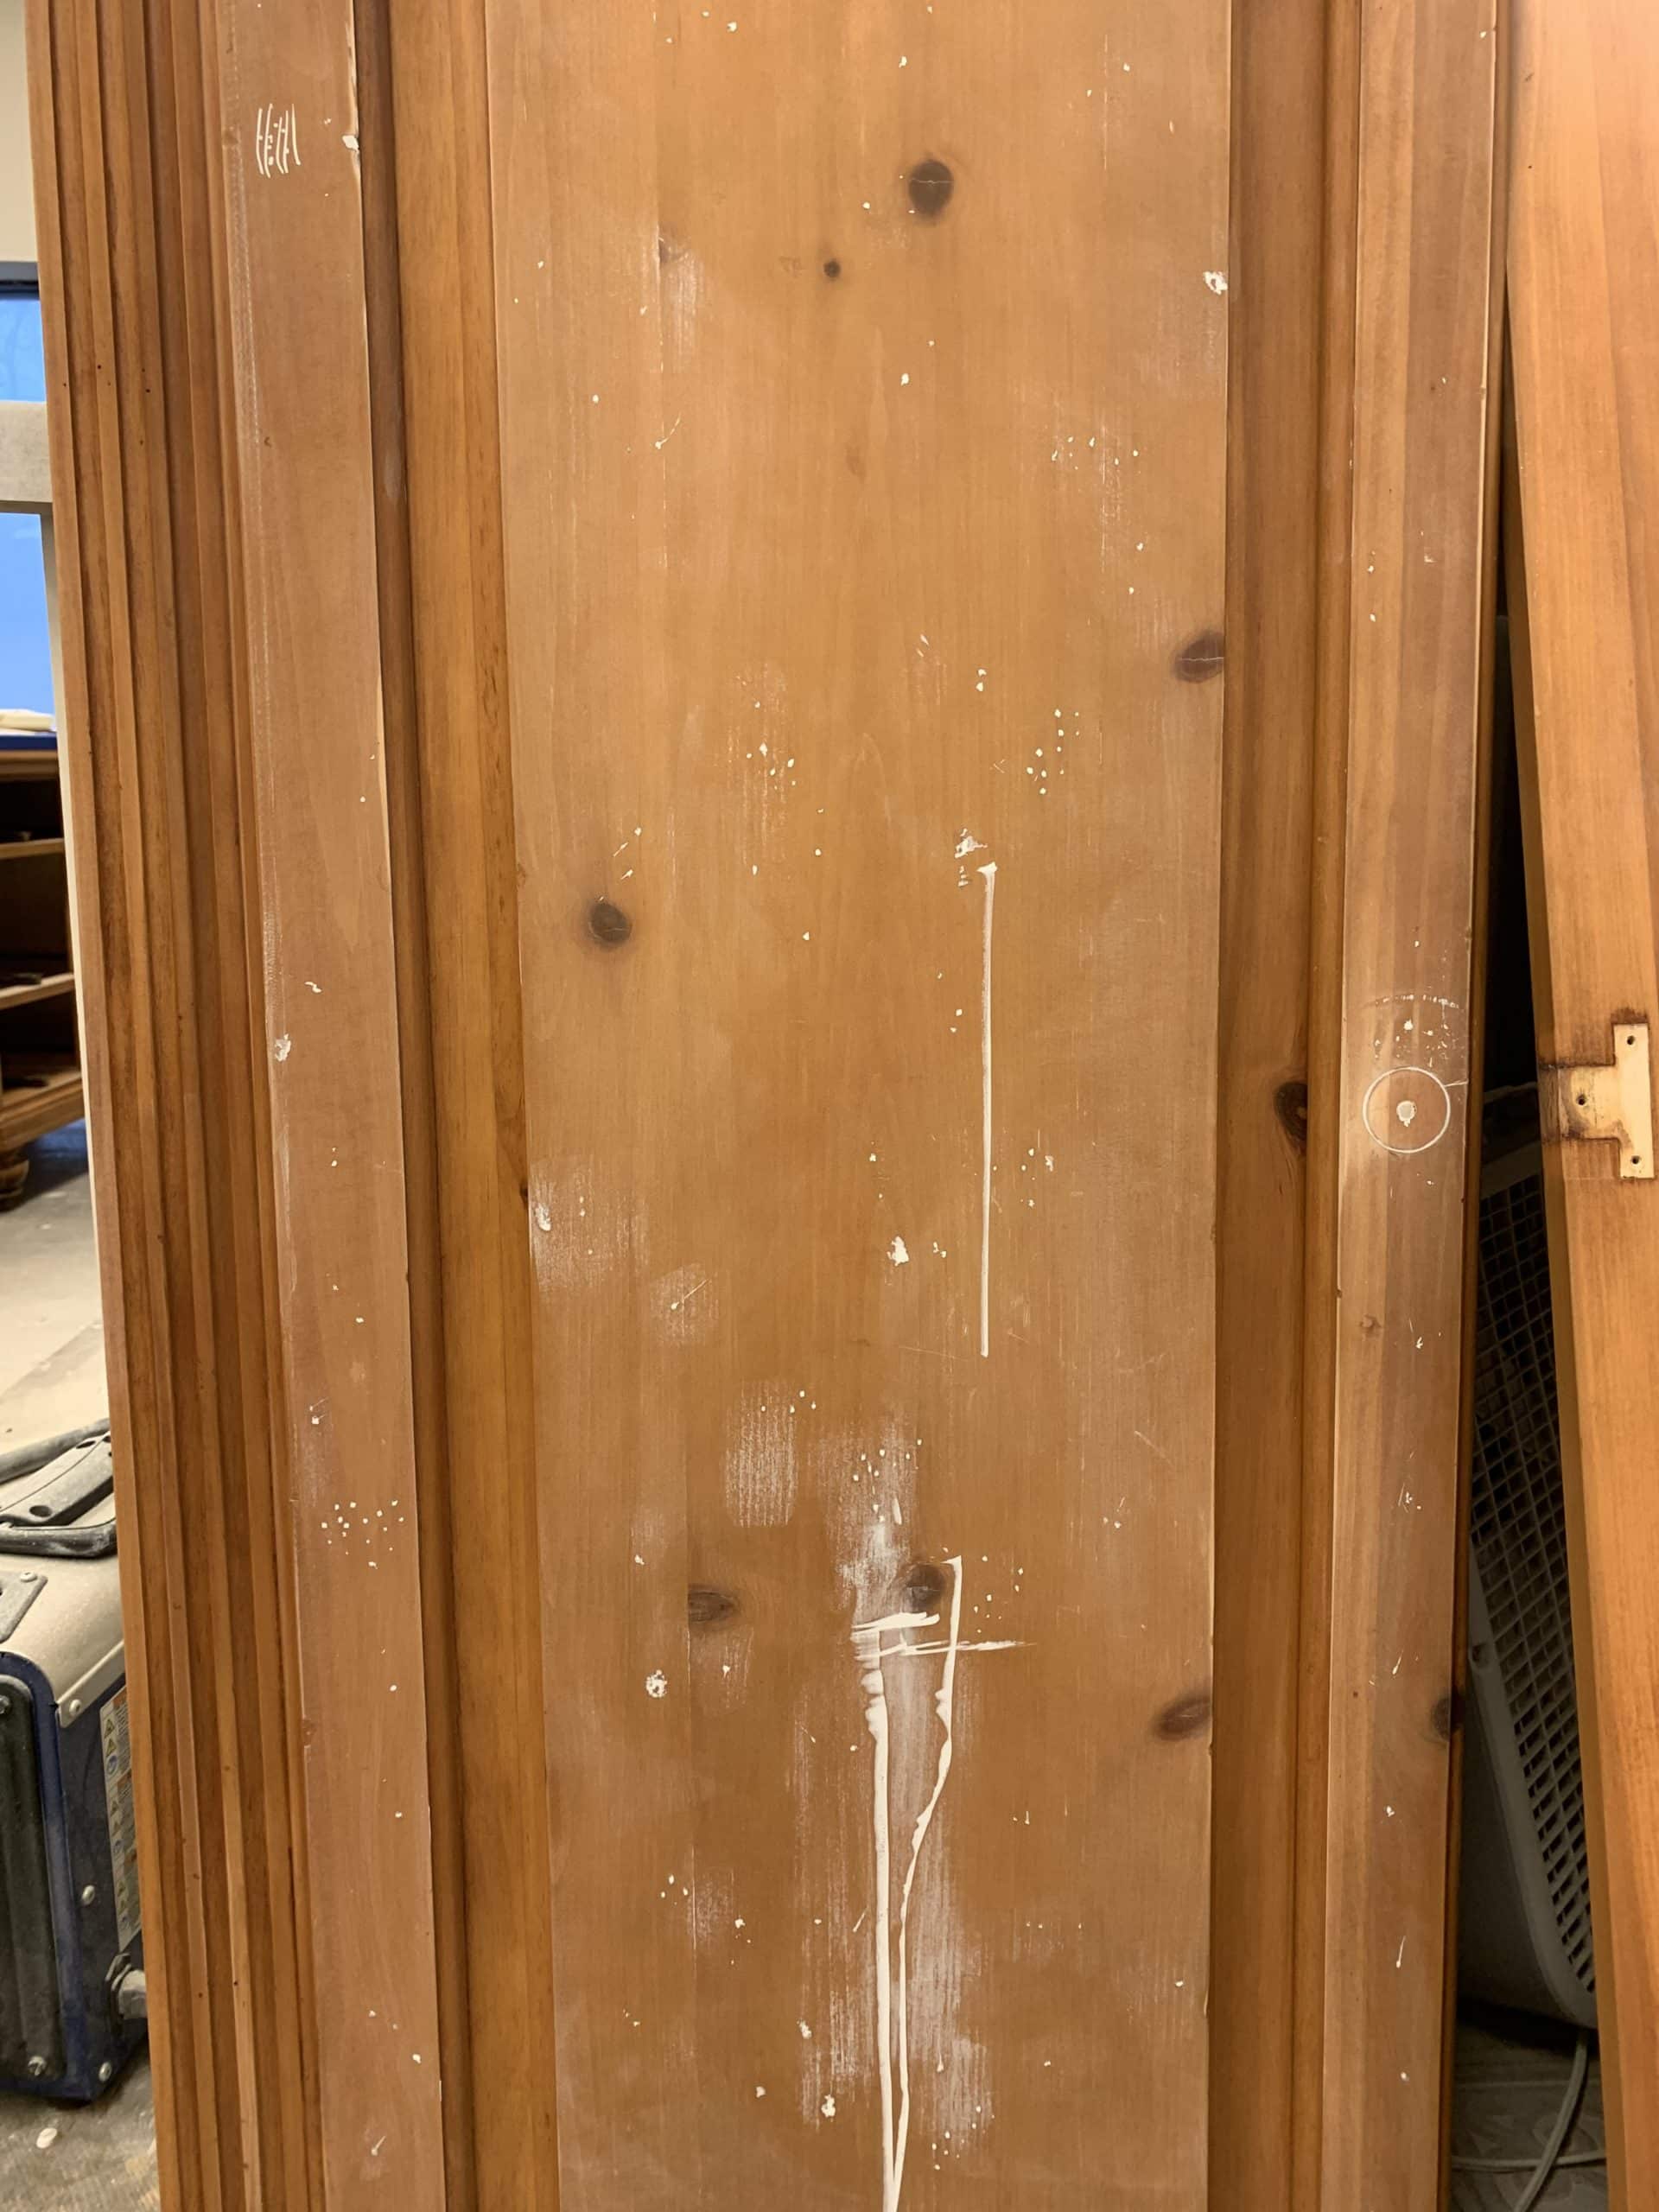
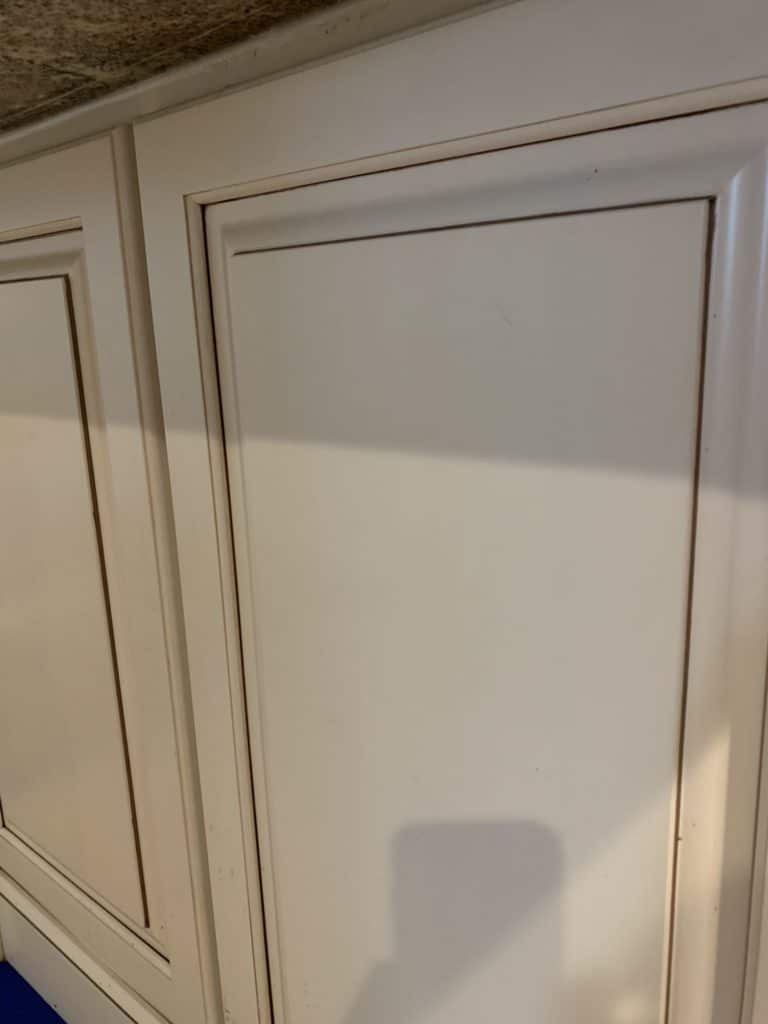
ok, so this is by far the most popular or common question we are asked hands down. Peel paint on oak cabinets, on walls, on trim is all caused by the exact same issue- Poor preparation.
When a surface is dirty it is going to be very difficult to get paint to stick to the surface. If you have a painted surface that is very slick-shiney etc, then once more you will have a very difficult time to get paint to stick to that surface.
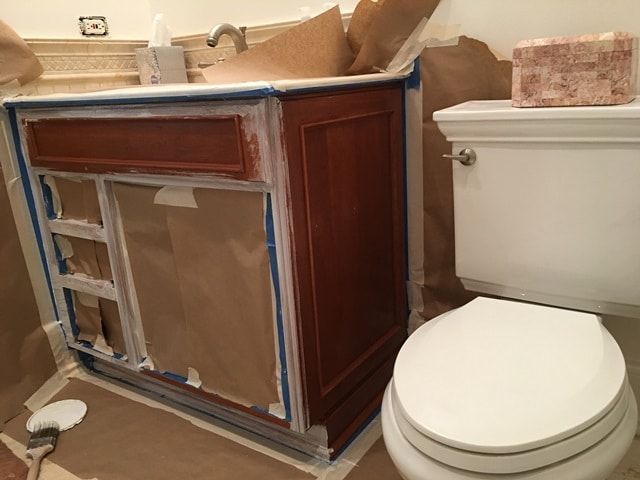
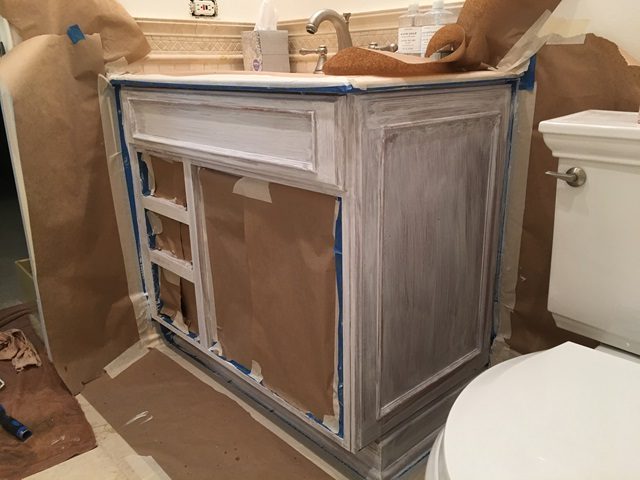
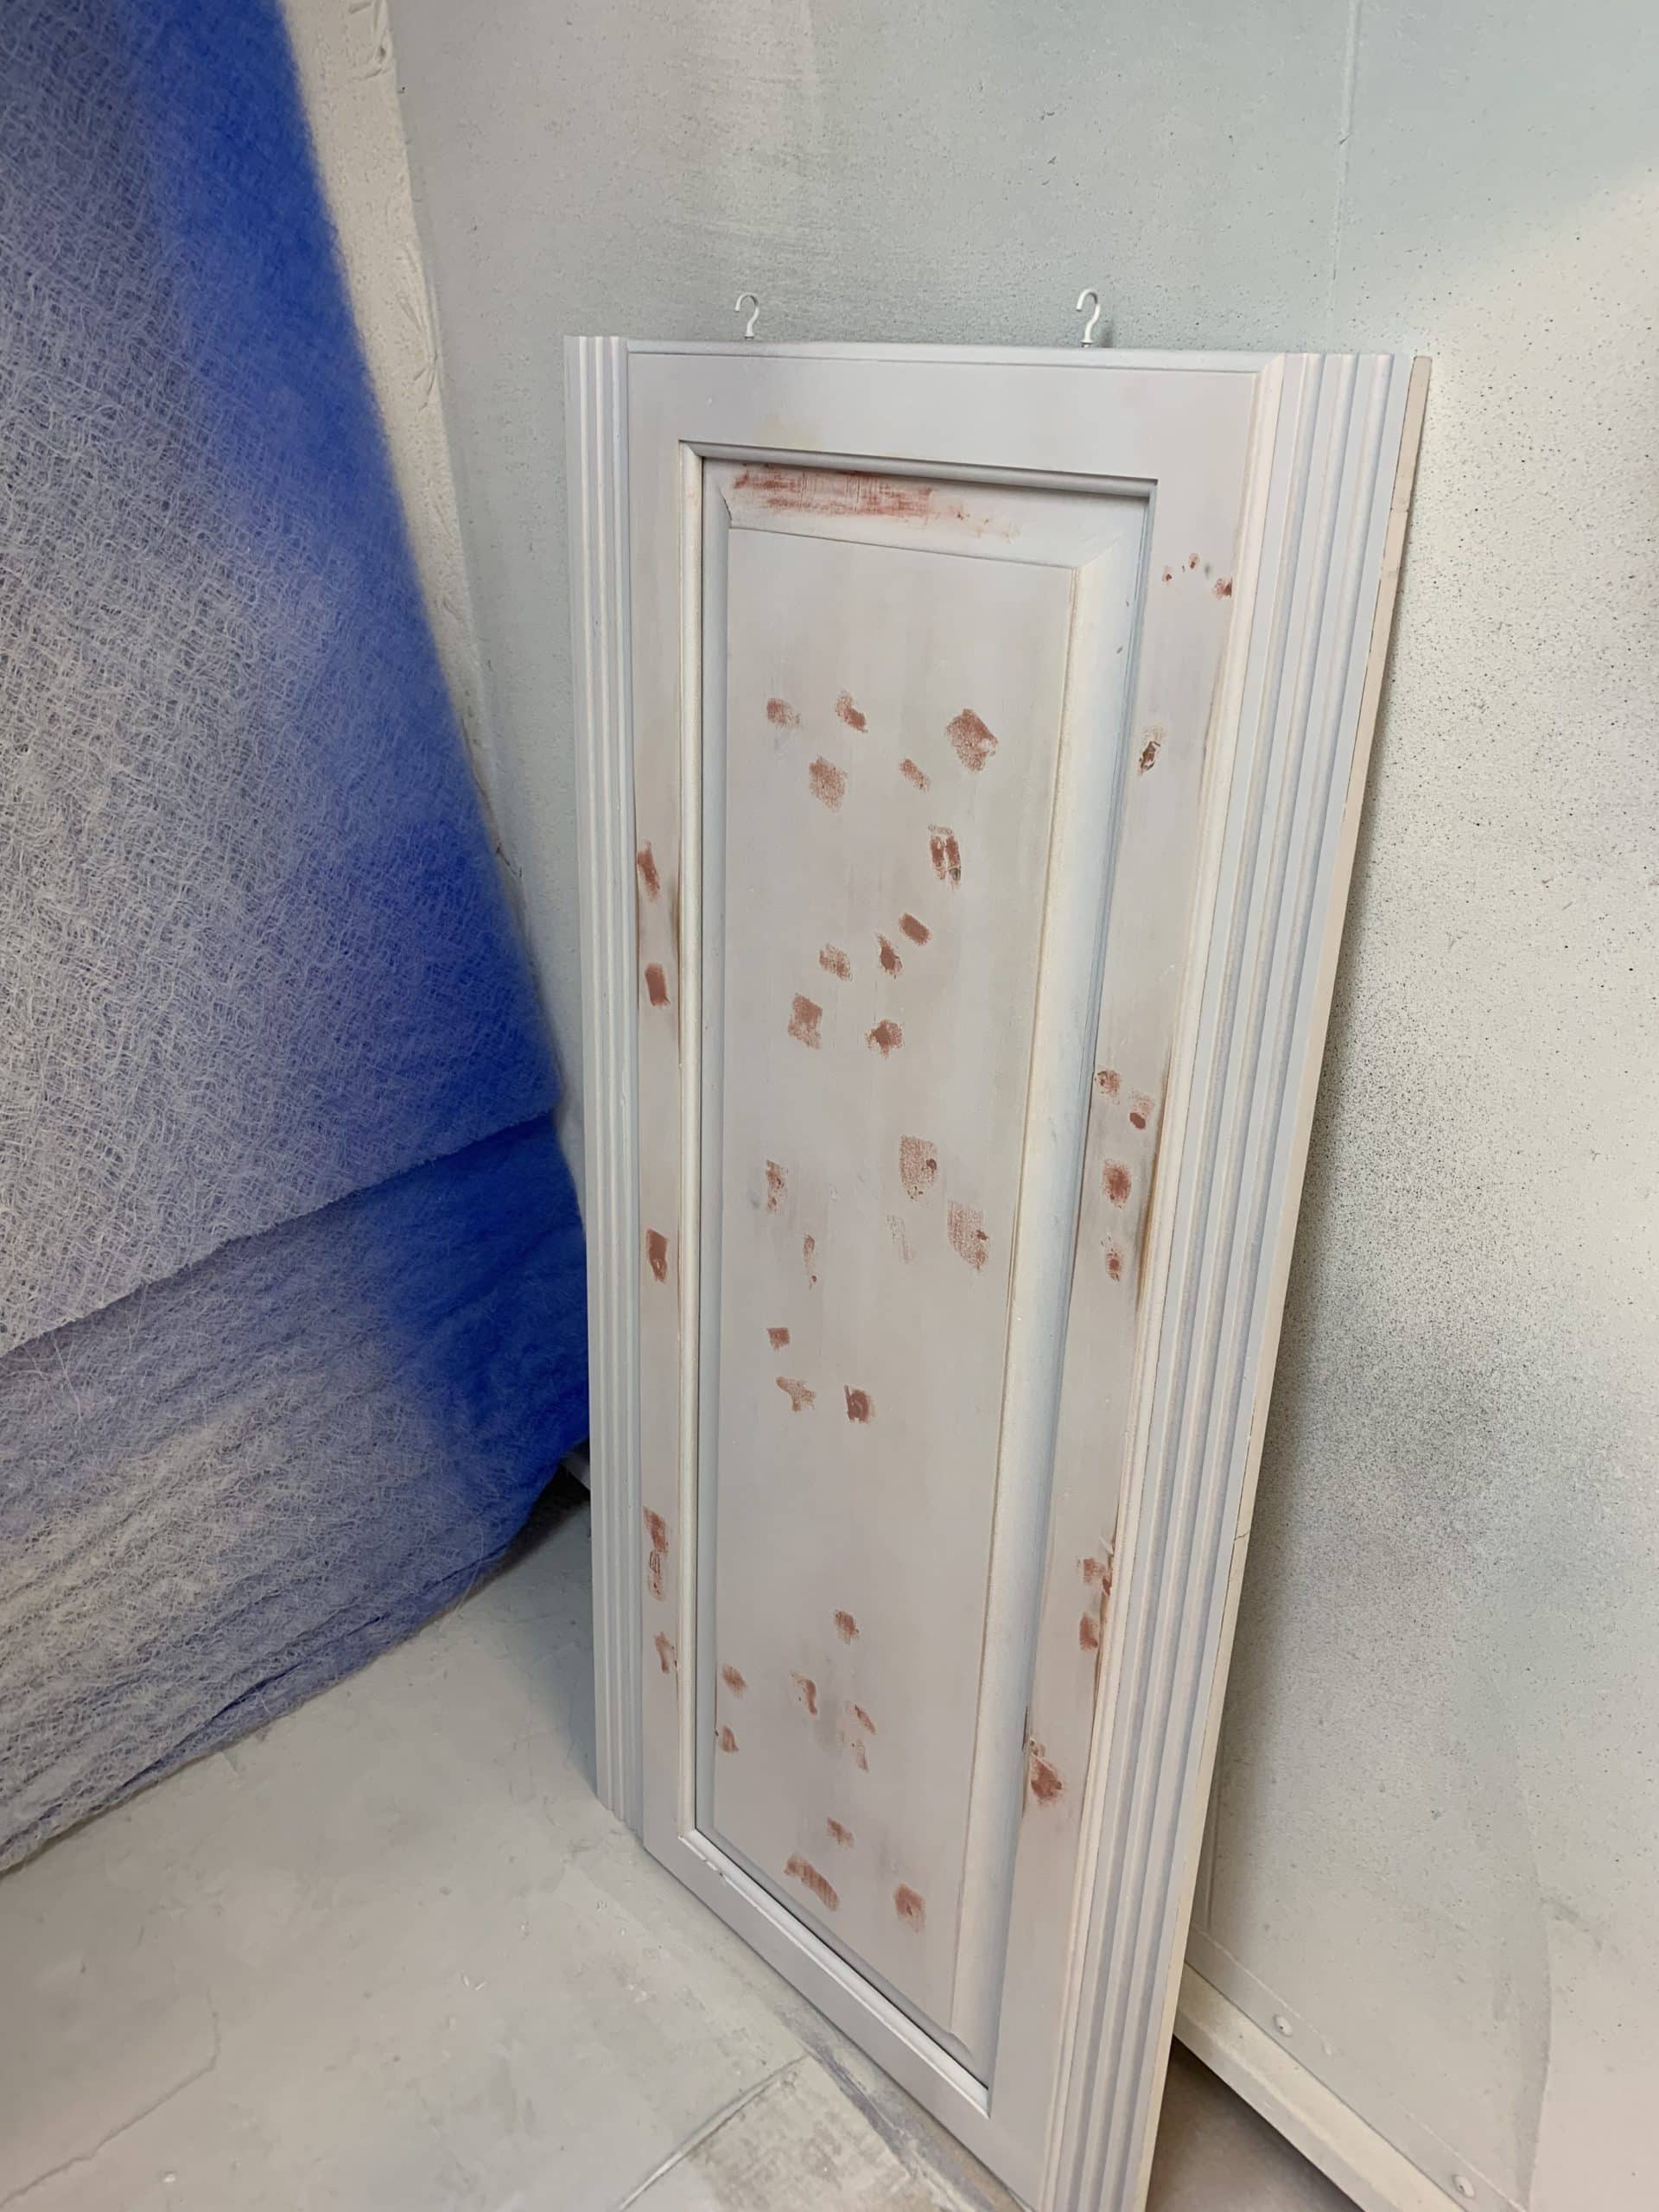
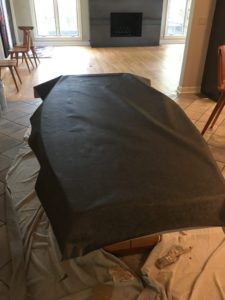
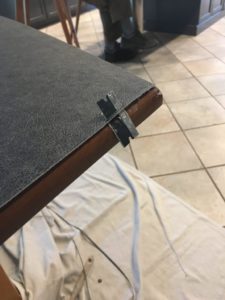
When we prepare a surface for paint, we clean it, dust it, clean it where needed and then we prime it. Primer gives the surface a uniform appearance and readiness to accept paint. In the case for cabinets, the bonding primer sticks to the wood cabinet, which allows the cabinet paint a surface to bond too, preventing peeling.
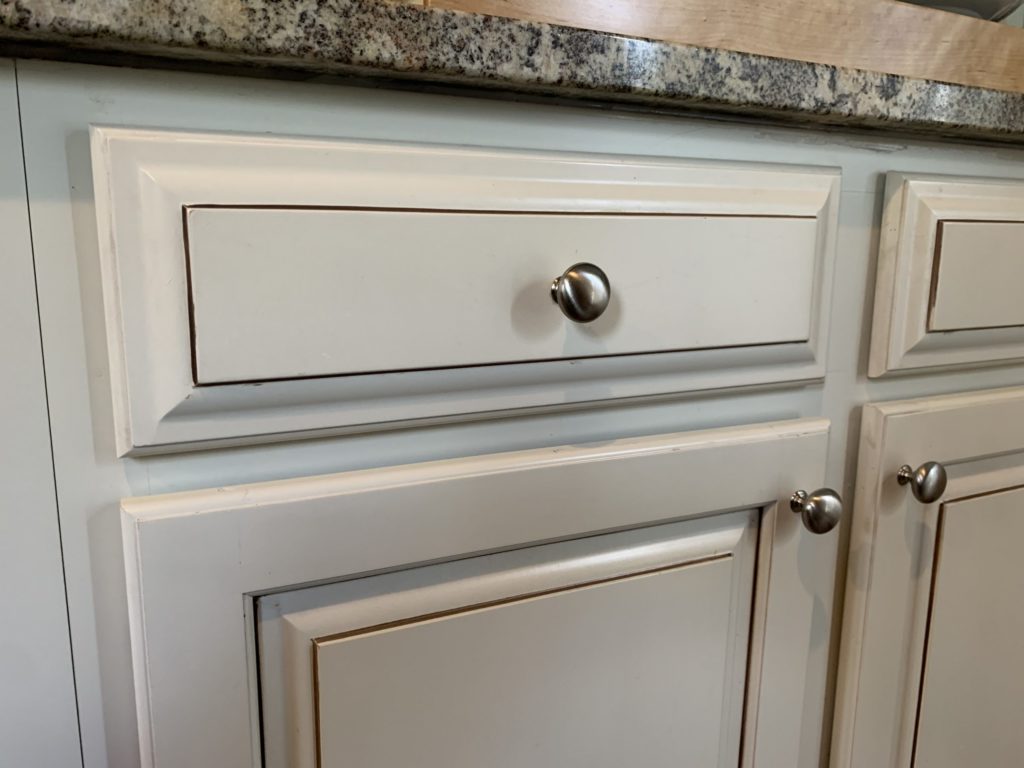
Are my painted cabinets going to chip?
This question is a issue and a subject to much frustration. Think of this as when you buy a car- is Honda going to warranty a repair from a rock that chipped your car while driving on the freeway? The same is true for painted wood- blunt force trauma to wood causes paint to chip, there is nothing you can do about it. You cannot prevent paint from chipping either.
You an read more about chips and peeling in an article we wrote some time ago..
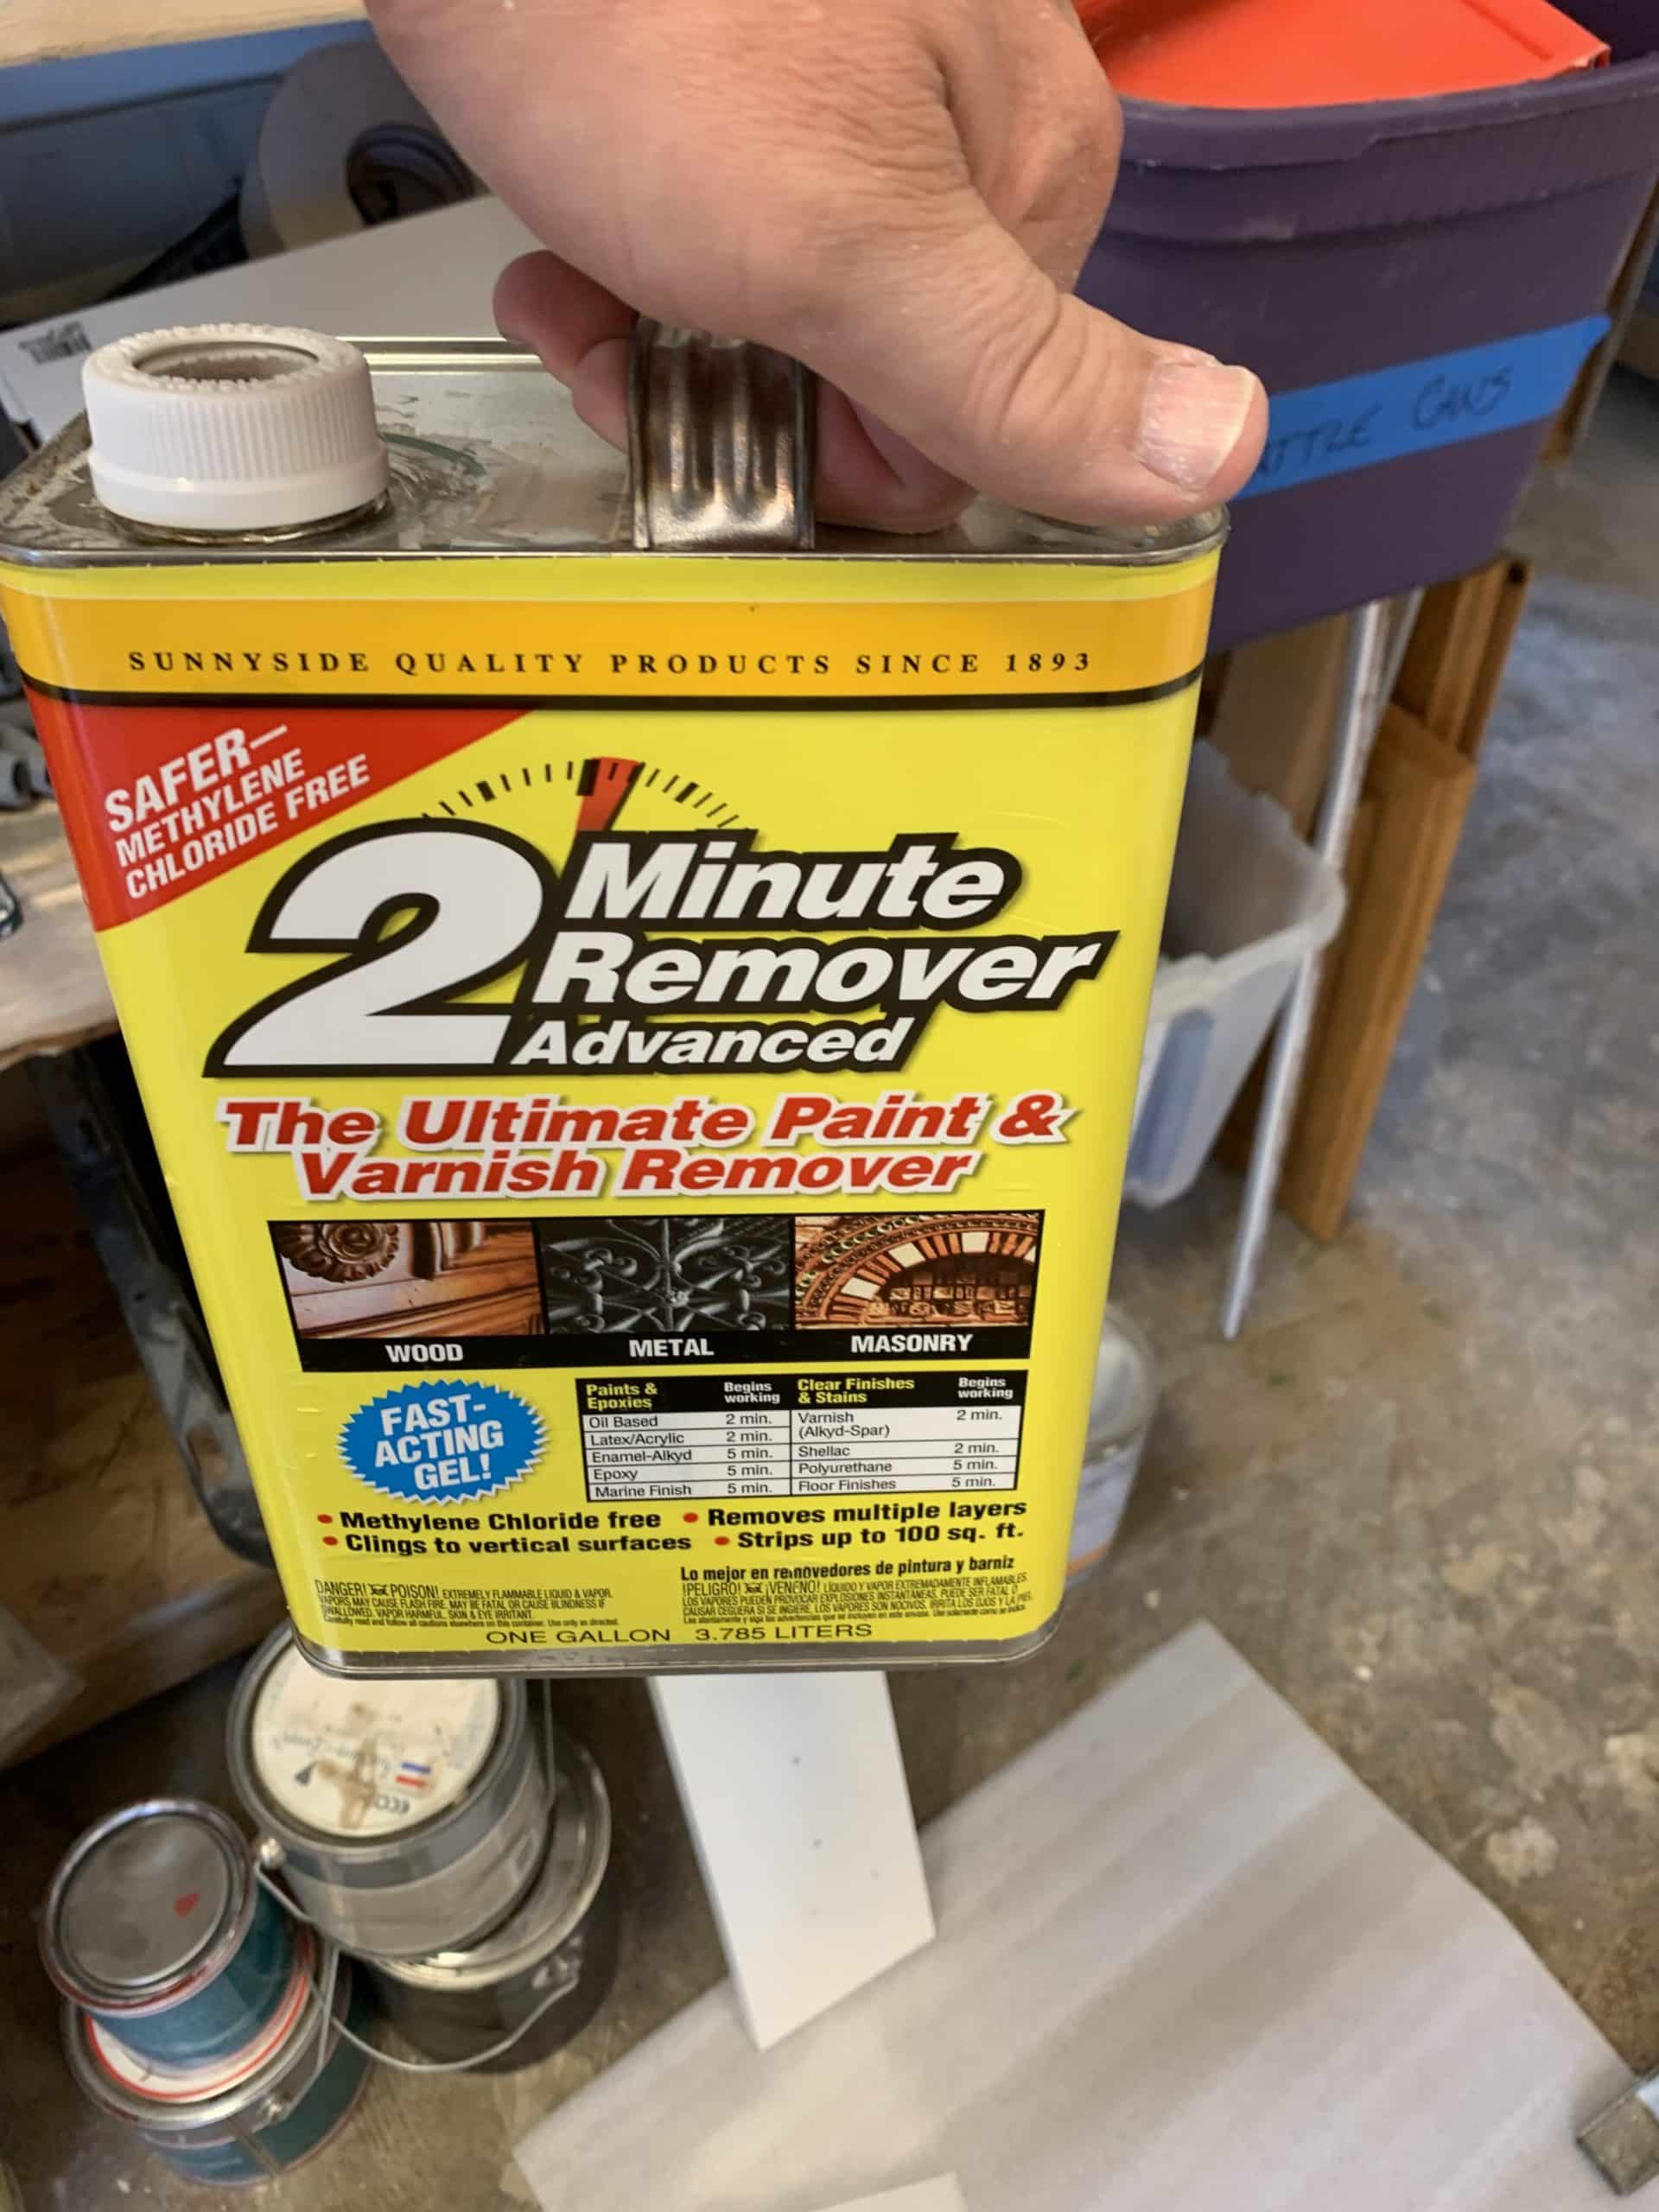
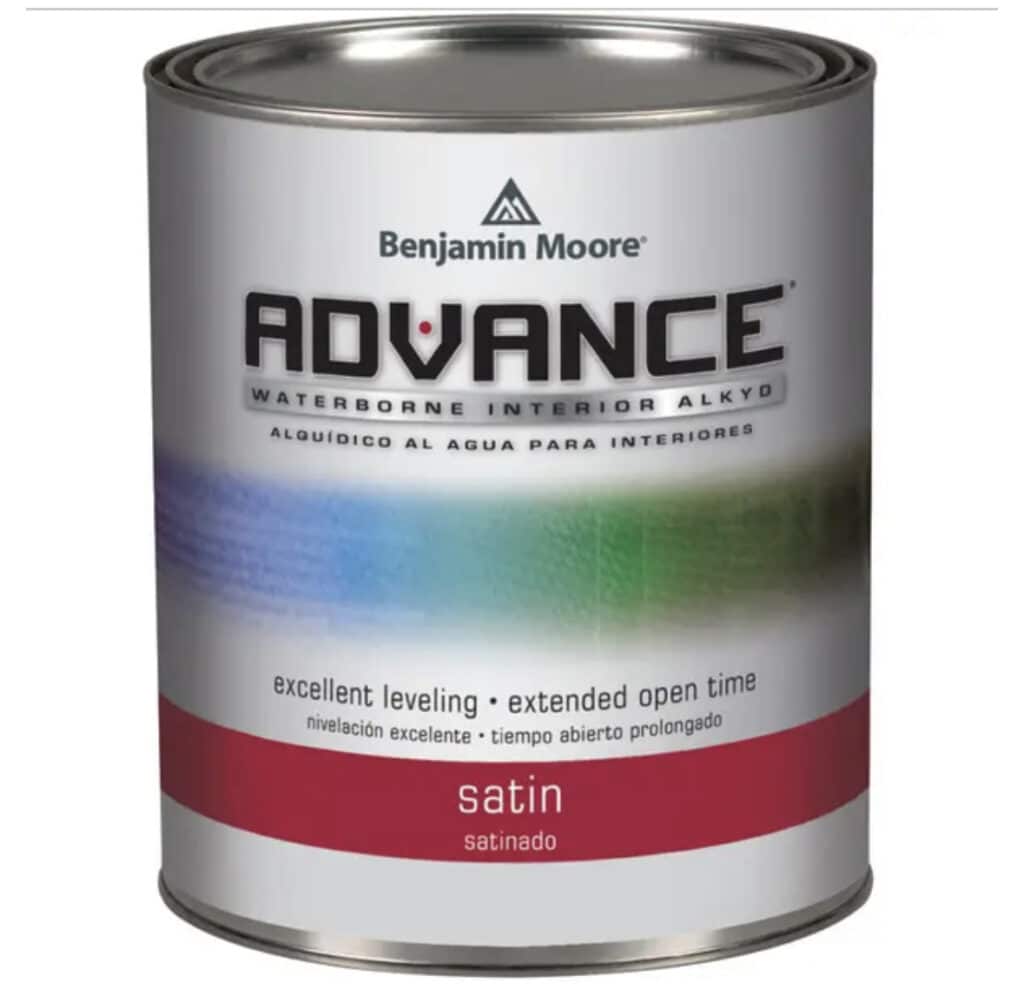
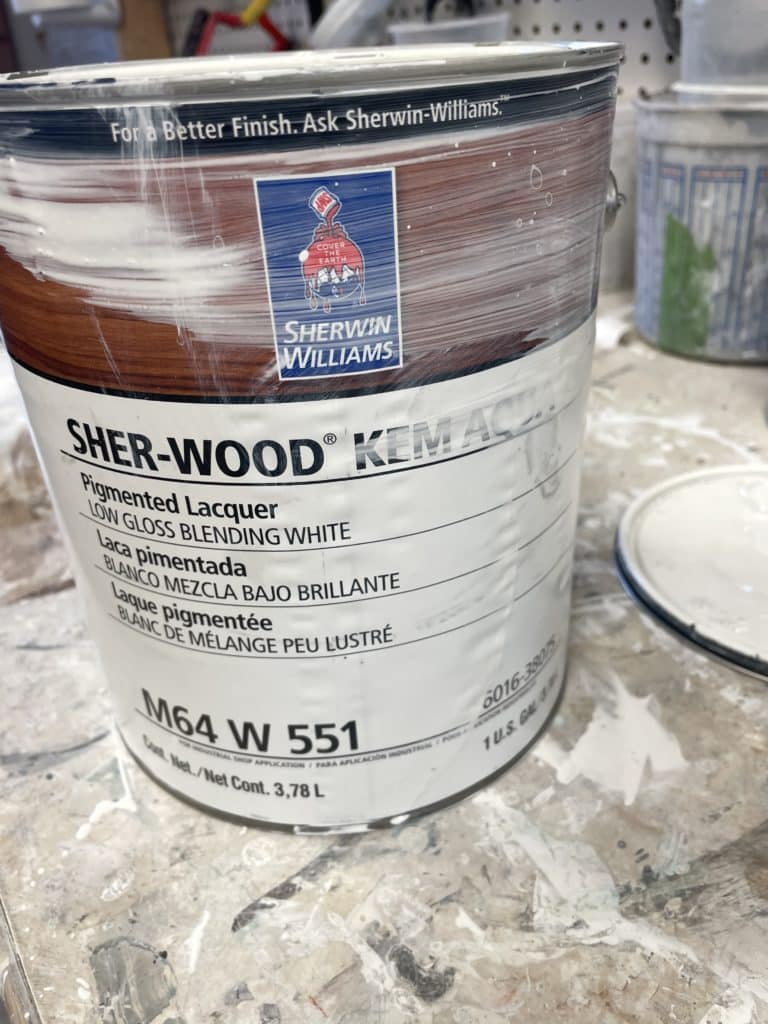
Using the wrong paint for cabinets
There are certain paints for certain applications. You don’t use automotive paint in a bathroom. Similar- you don’t use wall paint to paint cabinets.
Cabinets that re going to be painted should use a paint that is made for cabinets. There are several brands and several types. We use hybrid lacquer or Urathanes. Do not use Acrylic or oil-based products. If you want to know why- ask us and we can do another blog post about that!
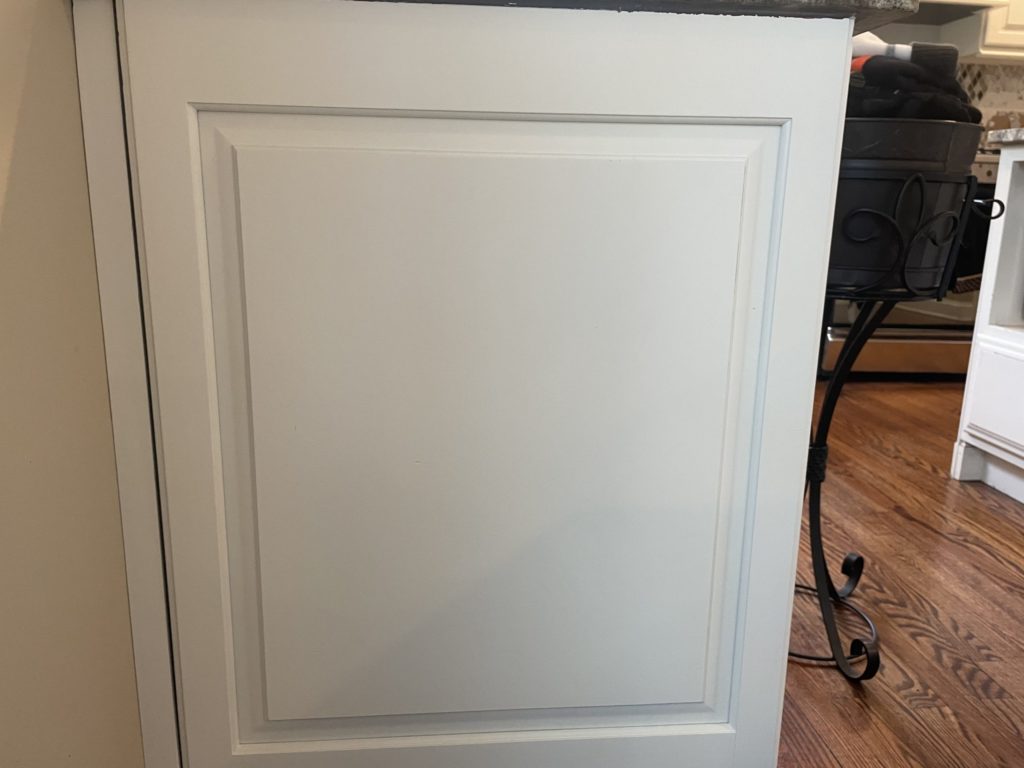
I can see brush and roller marks on my cabinets
This really isn’t as much of an issue as much as it is a preference. I really do not brush and roll cabinets. I do not like seeing the brush or roller marks. Brush and roller marks happen for several reasons:
- using bad brushed leave marks
- cheap rollers leave laps or bubbles
- rough surfaces give un even surfaces leaving marks
- if you use a paint not meant to roll, you will leave lines
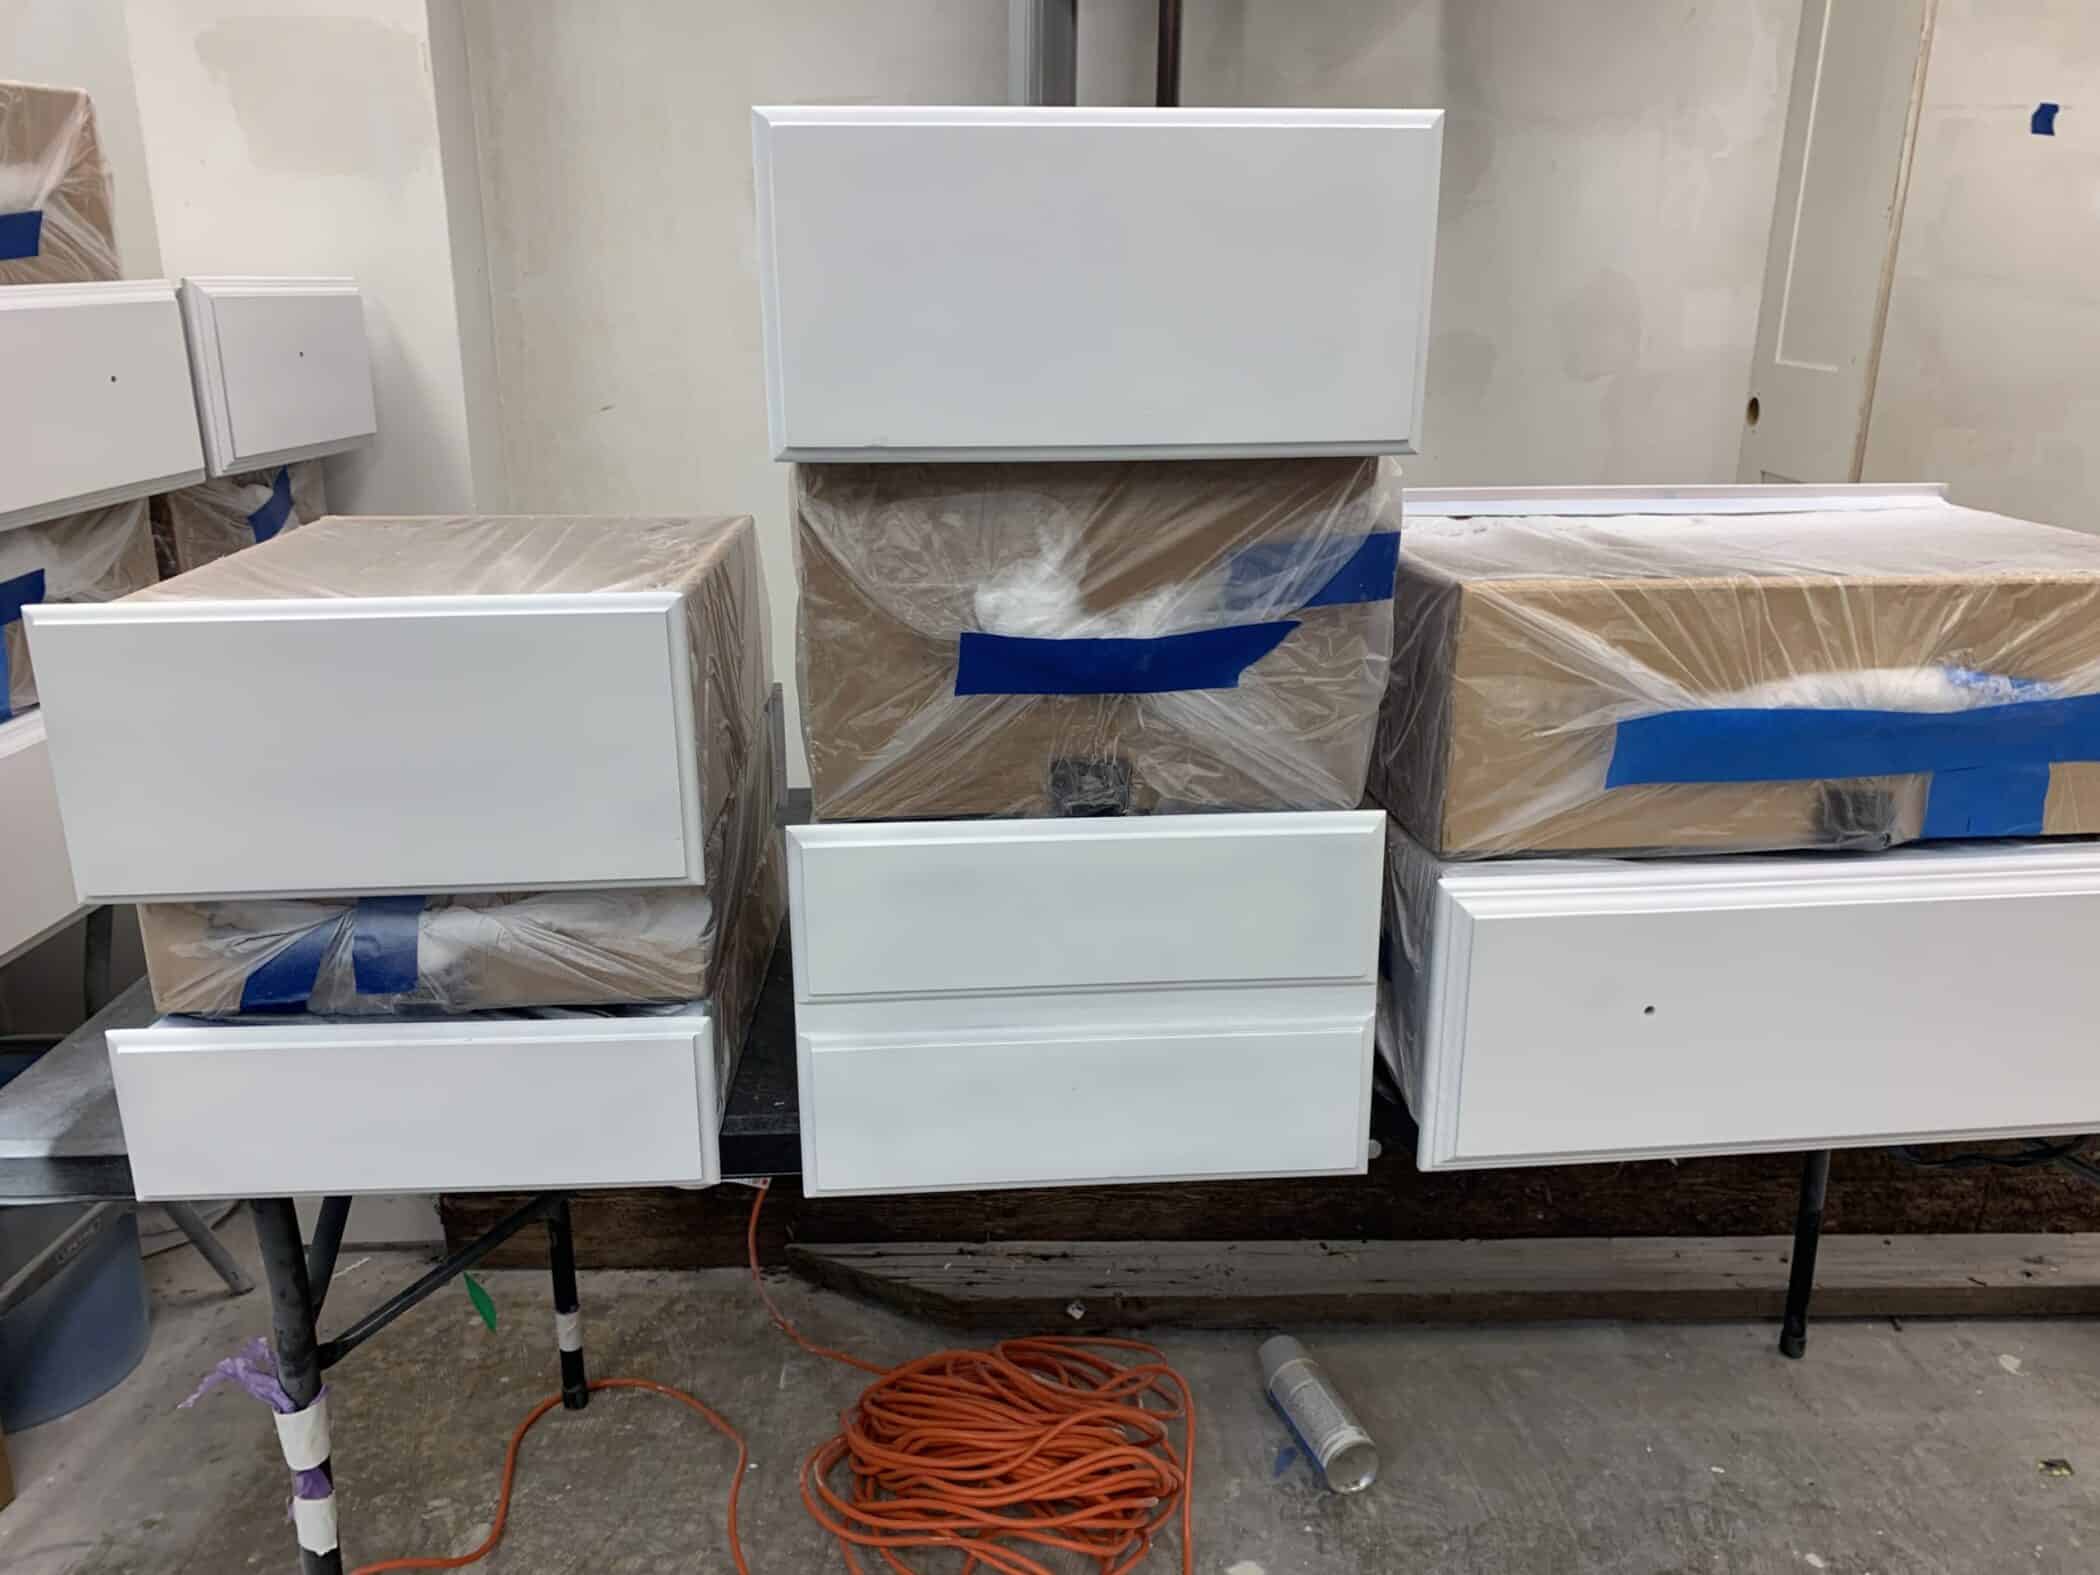
- the paint dries to fast
- leaving wet painted cabinets in a dirty area- dust/bugs
I could probably list a few more of these reasons, but the biggest reason is if you use a brush or roller you will leave brush or roller marks. Duh?-maybe but that is the reality.
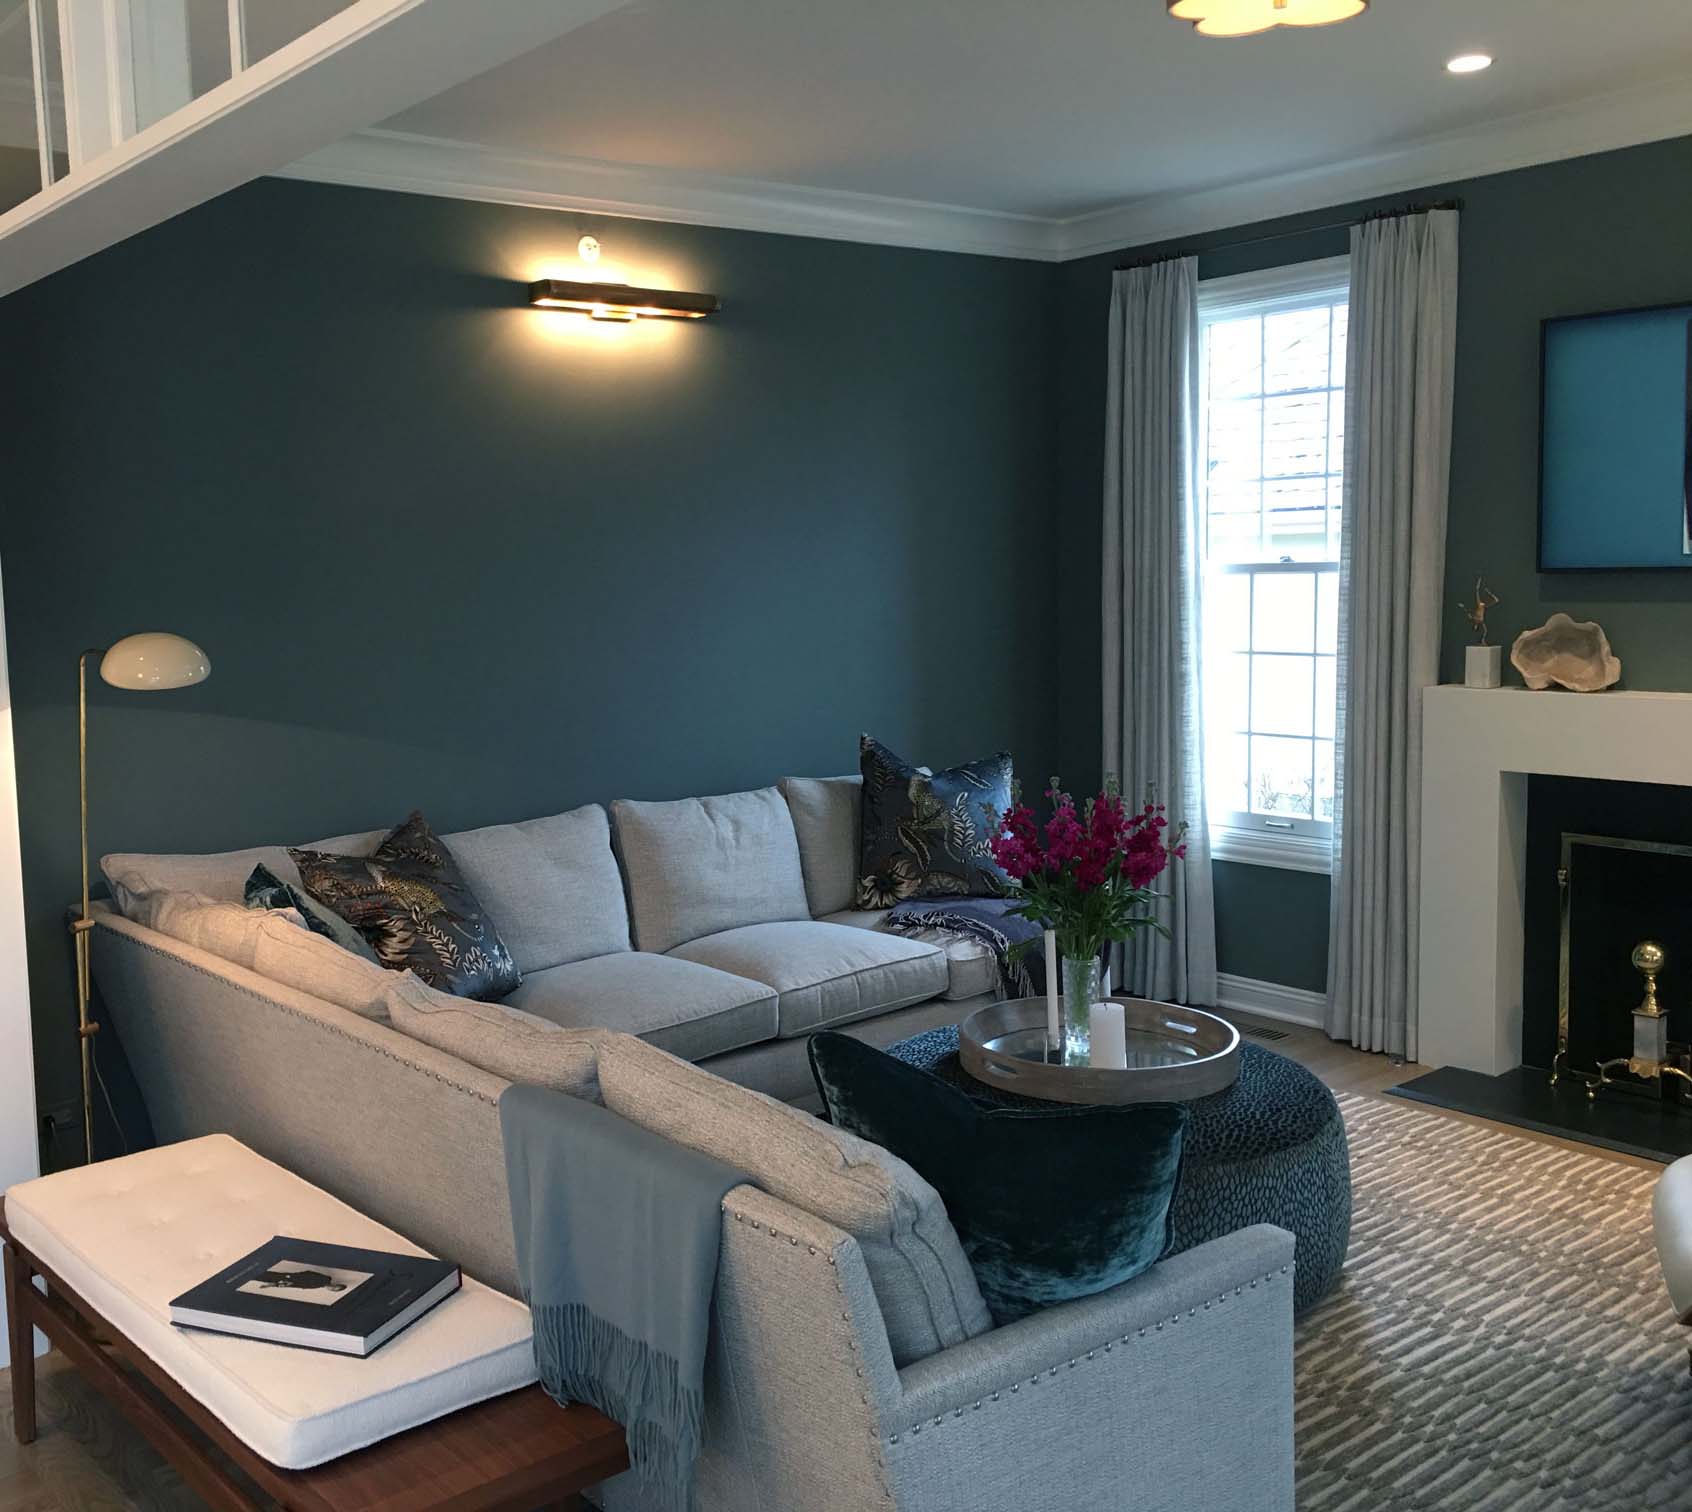
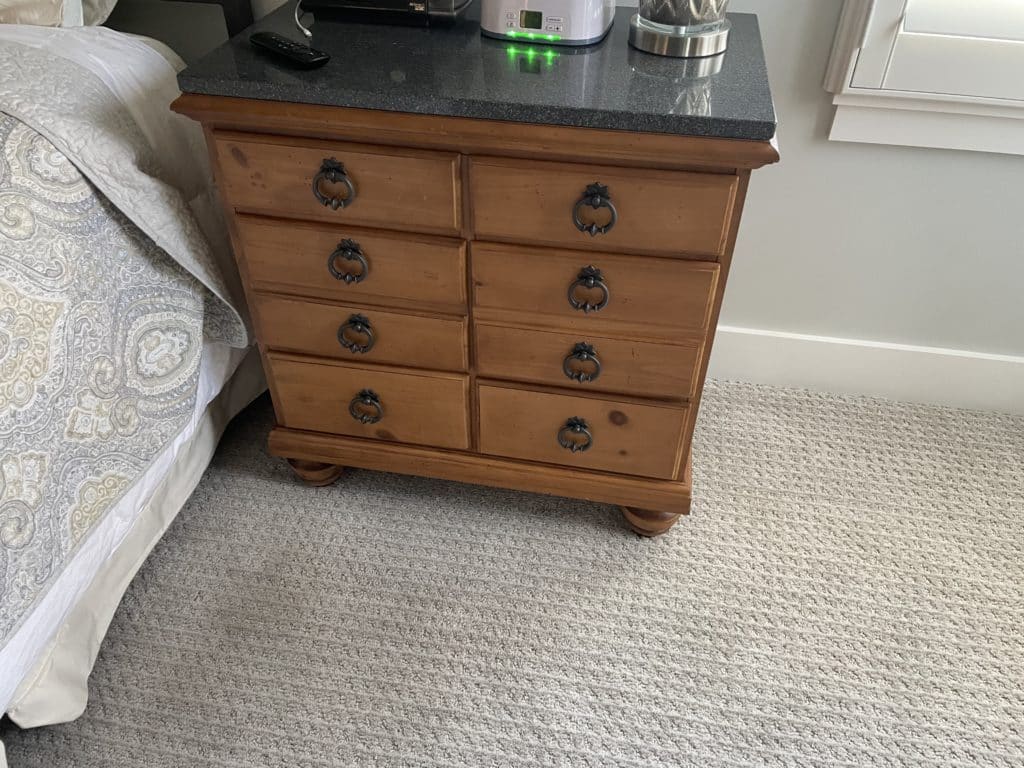
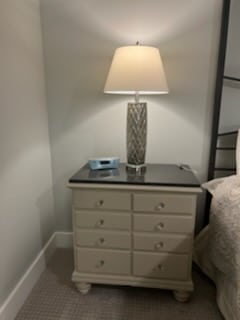
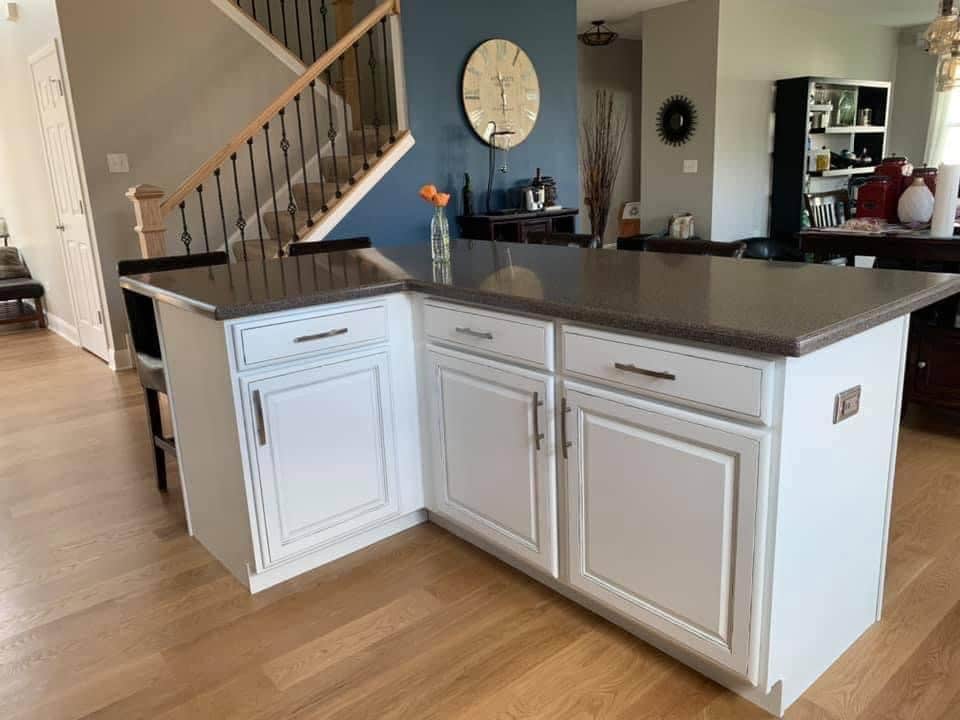
I hate the color of my cabinets
this one always kills me. Before you paint- look at the color! If you say I don’t really care- then don’t complain about the color! If it didn’t happen I would not be writing about it. People see a tv show, hear about a color from friends, or someone sends a picture and think I want it!
Every phone takes pics a bit differently which does affect the look and appearance of the photos being taken. The lighting in your home makes a difference in the color of the paint you use. Surrounding accent colors, flooring, drapes, etc also make a difference in the colors in your home.
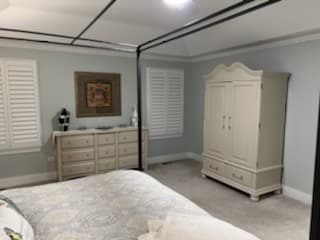
This is where we find the free interior designer makes a huge difference. They know and will help you make the right choice!
How can we help?
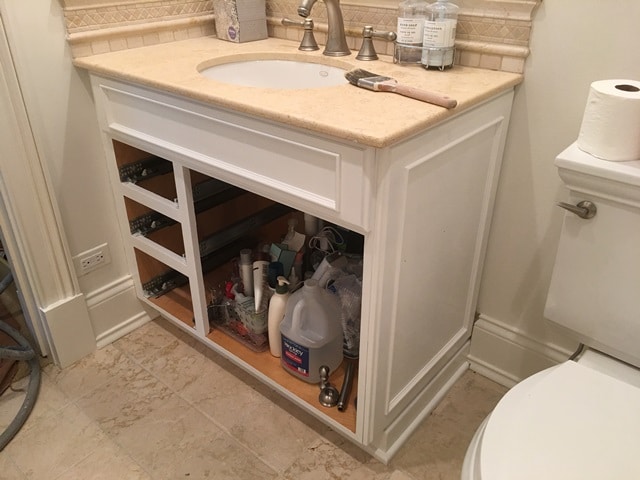
If you are thinking of painting cabinets, please let us know what we can do to help! We want you to enjoy the process and the results!! Although we are in Huntley, we serve all of our surrounding communities such as Pingree Grove, Algonquin, Carpentersville, and Elgin to name a few.

 [/ezcol_1half]
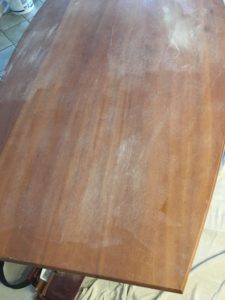 [/ezcol_1half_end]
 [/ezcol_1half]