Problems with restaining Cherry cabinets West Dundee

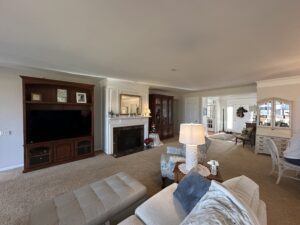
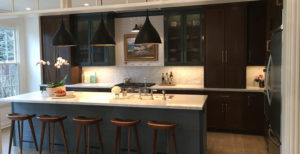
If you are like many of our customers, you have cherry cabinets in your home. Just like these customers, you are tired of the way cherry cabinets look. There are a few problems with restaining cherry cabinets that you should be aware of, so let’s explore them!

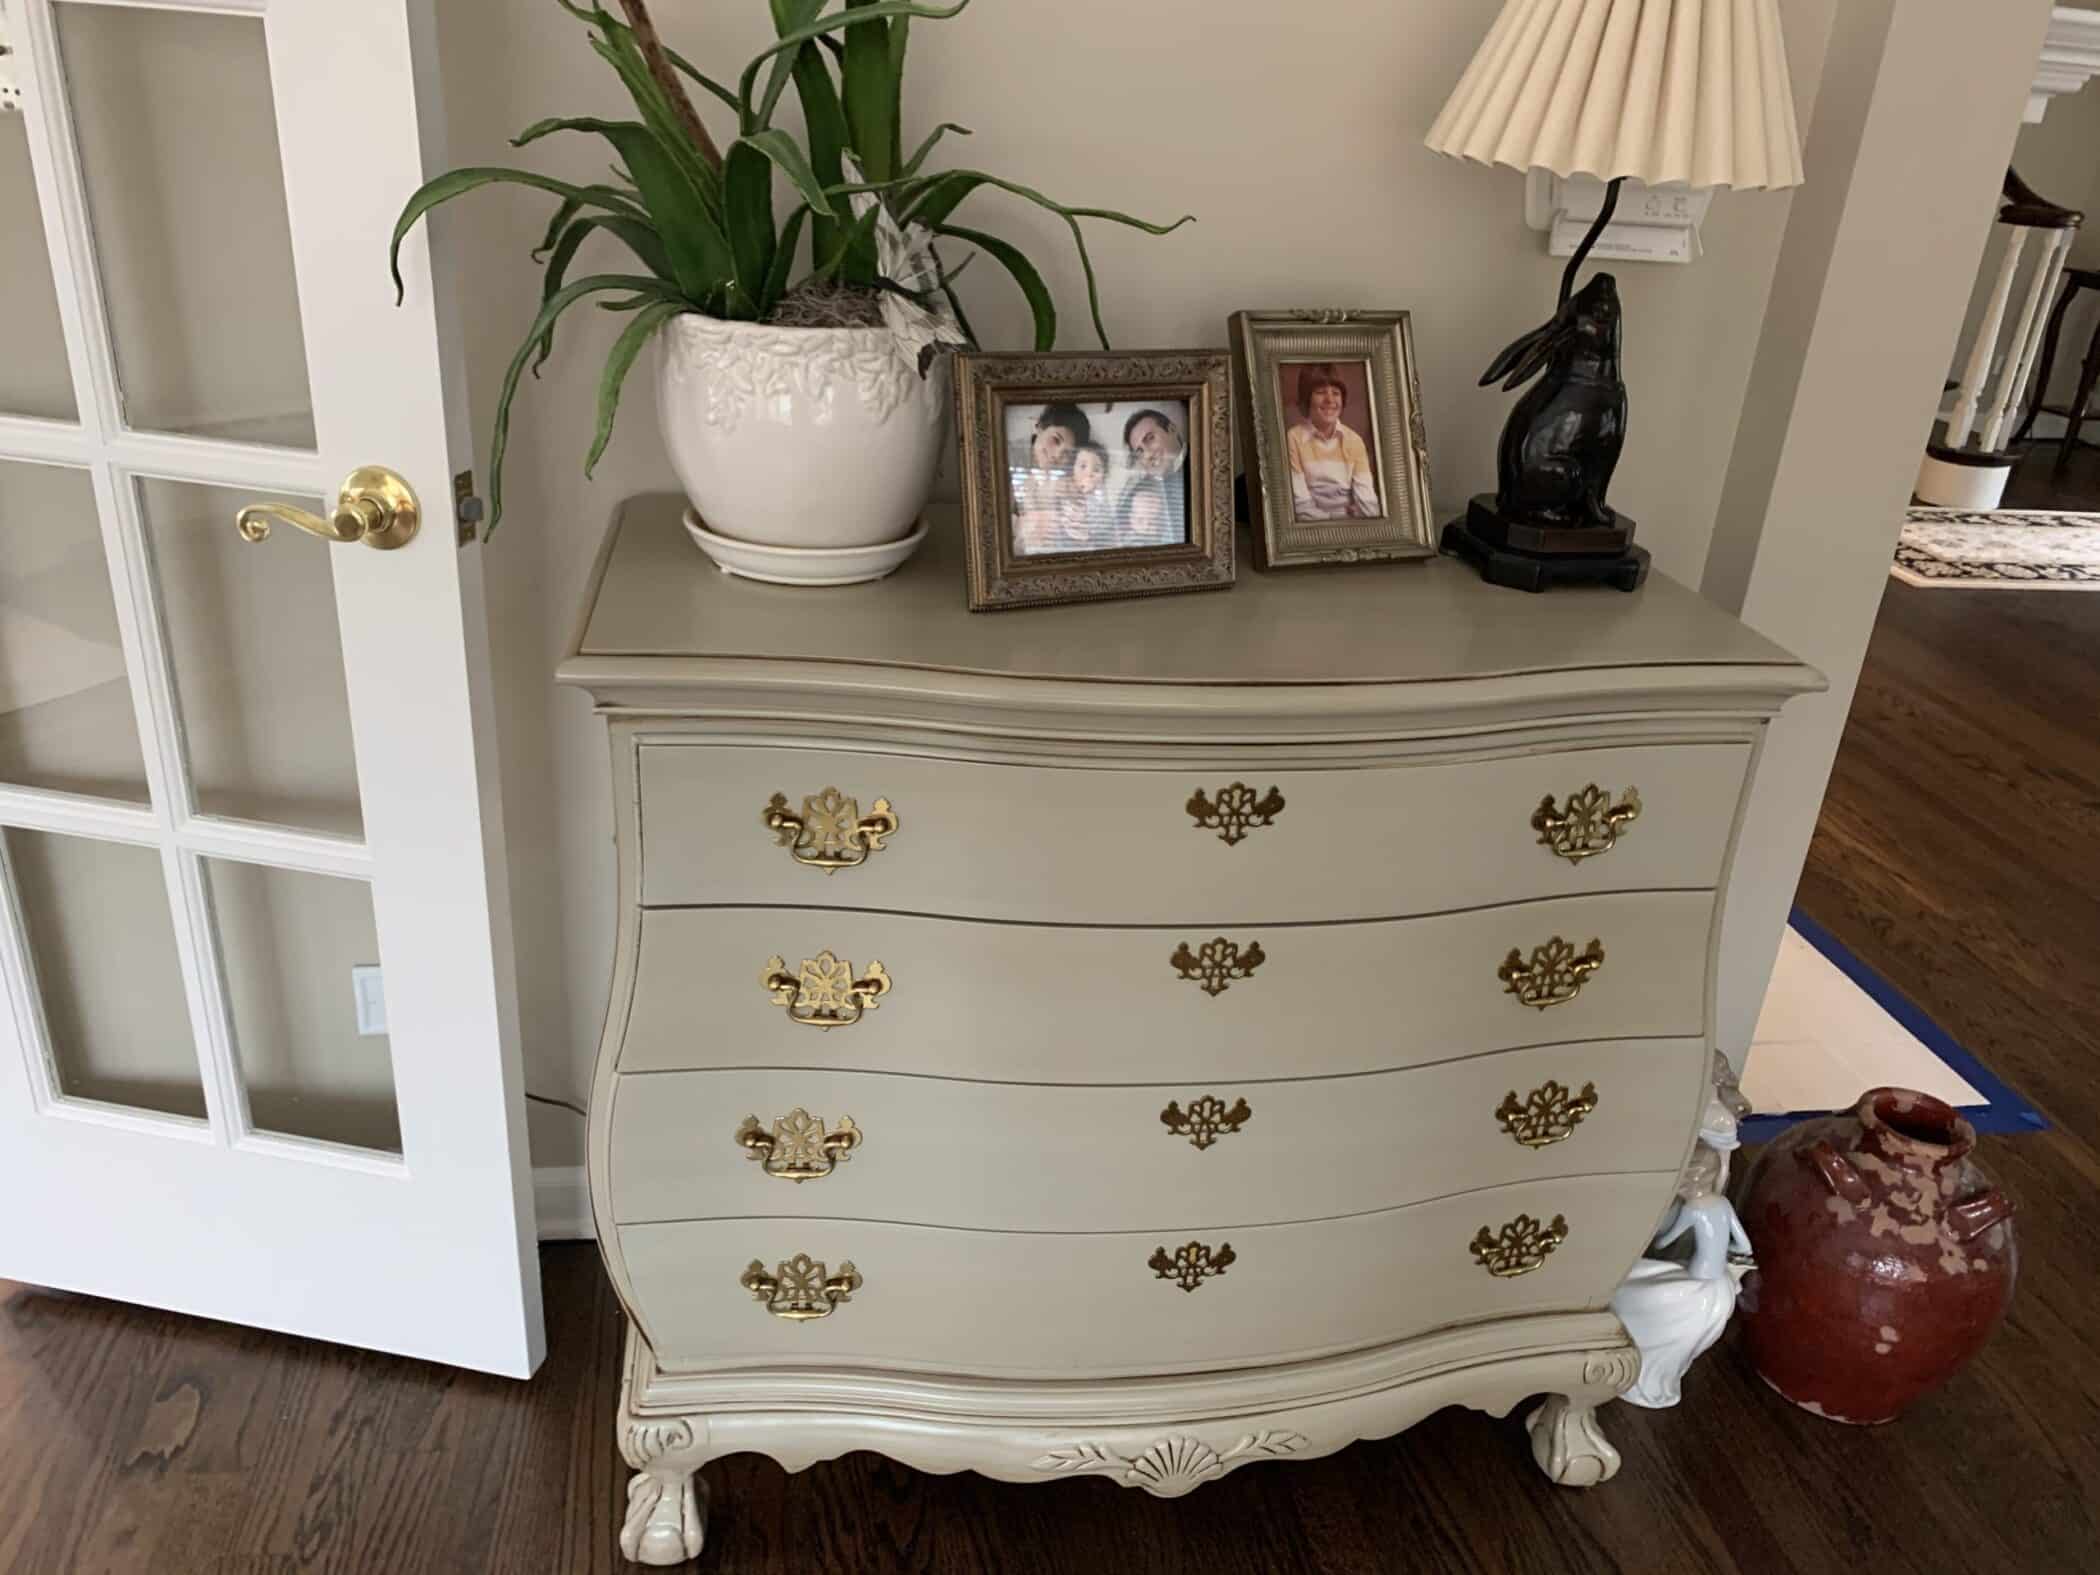
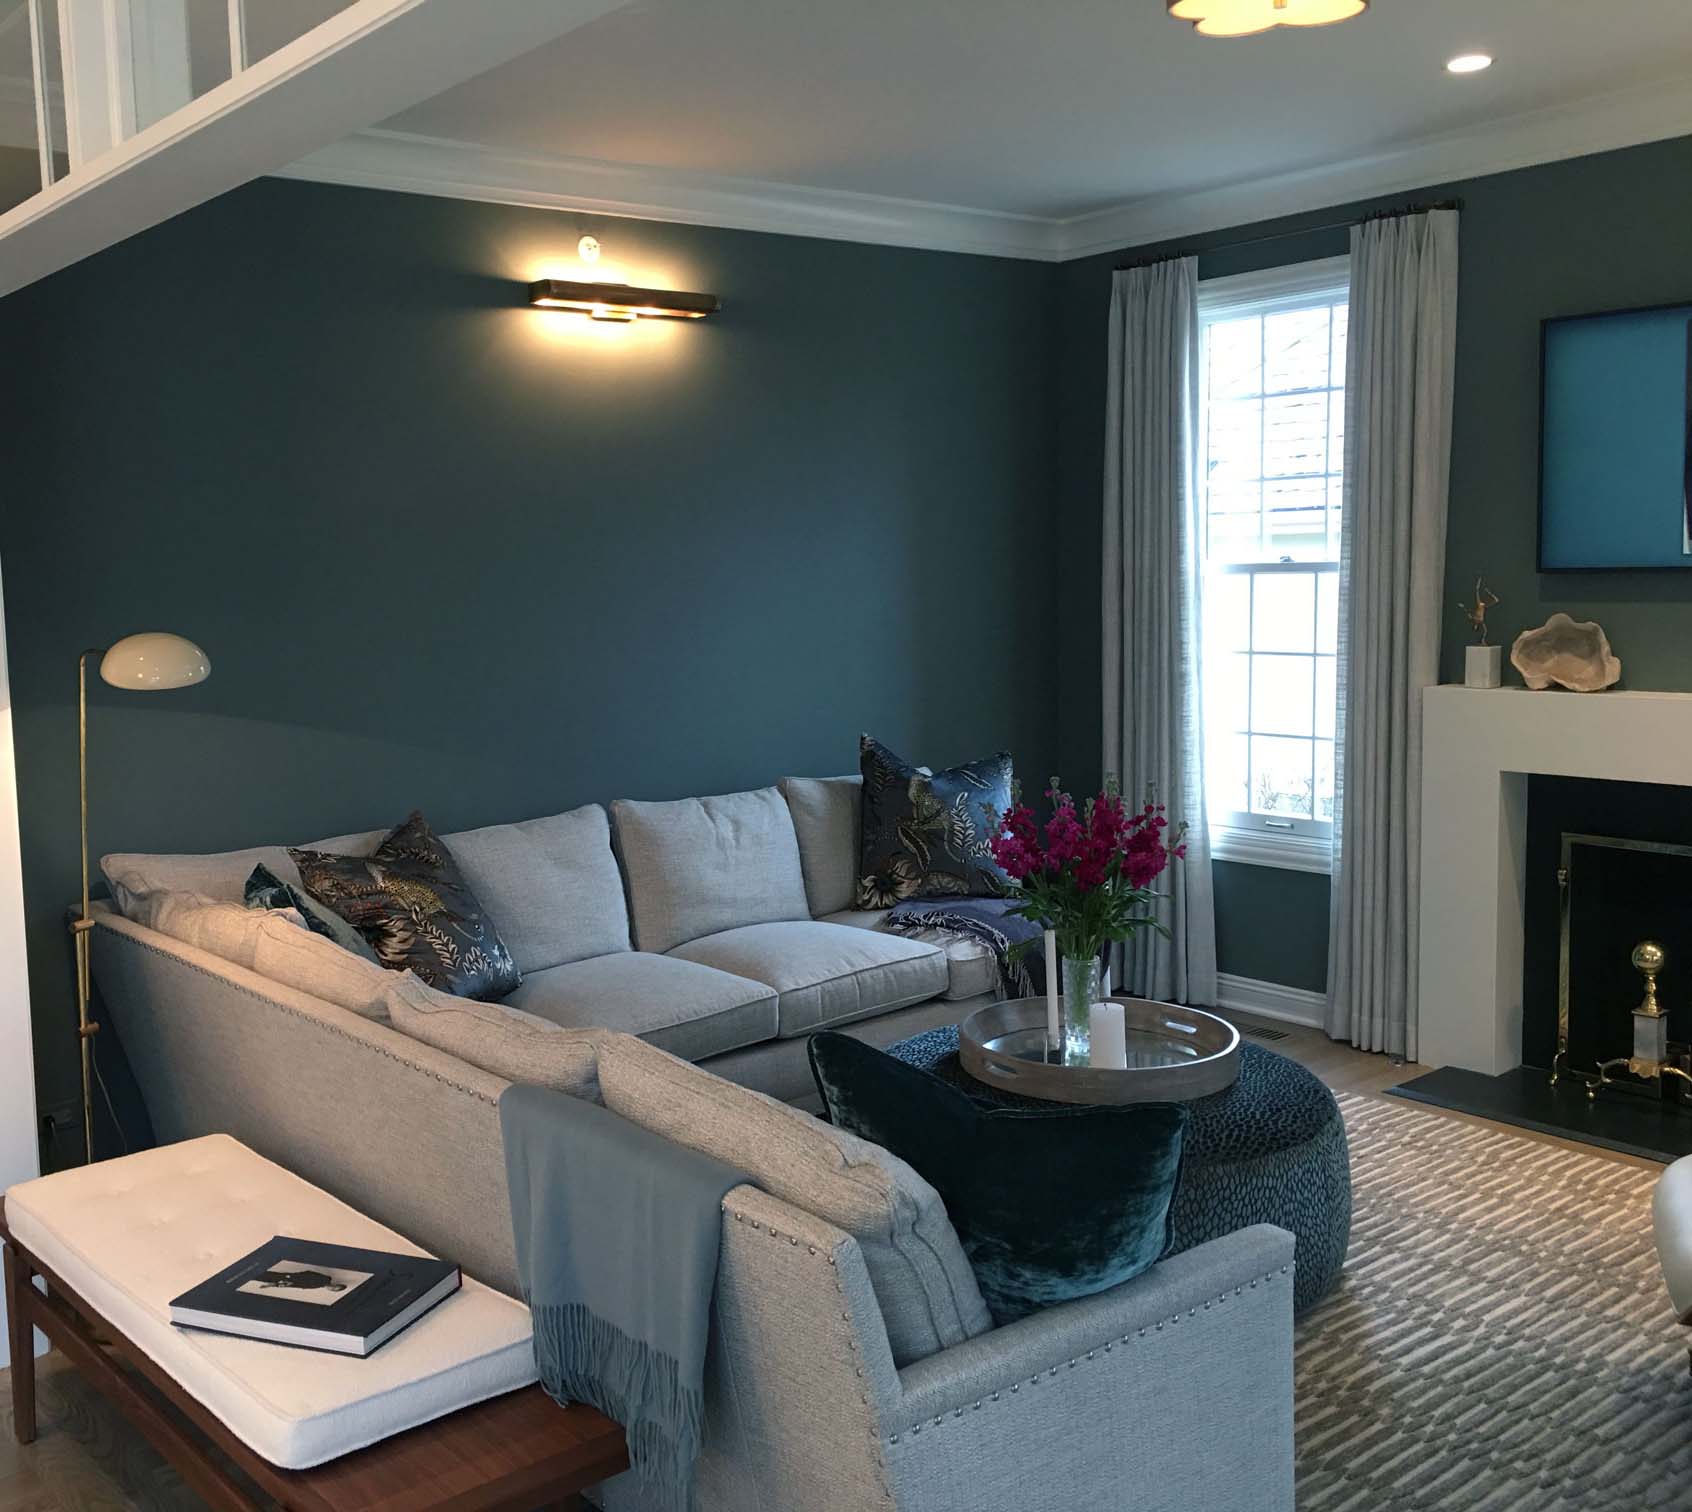
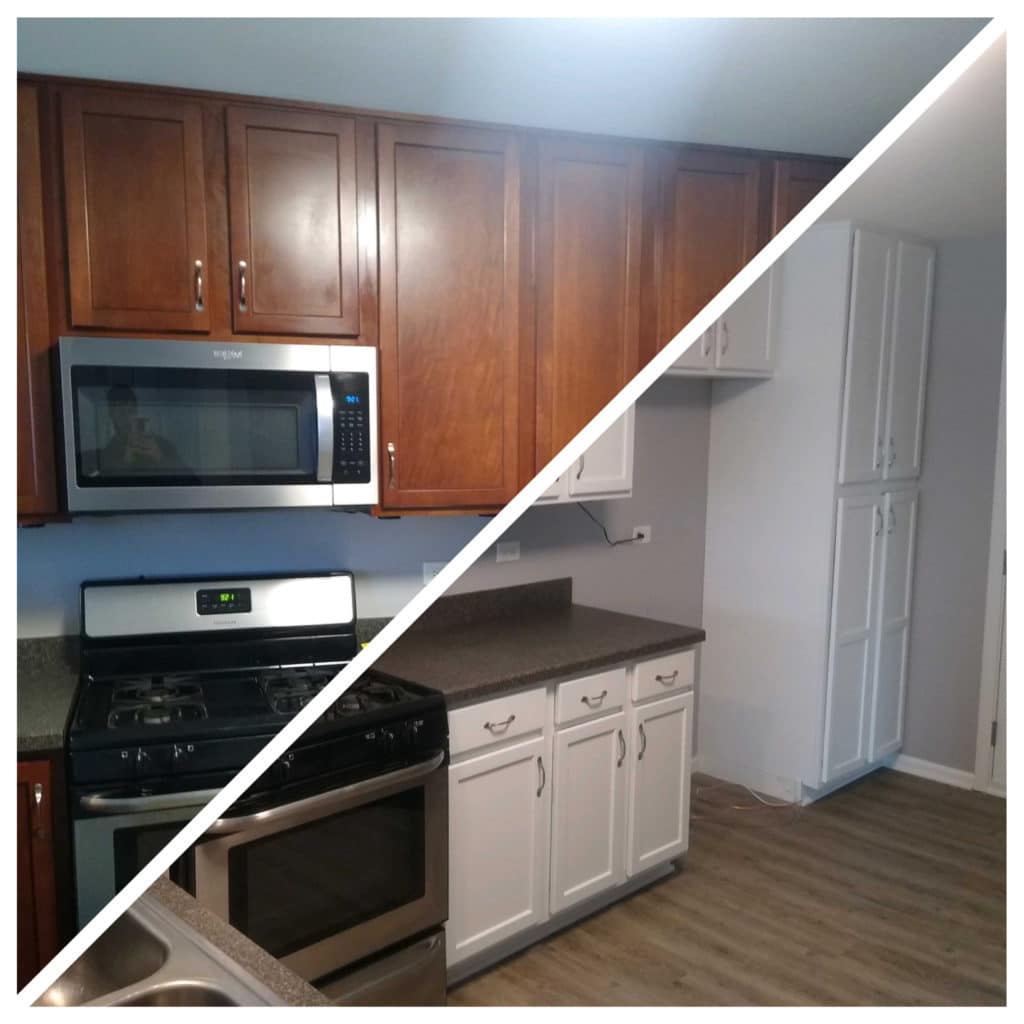
Giving cherry kitchen cabinets a new life can be tricky. Most people are painting cherry cabients. Dave S and his wife in Sleepy Hollow, IL chose not to paint their wood cabinets, opting to preserve them instead. Several problems exist with staining cherry cabinets that you should see or know about, so let’s dive in!

Hello Everyone, David with Dfranco Painting and Wallpaper here in Huntley, IL. We assist homeowners in nearby areas with painting, wallpaper, and cabinet refinishing. These areas include Carpentersville, Elgin, Pingree Grove, Bartlett, Geneva, and St. Charles. Todays’ question or issue we get into Problems with restaining Cherry cabinets.

Can you restain cherry cabients?

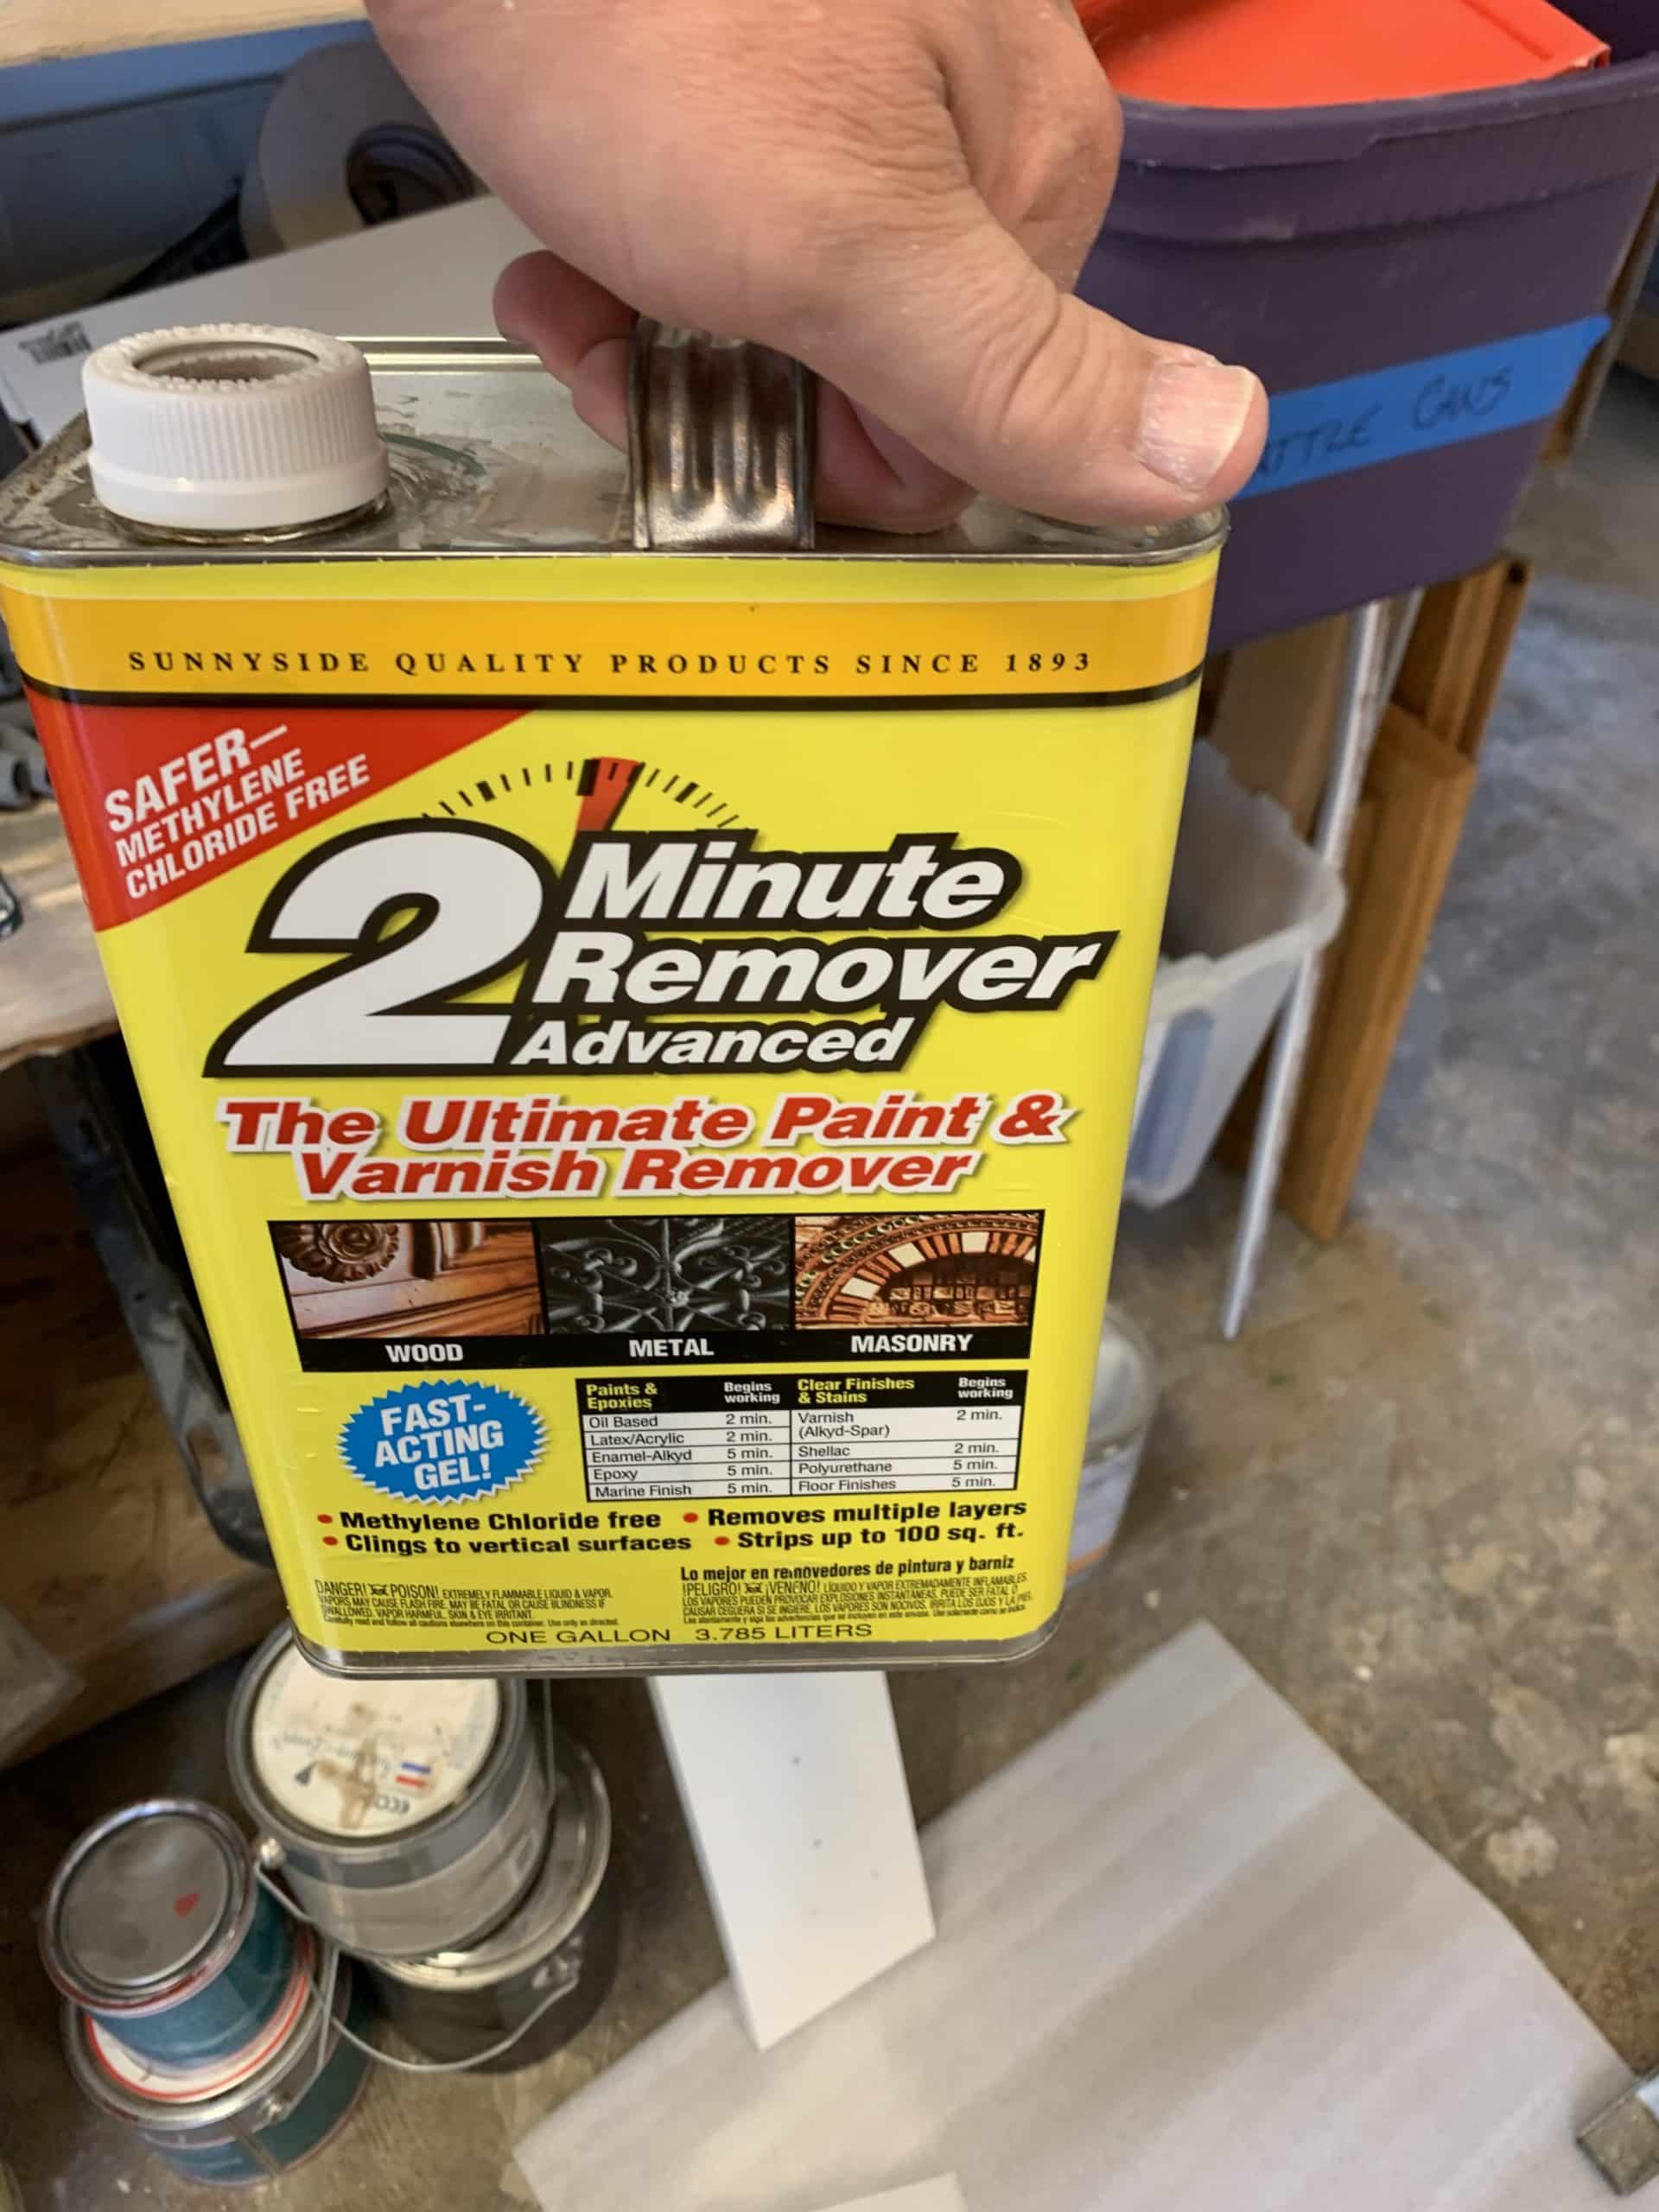
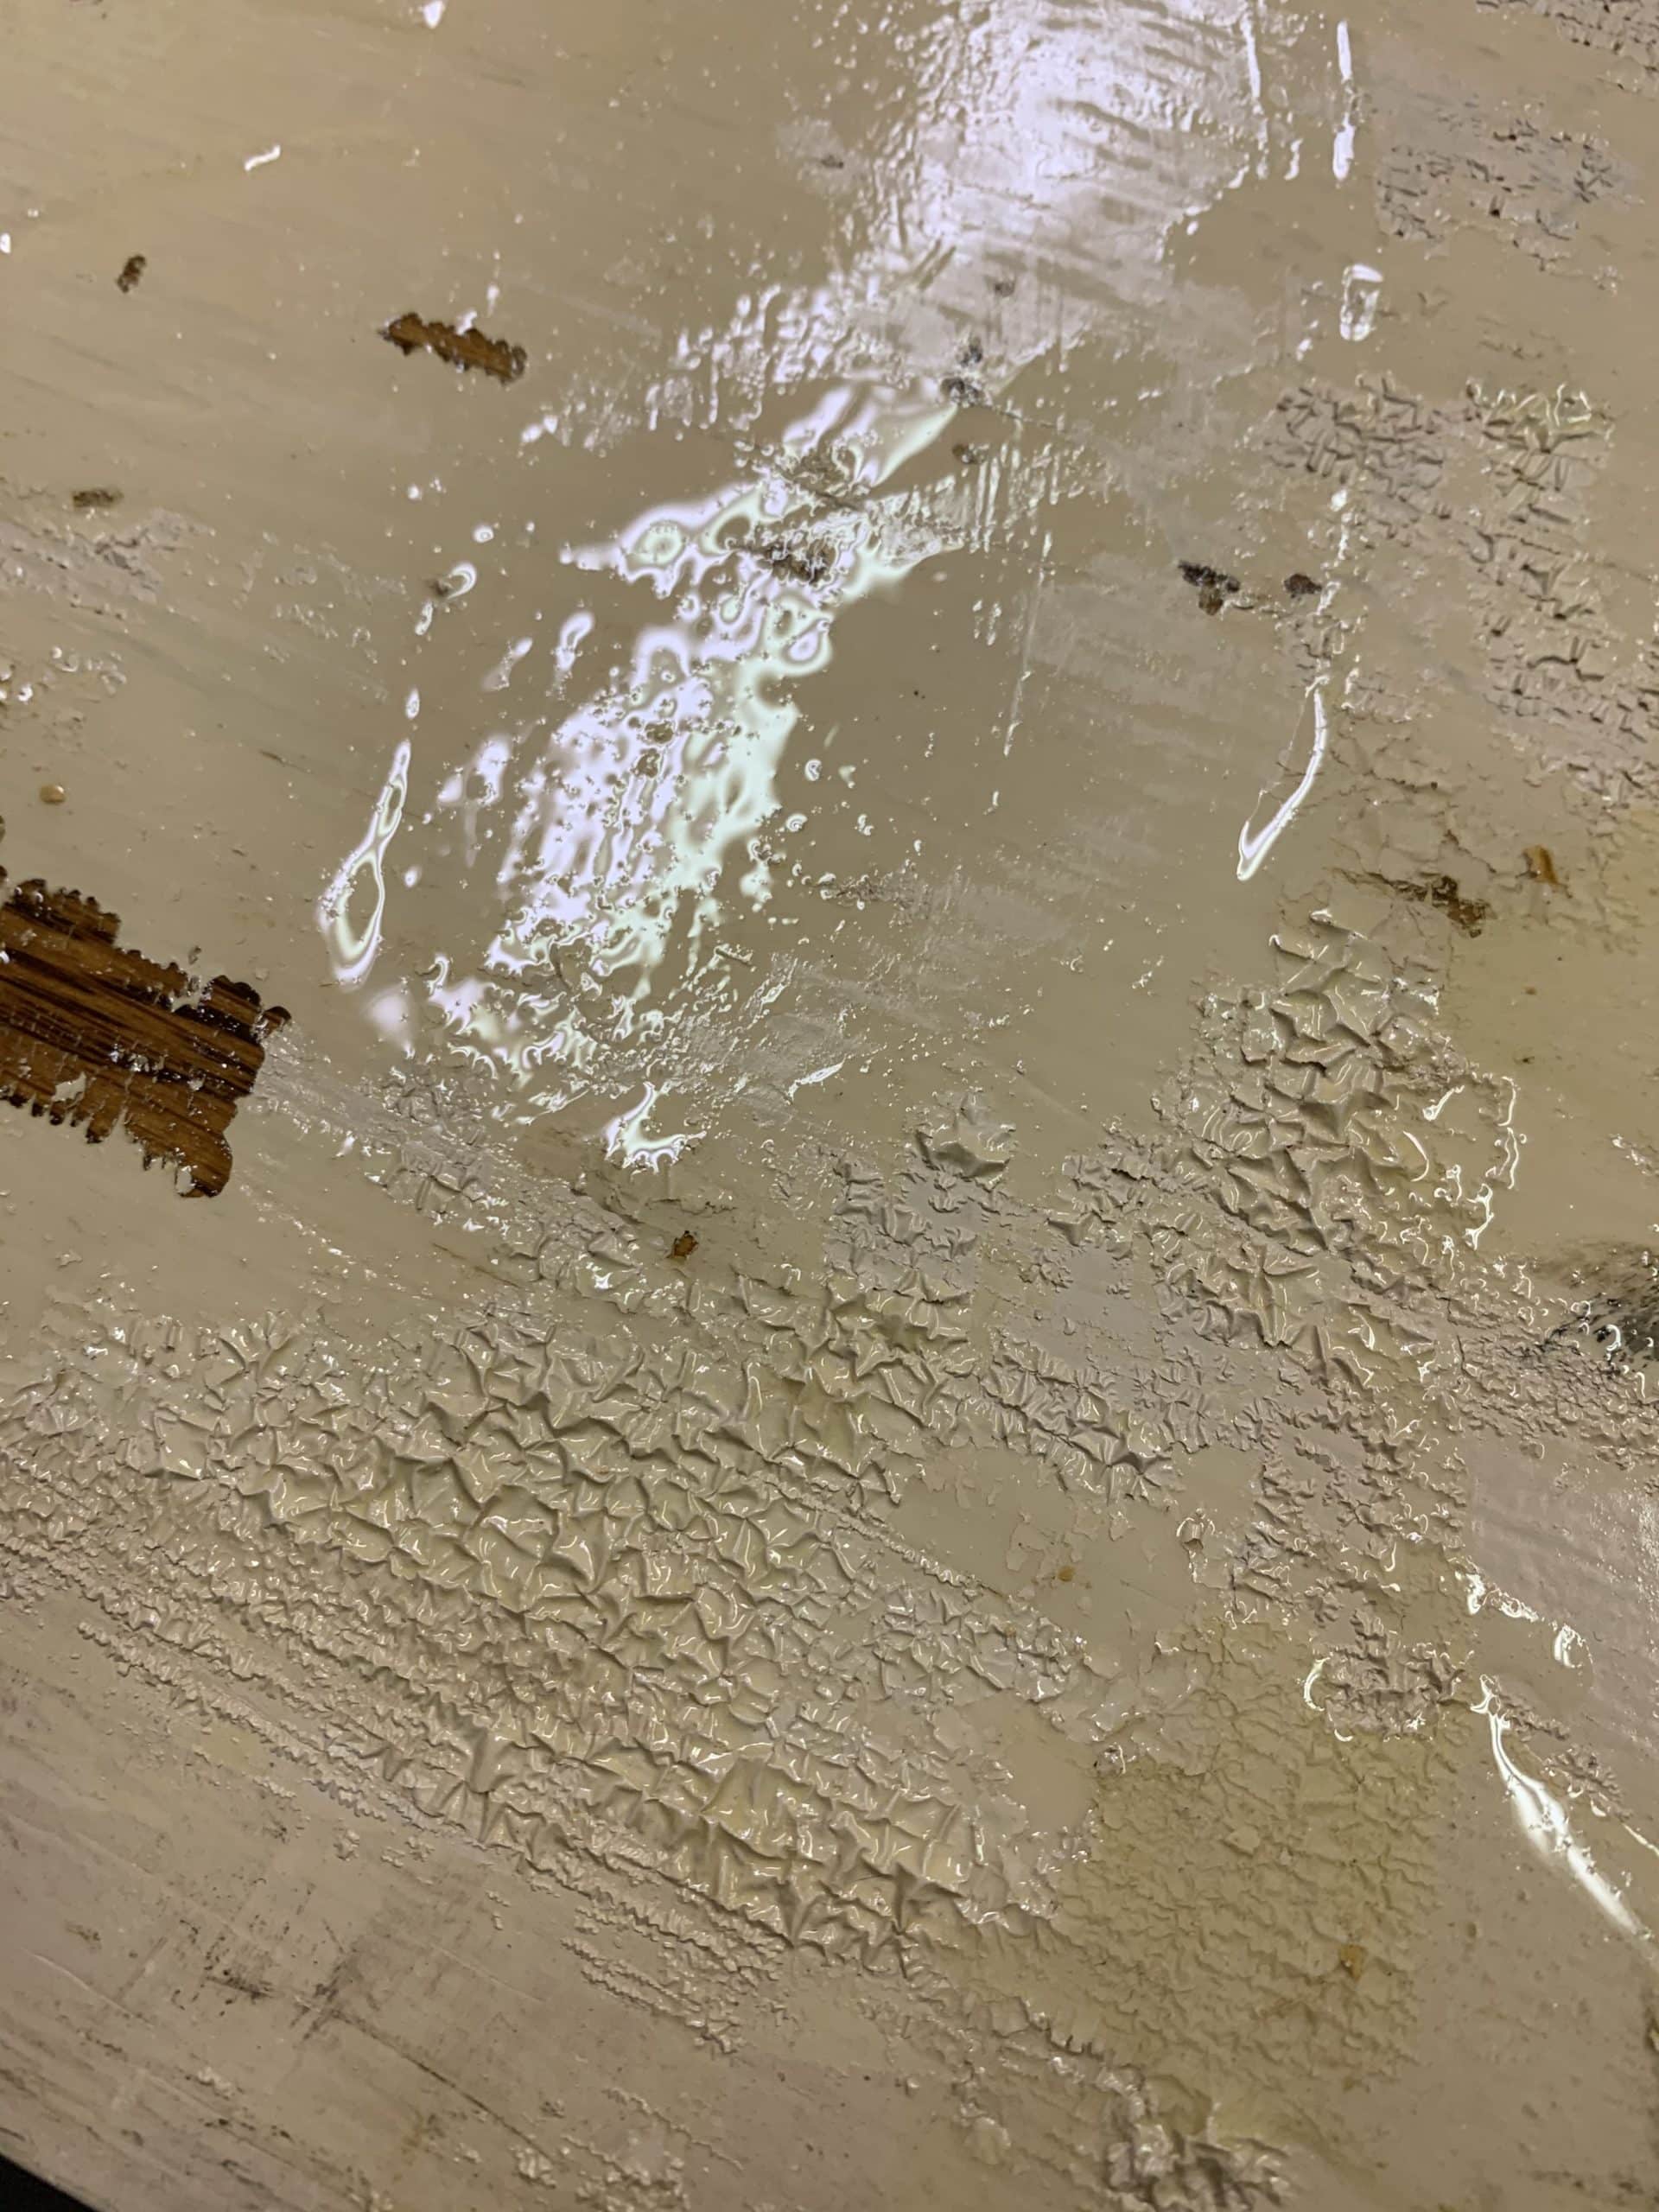
I am going to share a quick video to show you where we cannot restain cherry cabinets.

As you can see in that video, someone neglected the cabinets for some time. The clear finish had come off the wood, and someone had rubbed off the stain too. To make matters worse, the water exposure had stained and cause water damgage to the cabinets.

With that example- painting cherry cabinets or replacing is the only option. (we can help with cabinet painting as well)

painted cherry cabinets

Are you sure you have Cherry cabients?

Several cabinet companies can take woods such as maple or oak and stain them a dark cherry color. Before trying to restain a cherry cabinet- make sure you know what wood you have. Some times cabinet makers turn to glazing cherry cabinets look alikes to get wood to look like cherry.

You amy also not have a solid wood cabient. There are many veneers that look like cheryr that act and stain differently that solid cherry wood panels.

Matching cherry stain colors

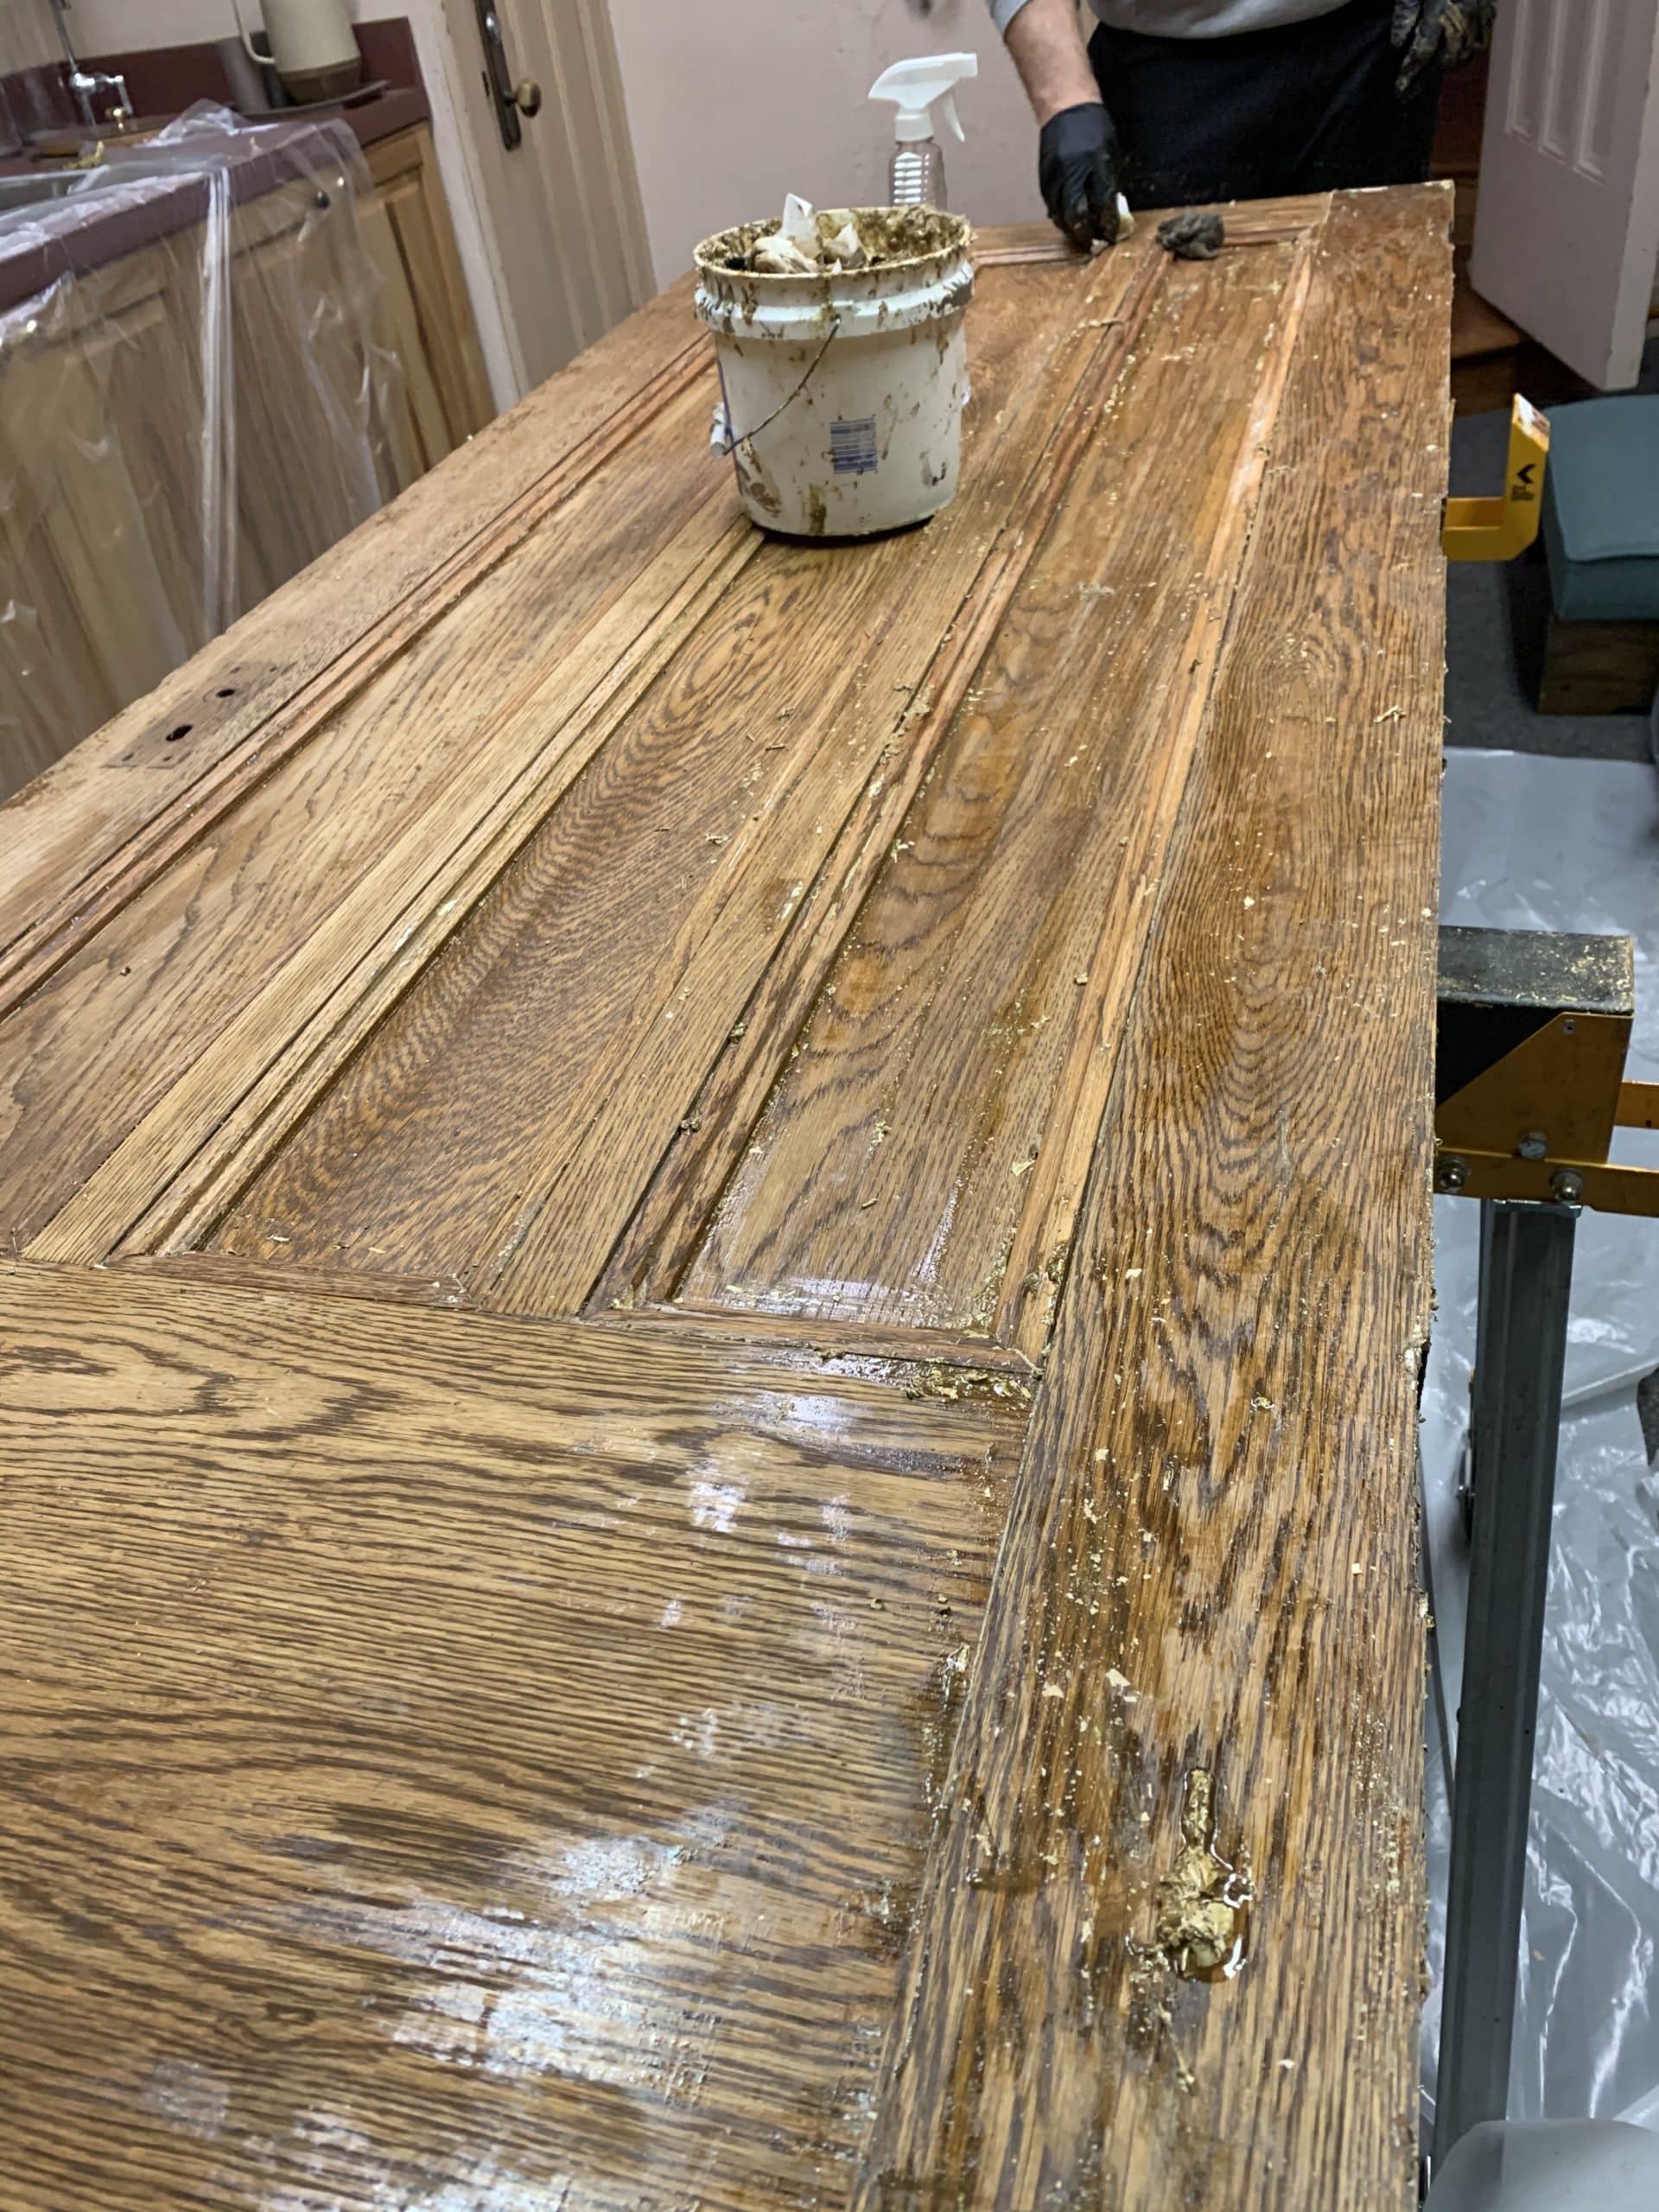
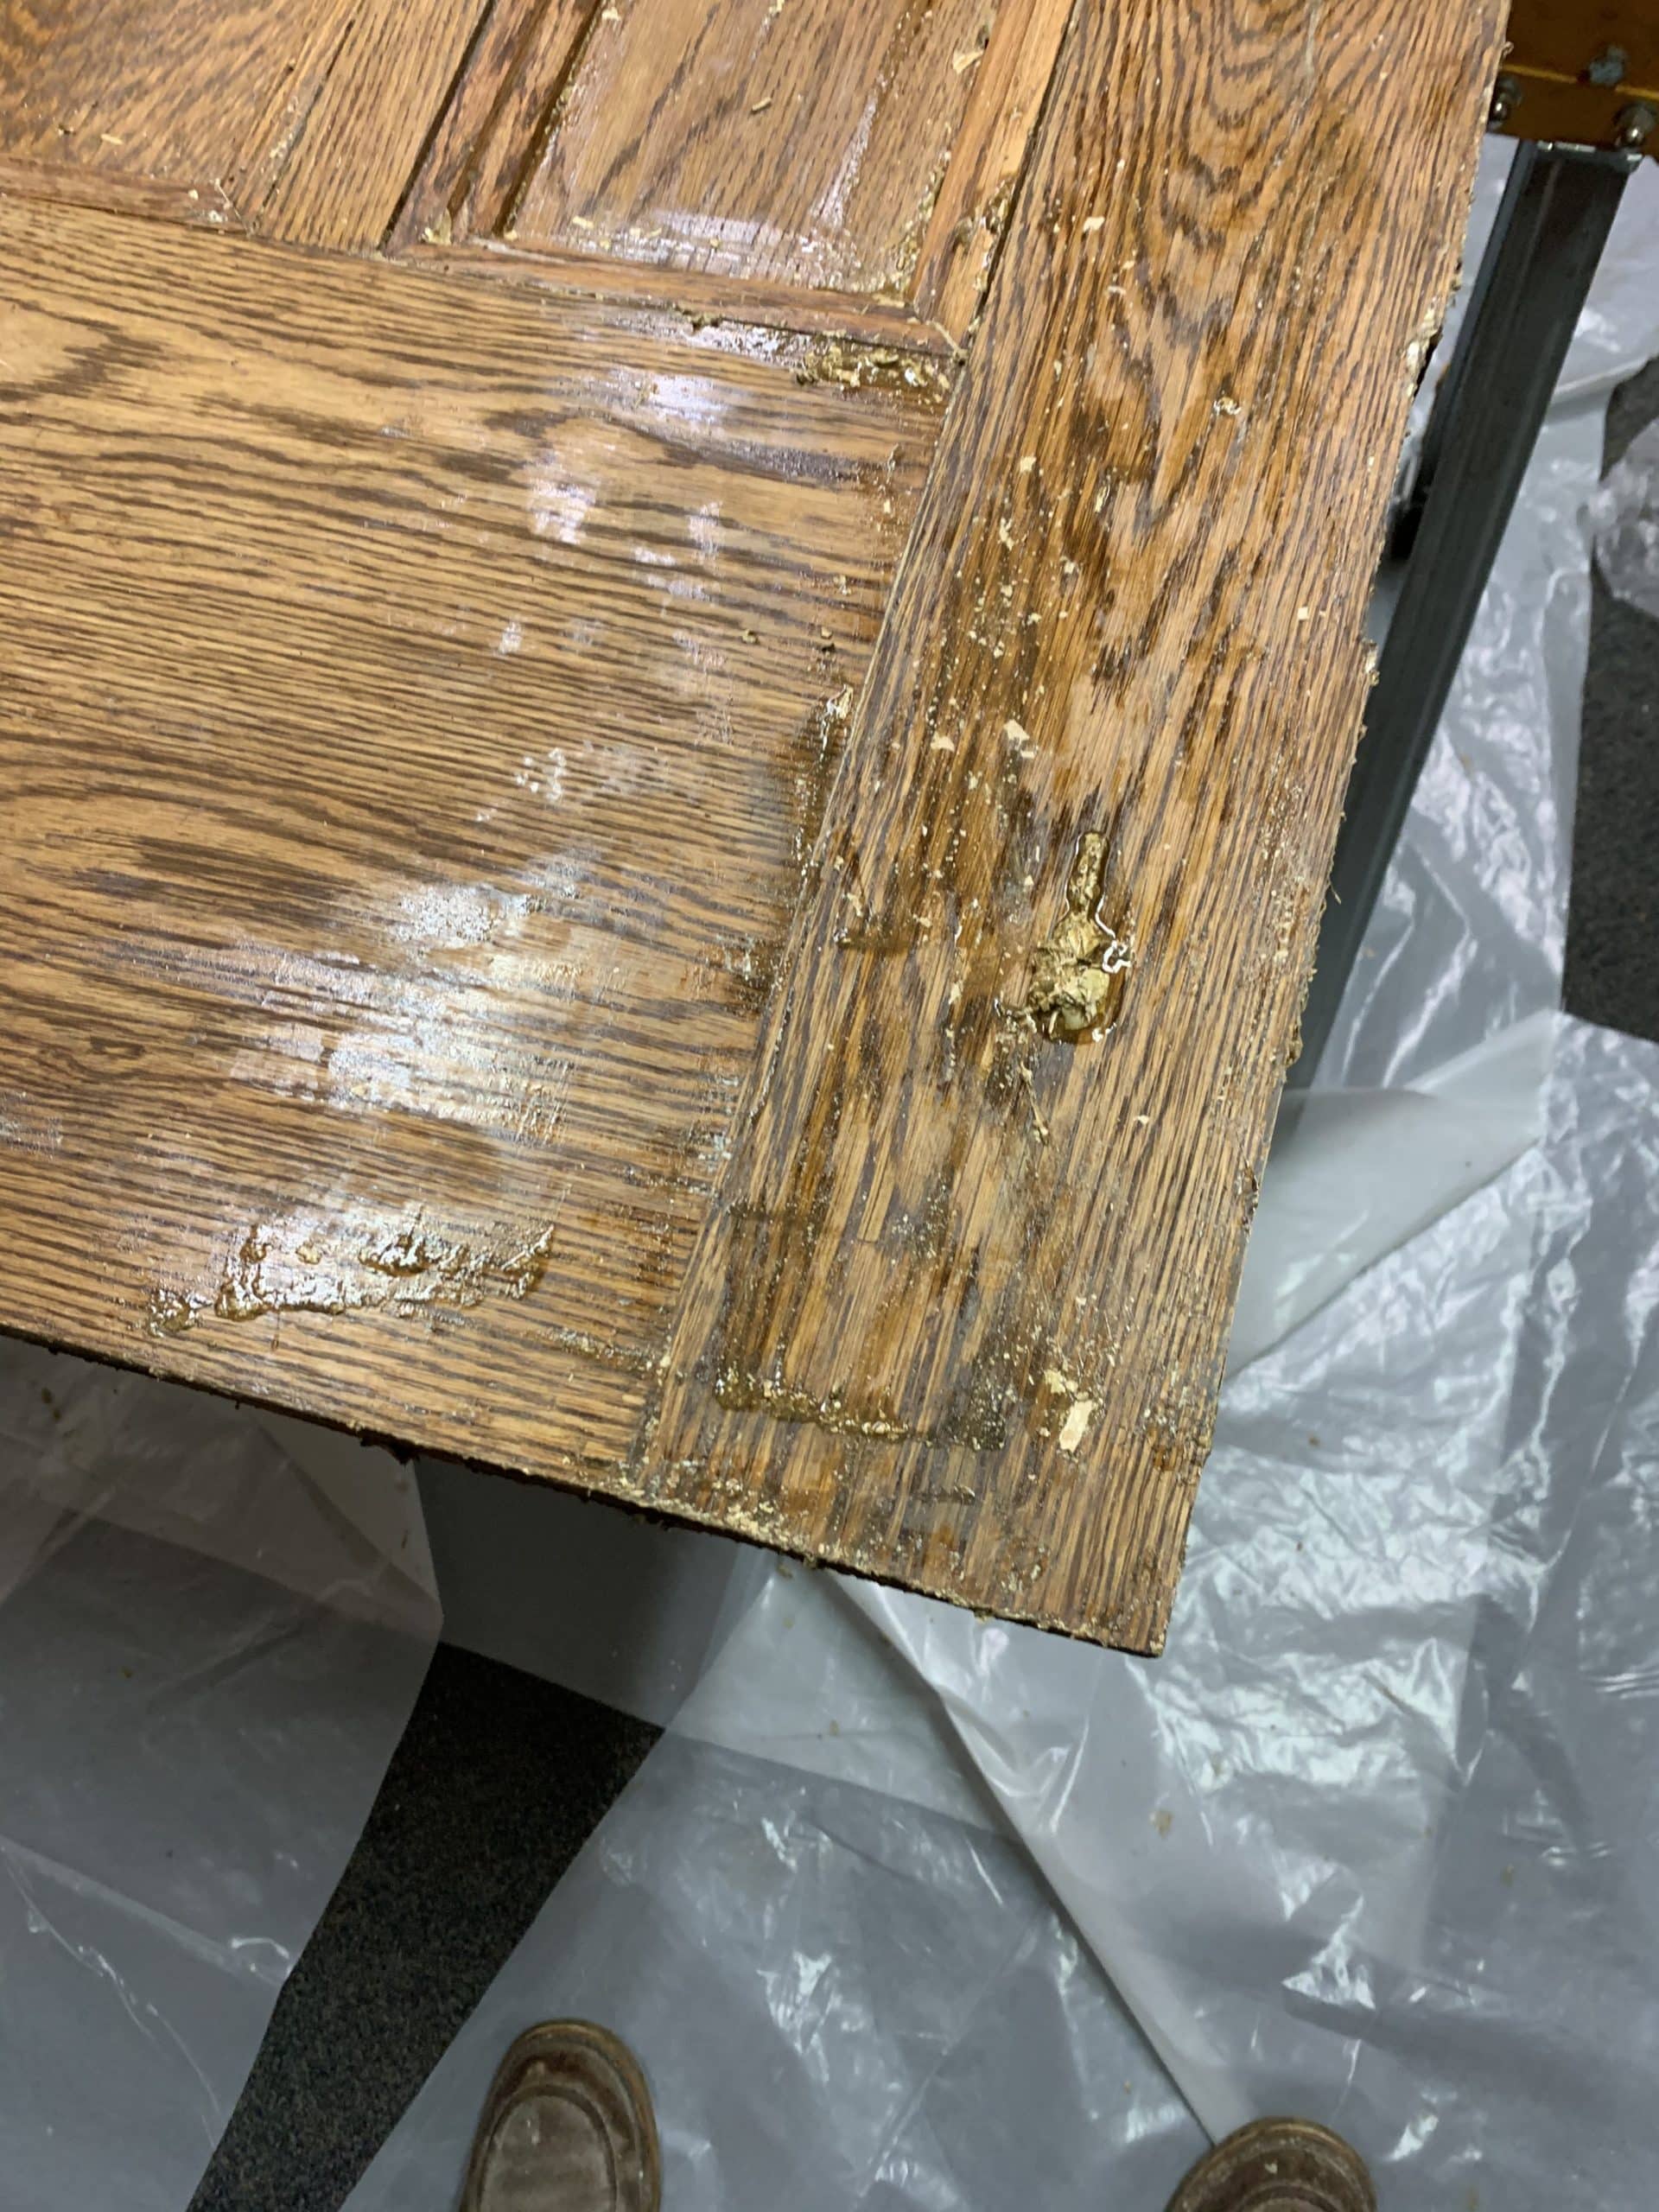
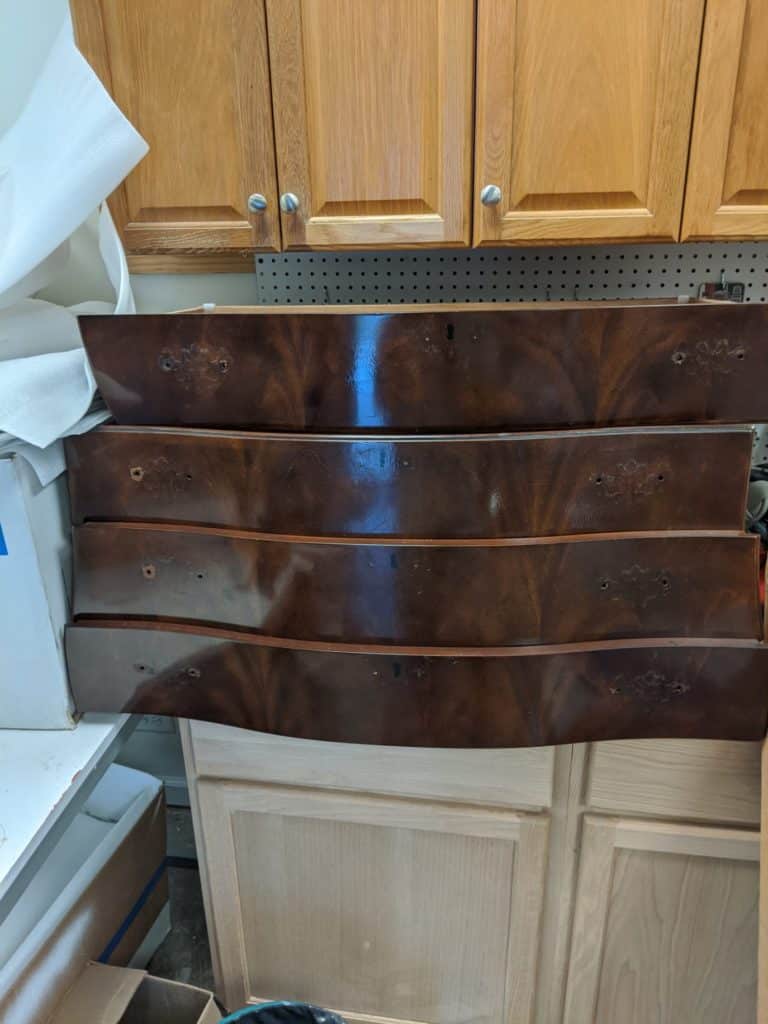
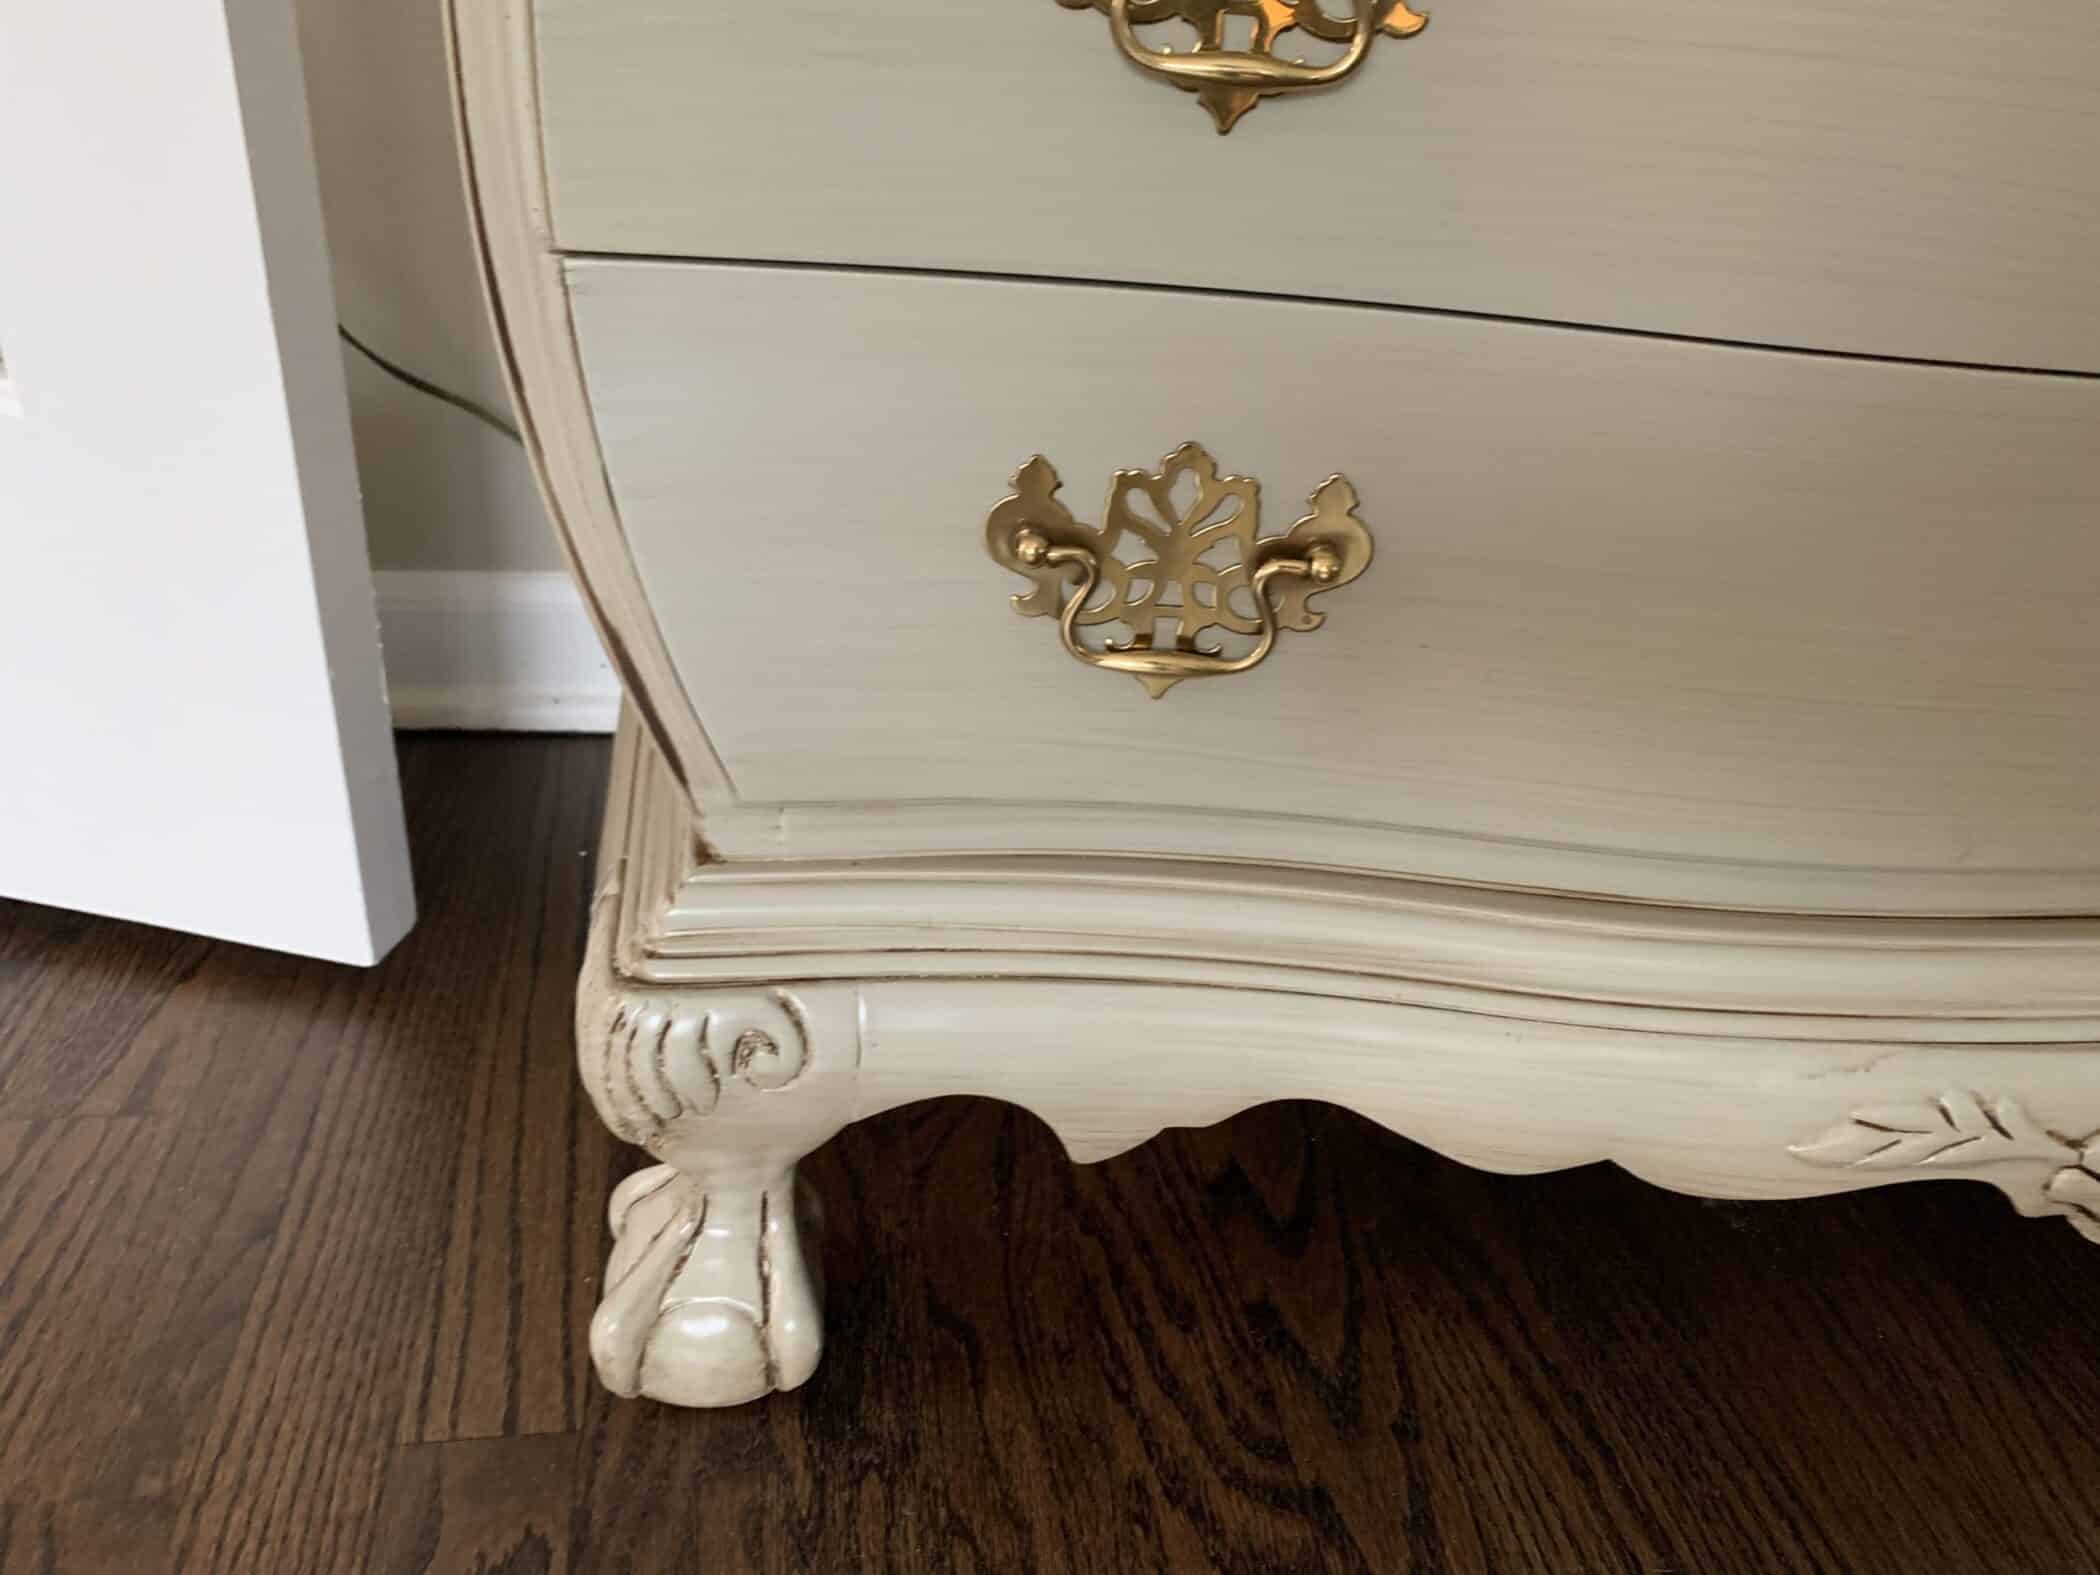
As we founf our in our most recent project, cherry wood is tricky. Cherry is a semi hard wood, tht can dent easy. Cherry also have alot of natural tannon in it. Tannon is a natural red or orange color that is part of the wood and affects the look of wood.

Cherry also is not a uniform color wood. In one cabinet door, you can have 3-5 different shades or color tones. Thes different tone make it difficult to match stain colors.

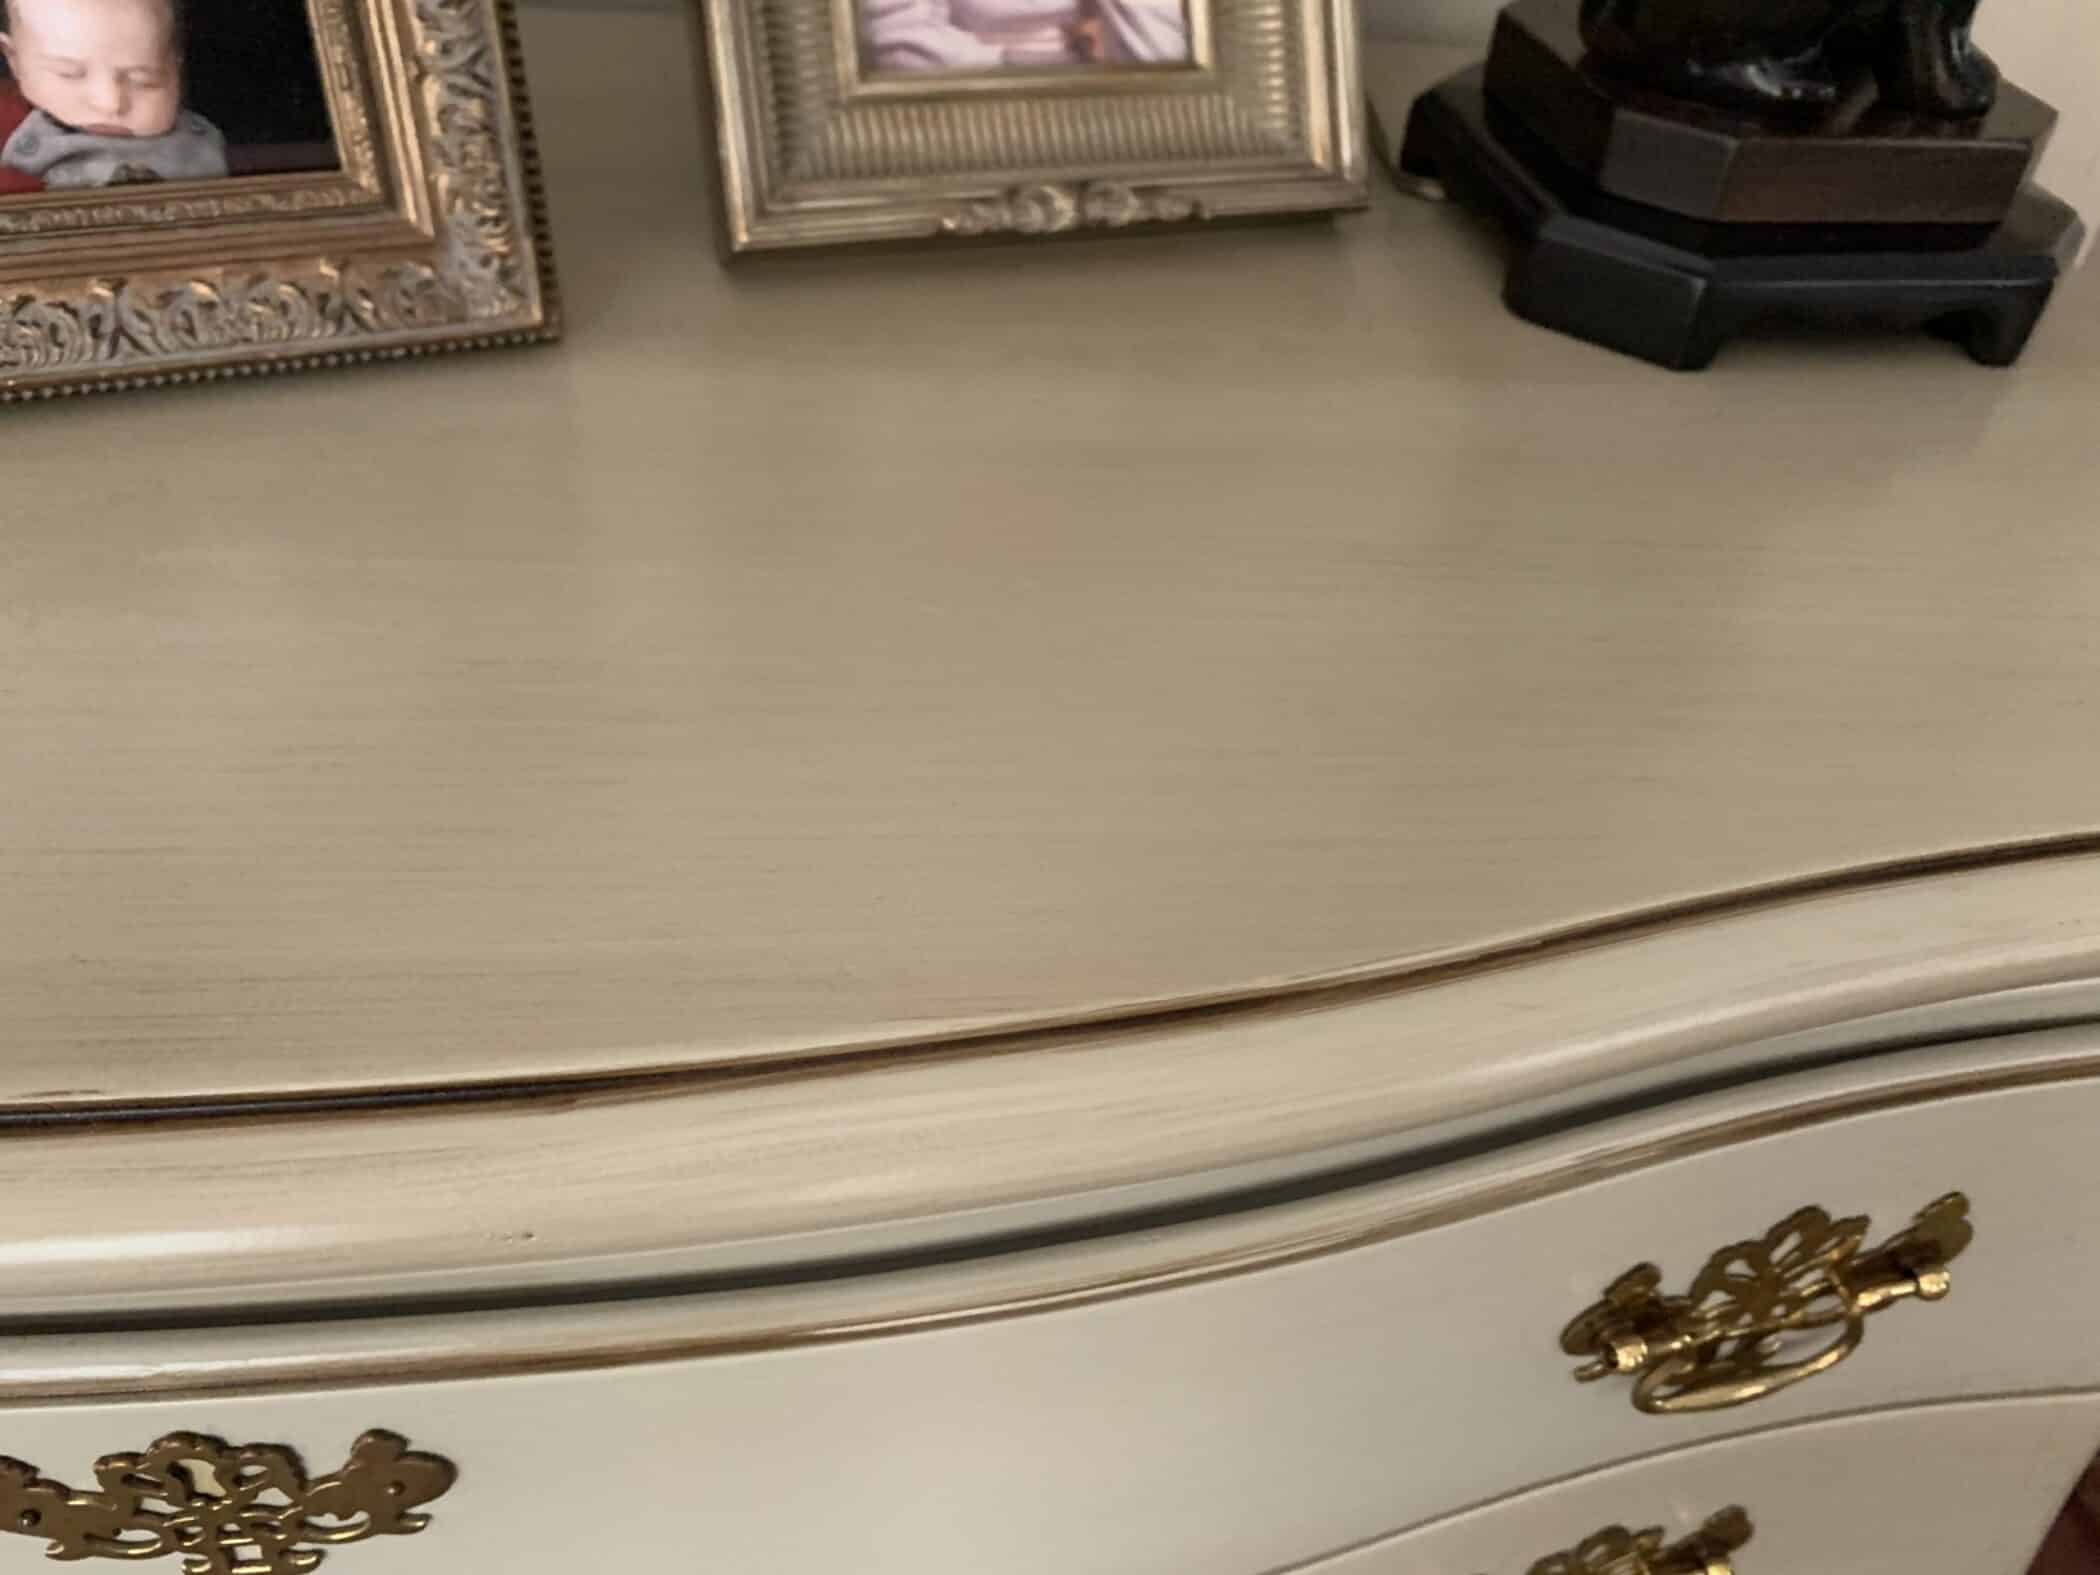
One other issue with matching stain colors, is that like paint, the tints and raw materials used in cabient stains change. Combine that with the changes in how manufacturers make polyurethanes.

Then you add age. Wood changes tone and color as it ages- especially cherry! Sun or no sun with oil base dproducts will shift in their color, darken or amber depending on UV exposure.

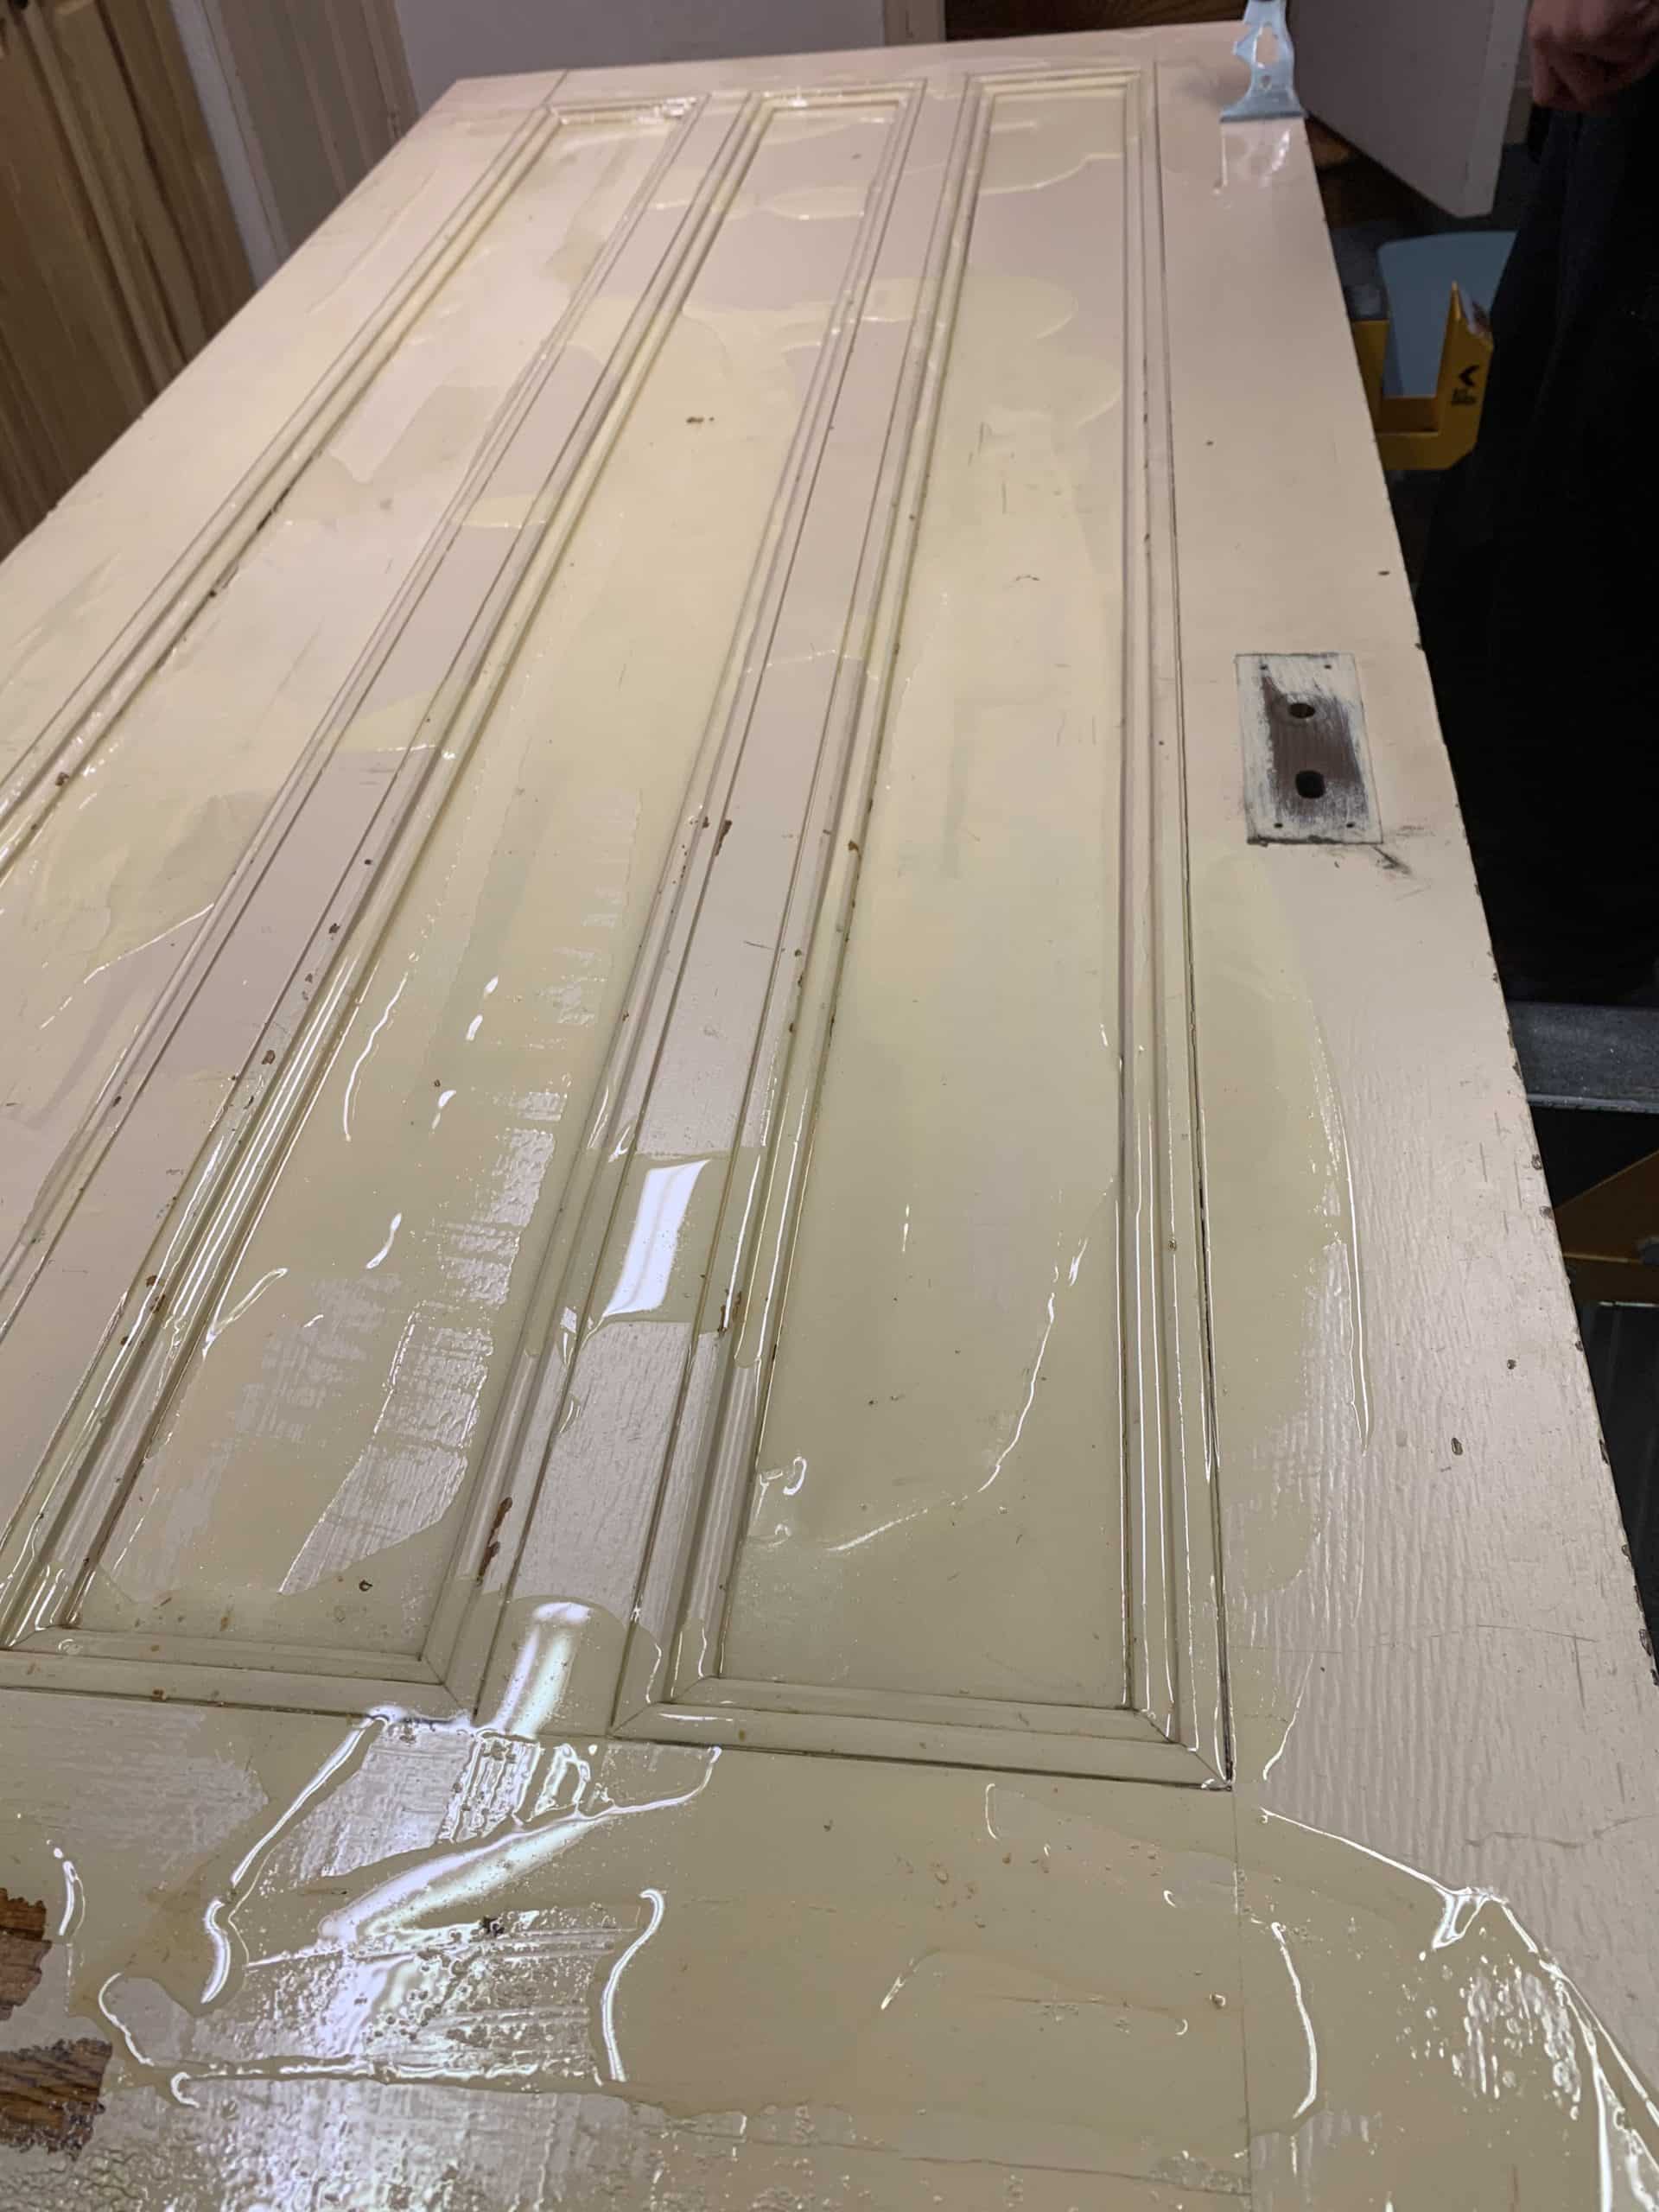
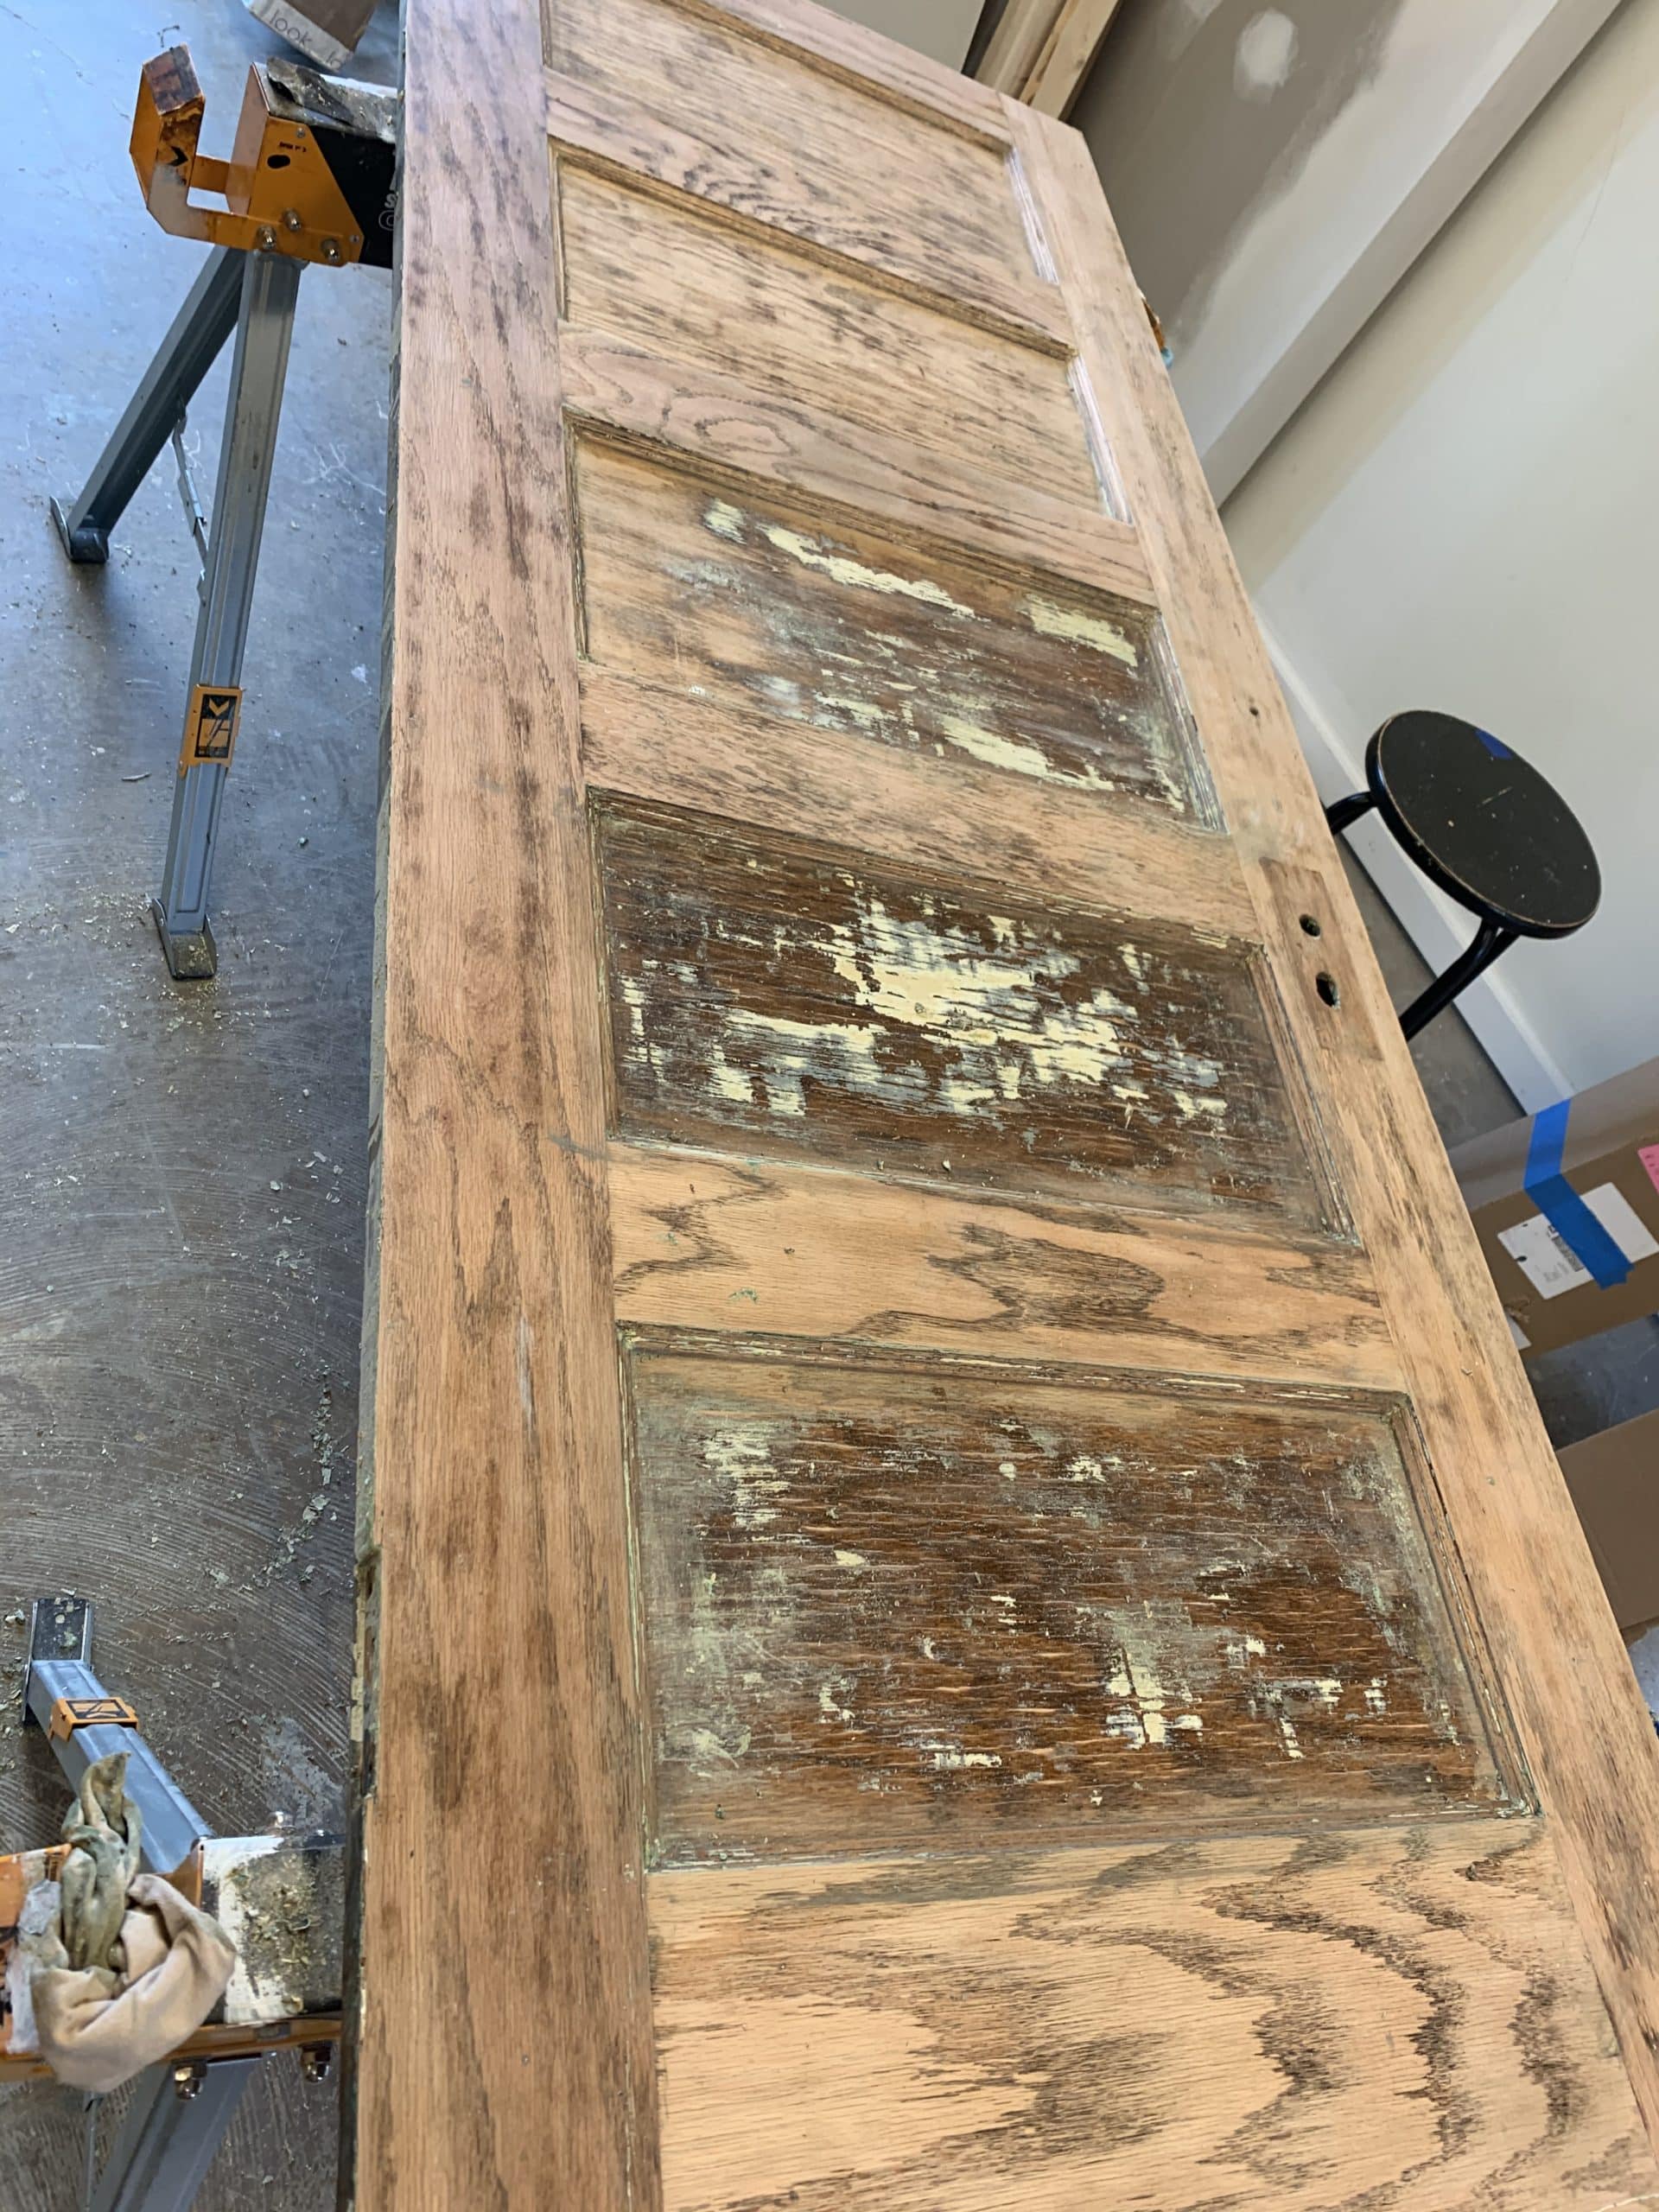
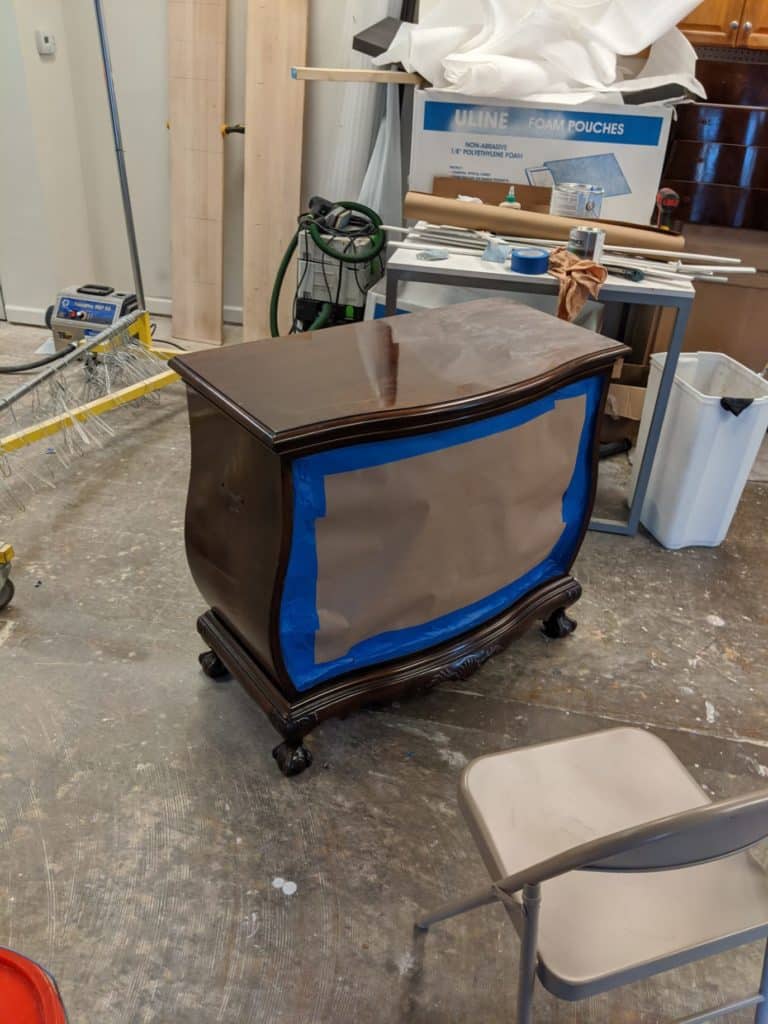
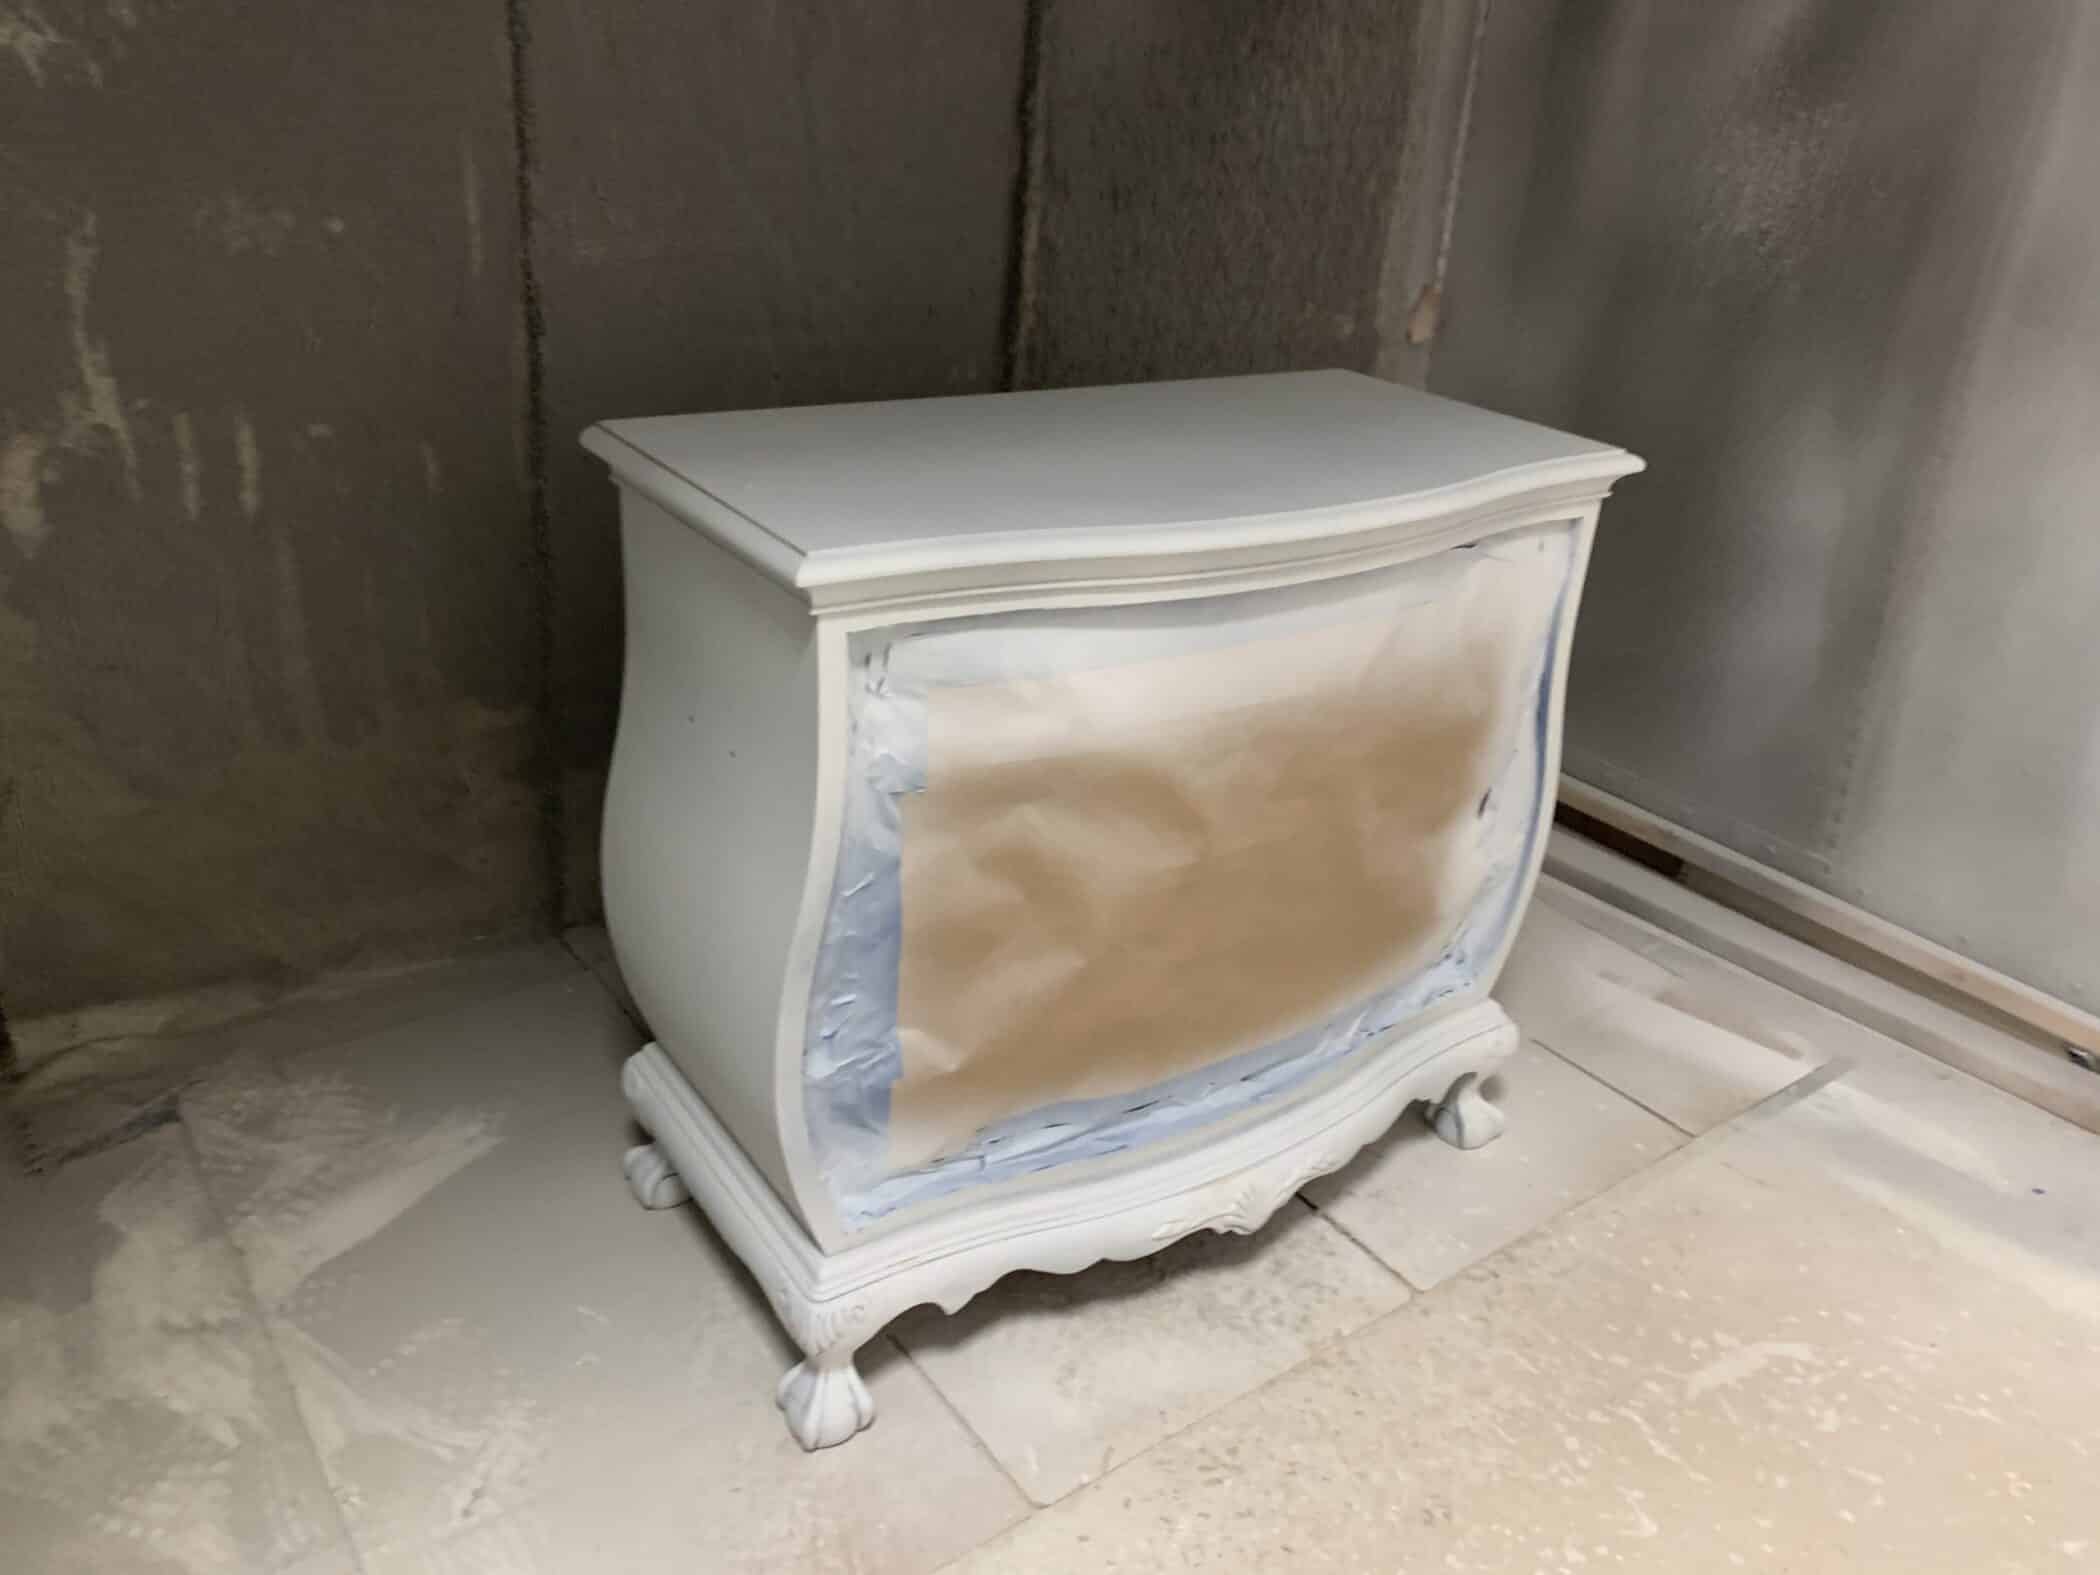
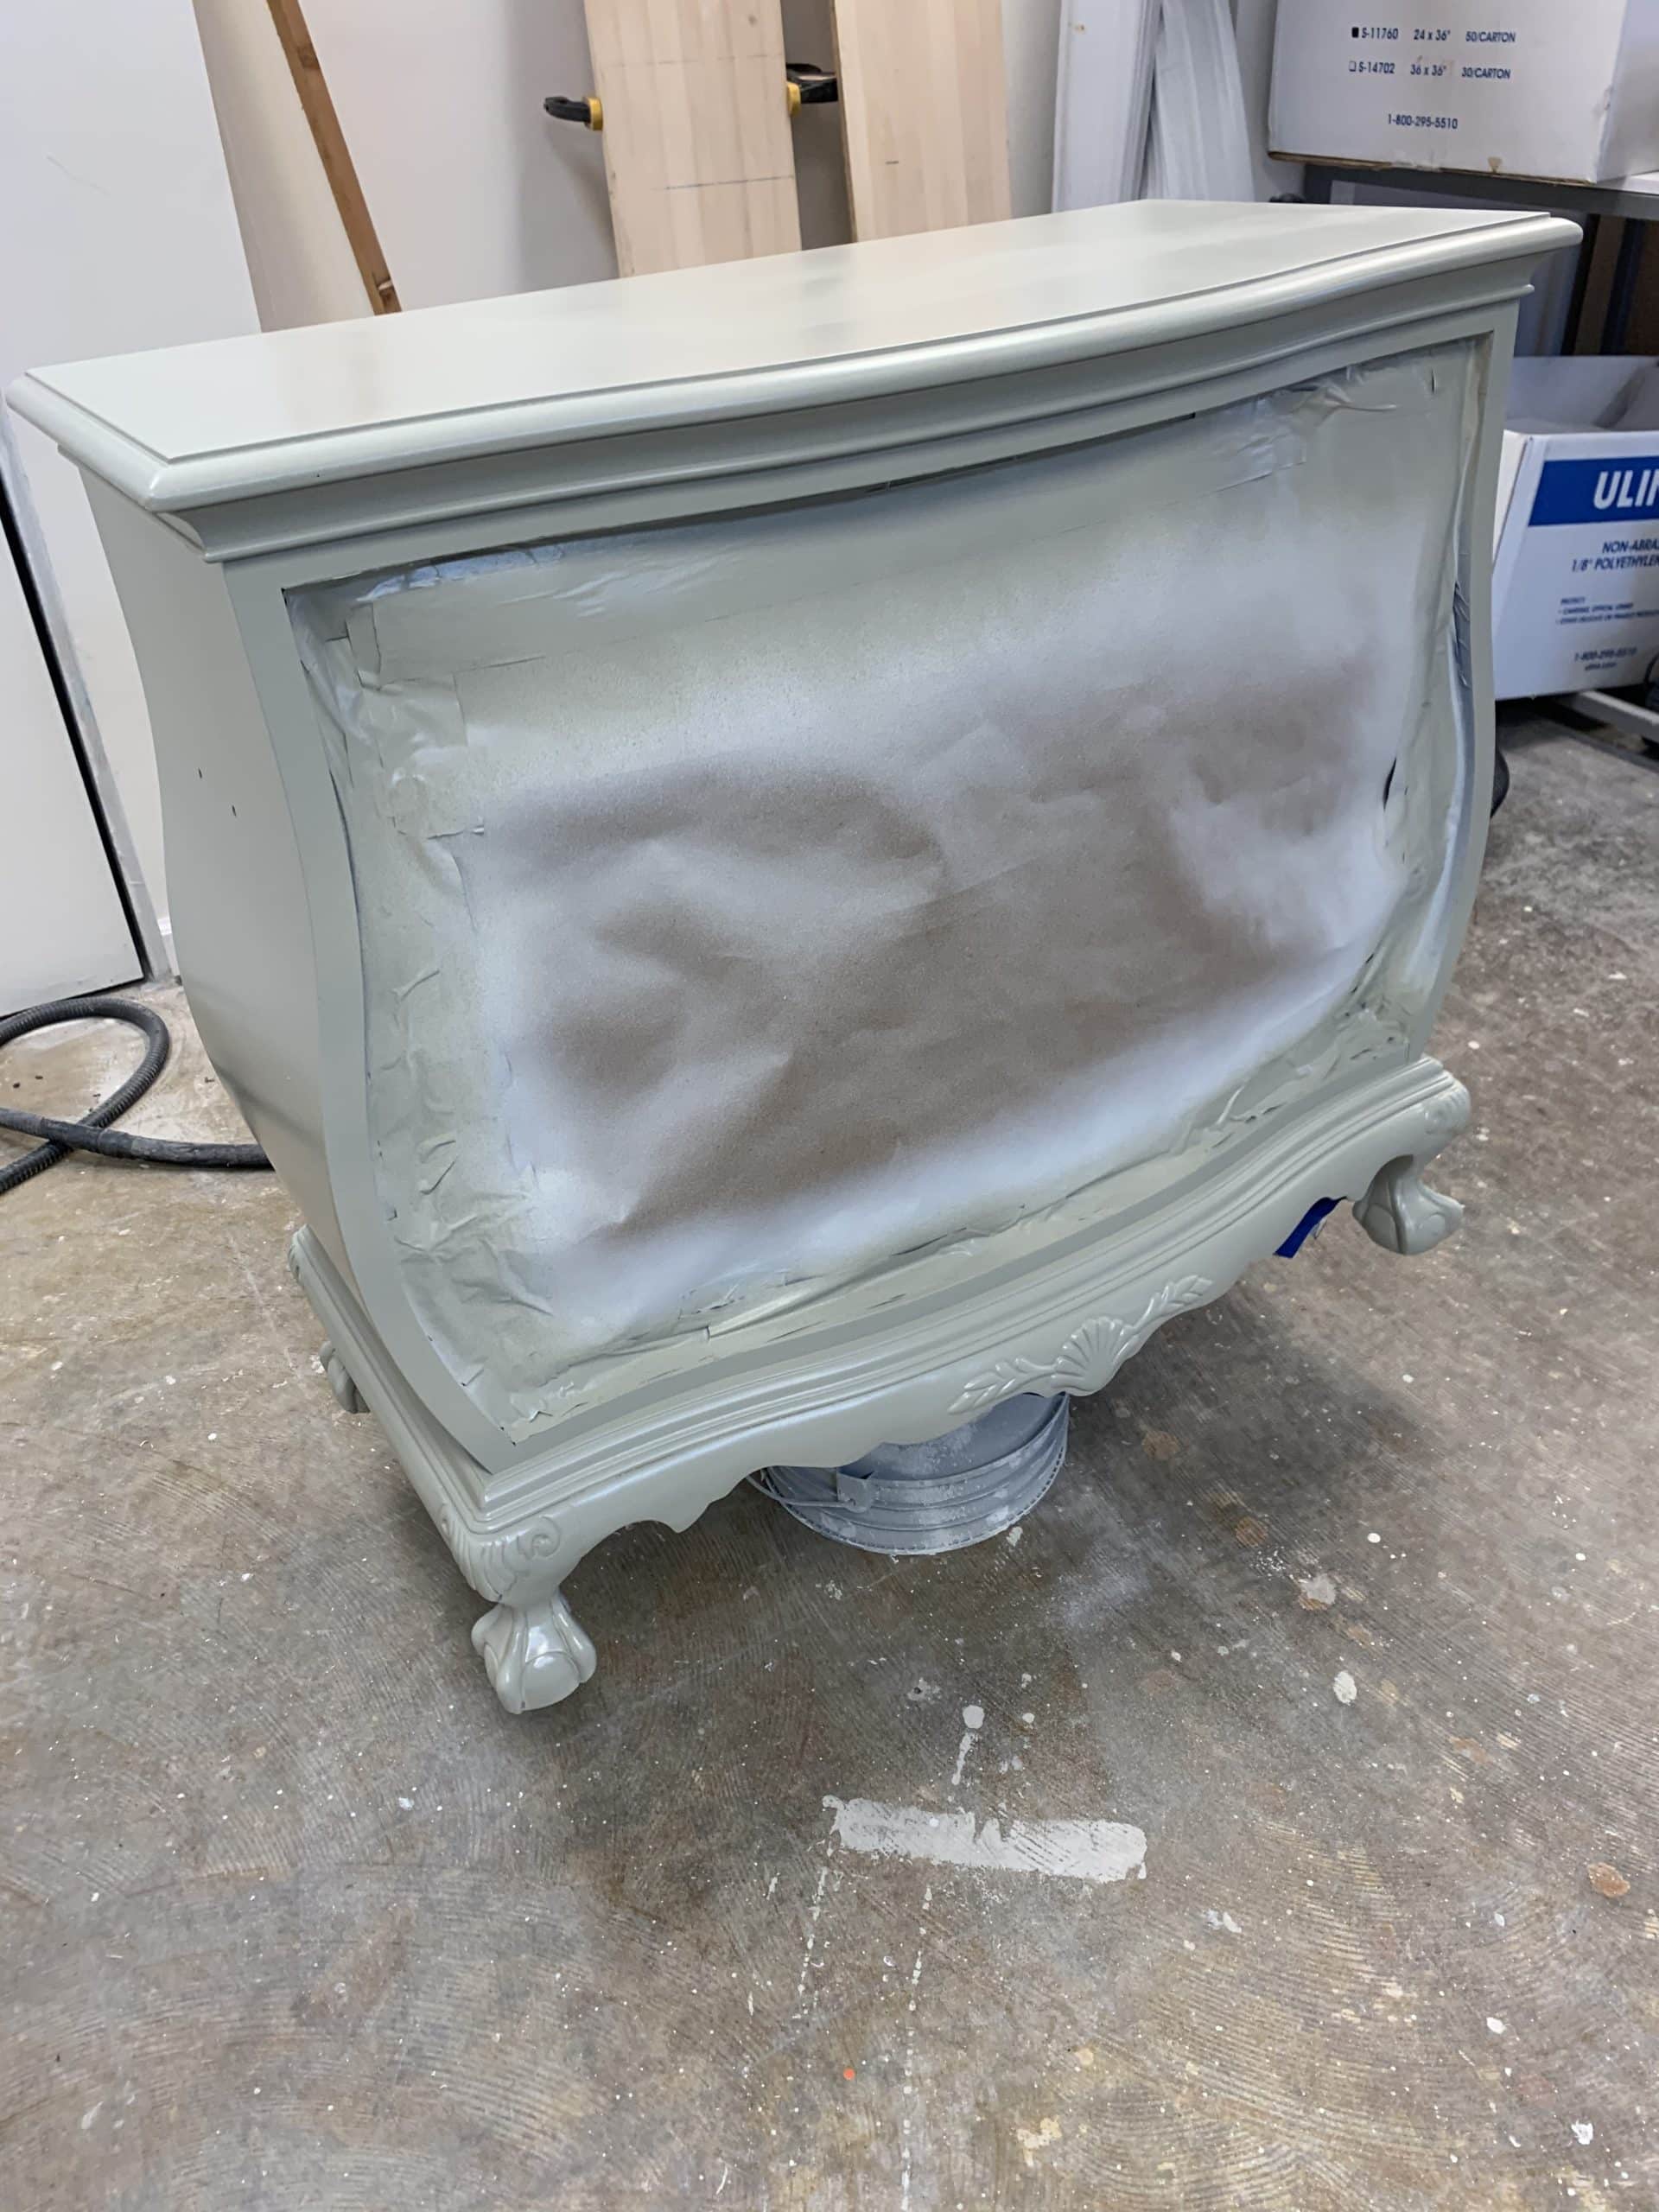
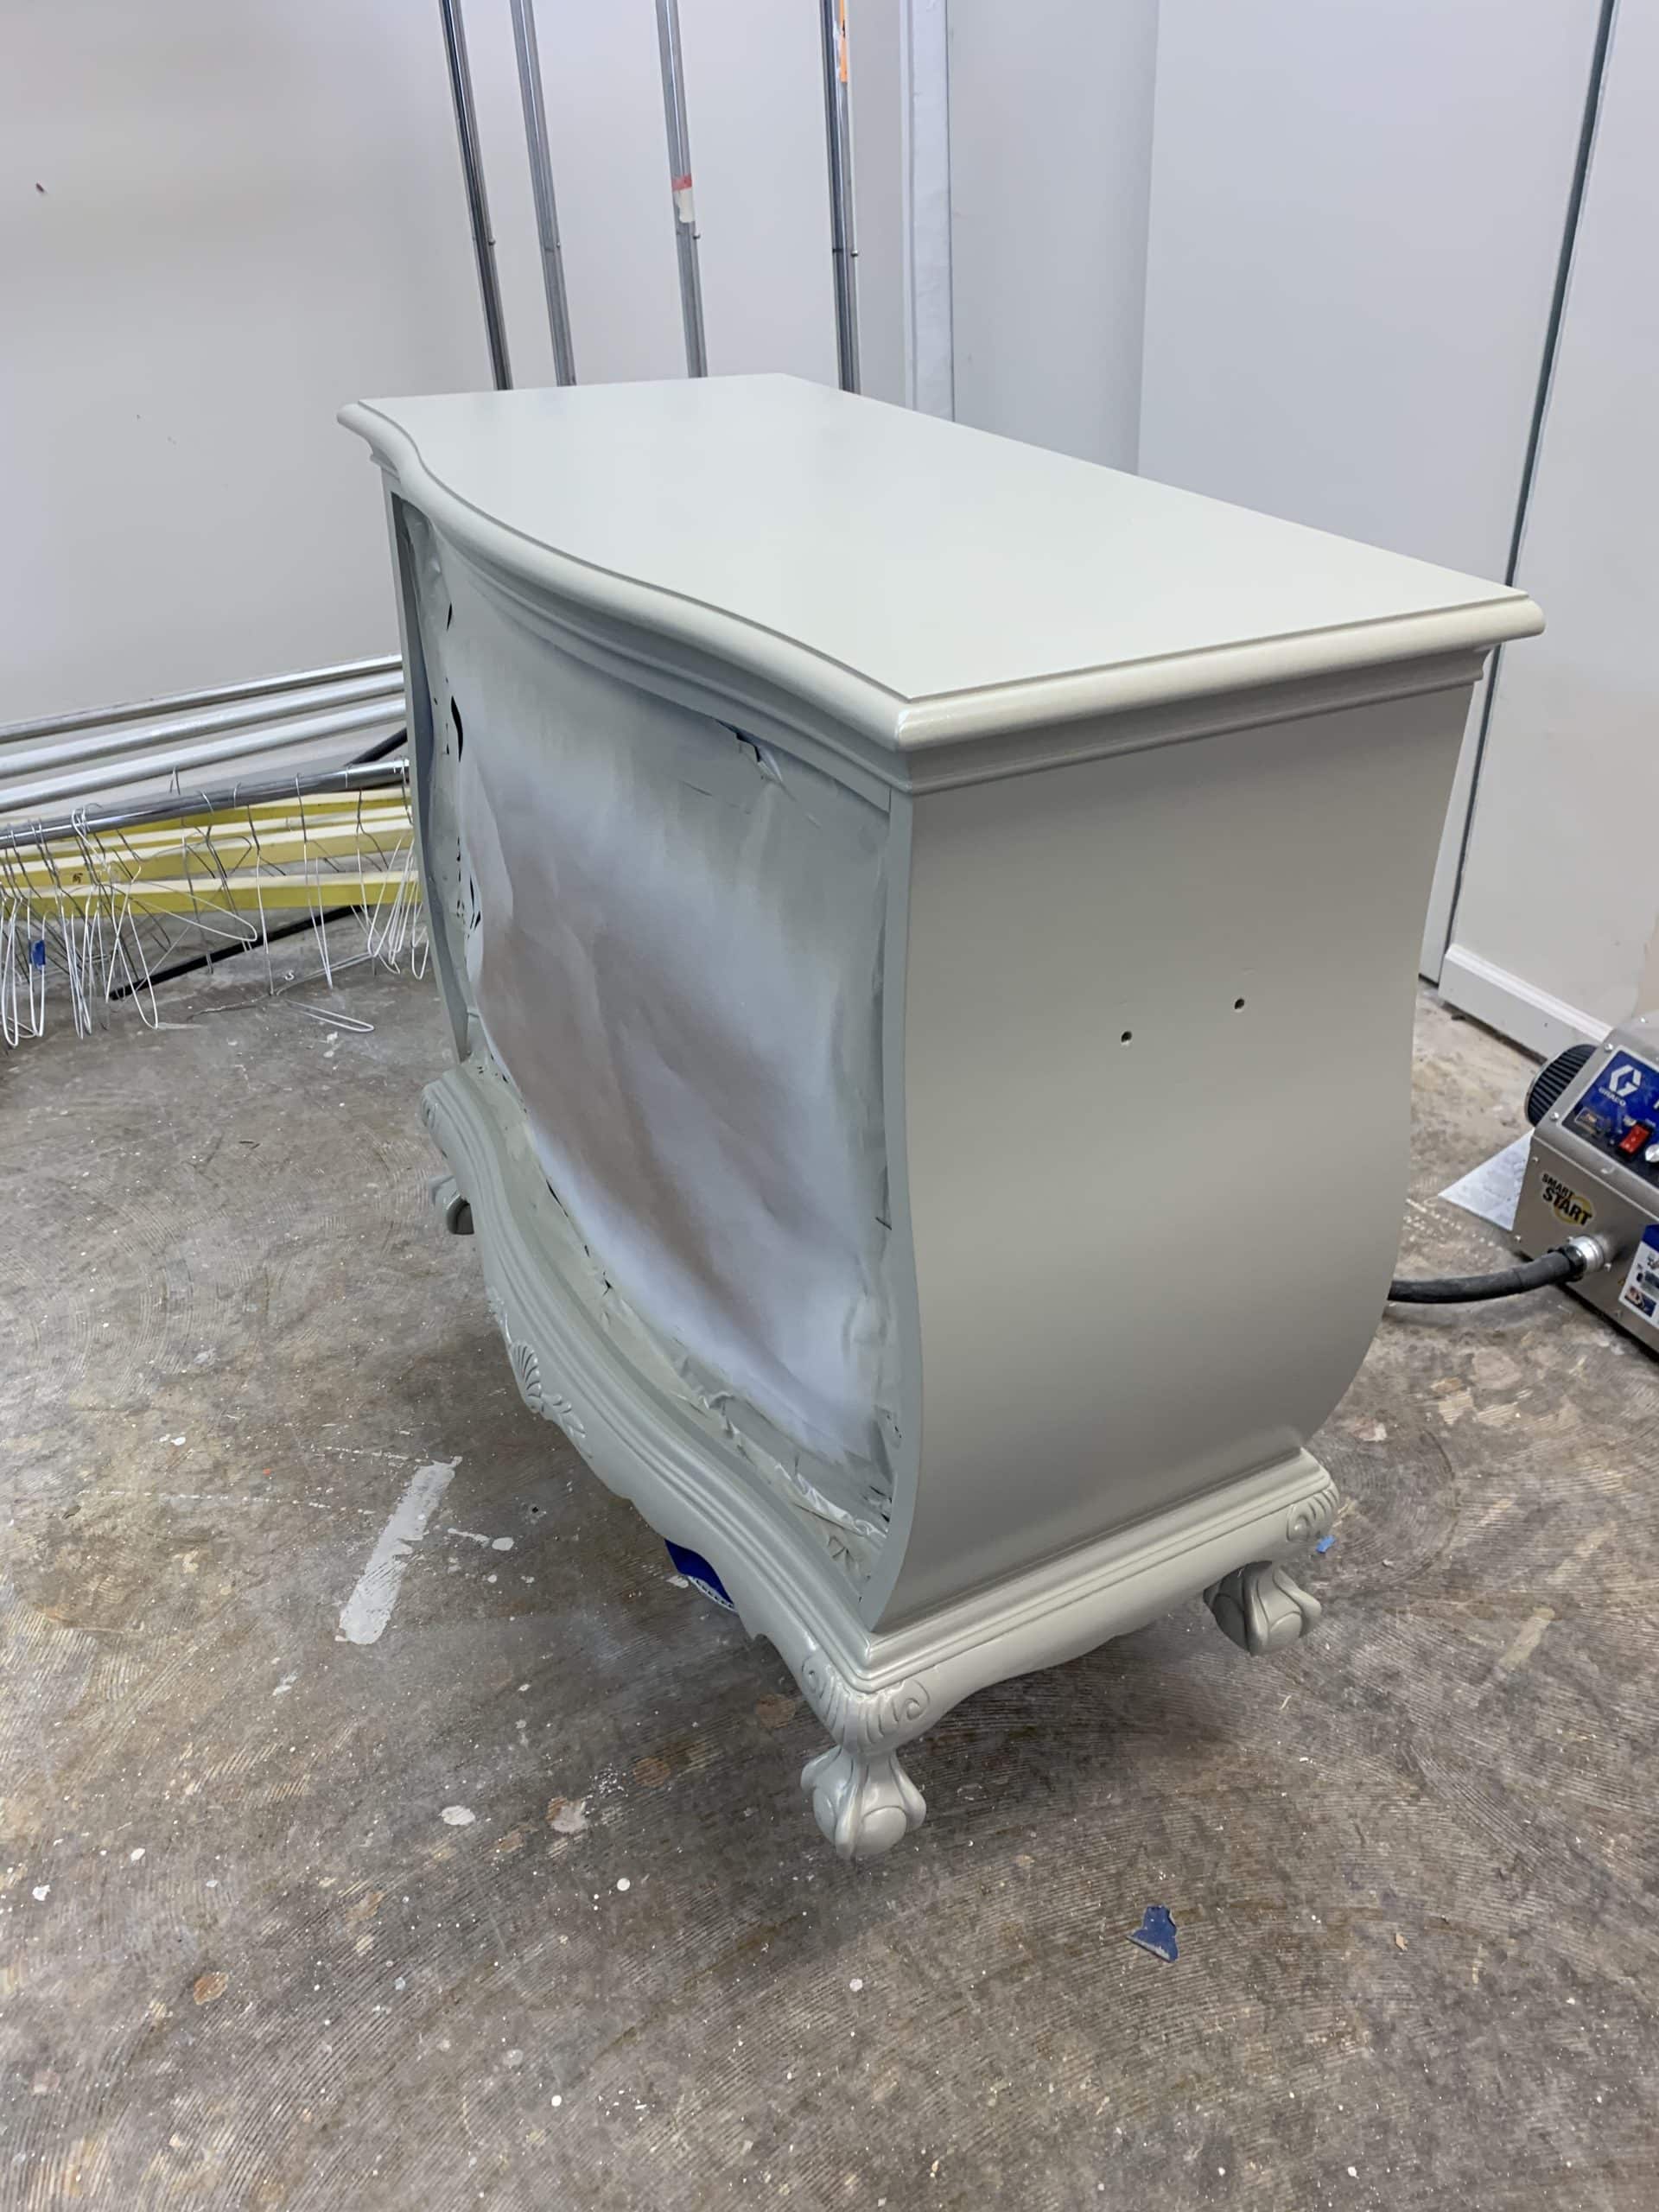
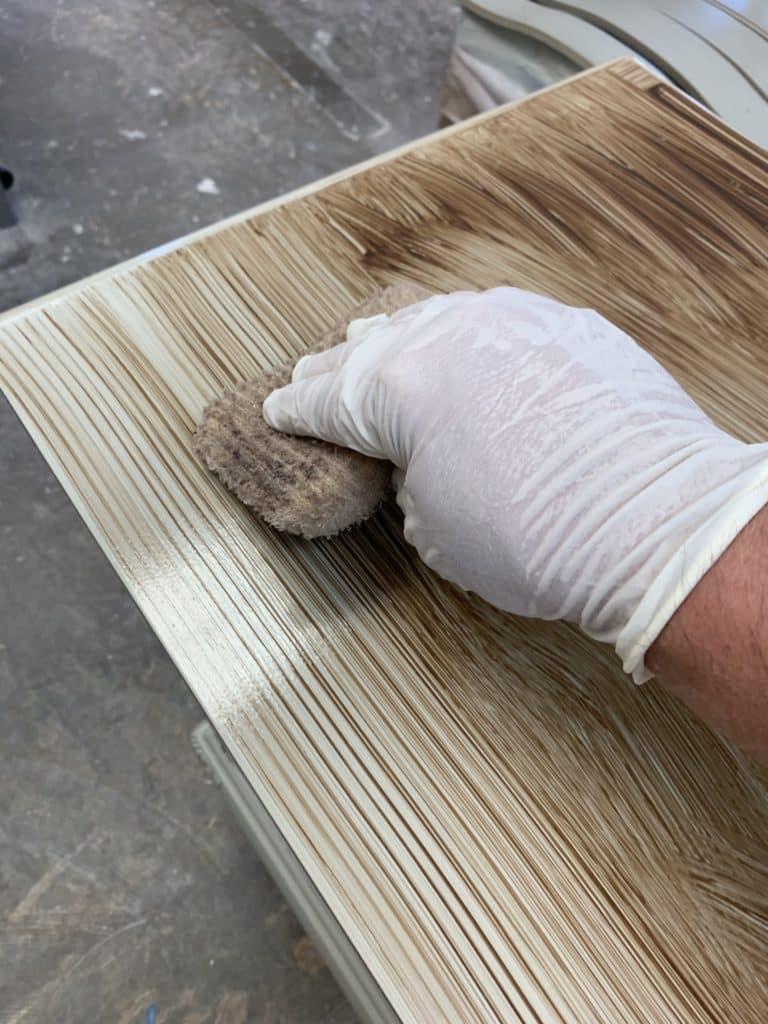
When we took this porject on, we experienced every single problem. Take a look…

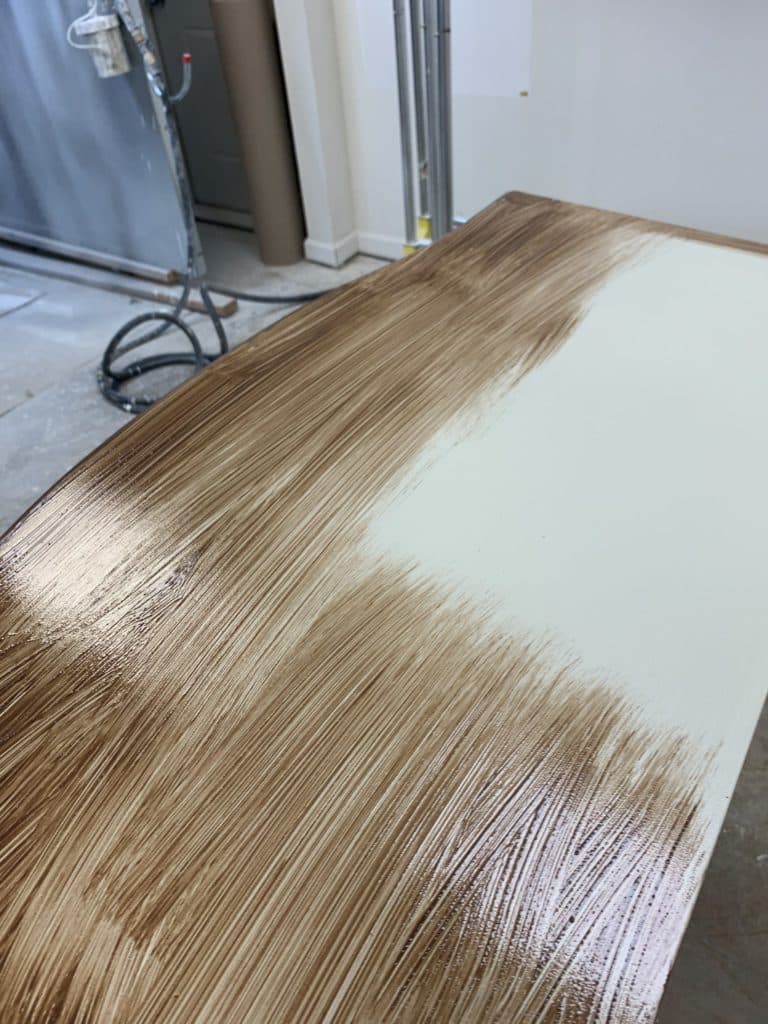
How polyurathane affects cabinet colors

if you have wood floors, then you may be aware that wood finished that are oil based will tent to yellow in their color. If you have a full sun window with a rug by it, move that rug in a year and you will see coloration diffreence in the floor from sun or no sun exposure.

This coloroation a cannot be reversed. Matching colors to a cherry cabinet can be difficult. This is because the amber or yellow tones of the polyurethane can impact the stain colors.

Are you curious about the cost to restain or repaint your cabinets?

Aside from our pricing page... yo can also check our one of our previous blog posts that can cover cost should I paint and cost to paint cherry cabinets here

If you have a question about cabinet painting, cabinet restaining, house painting, or even wallpaper installation we are here to help!

Stained oak door
Stripping Paint from Oak Doors

Restoring older furniture can be tricky and very messy! But is worth every minute.

Hey!! I am David Cook, from Dfranco Painting and Wallpaper, in Huntley, IL. Today we are presenting a blog article on a project in Elgin, IL . Stripping paint from oak doors and restoring them. I hope you are a fan of these vintage wooden doors. The older the wood, the more character there is.

oak door before stripping
some doors just look better painted- but when you are dealing with older wood- 50 years plus- the older wood has so much more character to them they are begging to be looked at

The wood grain in these older doors have more patterns, variation, coloration, and are actually harder than the woods grown today.  There are alot of reason for that such as age, fertilizers, hybrid wood being used, locations, and climate to name a few.

Where to begin stripping paint from oak doors?

Stripping Paint from Oak Doors
here is a oak door, with paint stripper

Here is a door that has a few layers of paint on it, that we will remove. Few things to think about:

  • have proper ventilation!  Have a mask and air that can circulate where you are working
  • make sure there is enough room and nothing is in your way
  • cover the floors, you cannot allow the chemicals to get on the floor
  • make sure you have the time to do this- it is not a quick job
  • if the door has a lot of damage to it- you will have to do some repair work
  • do you want to keep existing hardware, restore it??

Let’s begin!

  • cover the area you are working in with heavy duty plastic. Protect the floor from drips, runs, spills etc.
  • have a work station ready. This means saw horses to place the door on, tools ready, not tripping over them at your feet
  • once you are ready, then you can start to remove the door hardware, handles etc.
  • place the door on the sawhorses
  • get your rubber gloves on- and then we can start to strip
  • spread the stripper on the painted surface
chemical paint stripper
here is a chemical paint stripper
paint stripper working the paint from the oak door surface
  • as it is applied you will start to see the stripper in action
  • as the material starts to bubble you can start to scrape the paint from the door with a scraper and wire brush
removing paint stripper and paint from oak doors
stripping paint from oak doors

The paint is off the doors!

After the paint is stripped from the doors, there are some small areas that have residue from the layers of paint in the small areas as well as wood grain of the door.

This is part of the course, usually adding some lacquer thinner and wire brush will pull it out, as well as steel wool.  It may take longer to get the paint from the nooks and crannies than to take the heavy layers from the doors had on them!

We could not quite get all of the paint off or all of the varnish. So after all was off that we could get, then the sanders came out.

As you begin sanding, start with 180 at the heaviest. Using a bigger grit such as 50 will tear the wood apart and leave gouges in the wood.

Work your way to smooth, getting up to 400 grit sandpaper.

As all of the paint is off the door, you can wipe any sawdust, use a vacuum to remove dust, then a tack cloth to remove any further evidence of dust.

In this picture we re-hung the door as it was needed for services being held at the church.

paint off the door
Paint sanded off the door

Stain and seal your door!

In these pics the doors are now stained, it will be tricky to match the color of stain from ? years ago along with some type of oil varnish that also adds a color to the surface.

Since the door is so large and stupid heavy (170 lbs.) we left it on site and have a few solid stain colors and just played chemist to get a color we wanted. Use a scrap piece of oak to get the color to what you want – don’t sample stain colors on the door you just stripped! The use of the inside of the doors works well also.  Our Color ended up with two types of stain- American Walnut and Mahogany.

We used a clear coat, Duraseal, manly used for floors. It gives great protection, sheen and durability to doors.


Here is a side-by-side of the oak doors of 100 years old, very painted and the the door we stripped of paint, sanded, stained and clear coated- can you tell which is which?

painted oak door
100 year old painted oak door
finished oak door after being stripped
finished oak door after being stripped, stained and sealed

What can kind of furniture can we restore for you?

As part of the cabinet painting and refinishing, the restoration is something that works well with the tools and process we already use in your home for painted oak, maple and cherry cabinets.

So, let us know how we can help with your painting, and furniture restoration so we can help you love the space you’re in!

Painting your old furniture

If you have some older furniture that you are tired of, bring new life to it by painting your old furniture!

You may have the same dresser you had as a kid and are just sick of it. Maybe you were given some older furniture pieces. In either case, you don’t have to look at buying new pieces of furniture if it still works. Consider painting your old furniture, update the hardware, because then it will look brand new!

Let’s take a look at one of our latest projects!

Existing furniture that needs a little TLC

before furniture painting
painting wood furniture

Here is a pic of an older dresser we were given to update to be used in a customer’s home. This furniture piece is in almost perfect condition. We just needed to get some hardware for it.

After finding the right color and deciding on the tone they wanted, we were off to the paint booth.

How to prep your furniture for paint

When we take on painting furniture we assume it is as dirty as kitchen cabinets. There will be cleaning products, oils from fingers, dust, pet hair, and dirt that is not seen with the naked eye.

Once we get to cleaning however, all the dirt is pretty nasty. We use a degreaser/deglosser as a cleaner, because it will remove finger prints, cleaning chemical residue and most dirt and grime from the surface of the furniture piece being painted.

After the piece has been cleaned, we will get it ready for primer. Just like cabinets we will use a bonding primer to start the painting process.

Painting your old furniture - first coat primer
1st coat: primer

Once the primer is applied, I like to allow it to sit over night to make sure it dries and really bonds to the wood surface.

The next step is to scuff sand the furniture that was primed before applying any paint.

Applying paint to furniture

There are many type of paint that you can use for furniture. I stick with cabinet grade paint. For this piece we used ILVA 20 degree sheen tinted to SW6171 Chatroom as our base color.

painting old furniture
after painting furniture

We have used different methods to paint furniture as well.  I have rolled, I have brushed and even rubbed stain on before. My favorite is spray. That is my preference. It is nice because the materials we use is the same being used by furniture and cabinet makers, so it will last.

Now once you paint, you can say, “I’m done” and it will be fine. In this project, we decided to glaze.

What is glazing on furniture

A glaze is a stain, watered down tint or clear extended solid body clear finishes. It can be tinted to almost any color, diluted to deep base or light tint. Also, it can be sprayed, rolled, brushed, ragged, splattered, or any number of 10 other ways you can think of to get it on the furniture. It is something to play with!

For us, we brushed it on. Then, we used a stain pad applicator to remove the glaze until we had a soft tone. FUNNNN!

glaze on painted furniture
glaze on furniture
applying glaze to painted furniture
applying glaze to furniture
top view of glazed furniture

As you apply the glaze you MUST test this on a scrap piece of painted wood, because you need to know how fast it will dry. Also, if and how it will grab into the paint. Or will it just sit there ready to be removed? In any case that paint needs to be fully dry or the glaze will immediately bit into the paint and now you will have tinted the paint- it will never come off.

Get the tint into the nooks and crannies then remove it like we did to create the antique- reveal that was done with this piece.

Details of glazing furniture
close up detail of glazed cabinet
Close up detail of glazed cabinet

Add new hardware to your painted furniture

As you can see by the photos we found hardware that was more characteristic of this piece of furniture. You can do whatever you want! Have fun! There are so many options for hardware it is not even funny.

here is the cabinet repainted, glazed and new hardware
Here is the cabinet repainted, glazed and new hardware

Enjoy the process and have fun!

Book Your FREE Estimate
MM slash DD slash YYYY
This field is for validation purposes and should be left unchanged.
close

Your Free Estimate

To help home and businesses owners during this challenging time, we are offering free virtual estimates.

Fill out the form below and we will schedule a time for a free video call estimate.